Retouching Master Class, How to Whiten Teeth in Photoshopwww.sleeklens.com
Hello all, today we’re going to be starting a series of tutorial that may span over 2-3 instalments, I’ll see what happens, but they will be packed full of great tips and tricks on how to retouch like a total professional.
We’ll be fixing Teeth, and Skin but not changing the overall shape or look to the person as many magazines sneakily do, tut tut!
We’ll retouch this photo, while leaving it with a great natural feeling that the person would be happy with.
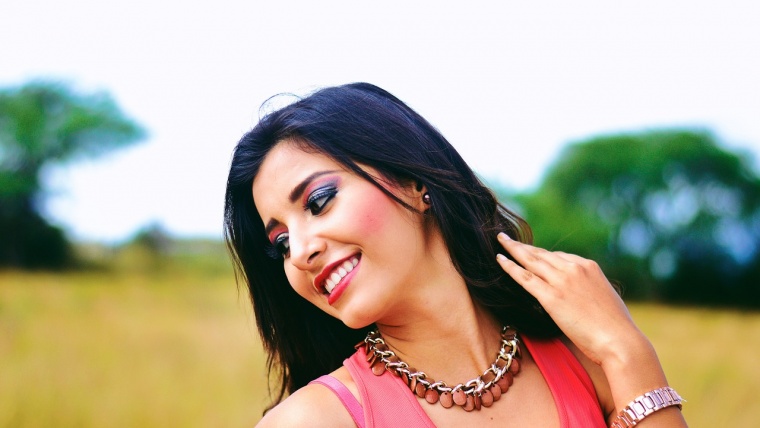
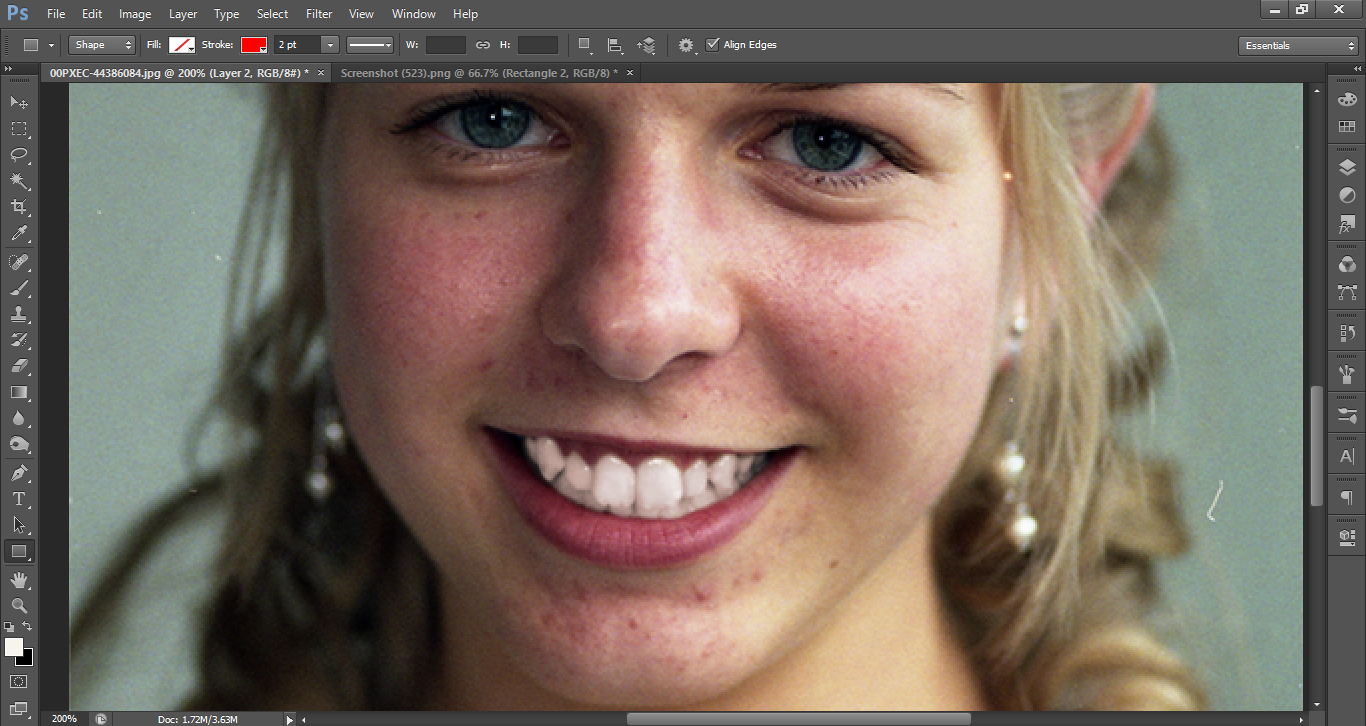
So today we’ll be using this image below, you can click on it with the right mouse button and save it, so you can work along side me if you wish to get the most out of this. Or you can challenge yourself by finding your own picture, or on that note use a picture of yourself if there are any that you would like to clean up.
Then at the very end, I will be applying some Sleeklens Presets to improve my over all image.
As the title says in this ‘episode’ if you can call it that, we’ll be whitening the teeth of our subject while fixing any other photographic problems.
Table of Contents
Step 1.
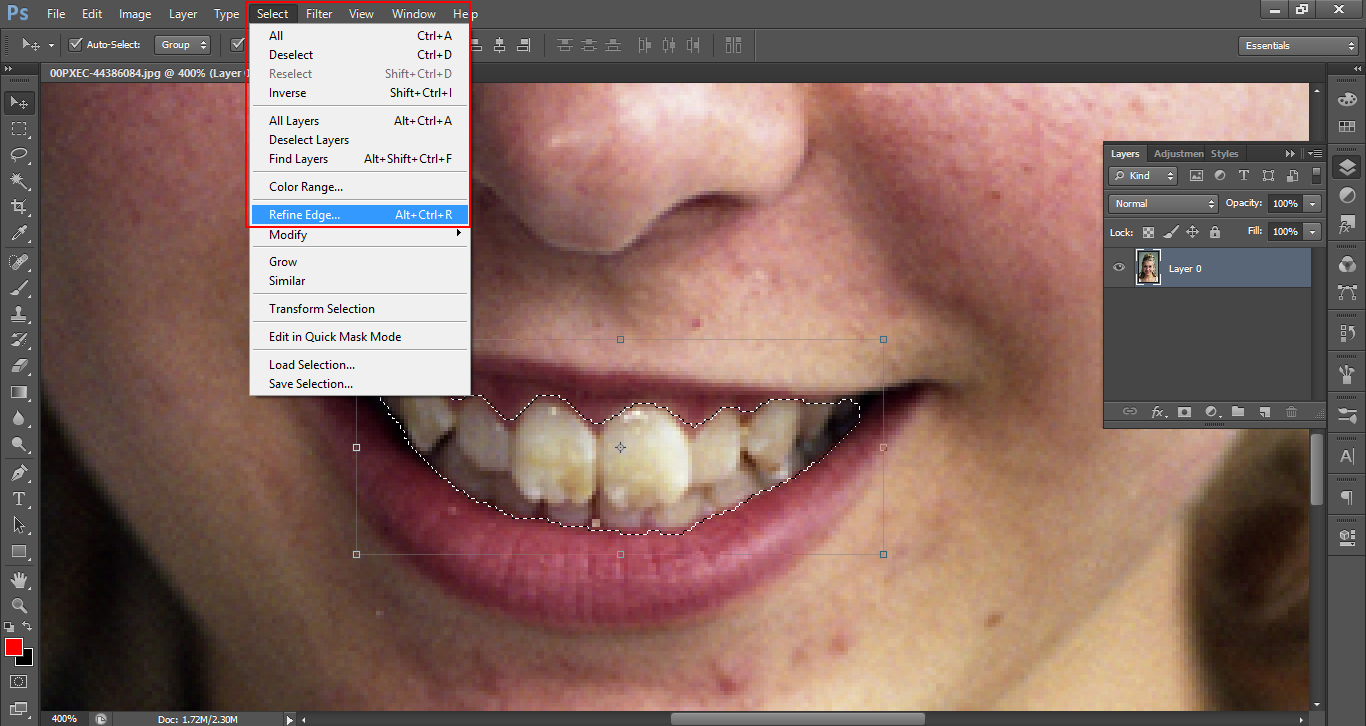
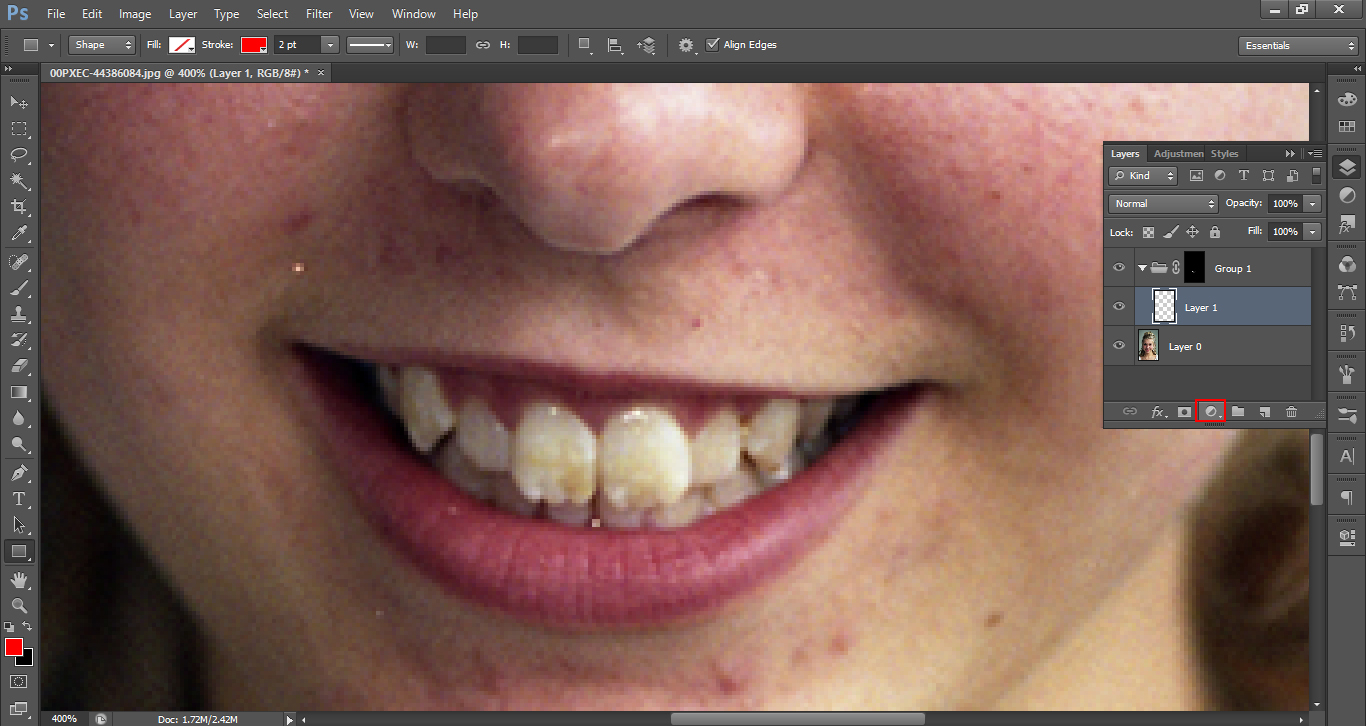
The first thing I want you to do is grab your Lasso Tool and make a rough but calculated selection around the teeth, try to be as accurate within the refines of ‘rough’ as you can, if you get me.
Zoom in using Ctrl/Command + (- to zoom out). The shortcut for the Lasso Tool is (L), it is also highlighted below.
Step 2.
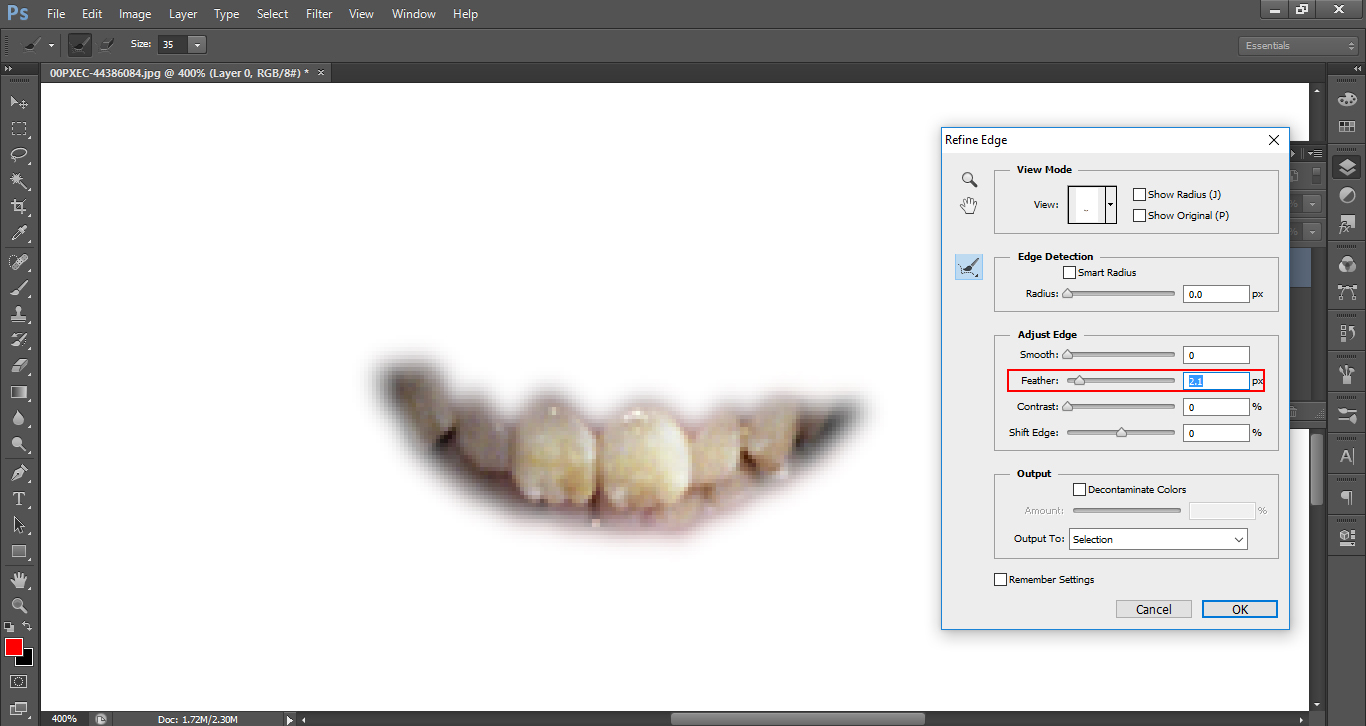
Click on Select – Refine Edge and bring your feathering up a little.
Step 3.
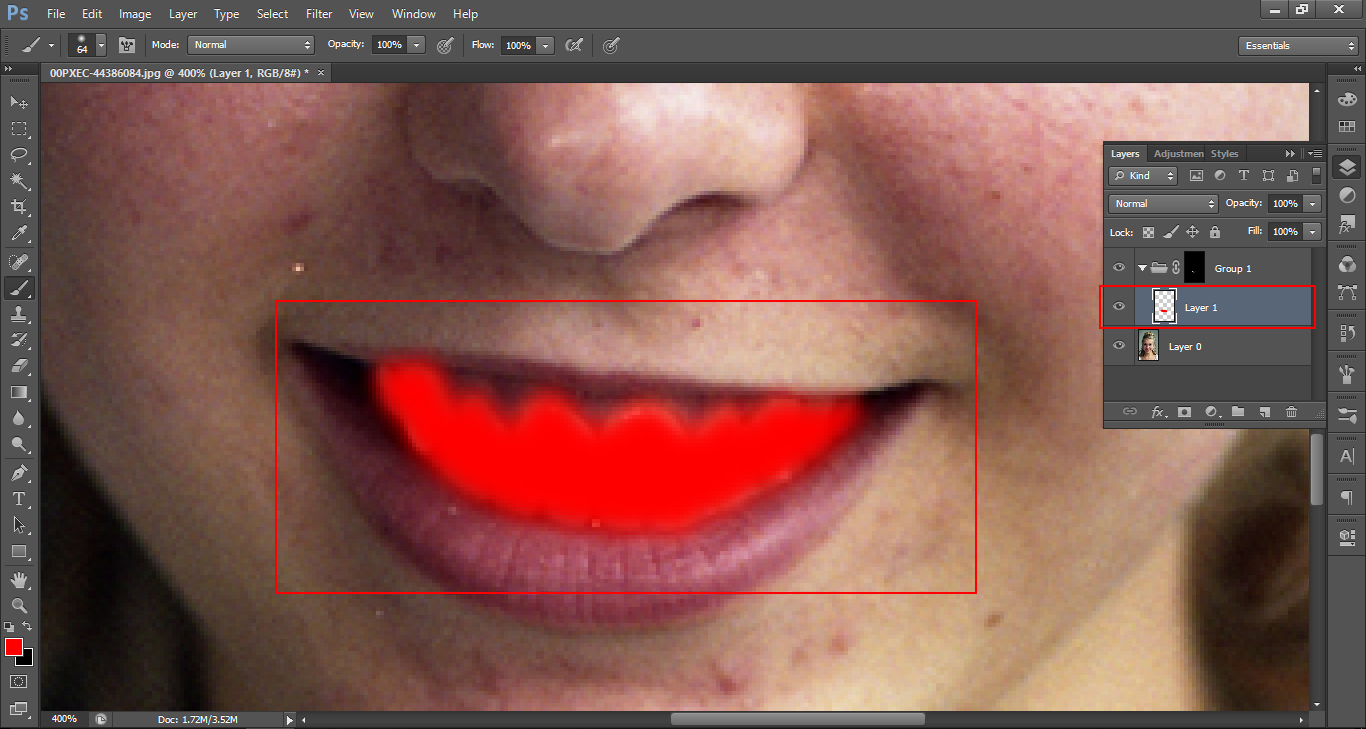
You now need to create a new layer, by clicking on the 5th icon across in the Layers panel indicated below, then hit Ctrl (Command for the Mac) G to create a Group.
Then, you’ll create a Layer mask by clicking (on the same row but 3rd across) the Layer Mask Button. You will see the Black mask appear.
If I was to click on the Layer with in the group and paint over it, you would see that the colours are only refined to the mask like so… (but don’t do this, I’m just showing you what it would do.)
Step 4.
Open up a new adjustment layer in the Layers Panel, that’s the 4th button across, indicated below.
Then, Choose a Hue Saturation Layer.
And click on Colorize.
There are three sliders now showing up, you will want to place your sliders roughly like so.
For the Hue slider, type in the value of 10 and in the saturation slider a value of 20.
You will already see a difference in the teeth, as the yellowing disappears.
Step 5.
Next, we’ll be working on the brightness of the Teeth.
Open up a new adjustment layer as you had before within your group, only this time choose curves.
Then, drag the middle point of the histogram light to somewhere in the region of what I have done below, so it whitens the teeth. At first they will look too white, but don’t worry we’ll be fixing that. It’s necessary for them to look that way for now.
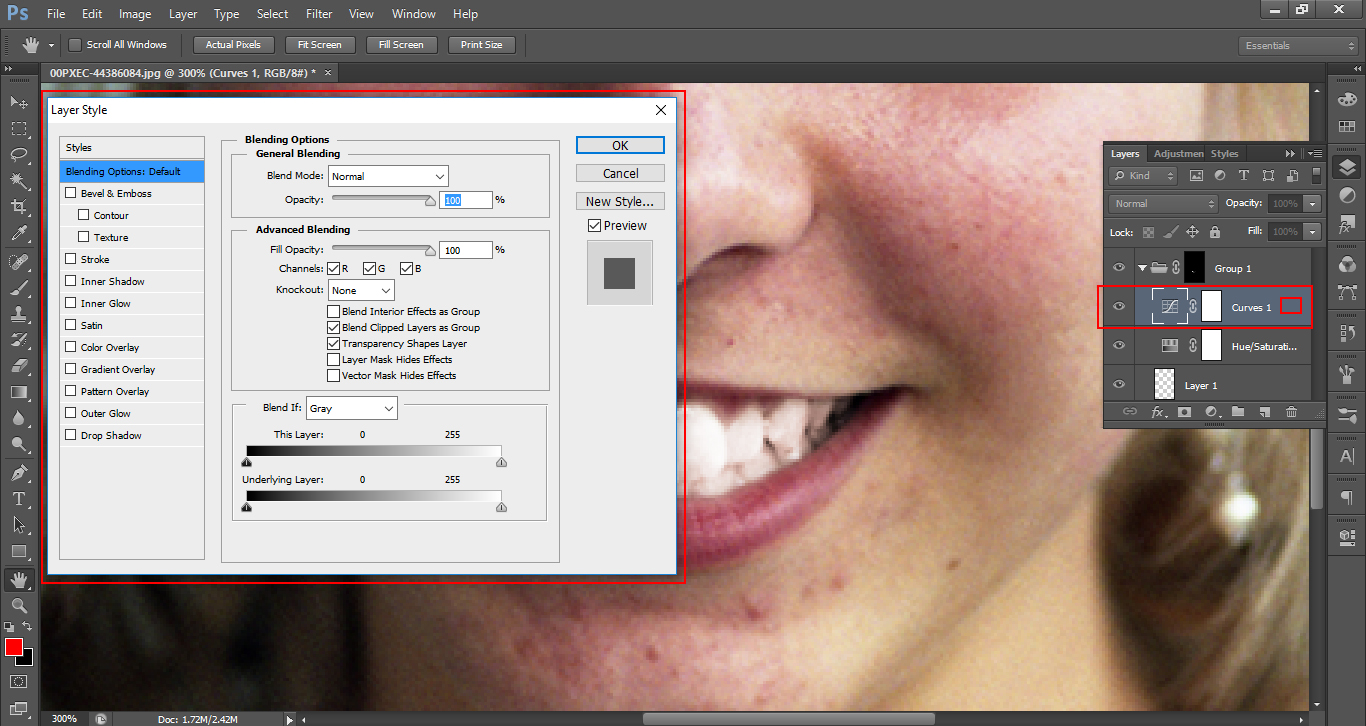
Then, double click on your layer where I have indicated and that will bring up a Layer Styles panel.
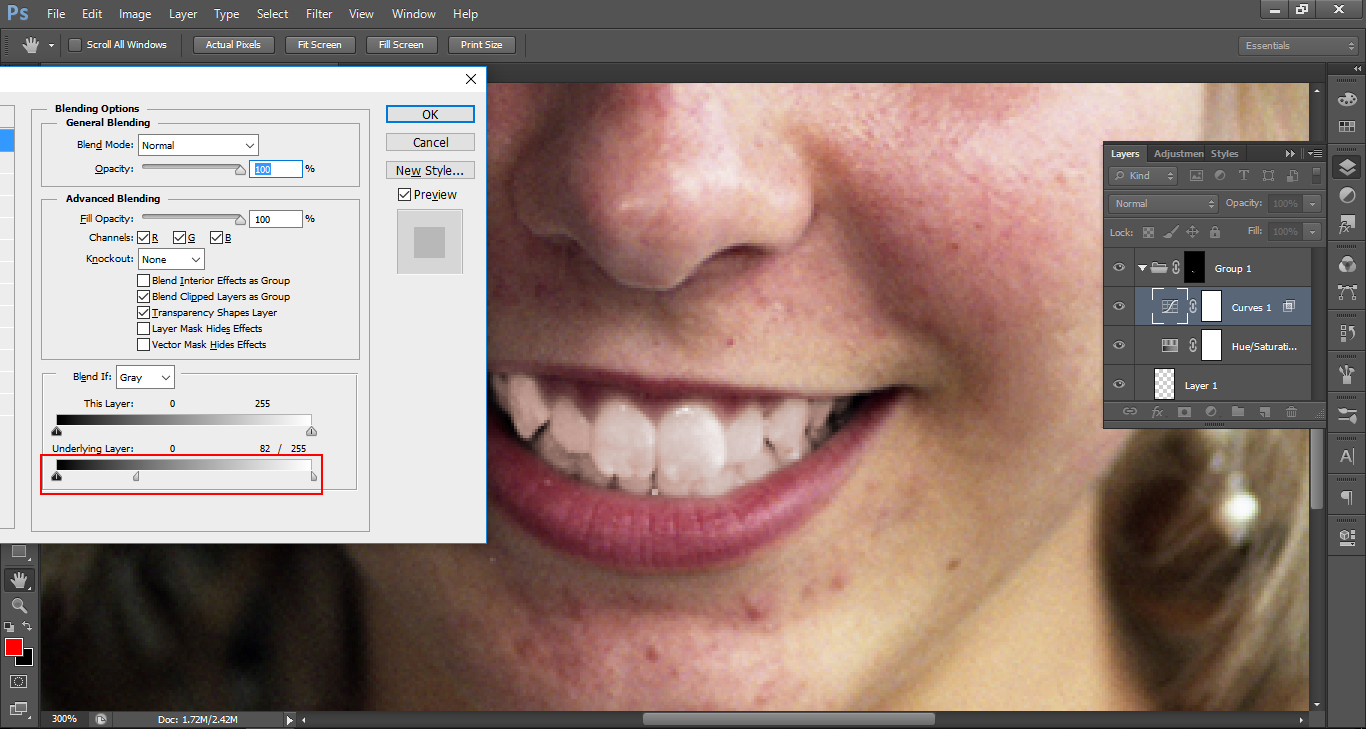
Now you will see indicated in the image below, there is a slider right at the bottom, that if you hold Alt and Click on the slider icon it will split it in half. Drag it across first, then go back for the other. Try to slide them until you start to get a realistic texture for the teeth, you’ll have to take a little time to find the balance here.
Further clean ups you can quickly do at this stage, would be to click on the Black layer mask, choose a brush tool, using Ctrl – or + to change the size and then paint in the black around the edges of the Teeth and the gums (Black erases White Replaces), so remember that.
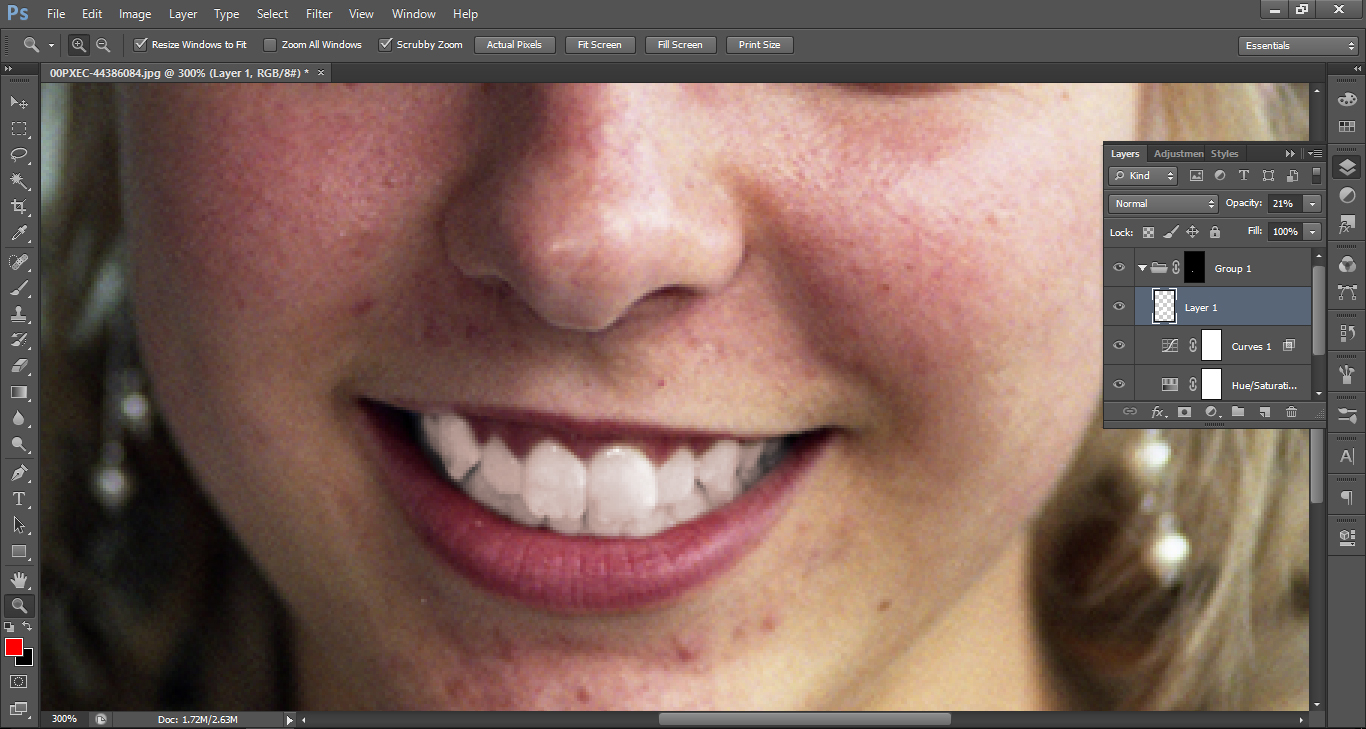
Step 6.
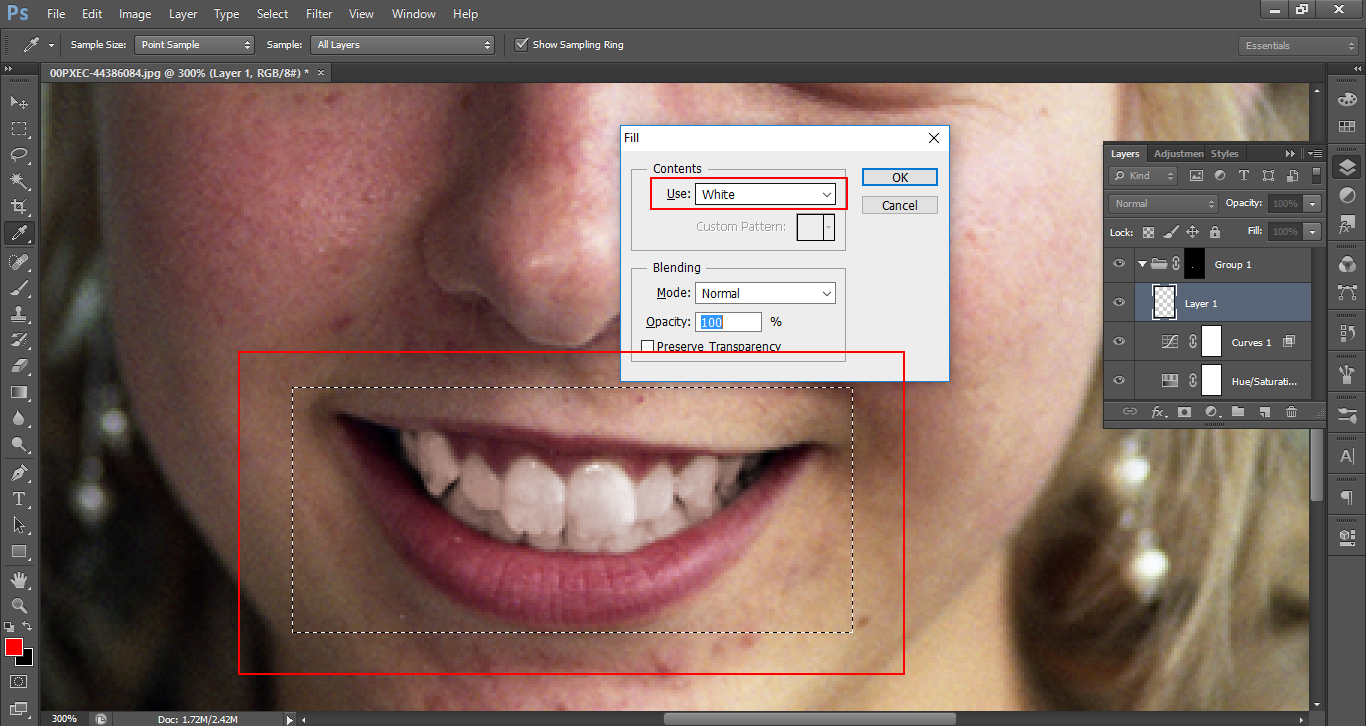
Now make a selection using the Marquee Tool (Shortcut – M) on the new top layer in the group.
Then Press Shift and Delete, this will bring up a Fill layer, make sure that you have it filled with white.
Then drop the opacity down, so it looks more natural!
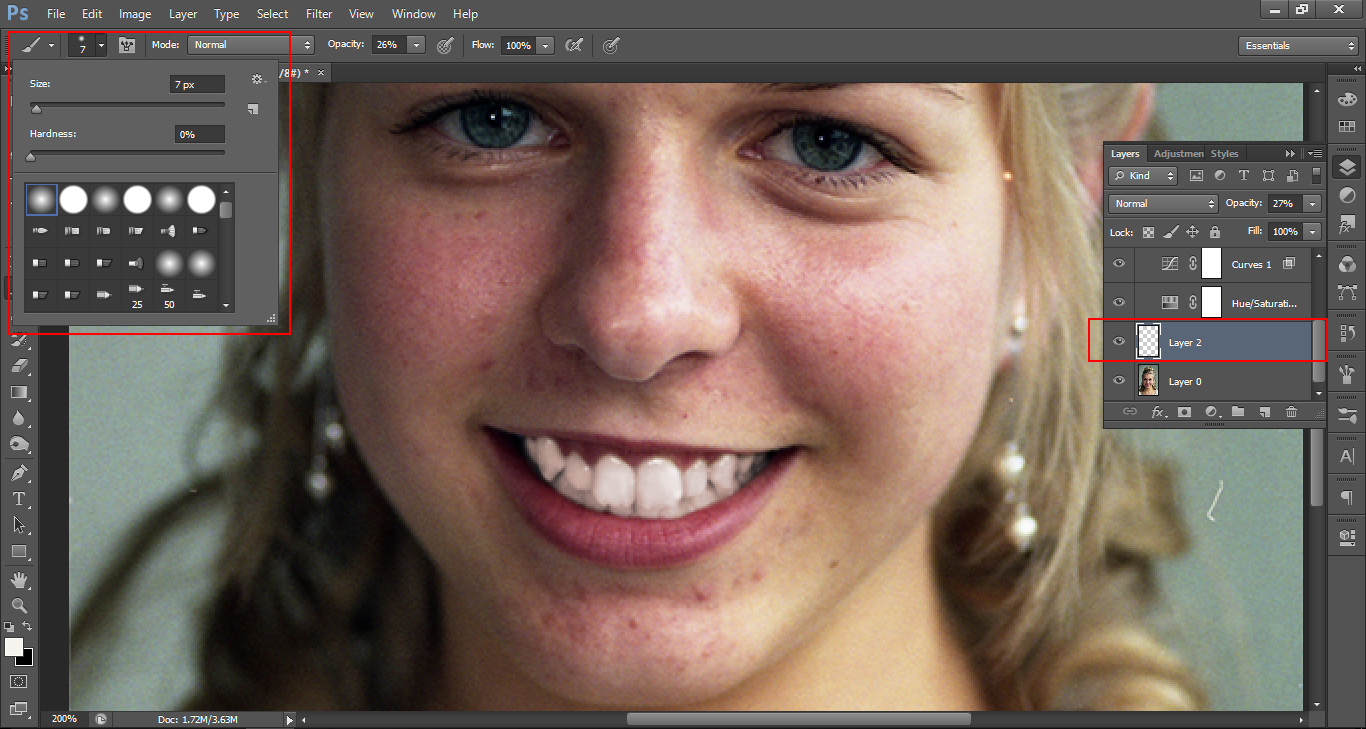
Final step.
Now I’ll create a layer just above the bottom one. Choosing a brush with a low opacity and a soft edge, I will start to paint white in the areas of the teeth that have inconsistencies.
Once I’m done with that, I will lower the opacity of the layer and play around with it back and forth, to try to find the perfect setting for that natural feeling I want.
By this stage you should be left with some nice pearly whites.
In the next tutorial we’ll be working on her Skin, so look out for that one!
Graduated from college in 2002 with a degree in Art & Design, I started exploring my way in Graphic Design and Professional Post Production. Full-time freelancer since 2011.


 Facebook
 Google +
Comments (0)
There are no comments yet.