Today I’m going to be taking you through how to use the Background Eraser Tool in Photoshop.
This tool is really great for certain types of jobs in Photoshop. It will not always work on everything, but if you use it in combination with other techniques, it can prove to be very powerful.
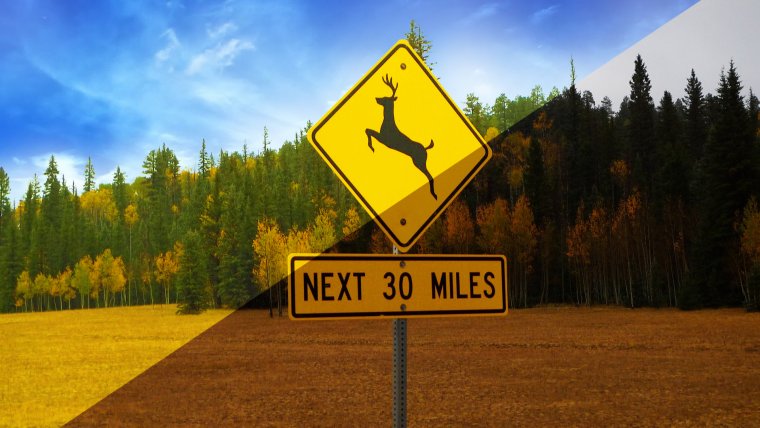
So what I’ll be showing you today is how to remove a plain sky from the background so you can replace it with something a little bit more spectacular.
The first thing that you need to do is to duplicate your layer just in case you need a backup copy; this is always good practice to do no matter what task you are undertaking.
Now, click on the layer and drag it down to where you can see in the image below, that’s right at the bottom on the right-hand side, you drag to the 6th icon across then you release to create your new layer.
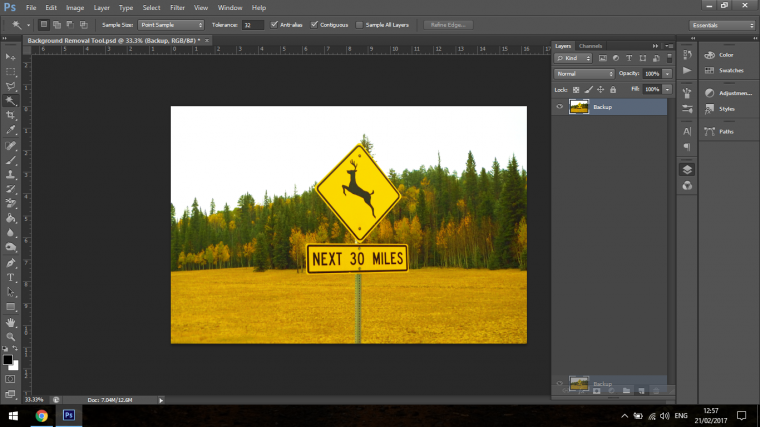
Then you can label it. Click on the eye icon on the bottom layer to hide it as we do not need it.
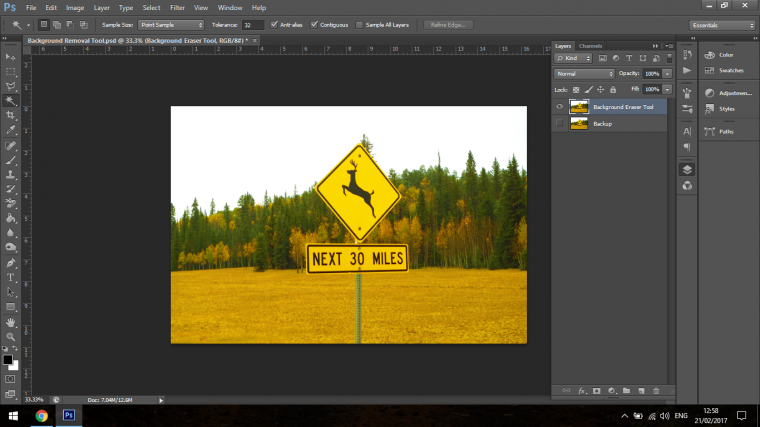
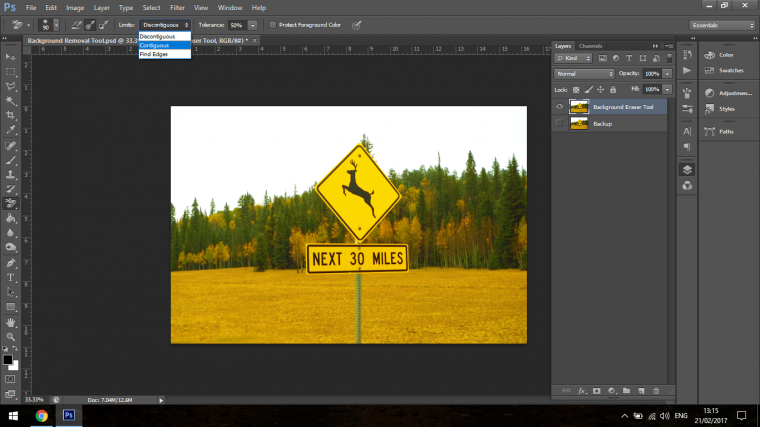
Now we are ready to activate our Background Eraser Tool, so below you will see where to find it.
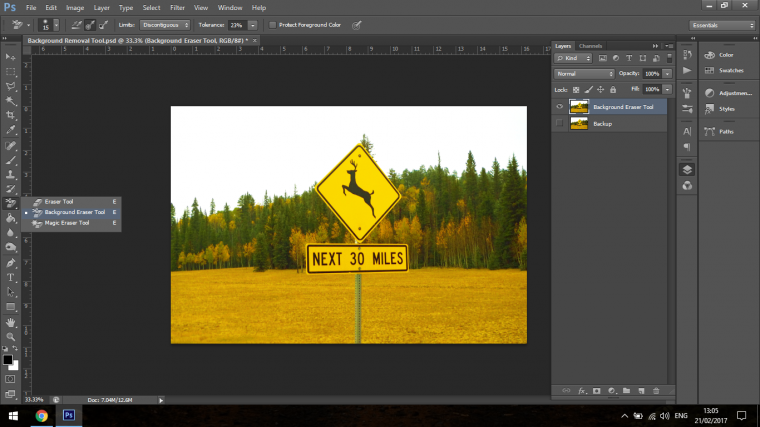
Your Background Eraser Tool should now be activated, so we’ll be going through a few settings now.
So to increase or decrease the size of your Brush what you can do is use the Bracket keys on your Keyboard and use the Spacebar to activate the temporary move Tool, that way you will be fully flexible.
Now on to the actual settings.
In the image below you can see at the top left-hand side.
You will want to copy the setting that I have here.
Under where it says Image and Layer directly between that you will see three little icons, click on the middle one that looks like an eye dropper with a target sign.
Change your Limits to Contiguous.
Change you Tolerance to 50%.
Unclick the box (if it has a checked tick in it) Protect Foreground Colour.
One last setting you will have to do is right click on the screen; then you will see three sliders: Side, Hardness, and Spacing.
Change the Hardness to 100% and the Spacing to 50%.
Now we are ready to go! So now what you do is zoom right in and use the Spacebar, click and drag to move around.
Then hold Alt on your Keyboard so your cursor changes to an eye dropper, click on the color you want to remove to sample it so we can get to work.
So what you do now is click once on the color you want to remove and move along all the areas around the tree line that this color ins on. Don’t click over and over, just click once and hold to see how much you can get rid of.
You remove as much as you can until you have to use your Spacebar to move.
When you do this you then go completely outside the tree line area, so you will not be in contact with any of the trees and click, then hold and move your indicator back in using your mouse until you are over the tree line again.
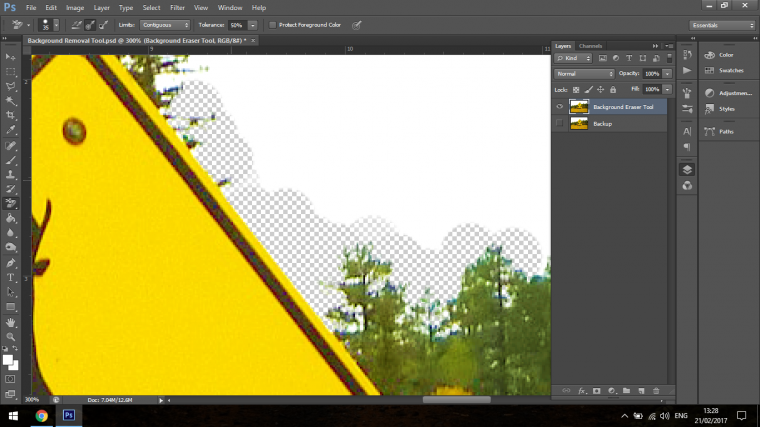
You will at times have to resample the background colors as you will see that the Background Eraser Tool will not remove everything. (Alt-Click to Sample)
You will also have to zoom right in almost till you just see pixels at times to Erase some areas so be aware that this will take a little bit of time and patience to start with but once you get the hang of it, you will become quite proficient with this Tool.
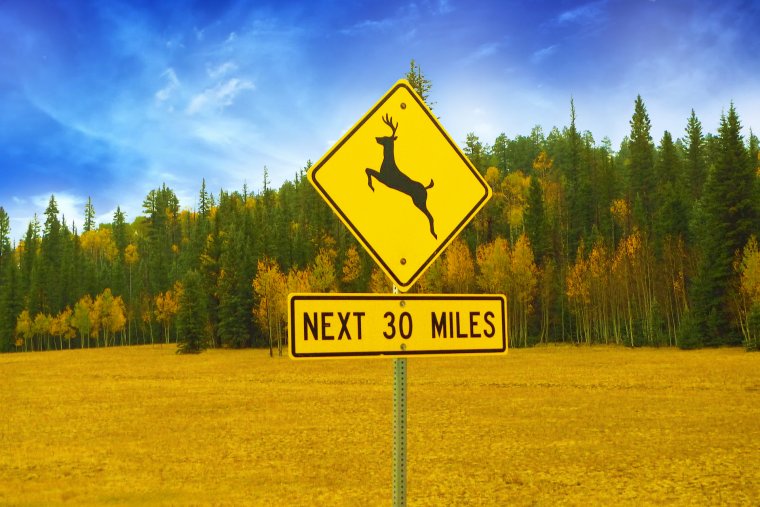
Once you are happy with the removal, you can try it out with your new background.
Try to get a more dynamic background but once that is similar in color so it will mask out the tiny little bits that might be left.
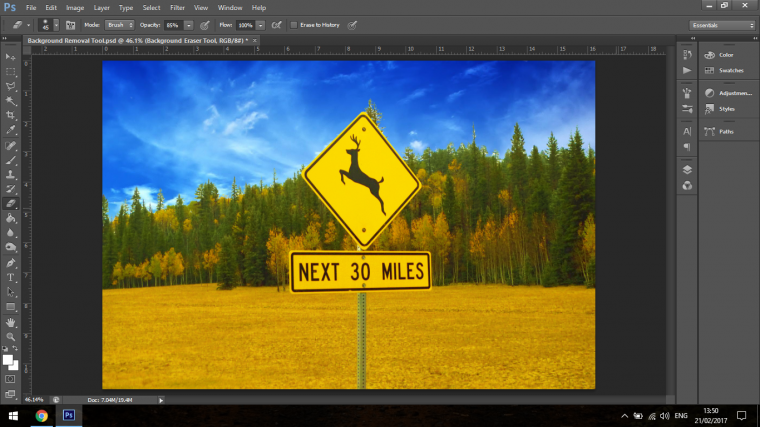
You do this again by just zooming in and sampling.
And with a lot of patience and care your image should be looking similar to my image below.


Please verify your software version before proceeding.
 I’ve verified my software version


 Facebook
 Google +
Comments (0)
There are no comments yet.