Hi everyone, I have a pretty funny Photoshop tutorial for you today and the reason being is because I know a friend of mine that could use this in a few of his photos so if you’re like him you’ll find this Photoshop tutorial very useful indeed.
Before we start don’t forget to check out our amazing Photoshop actions collection
I thought up of this Photoshop tutorial because we were having photos taken the other day and my friend had a little bit of stubble on him as he was trying to grow a bit of a beard, problem is he’s a bit of a baby face so his stubble was very patchy and he was like “Agh! it looks like I completely failed to style my beard in the worst way” which gave us a good laugh.
Afterwards I was thinking, I can just alter the photos to fill in those patchy areas and this is what we’re going to learn today.
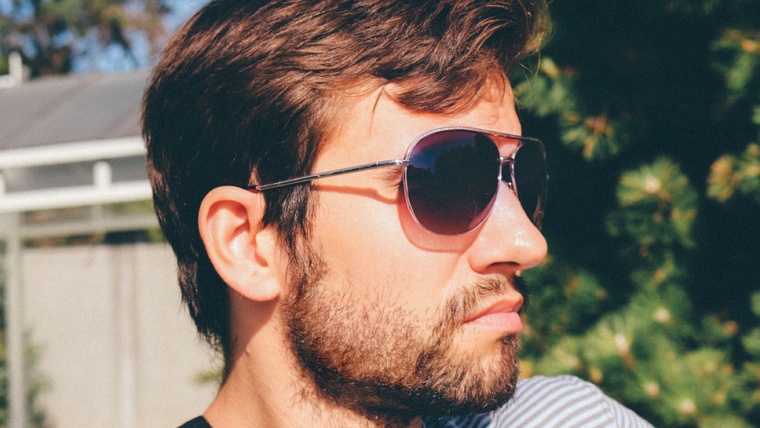
Check out our image for today (not my friend by the way haha)
As we can see there is a few areas we could fill in to make his stubble look a little bit more full.
To start this open up a new layer, Shift Ctrl + N
Click on your brush tool and using a hard brush zoom in on your image and try to draw a hair similar in size and in colour to the one shown below on a new layer you can use the bracket keys to change the size of your brush. [ & ]
Now you have your hair, make a new layer below the layer with the hair on it, grab your rectangle Marque Tool shown below.
Draw a box around it, and change your brush to white, then paint it in s you end up with what I have below.
So select your white square Select All as shown above and go to Edit – Define Brush Preset and label it as hair.
That should now be loaded to your brush, if you just click as is it will look too uniformed and unrealistic so we have to go into the preferences and change that up a little so we get varied strokes and so forth.
You can now delete those previous layers as we now have our brush. so select them and delete, once you have this done create a new layer, this is the layer we’ll be using to paint the hairs onto.
To open up your brush panel double click where I have indicated below.
First click on Shape dynamics and turn your Size Jitter all the way up, this will make some larger and some smaller.
Next turn your Angle Jitter up a little and your Roundness Jitter up full.
We now have a good bit of variety to those, but we still have to Scatter those round a good bit further. So click on scattering and change the amount of scattering using the slider at the top like so.
Last but not least is go back to your shape dynamics and click and the drop box beside Angle Jitter and click on direction, then if you go to your brush tip shape and change the angle to 90, it will now be vertical.
Now if you test your brush out in a test layer you will see that the brush now moves in the direction you’re painting in.
Go back to the Shape Dynamics again and hit Flip X Jitter, to flip the hairs around.
As you are working on this use downward strokes so to match the hairs, you will also have to match the colour so holding ALT and sample hair colours beside where you are painting on will get the best results, it’s just a matter of trying to match the angle of the hairs and the colours, you’re brushes set up so this shouldn’t be so hard I wouldn’t imagine at this stage.
So be aware of this when you are creating your brush, match the size of the hair when you create your brush, you can also go back in while working and change up the spacing so try to remember that as you go along.
Now you should be finished and have something similar to what I have.
Have fun anti shaving out there 🙂
Here’s the part – I of masterclass for adobe photoshop layer blending modes.
Comments (1)
Very interesting. Keep going!