How to Add Birds to your Images with Photoshopwww.sleeklens.com
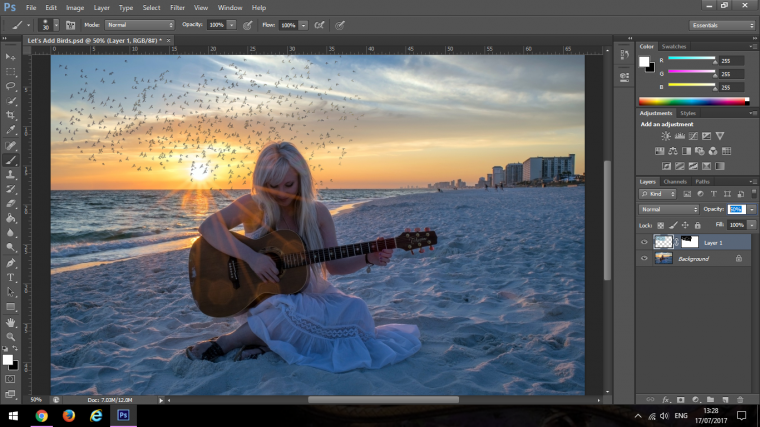
In this video, I will show you how to add birds to your photos in Adobe Photoshop. Adding birds to your photos are kind of a fun, interesting thing to do as it adds a little bit more subject to your photos. Sleeklens makes it easy to do that because they have birds’ overlays available and what they do is that take the pictures of birds and cut out the individual birds which allow you to have a little more flexibility and customization when adding them in. So, let’s get started and show you how to do this.
I took one of the bird overlays from one of the Autumn Pumpkin Graze Collection; you can see there are three birds which they have selected. If you toggle them on you’ll see that there are some actual birds from the photo, but they cut them out and you have the 3 e are going to use here.
To begin with, I will open the Photoshop file (there are Photoshop and JPEG to choose from). I will then highlight the three individual birds, click, drag and hold them over into my photo. After placing them on my photo, you can see they are little large and so with them highlighted, I will hit the Command/Ctrl-T which will allow me to do free transform and all I will do is size them down and put them on the area as seen in the tutorial.
I don’t want to make the very large since they’ll look a little bit out of place or unrealistic. Once I size them down, I will place them over people on the beach and since they are seagulls, they kind of blend well with a photo looking more realistic. I will size them down and position them strategically, and you can see we have birds easily added without looking fake or unnatural, but it adds a little more interest in the picture along with the folks.
Now I want to add a little bit more birds and make them a little bit larger, but I will leave the ones we’ve already added right where they are. I will go back to our original bird overlays, click and drag over the 3 birds again and follow the resizing process (Command/Ctrl-T) once again and keep moving the birds around there. Although the birds look good, the pattern is the same, and this could make your work look fake. So, I will position the birds in a better pattern, and this is easy because the birds are cut out individually. I will click on the individual bird and deactivate it, or I can click on it and move it around wherever I want to. I will keep playing with the birds a little bit to position them in a way that looks like they are flying in a certain order. I just added six birds in the photo, and this adds more interest and looks nice.
The only thing that I will do, which is a personal preference is to add a photo filter, and this helps the birds in the photo blend very well. I will click on the Adjustment > Photo Filter, and you can have a bit to choose from. I will choose a warming one and back it down a little bit to around 15 percent or so. We can then group them together and look at the before which looked ok but a bit plain but we added some birds and color pop we have a little bit more interest to the after photo.
Let’s Take a Closer Look
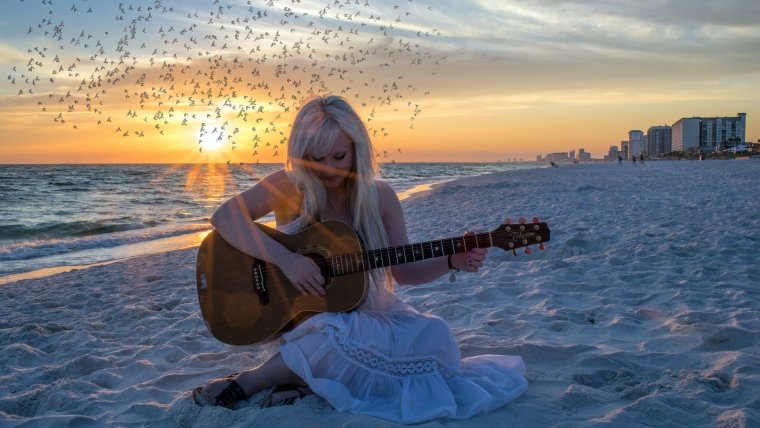
A nice addition to these types of Images is to add in some birds. I find this type of effect addition works best in images of contemplation or to add a little bit of soppy romance haha.
You know one of those images you could title “The Thinker” or “Forever Love.” But anyway enough of my Artistic thoughts and let’s get to he Photoshopping, we have no time for such Brainstorming. It’s the mechanical meat we’re after here, so flex with me and open up your Photoshop.
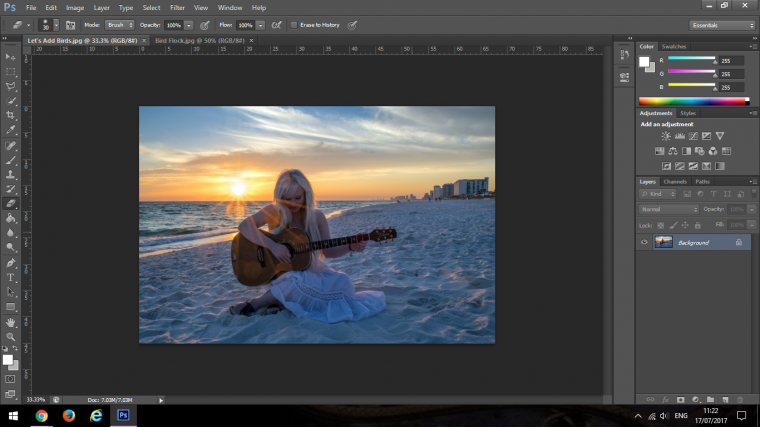
Two two images that I have chosen to use are as follows.
As you can see I’m going with that Thinker Theme, and with the Flock of Birds well that’s what I used as my search keywords to find that image. I got both on Pixabay.com. If you can get anything even close to similar then we are good to go. So what I want to do now is to create a selection around the birds that I want to add to my image.
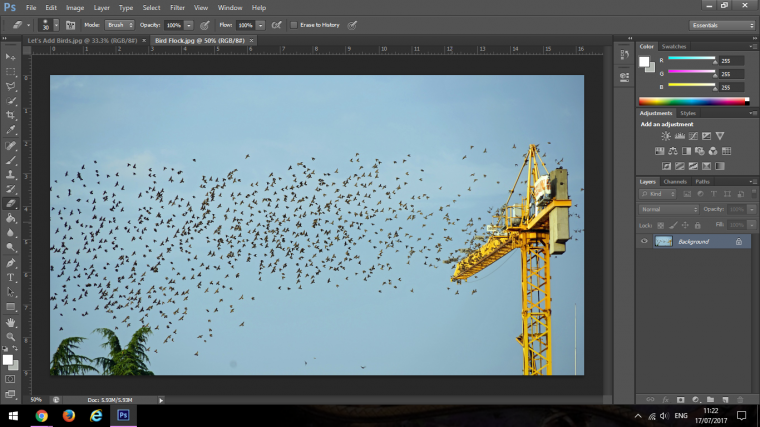
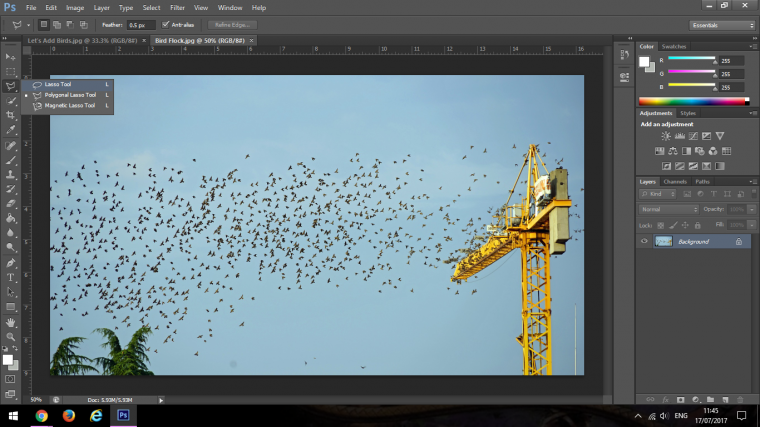
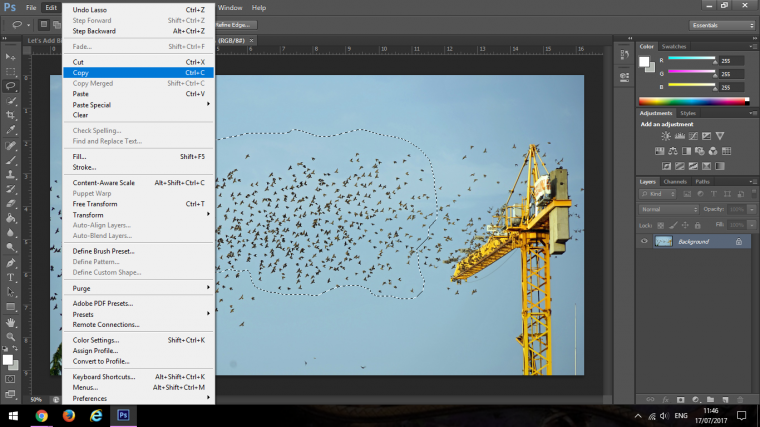
I grab the Lasso Tool (Shortcut = L) and I draw around them creating my selection.
You just have to draw around loosely as we will be able to fix any mistakes later, so grab a nice sized group or how ever many you would like.
Once you have your selection and you’re happy click on Edit and Copy.
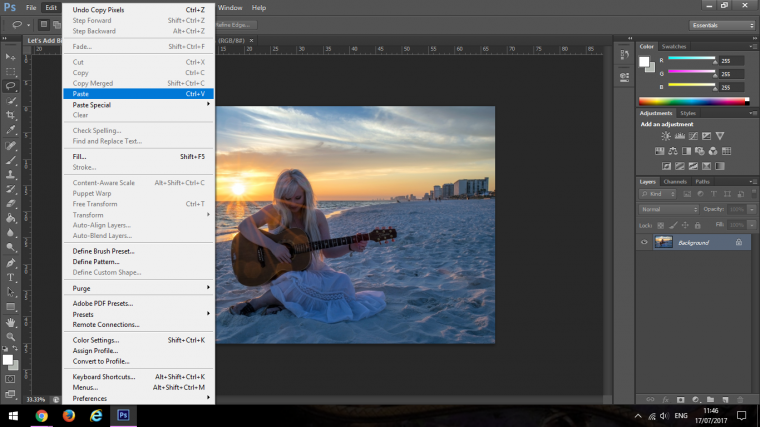
Then we will be done with with the original Birds image so you can close that down so save space.
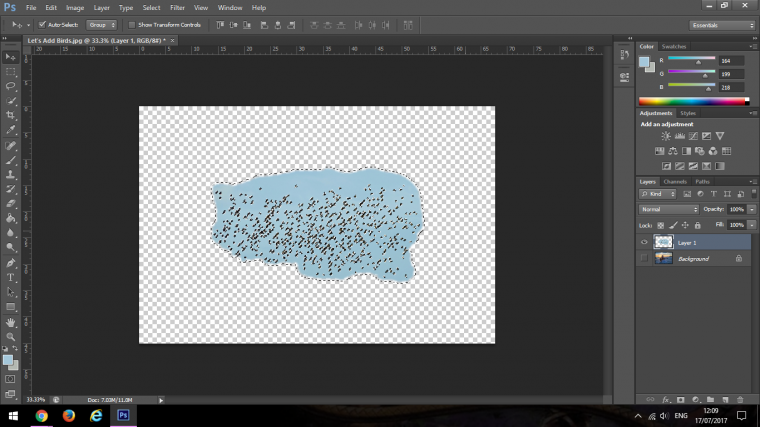
Paste the birds into your main image.
Now that we have our selected picture added to our main we have to remove the background to isolate the birds.
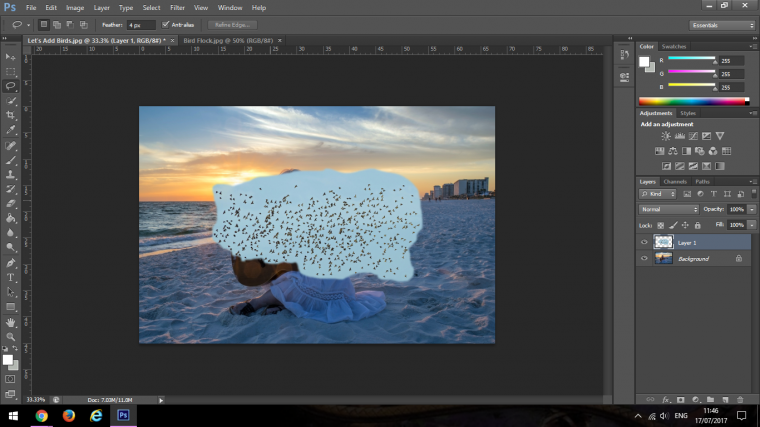
Before we do click on the Eye Icon in the original background layer to hide it.
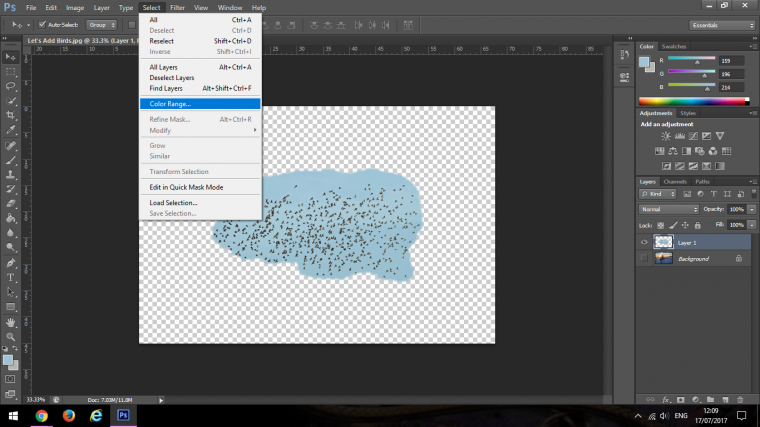
The way to isolate the birds is to go to Select – Colour Range.
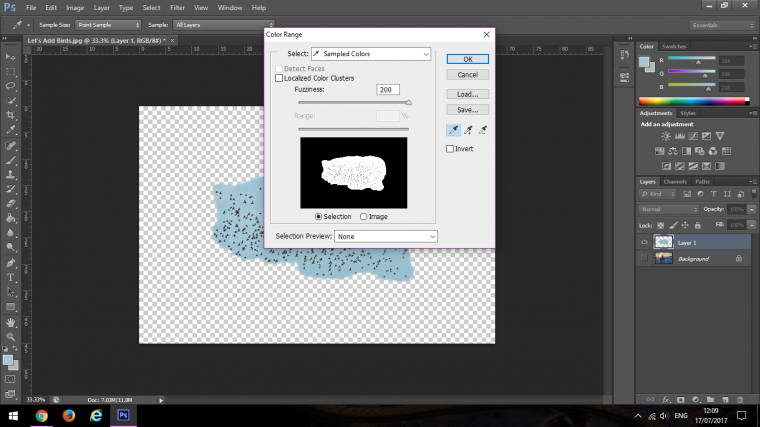
Click on the Blue area to create the selection and press ok.
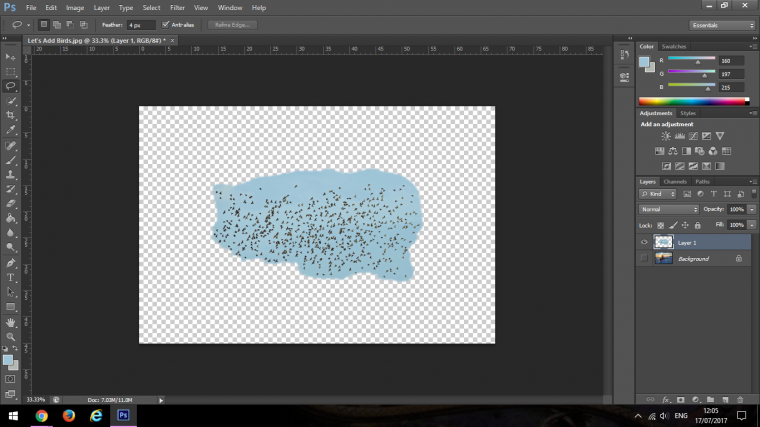
Note that if you have a few different colours on your sky, you can click on the + Eyedropper to the right of your normal Eye Dropper under save.
Then you just click away at the other colours there until you reach a point when you should have a perfect of close to perfect black an white between the birds and the sky.
The Blue Sky will now be selected.
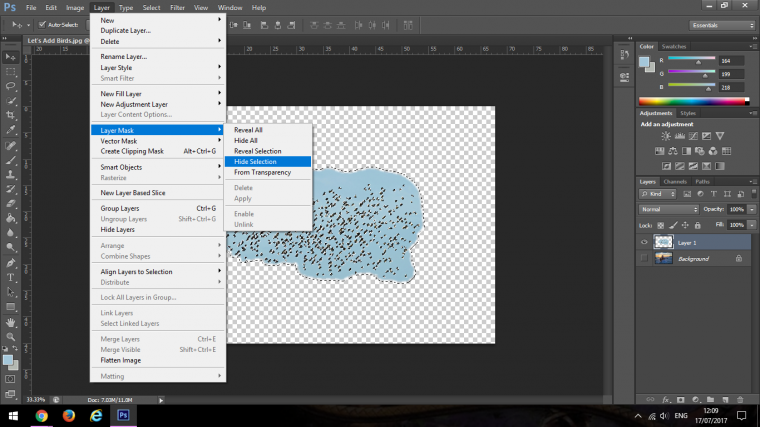
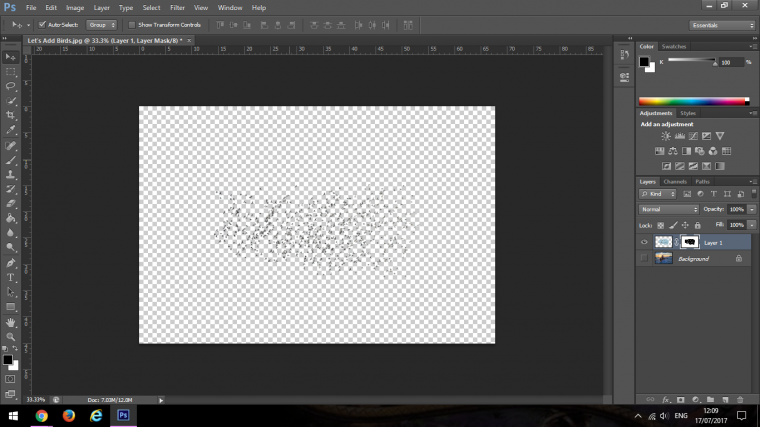
Next you have to go to Layer – Layer Mask and Hide Selection.
When you click this it will create the Mask which will had e the blue background and isolate the birds.
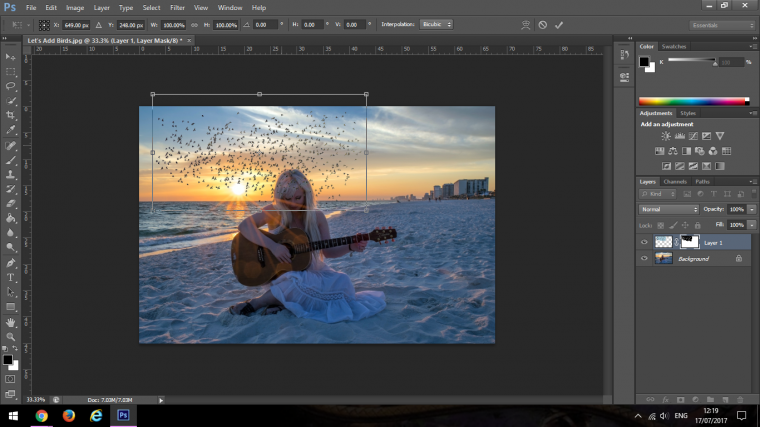
Now you can reactivate your background image.
Then press T on your Keyboard to activate your Free Transform Tool so we can position the Birds where we want.
Now that we have this added to our image we have to now match it and tidy it up a little as you see some are over the models head.
This is easy, with the mask you can click on the layer thumb nail, that’s the one beside the layer with the birds on it, you’ll see there’s some black on it and some white, you may even be able to see the birds.
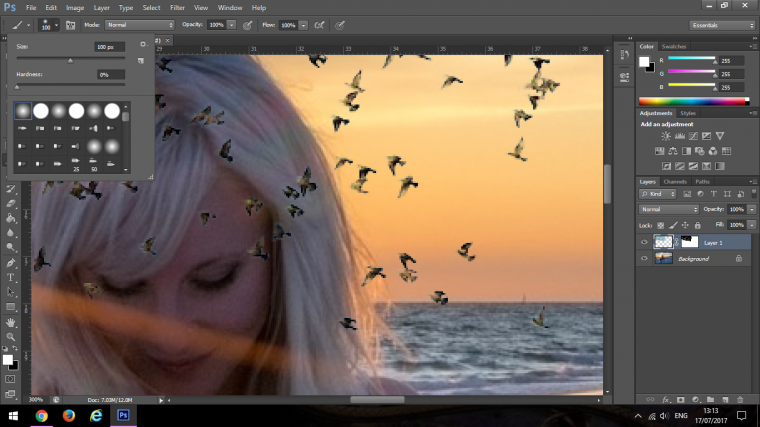
So what you do is with the brush tool using white you will be able to hide the bird that are over the models head.
Zoom in and start to paint onto the canvas with your brush.
Use the first brush in the menu, that’s the soft brush.
Now you just start to paint out the Birds, if you need to resize your brush for the more detailed parts you can use the bracket keys on your keyboard to plus or minus.
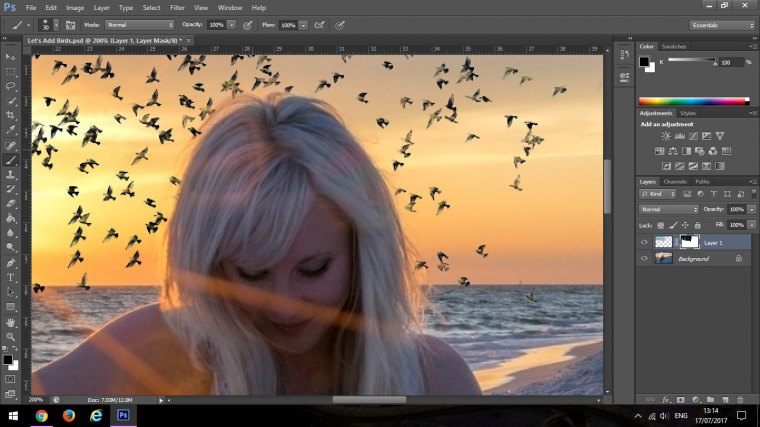
The two last things I would do is to decrease the opacity of the birds layer.
I dropped mine to 50% so anywhere around that should be fine, this is to give the birds some distance.
The very last thing I would do as well is to zoom right in and look to see if there is any blue from the sky still remaining.
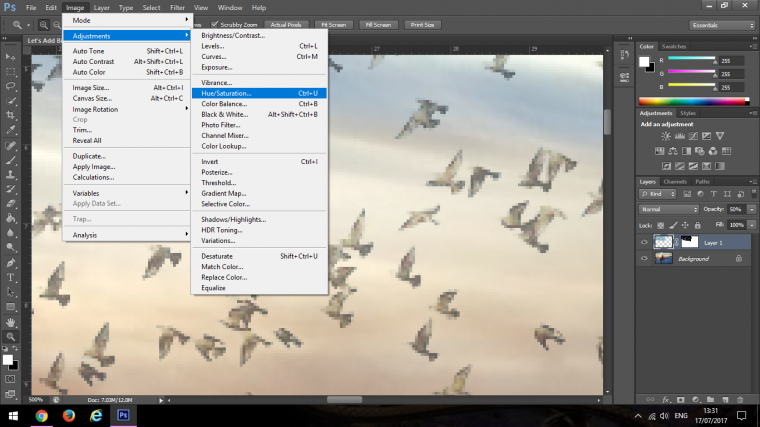
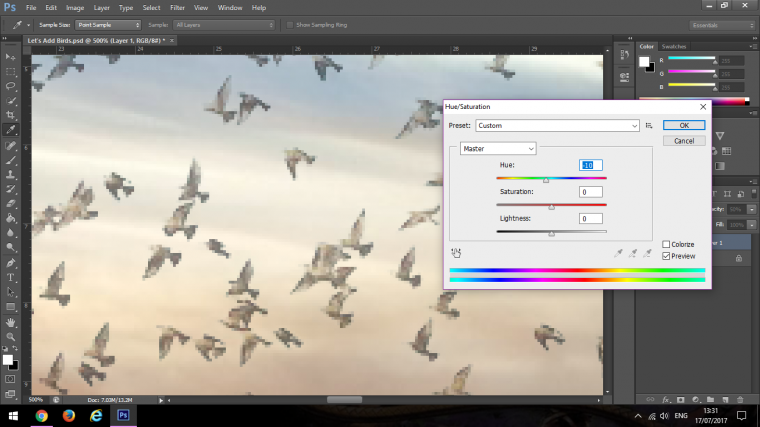
I then go to Edit – Adjustments – Hue and Saturation
Then I slide the Hue Slider about till I see that it has matched.
This step with the Opacity sometimes isn’t necessary but it’s still a good Idea to know.
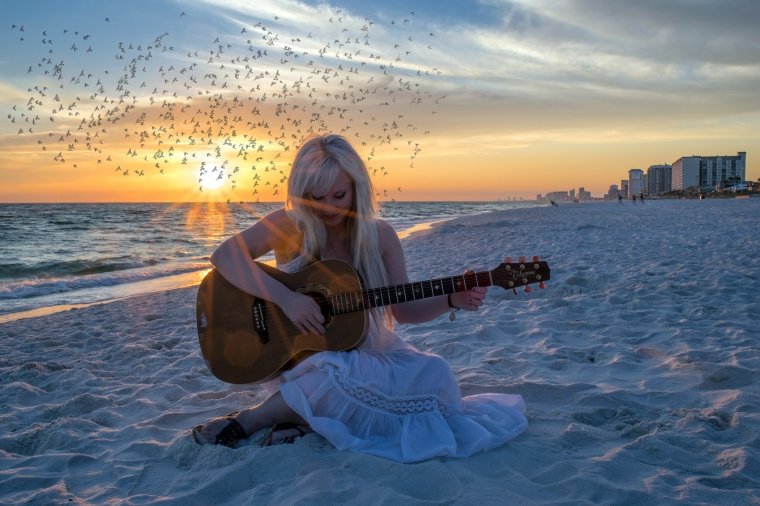
Now we’re done our image should be looking like so.
Graduated from college in 2002 with a degree in Art & Design, I started exploring my way in Graphic Design and Professional Post Production. Full-time freelancer since 2011.


 Facebook
 Google +
Comments (0)
There are no comments yet.