Hi guys, today we are going to be taking a look at Tinting in Photoshop.
It’s really easy to do and I’m going to be sharing with you all that I know so I hope you enjoy and learn a lot from this Tutorial.
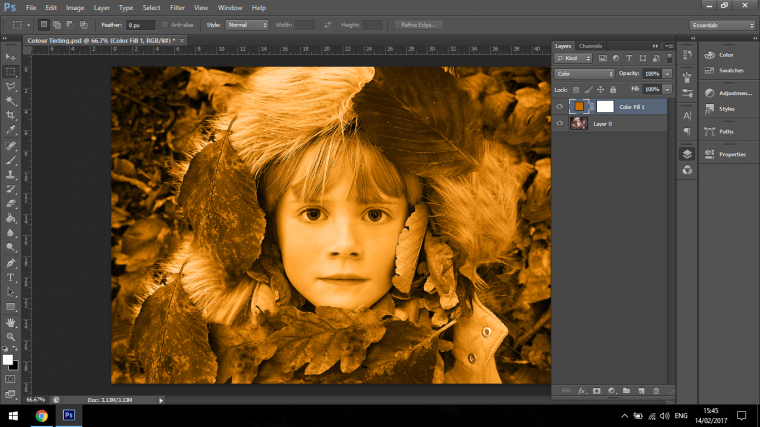
So the first thing we’ll be doing is creating a solid color adjustment layer.

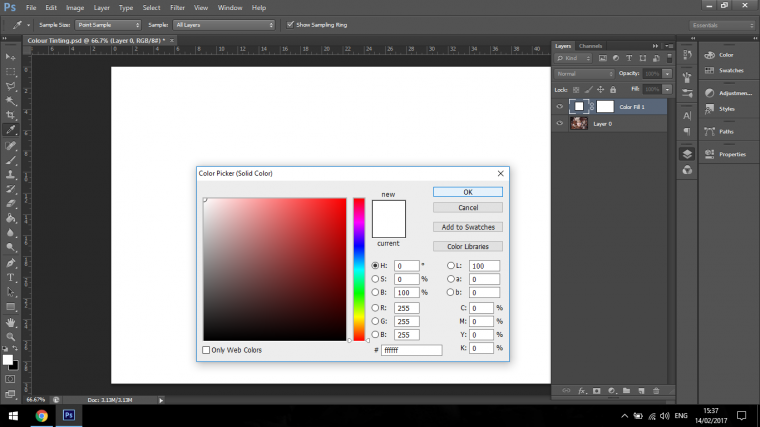
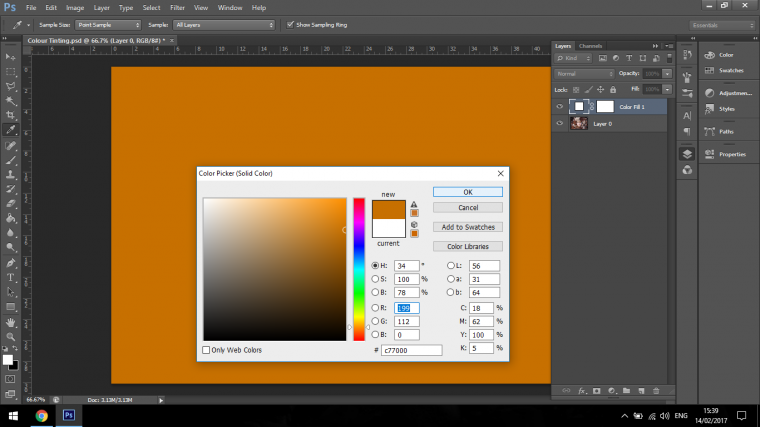
Now you can choose any color you would like to use, this is an Autumn picture so I’m going to start off with a reddish orange.
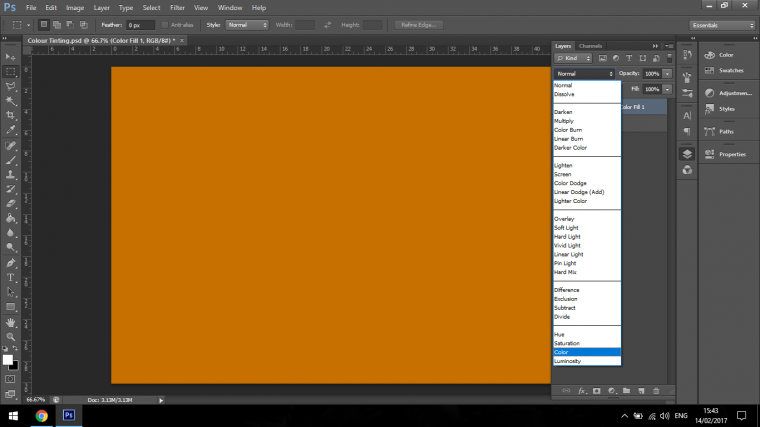
So the next thing you will have to do is to change the Blend mode to “Color”
If you don’t know what the Blending mode is you will find it in the layers panel beside Opacity.
If you are still lost you can check out the image below.
Ok so now you will notice that you will be able to now see the image through the color layer.
Note from here you will be able to click on your solid color layer at any time, go back in and change to what ever color takes your fancy.

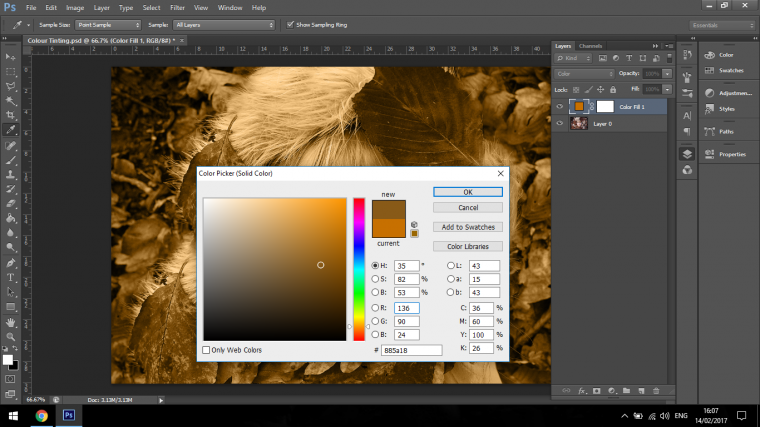
I just want to quickly talk you trough a little side tutorial now.
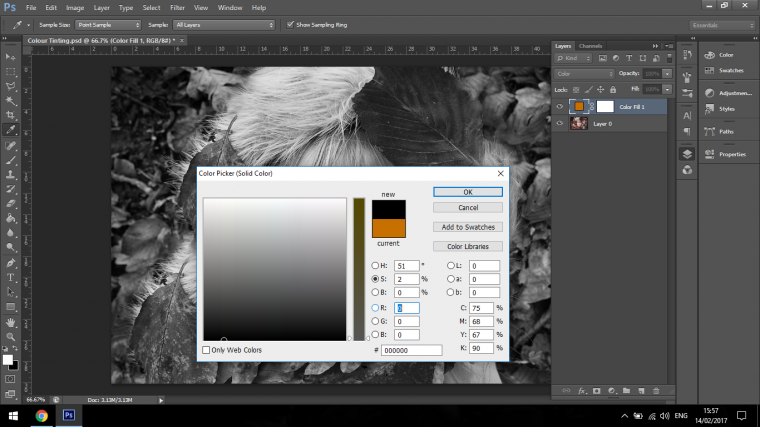
In the Colour Picker Panel, you will notice lettering H S B
These stand for Hue, Saturation, and Black.
If you move both S and B sliders down to the bottom you will now notice that the image will change to Black and White.
So if you don’t know in simple terms Saturation drains the color out of your image.
B standing for Black increases the darkness of the brightness and as just said if you move the slider the whole way down to Black you will end up with Black and White.
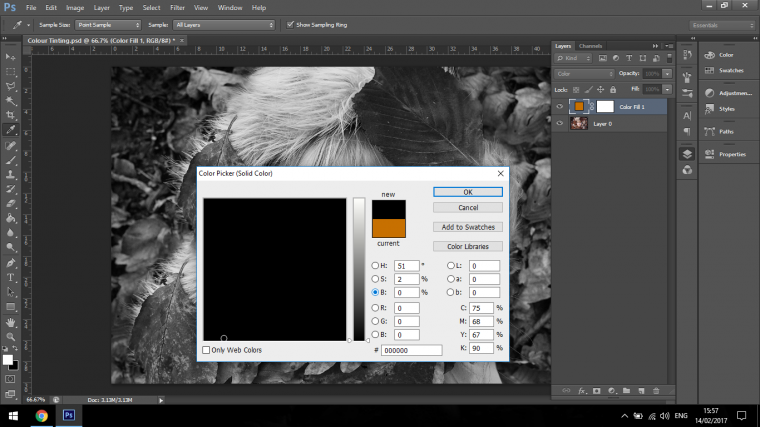
With the knowledge above you should now be able to figure out that you don’t actually need it 🙂
What I mean by that is you can just click on the Hue setting until you find the color you are looking for in general.
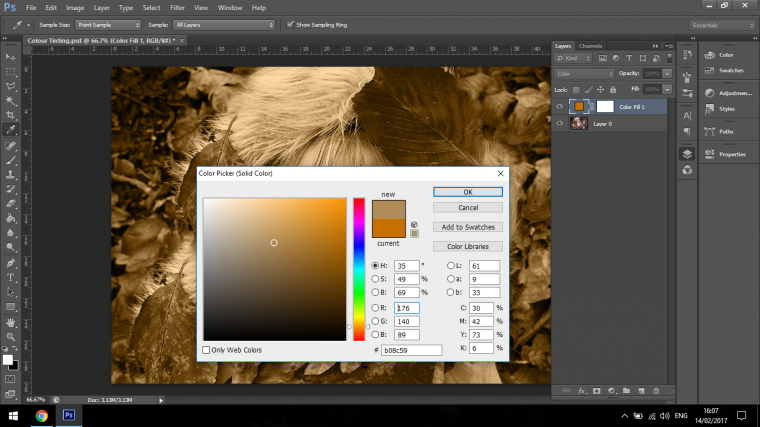
The only other times I have used the S and B was when I was told a specific color setting that was required.
But even then, if you are given the correct Hue code it will produce the same effect.
Really this comes down to being able to do several things different way in Photoshop, so be aware of that, I thought when I first started that there were millions of things to master in Photoshop and that I had to learn them all, this simply is not true because there is always more than one way to peal and orange! so if it works for you and you are able to do what is required of you, then you do not need to learn more and you will pick these things up as you go along.
So I just wanted to share with you some tips from my experiences there so you don’t think you have some massive hill to climb because you don’t 🙂

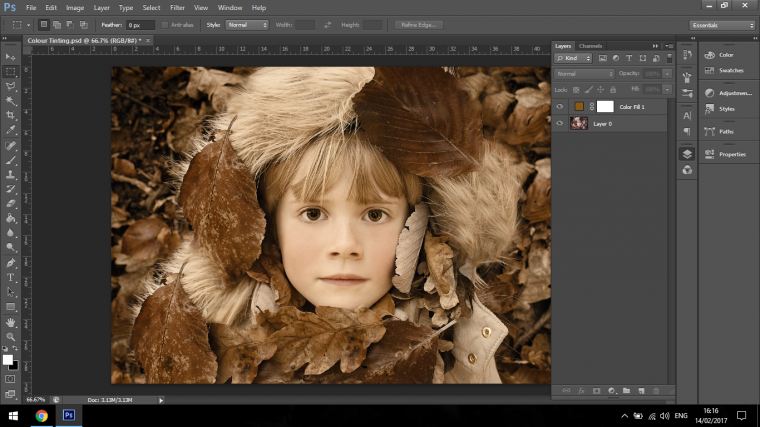
What you can also do to tame your Colour Layer is you can decrease the Opacity and bring back some of the color underneath.
I find that this creates some nice effects sometimes.
As you can see in the image below it has taken an image that was leaning on the cold side and warmed it up a little without losing a lot of the original flesh colors.
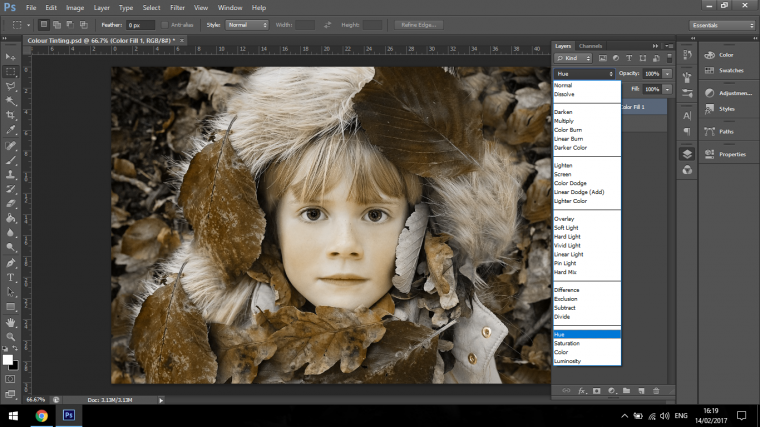
Another option I like to check out is the Hue blending mode, I find that this gives me some really excellent effects, but of course it all comes down to the image you are using, the will vary.
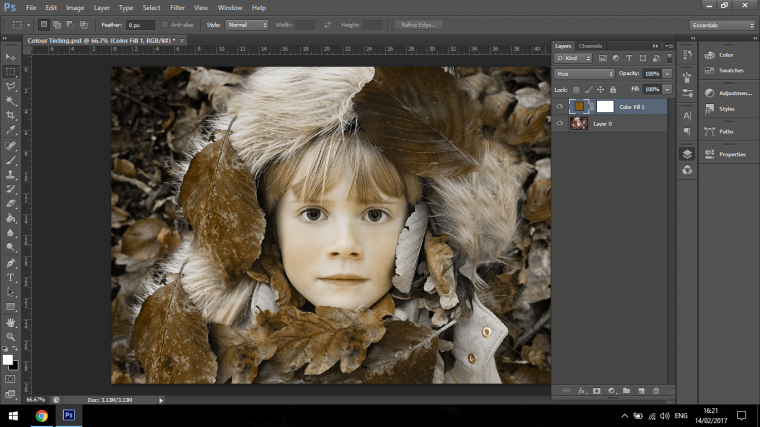
The last one that I want to show you is the Soft Light Blending mode.
If you really want your image to pop out with a lot of vibrancy then Soft light if the Blending Mode for you, the other are more on the subtle side.
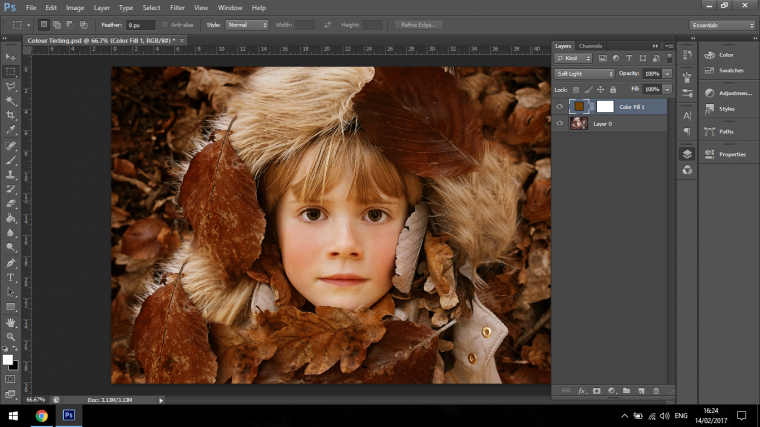
As you can see from the above image how much more intense the image has now become, with this image it works really really well and if I was using this technique on this image this is what I would use.
If the image becomes too intense then simply drop the opacity.
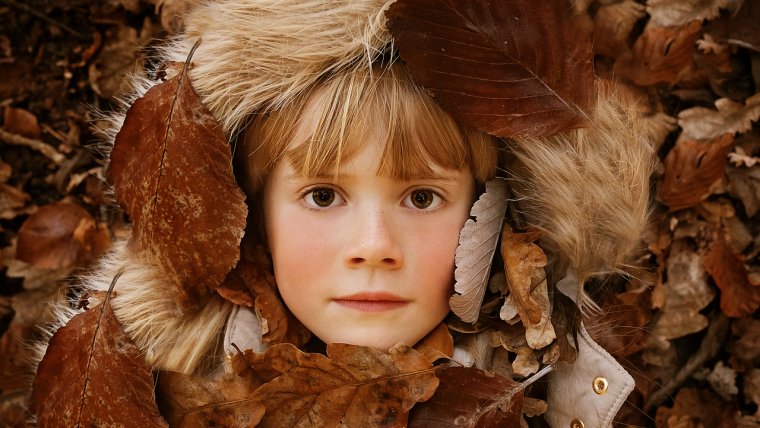
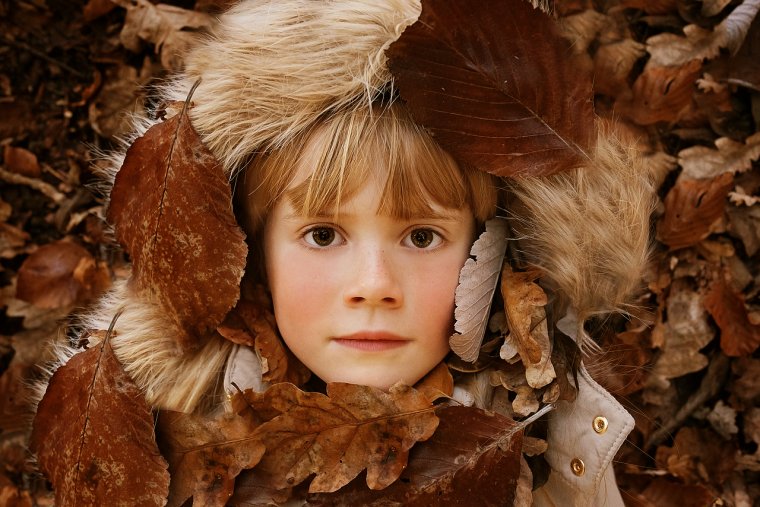
Final Image below.
Here’s a fun trick to make yourself bald using photoshop.


Please verify your software version before proceeding.
 I’ve verified my software version


 Facebook
 Google +
Comments (0)
There are no comments yet.