Hello everybody, today is a great day, the sun’s out and the summer has finally arrived where I live. So, what better day than this one to release another great Photoshop tutorial that may find useful for your own personal future reference to do with as you please 😀
So since it’s summer and all the colours are out, let’s take a look at how to change colour of just about anything using Photoshop.
The way I’m going to be showing you today will be broken up into a few parts, at the end of it you’ll be able to change the main colour of your subject image, and then the highlight colours as well.
This works really great for putting double tints on things. So, if you have an image of a car and you’d like to try out some wacky colour designs on it, then this is definitely the tutorial for you!
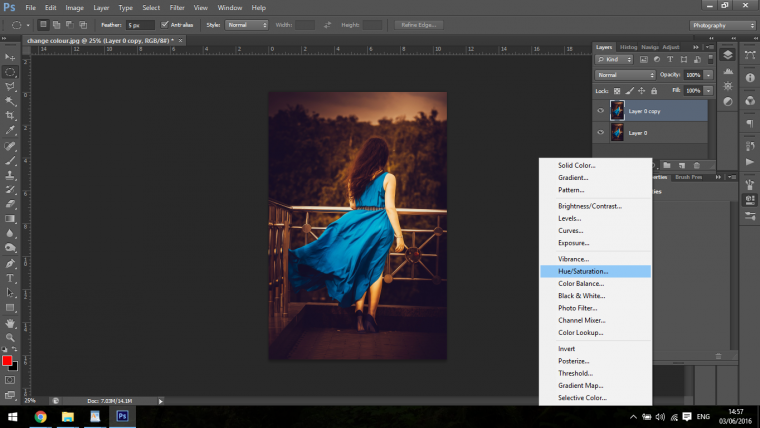
We will get started by opening up your image, and pressing Ctrl J to create a new layer in which your image will be placed automatically.
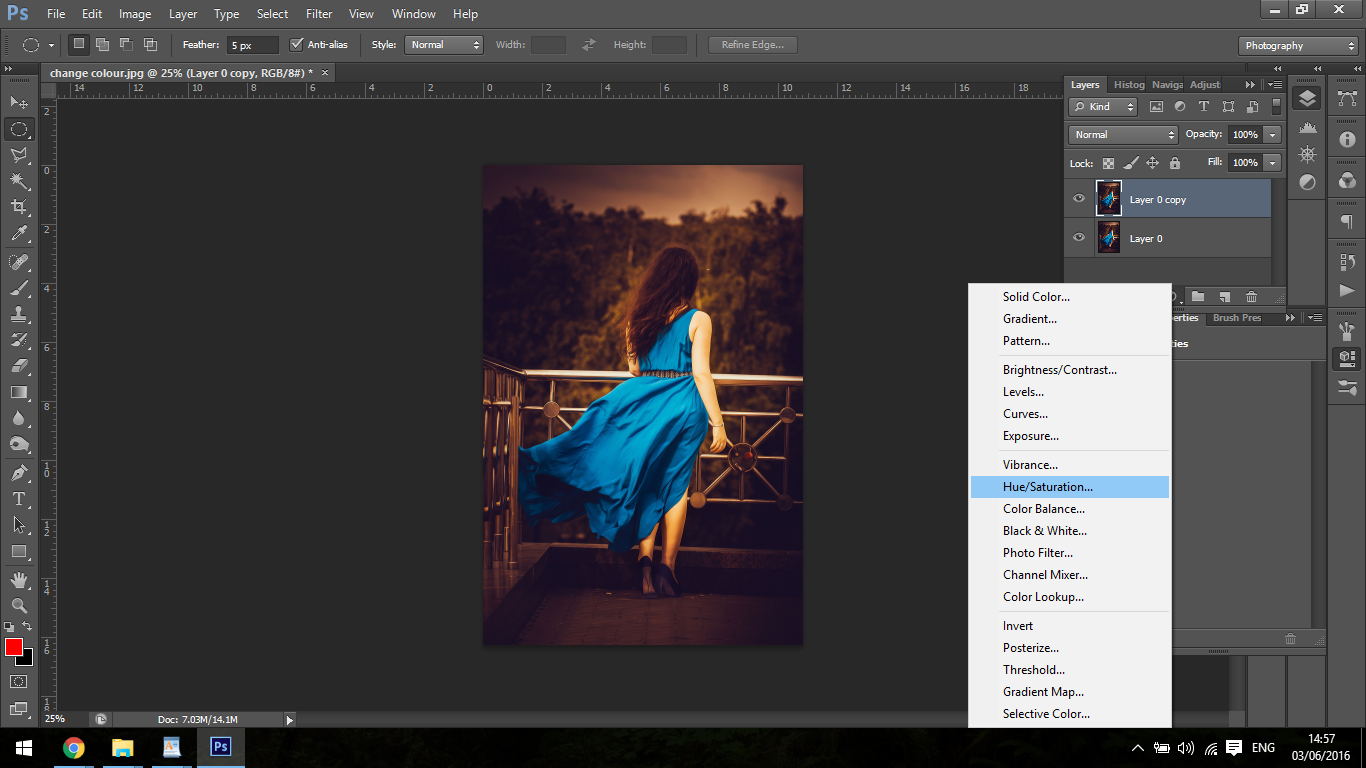
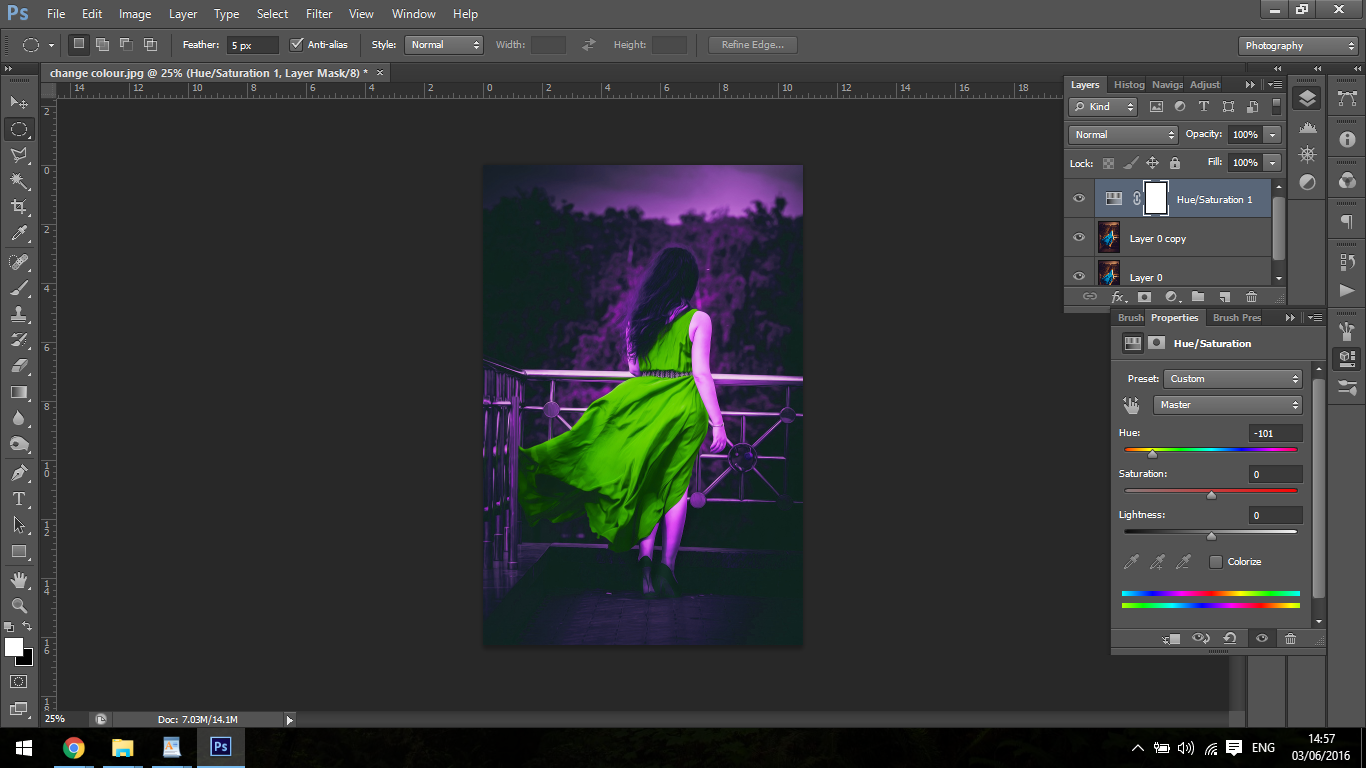
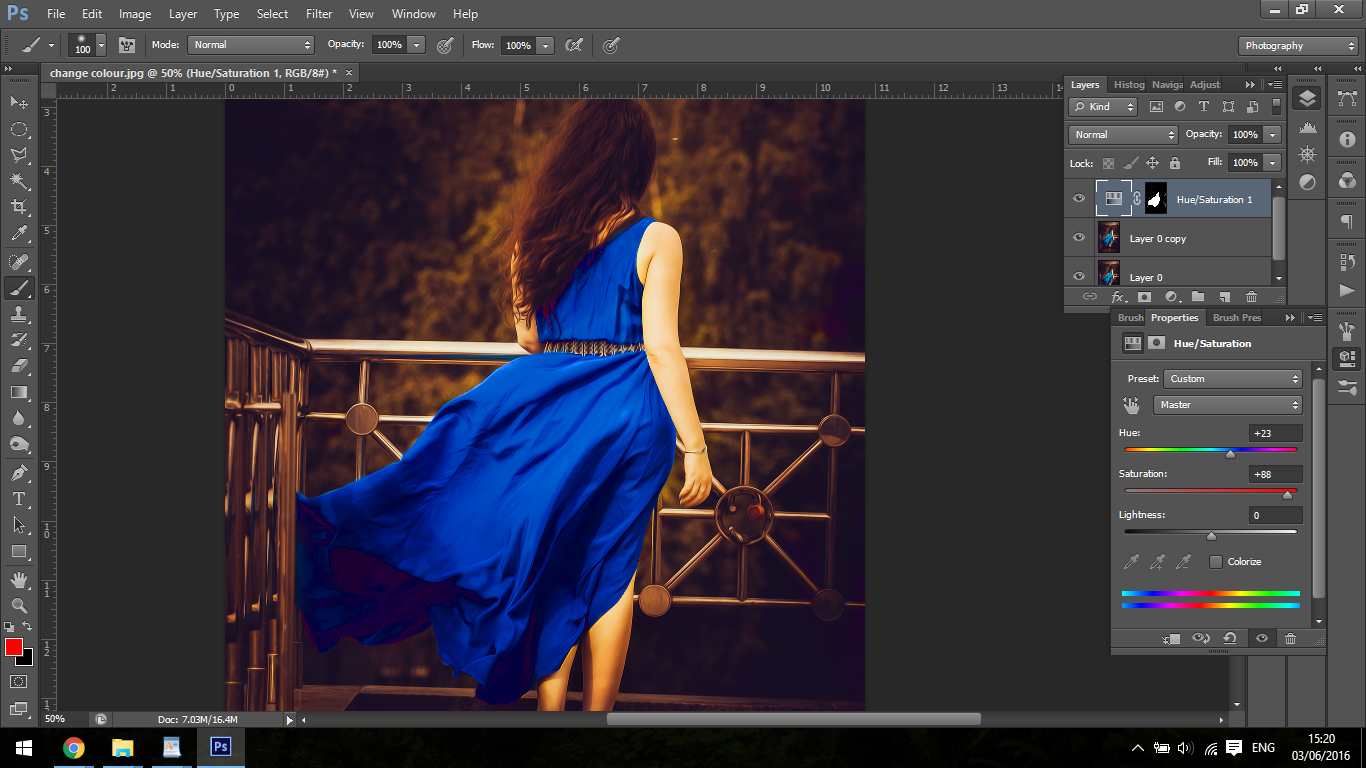
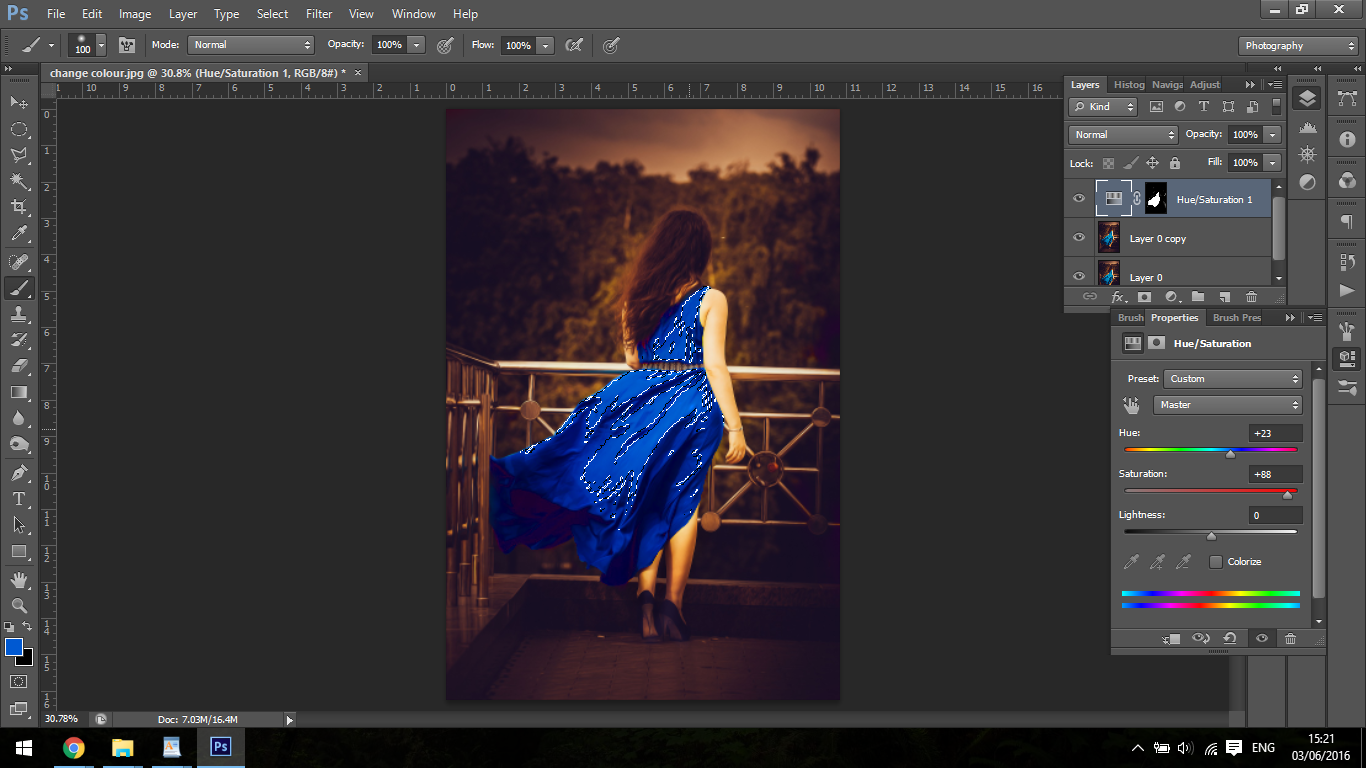
Click and open up a new Hue and Saturation layer. If you play around with the Hue slider for a second you will see that all the colours will change…
So that’s about it guys, thanks for joining us…. Haha only kidding, we have a little bit more work that needs to be done.
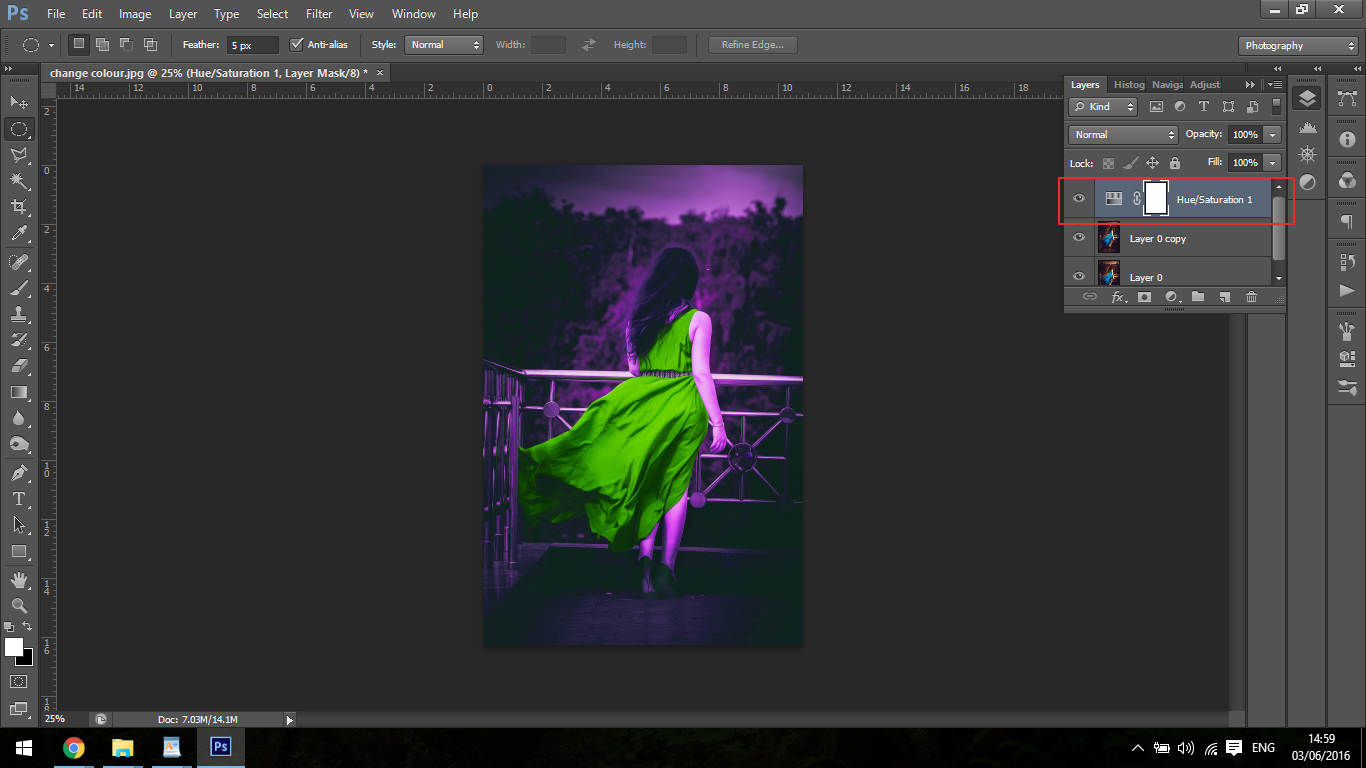
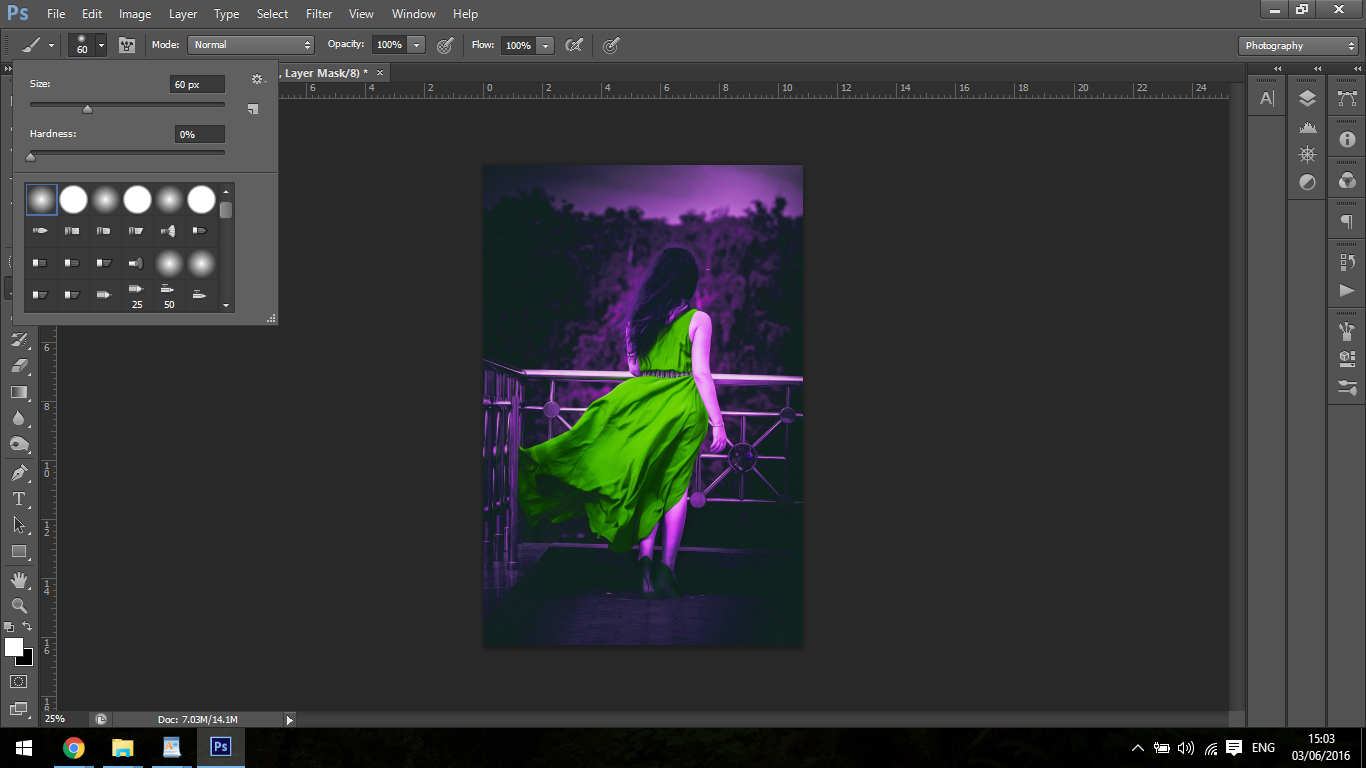
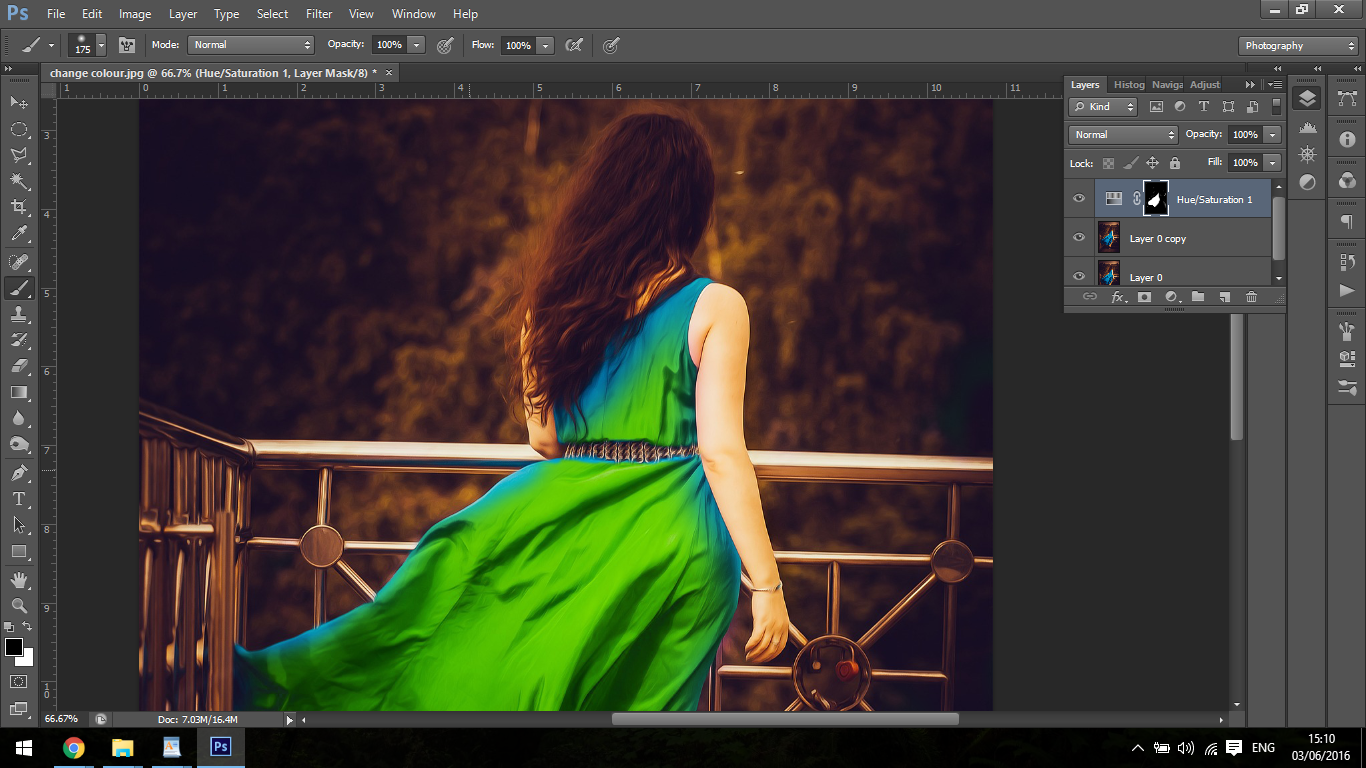
If you’re new to all of this Photoshop stuff, you will notice where I have highlighted in the image below, I want you to click there. You will see what are known as layers. In the adjustment layers you will see a white box, that’s called a layer mask.
If you choose a brush and select to use black you will be able to delete (temporarily) areas from your picture, so it’s like drawing a mask of invisibility over it, or at least similar in concept.
Don’t worry as this is an non destructible edit. At any point you will be able to come back to this layer and paint on it using white.
That way you’re image below the mask will reappear, cool right?!
So using this technique there will be areas on your image like the subject’s arms, legs and the background that you will want to mask out, so it is only leaving the area which you want to be affected.
Remember to use a soft brush while doing this, you’ll find this in the brush options at the top of Photoshop.

You can also zoom in and out while you are doing this, simply use the bracket keys on your keyboard [ & ] to do so.
Also, if you ever want to go back and change the colours again in the future, all you have to do is double click on the layer Thumb Nail between the mask and the eye on your layer.
In your adjustment layer, start to paint out the unwanted areas just like we mentioned before and then you’re to proceed with your colour changes.
Don’t worry about making initial mistakes, like I have done plenty of times. You can always go back in and zoom a little closer to make any fixes necessary.
If you so wish to do so, you can take the time and use the Polygonal Selection tool to go around the area where you want to make the colour change.

You can move your hue slider to wherever you would like it to be and your masked layers will remain intact.
Next, we will take a look at how to change the highlight colours in our image.
You can achieve this by going to Select – Colour Range, then using the eye dropper, click on the highlights.
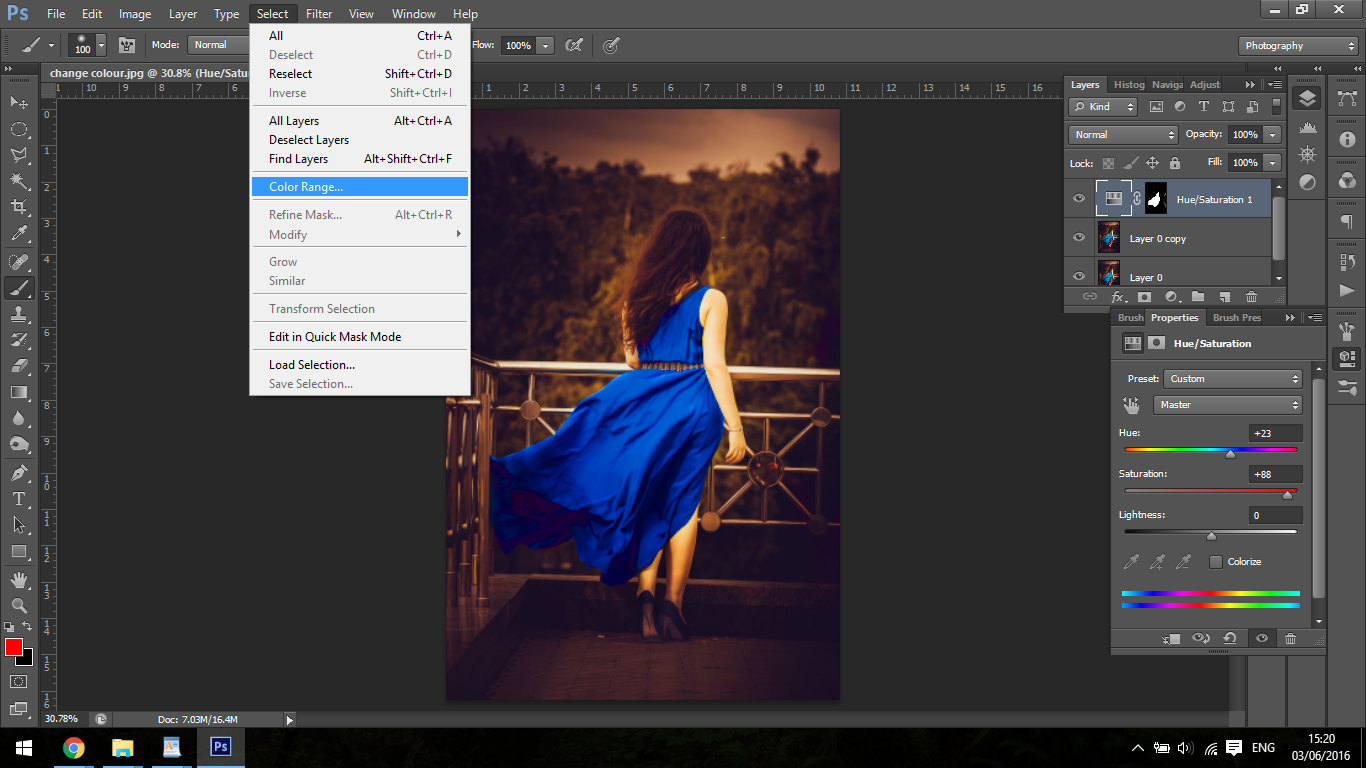

You can further refine these by adjusting the fuzziness slider.
So once you have the highlights all selected, (give or take it doesn’t have to be perfect) you can open up a Colour Balance Adjustment layer, just as you did when you created the Hue and Saturation layer.
In that Colour Balance Adjustment layer you will see that there is a drop down box.
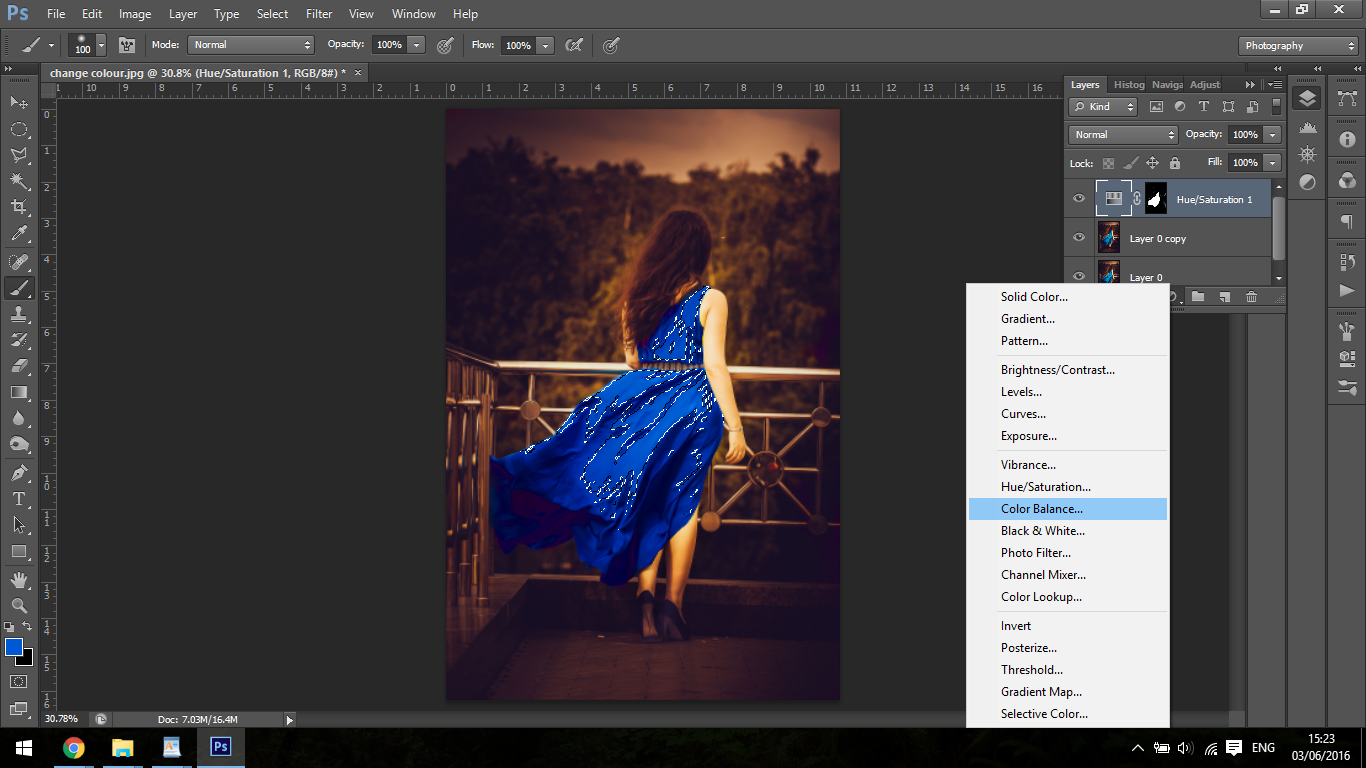

In that drop down box you will find Shadows, Mid-tones and Highlights.
Click on the highlights and then play around, adjusting the colours as needed to see what looks the best.


Please verify your software version before proceeding.
 I’ve verified my software version


 Facebook
 Google +
Comments (0)
There are no comments yet.