Hi all, welcome back to a cool new Photoshop tutorial. Today I want to talk about Advanced Background Blurring In Photoshop. There are many different ways to do this task and this is just one of those ways. If it suits you then I hope you get a lot of use out of it to help make your images awesome!
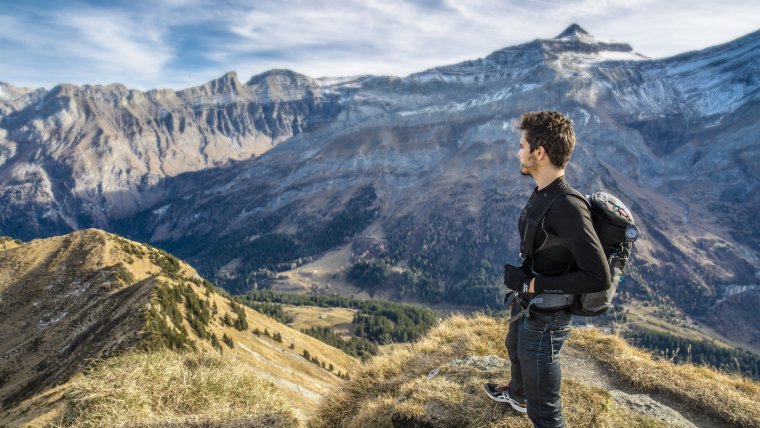
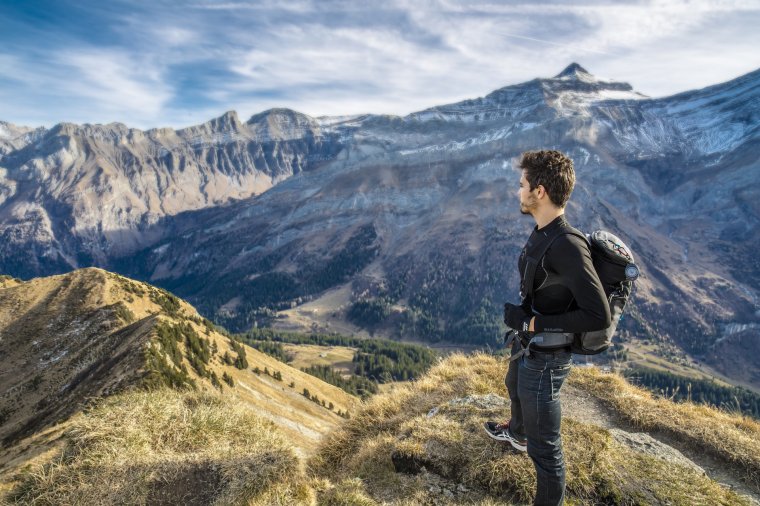
So the types of images that this best suit is Landscape images or images with several layers of depth. This technique is great for travel photos when you’ve been out in the big wide world in the fresh air. You could also apply it to street Photography as well if you have a lot of layers of building in the shot. Let’s look at the image I’ve chosen to use today.
Choose one similar so that there is a person in the image as we will need it for the tutorial.

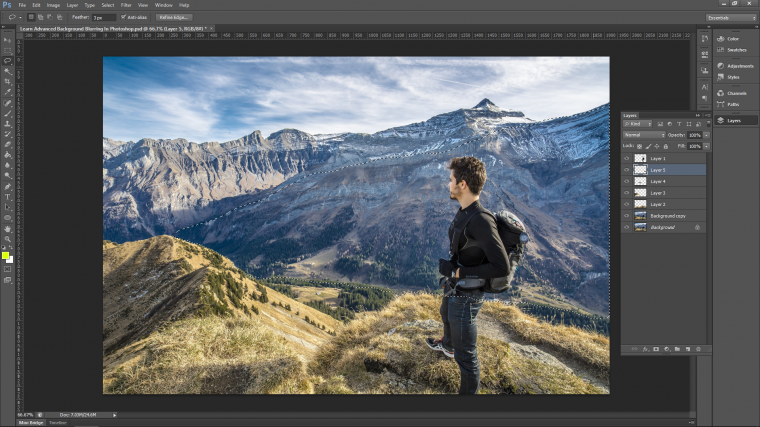
In this Landscape image, you can see that I have several areas that I can work with.
The man standing on the foreground.
The hill just off to the left of the foreground.
The valley.
The mountains in the distance, and looking at them I could probably split them into two if I want to.
We shall see…
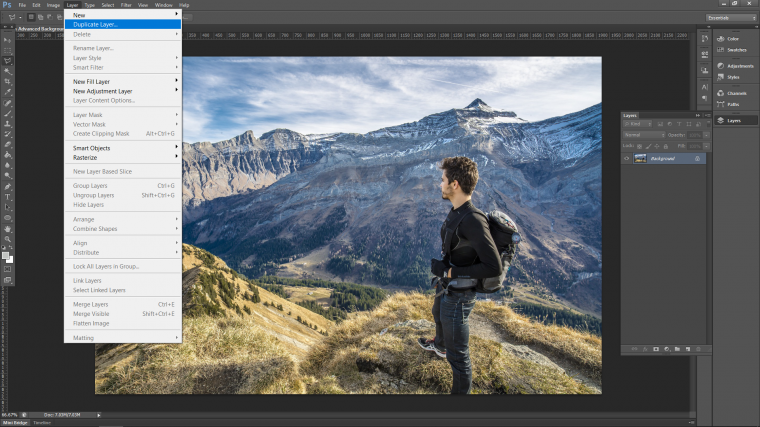
Ok, the first thing to do is to create a duplicate layer.
Layer – Duplicate Layer…
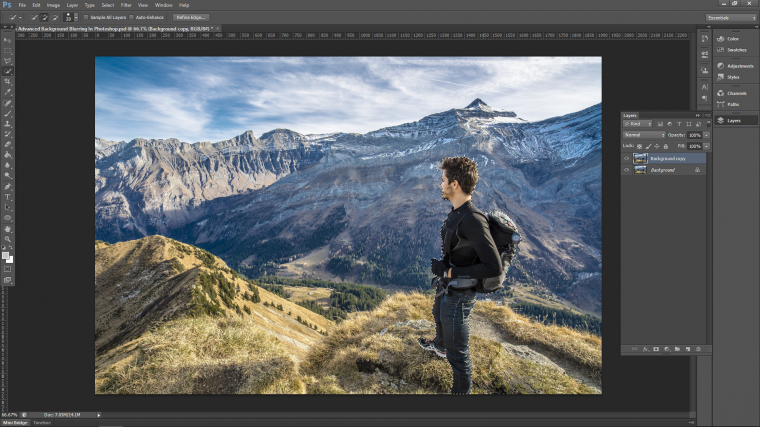
Now we are going to have to select the subject, which will be the person in your image.
For this, you should be able to just use the Quick Selection Tool.
Note that at the top menu on the left-hand side you will see little brush icons.
In there you will see a plus and a minus, keep that in mind because you will need to flip between the two.

So the first selection will be with the Plus brush so make sure that is selected.
Then click and drag within the subject until the selection covers the entire subject.
You don’t have to be super precise here, you just need to get the selection down.
Now, when you have this done then click on the minus brush and start to click on the little areas that are overlapping.
Make sure not to click and drag this time, just fine little clicks over those areas will be fine.
Then using the same technique you flip between the plus and minus carefully filling the selection out and refining.
Take note here that you can use the Plus and Minus keys on your keyboard to change the size of the tool.
That way you will be able to get into those little corners.
I’d suggest also to zoom in on your image as well.
You use the plus and minus keys again but hold down control.
If you need to move around without interrupting your workflow hold down the space bar.
The will enable you to click and drag around your image.
Then you just release when you want to go back to your edits
When you are done you should be getting at least a 95% accurate selection.
If not then you may want to use the Polygonal Tool, but I think the Quick Selection should do the trick, at least for this tutorial!

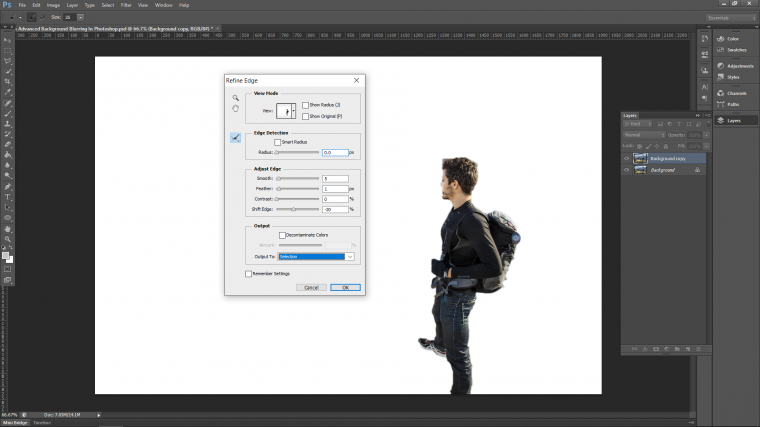
We also have an option available to us in ‘Refine Edge’ you will find that option at the very top in the menu bar, under ‘Help’.
There are no real settings I can give you here except to say…
Play around with the 4 Adjust Edge sliders and try your best to improve your image if needs be.
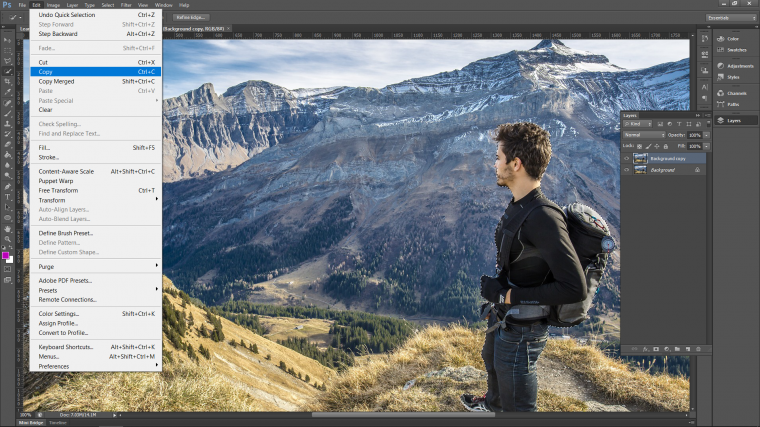
If you want to take further extreme measures with your subject selection, you will have to deal with hair cropping unless you get very lucky. If you wish then take a look at a few of these links below to for more advanced selections. Now that you have your selection you are going to copy and paste it.
Go to Edit – Copy.
Or Ctrl + C for the keyboard shortcut.
Then Edit – Paste
Ctrl + V
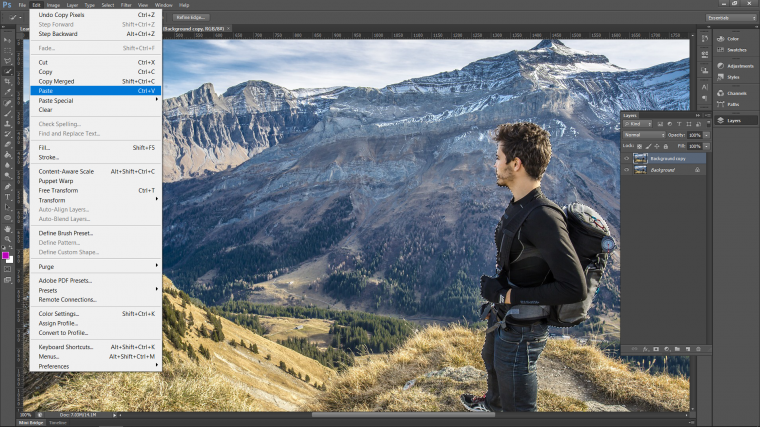
You will now have the selection in a brand new layer of its own on top of everything else.
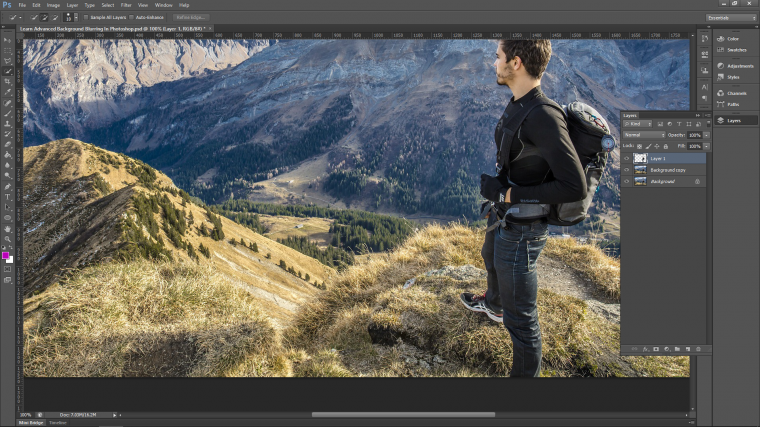
OK so now we are going to use the Lasso Tool for all the rest of the selections. The Lasso is very quick to use, the only issue is that it is based on your hand movement with your mouse. It will only be as accurate as your hand is steady. For this, it’s fine because we are going to be doing a lot of blends. If you want/need perfect selections then I would go with the Polygonal or Pen Tool.
Grab your Lasso Tool, and just above where you selected it in the menu you will see ‘Feather’ which you will need to change to 3px.

We are now going to make a few selections back and forth to create the separate layers. Then we’ll add a blur to each with a gradual increase to the blur. So select the next part of your image that is the closest. That’ll be the ground under my model’s feet. Just draw around until you get at least an 80% accuracy on the shape.
With the Lasso Tool, you will find it gets a bit weird at the bottom because you can’t select outside of the image. That’s ok, just trail the cursor along the edges.
Pull the mouse far enough so that it would be on the outside. Once you have the shape fully drawn around the release and your selection will be made and the ants will be marching.

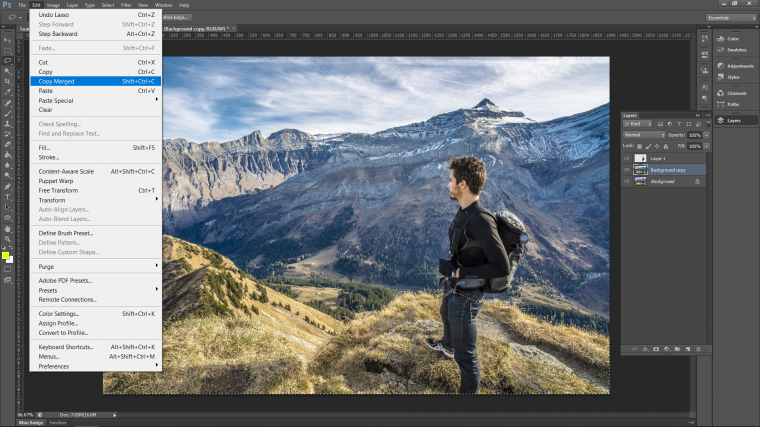
Next, go to ‘Edit’. It is important here that you choose ‘Copy Merged’. The reason for this is we will have a few layers and we do not want to have to keep going back to the original to get a copy. This would be too time-consuming.
Copy just selects the layer you are on, but copy merged selects everything within your selection. So Copy Merged then go to the same place and choose Paste.
When you have your selection pasted you will see the new layer on the right-hand side in your layers panel.

Next, I’m going to cut out the hill on the left-hand side as it would be the next closest thing to us.

Then we just follow the same process of copy merged and paste.

After that I’ll move on to the lowest part of the valley in the image, there is one in the center. But there is also one on the right-hand side of the model.
Make sure to look out for areas like this because you can miss them easy enough.

Mountain next, you don’t have to be completely accurate. In fact, when it comes to the parts that are further back I would say be very liberal with your selections. And more liberal on the outside of the element toward the bottom/foreground of the image.
The last two that I will cut out of this image of mine is the mountain and then the sky behind it.

As you can see from the selection below I have been very generous to my selection.

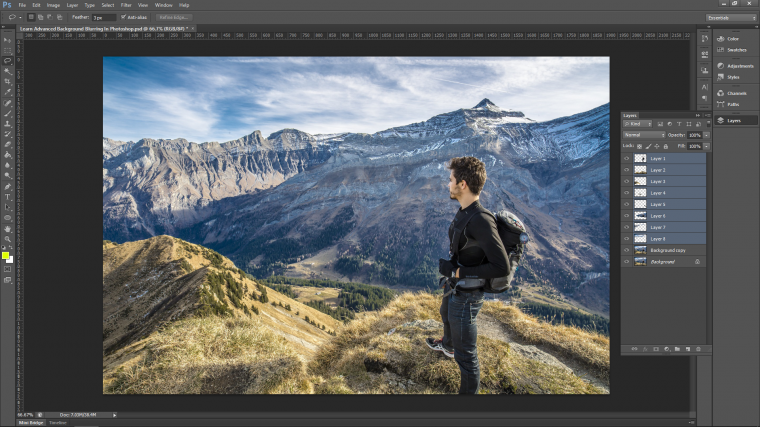
Next, we will position all our layers correctly. So make sure that the layers all descend. That means the one closest to use will be at the very top of the stack, 1 to 8 (or how many layers you have)
You could have 100 for all I know 🙂

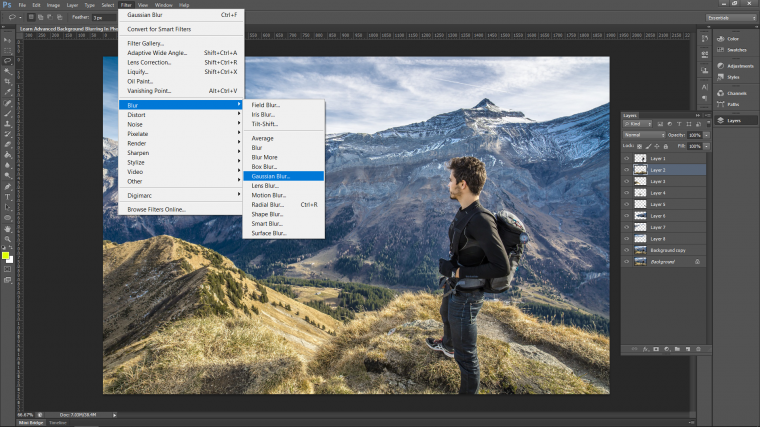
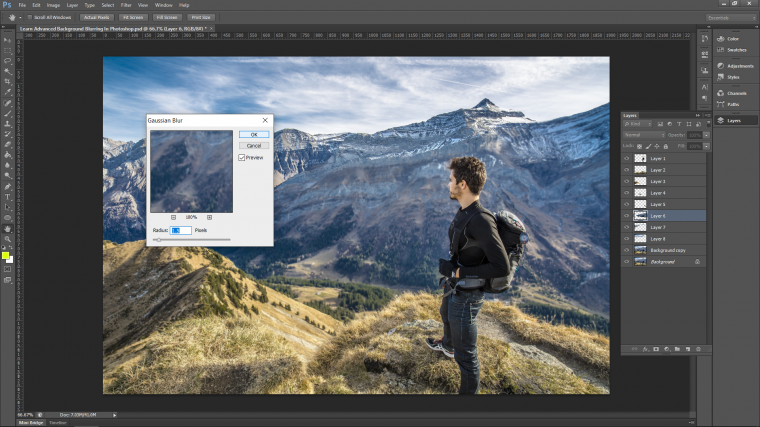
Now we are going to want to blur each layer individually except the model. He does not need to be touched. So we start with the front Layer. Then go to ‘Filter – Blur – Gaussian Blur’
Our first layer will get a blur of 0.5 and no more.
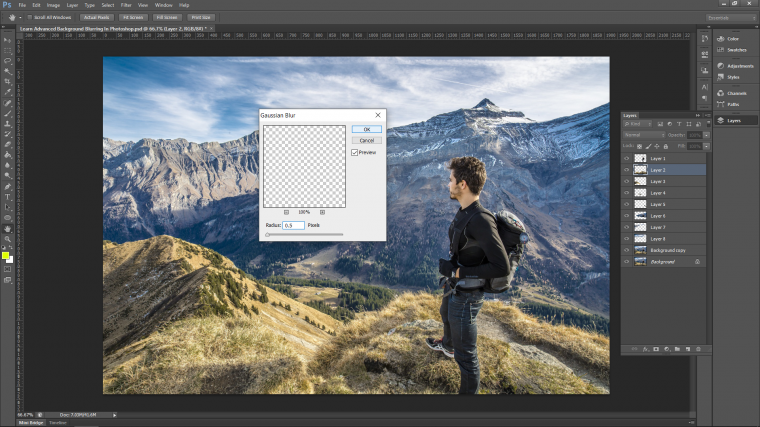
Then as we go further down the stack start to increase the number. I would say to be safe you could go in increments of 0.25. I’ll give my images center layers a 1 for now.

The back images I’ll go to 1.5.
I wouldn’t suggest going past 1.5, I think that would be a good enough blur for any image.
Though in saying that it does depend on the size of your image.
My photo was 1200px so base it on that.

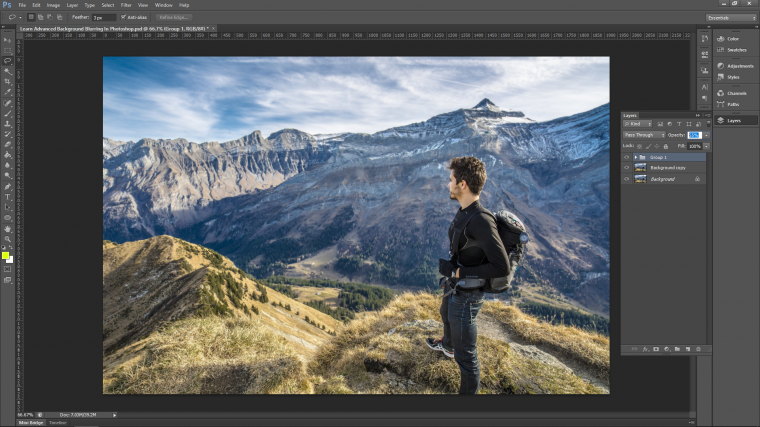
Now if you want you can group the altogether and drop the opacity of the folder.
You do this by clicking on the first layer that you want to add to the group, then hold shift and click on the top.
Then ‘Ctrl + G’ in your keyboard groups them.

Then you can drop the opacity to blend a little better.
Mine looked cool at 55%
If you want you can be super hardcore and just drop the opacity of each layer to see what it looks like.
And when you are done you should have a cool looking image like mine below.
Hope you make some cool images too using this technique.


Please verify your software version before proceeding.
 I’ve verified my software version


 Facebook
 Google +
Comments (0)
There are no comments yet.