Everyone make mistakes before, including me. When I just started my photography journey, I made a lot of mistakes and I learned from them. However, there’re mistakes I should’ve to avoid in the first place and that would’ve greatly improved my photo’s quality. Here I would like to list out 6 of them as my advice to those that just newly into Landscape Photography.
Table of Contents
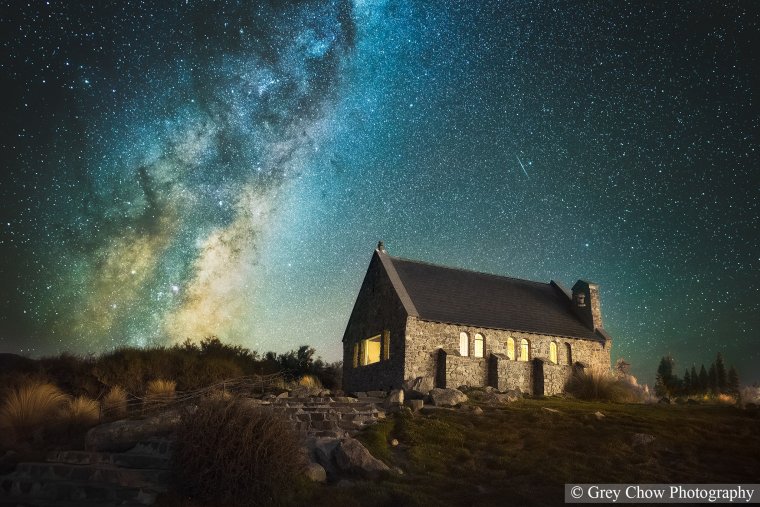
No matter how accurate or advanced the camera’s focusing system is, it is still possible to go wrong, especially when you are in an extremely dark environment before sunrise or going out for the night sky. By using Manual focus, you can ensure that focusing is at the best sharpness that you can get from the lens by manually adjust the focusing ring while using LIVE View to zoom in and check the sharpness. At the same time, using Manual focus means that the focusing will always remain the same for every subsequent photo that you took, provide you with a consistent sharpness result. You wouldn’t want the camera keep re-focusing automatically each time when the shutter button is pressed.
Using Manual focus allow you to take control of the focusing and maximize the sharpness of your lens
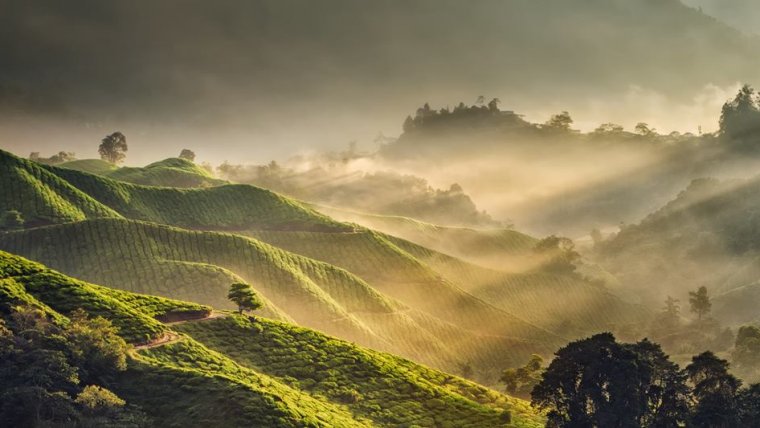
Most of the time, we as a beginner, we just point and shoot without having a thought about Depth of field or just simply rely on camera Auto Focus to focus on a subject picked by the camera itself. By doing so, you may not be able to get all the subjects in your frame in focus, possibly a sharp background with a soft foreground or vice versa. This is due to using a wrong Aperture or focus at the wrong subject. Normally, for wide angle lens, you should use f8~f11 Aperture to get the best sharpness and that’s the “Sweet spot” for most lenses. On top of that, instead of setting your focusing on your main subject which sometimes can be quite far from you and get a blurry foreground, you should set your focusing on something that is 1/3 distance from the bottom of your frame. Once you have done the above two steps, you would have a deep Depth of field that is wide enough to cover everything from the foreground until the background, achieve the Infinity Focus result.
When I got my first Ultra Wide Angle Tokina 11-16mm f2.8 lens on my Nikon D5000 (my first DSLR camera), I was so amazed at how much scene this lens could capture and the distortion effect from the lens no doubt has added some impact to the photo, sometimes. As time goes on, now I would avoid too frequently using my Nikkor 14-24mm f2.8 lens at its widest Focal Length (On my Nikon D610 camera), unless it is necessary. The reason is that using a too wide Focal Length, your main subject would be appeared to be much smaller, this may make your main subject less noticeable. On top of that, a wider Focal Length also will include too many other unnecessary subjects in your frame and this can causing distraction to your viewer.
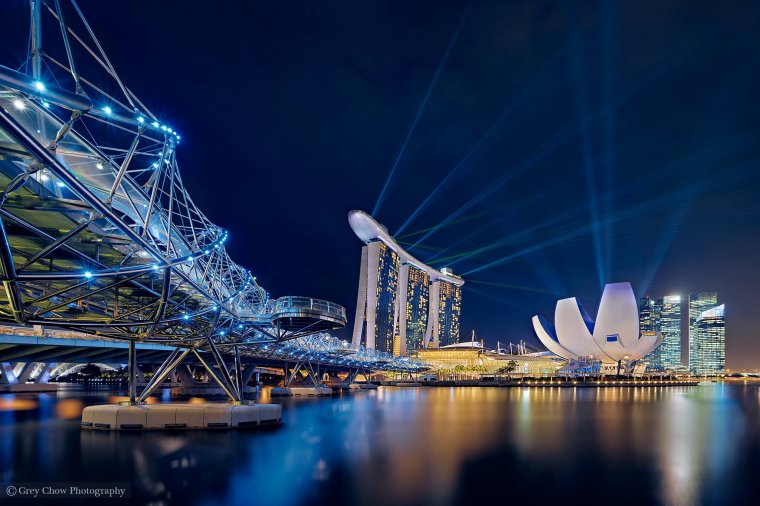
Sometimes, we don’t want to get the same pictures as others, we want to be special, having a different perspective that no one would’ve captured and there’s plenty of composition guide out there that advise you to “break” the rule. Well, that’s true but only after you have got very familiar with the basic composition guideline. In most of the time, those compositions guidelines are often the best composition, they can make your main subject stand out from the rest of the frame and avoid any possible distraction. One of the key elements of a good composition is simplicity, composition guideline like the rule of third, leadings and centered composition are able to lead viewer’s attention on your main subject so that they can focus on the details of it.
Simple composition allowed the viewer to focus on your main subject, above photo applying the Rule Of the Thirds composition.
People may have a perception that Post-Processing can do any miracle and that’s wrong. The main purpose of post-processing is to enhance your photo, making a good photo much better. It is still important to get back to your basic photographing skills and without that, mistakes such as out of focus, improper composition are not fixable in Post-Processing. Besides that, if your photo doesn’t have a good weather with good lighting, it will still look dull no matter how many adjustments are applied. It would be better to revisit the place again and aim for a better photo.
Well, it is not really a bad thing actually but if you are just focusing on the shooting and without really spending some time to review your own works and think of how to get improved, you won’t be able to make progress in your photography skill. When reviewing your own photos, ask yourself several questions, is the photo good enough? Should you try different composition or may be different camera settings such as longer exposure for the light trails or smooth out the water? Or should you go for a lower or higher perspective? If you really taking such practice, I’m sure your works will become better and better in every subsequent shooting that you made.
That’s all for this article and I hope you all enjoy it. Happy Shooting!


Please verify your software version before proceeding.
 I’ve verified my software version


 Facebook
 Google +
Comments (0)
There are no comments yet.