
Hi everyone this is part 5 of our Beginners guide to Photoshop.
I hope you have learned a lot so far an are comfortable with the pace.
What we have learned so far should be easy enough retained in your memory, it is the basics but it is what I use 90% of the time, you will find that these simple Tools that I have shown you over the past few Tutorials will carry you a long way, once you know the techniques of how to use the Tools then it comes down to your creative ability of how to apply them.
This comes only with time and experience so keep on practicing and if you get stuck you can always come back to these Tutorials and have a read over them.
Ok lets begin again.
Today I’m going to start with the Background Eraser Tool, you will find this in the same place you will get the standard Eraser Tool.

Just click and hold an the other menu panel will appear, then hold and release on the Tool below, the Background Eraser Tool.
Copy a new layer and click the eye on the original layer that you will see to the left hand side in the Layers panel.
Then click on your copied layer.
What you now do is click and drag on the outside of the object you want to cut out.
Photoshop should do a good job of finding the edge.
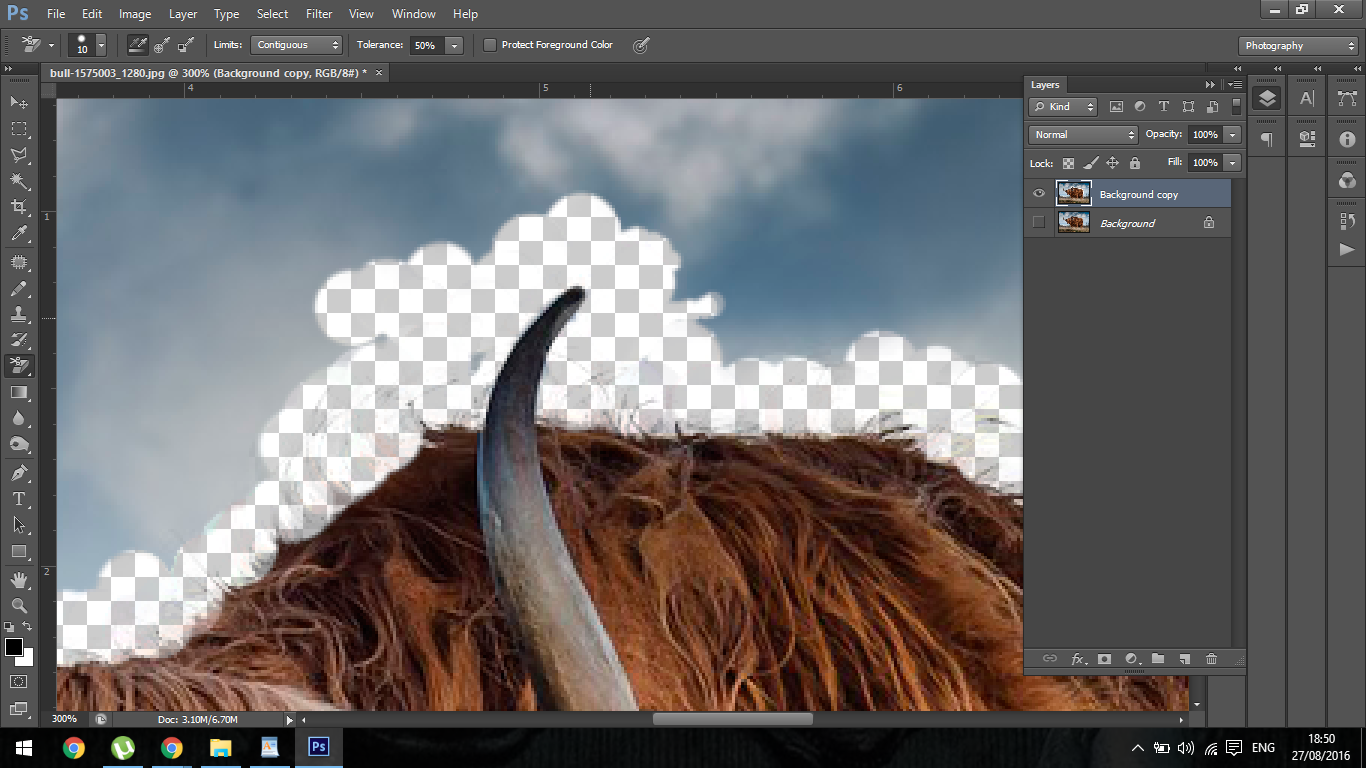
As you work along you may have to resize your Brush here and there so remember you can do this using your bracket keys.
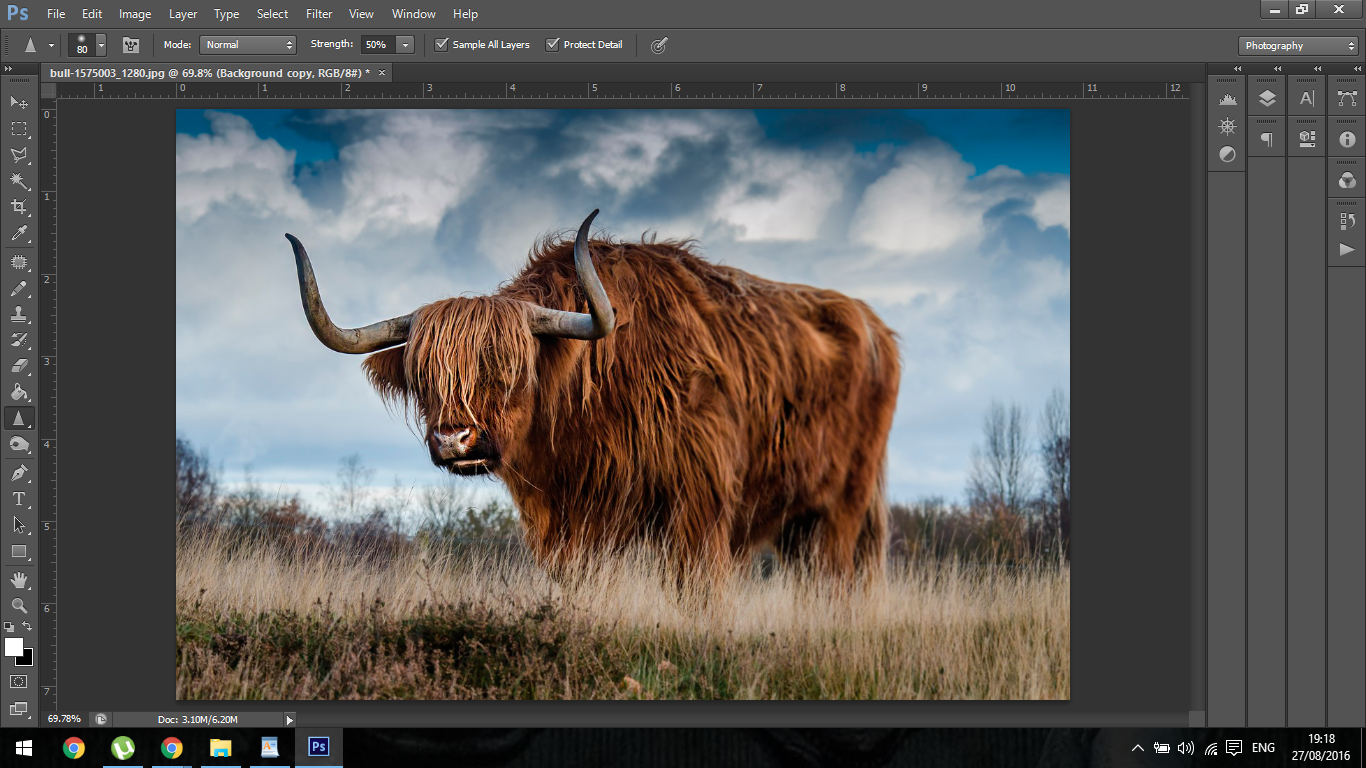
I find this Tool pretty useful for very quick edits when the subject has hair such as our Bull here as it retains some of the outside hair, it wont be perfect and there is more sharper and better ways to do this but like I said good for very quick edits, and you can always refine after so all good there.
Next up is just below the Background Eraser Tool is the Magic Eraser Tool.
The way you use this is to simply click on the background and Photoshop will automatically remove large chunks of the background for you.
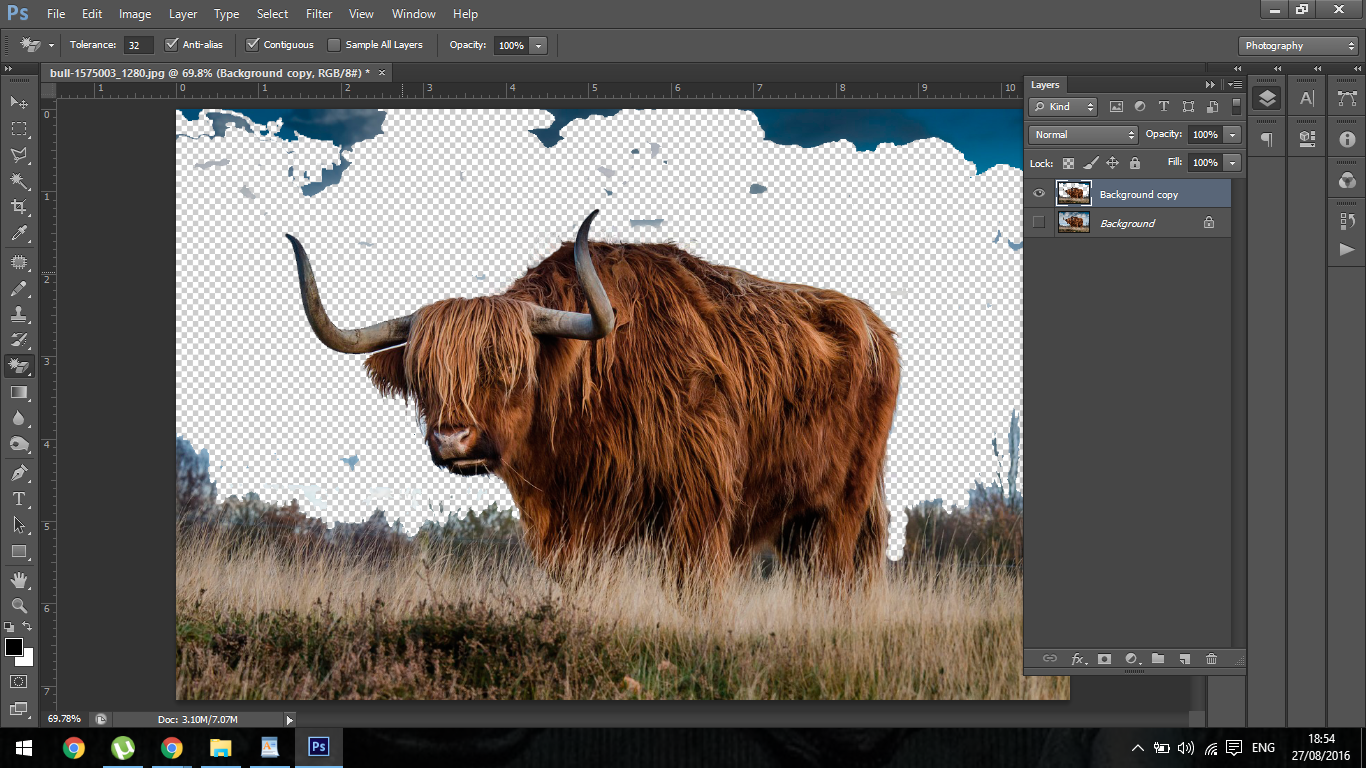
I actually find this Tool not so bad, usually I tend to stay away from the more quirky Photoshop Tools but this works very well in most cases, I would say to use it more on high contrasted images with the background being more the one colour and a different colours than the subject.
Experiment with it, try it out for yourself on different images and see the results, I think you’ll be pleasantly surprised in most cases.
Ok so in combination with that, say you have your image cut out and refined nicely you will want to add a background to it there.
What you can do is create a new layer below your subjects layer and click on the Paint Bucket Tool.

Then you just choose a colour from your swatches and click on the back ground and you will get a solid colour.
This will save you time painting in your background as I see a lot of beginners do at the start when they are just getting to know Photoshop.

Next we’ll take a look at the Blur Tool.
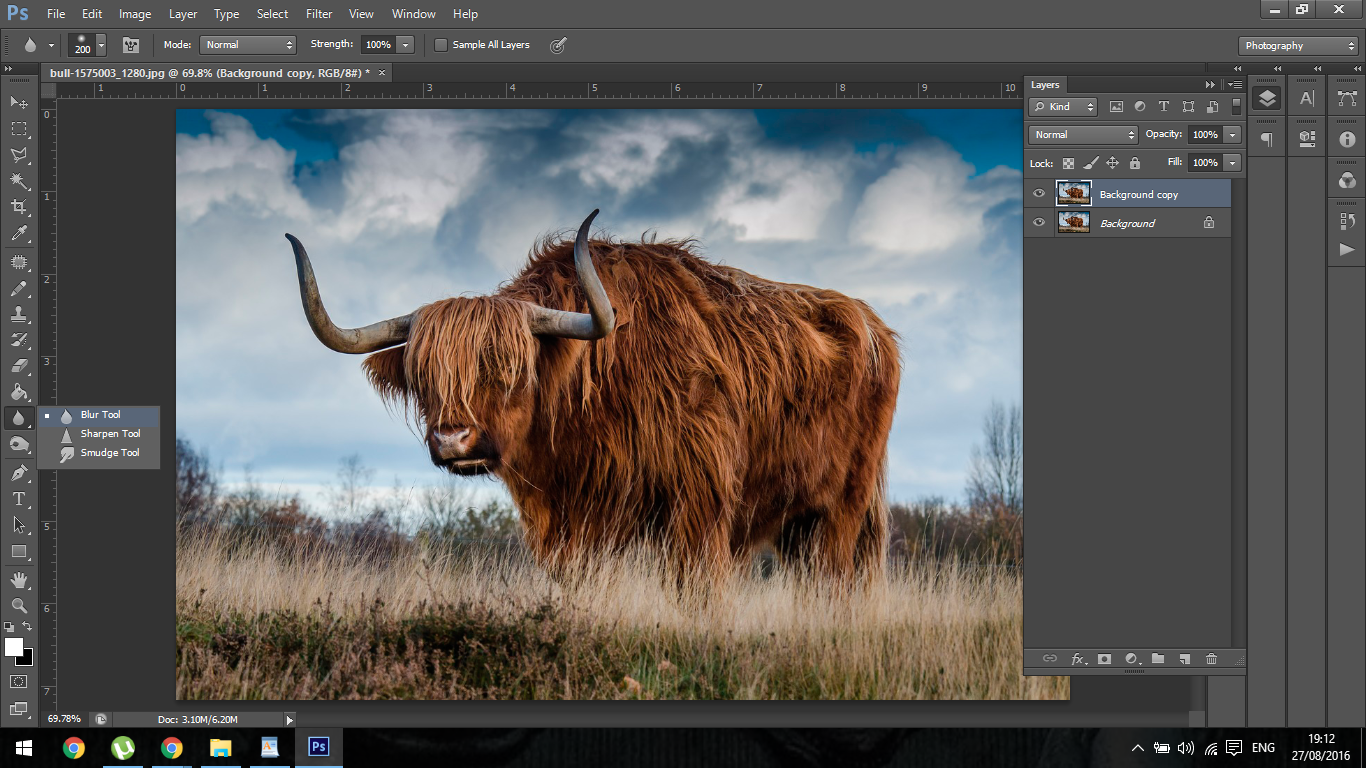
The use I get most out of this is to put things into perspective a little.
So for example if you look at the back of the Bull on it’s rear end, if I was to Blur that a little it would give the image a little more depth and bring the head towards me more.
You use this Tool exactly as you would the Paint Brush Tool.
As said before a lot of the same actions apply when it comes to using these Tools, so if it’s in anyway near similar to the Brush Tool you can bet your bottom dollar you will be able to use it in much the same was as the Brush Tool.
Ok so if you now look at my image below you will see the Blur effect on the rear end of the Bull.
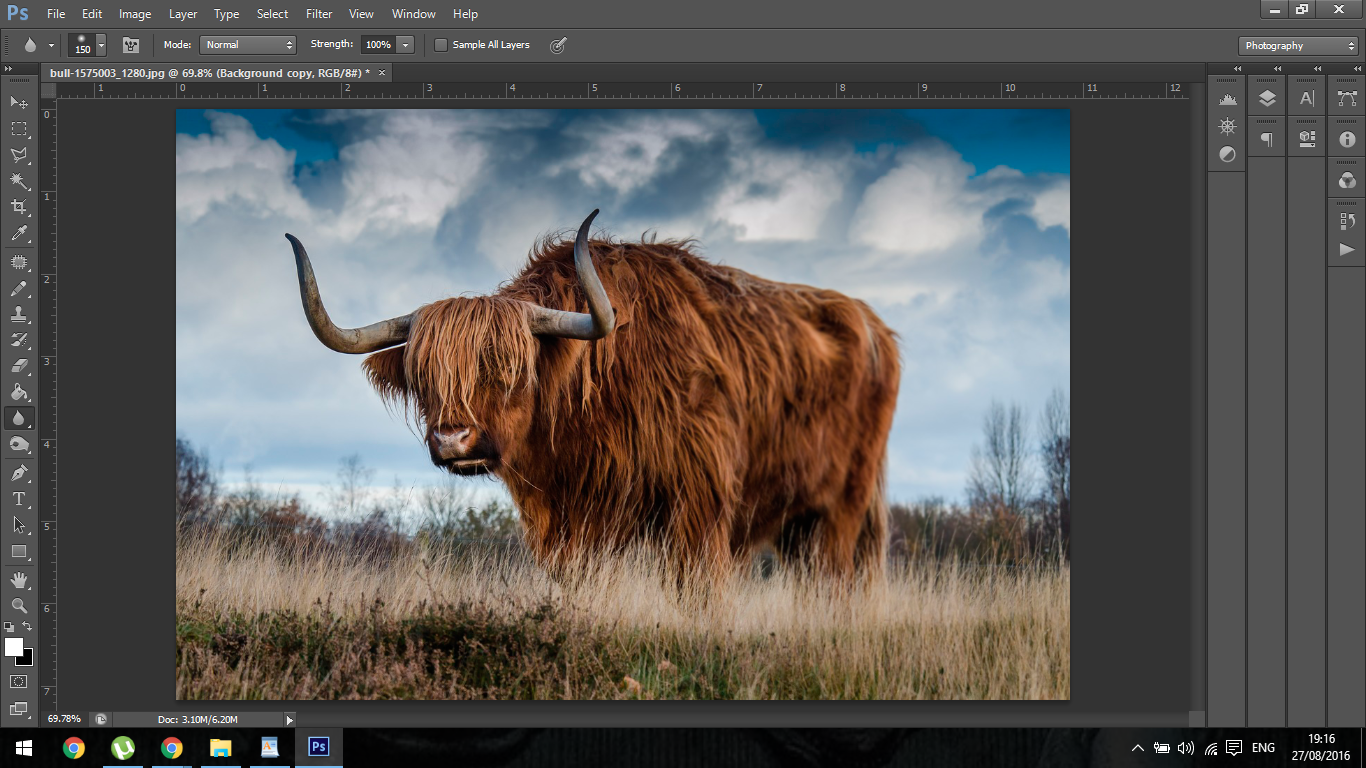
You can then take this a slight step more forward, the Tool below the Blur Tool is the Sharpen Tool, so you could now use that on the front of the Bulls face and in and around some of the muscles facing you.
This will increase the depth of field further.
Hope you enjoyed this Beginners course, stay with use as there is much more advanced Tutorials coming up soon.


Please verify your software version before proceeding.
 I’ve verified my software version


 Facebook
 Google +
Comments (0)
There are no comments yet.