Photoshop For Beginners Roundup – Part IVwww.sleeklens.com
Hello again, if you have read the last 3 Tutorials on this subject then this needs no introduction, if you have not then please go back and check over the last 3 because there is a lot of valuable information on them that you need to get caught up on.
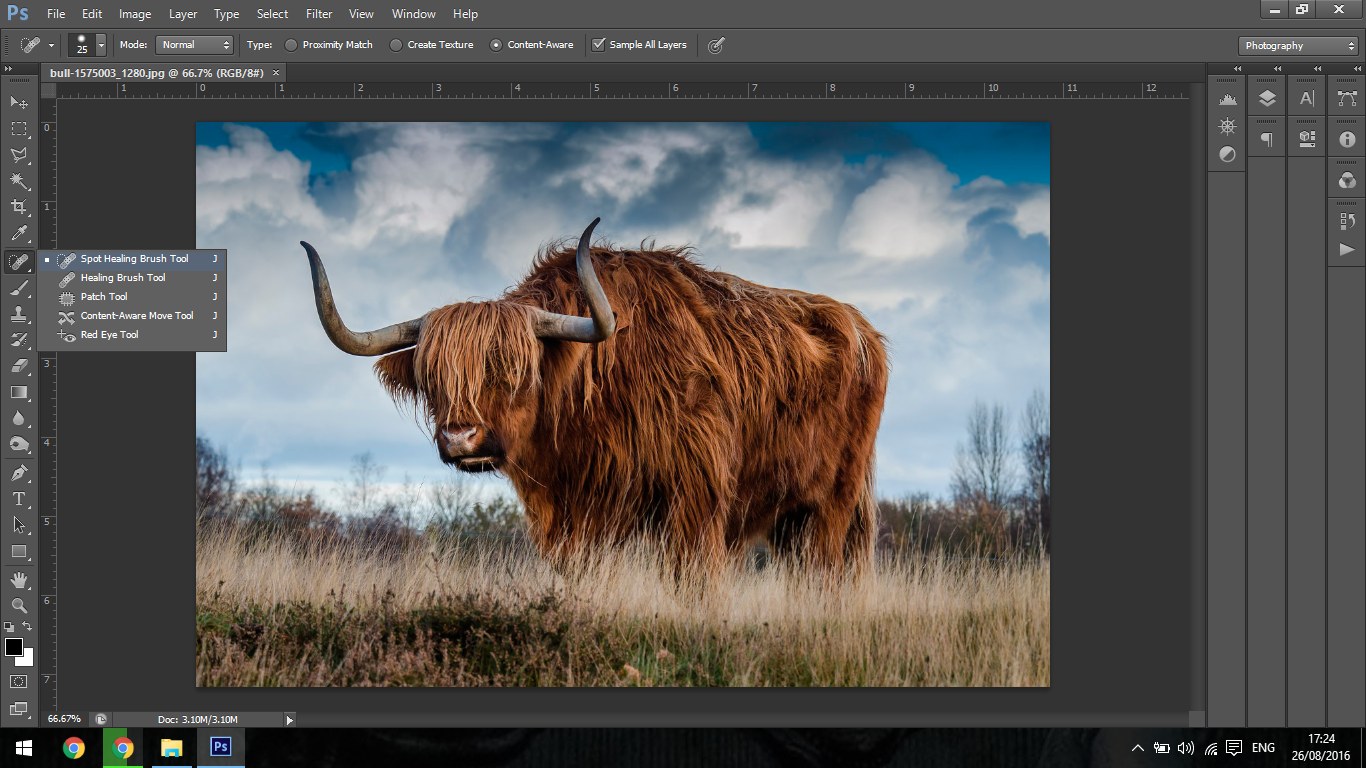
Then next Tool on the list is the Spot Healing Tool.
This does as the saying goes, it removes little spot blemishes from your image.
All you have to do is choose the Tool and then click on the spot you want removed, as with the Brush Tool you can use the bracket keys to resize.
Then you zoom in and simply just click on the little blemishes.
Before
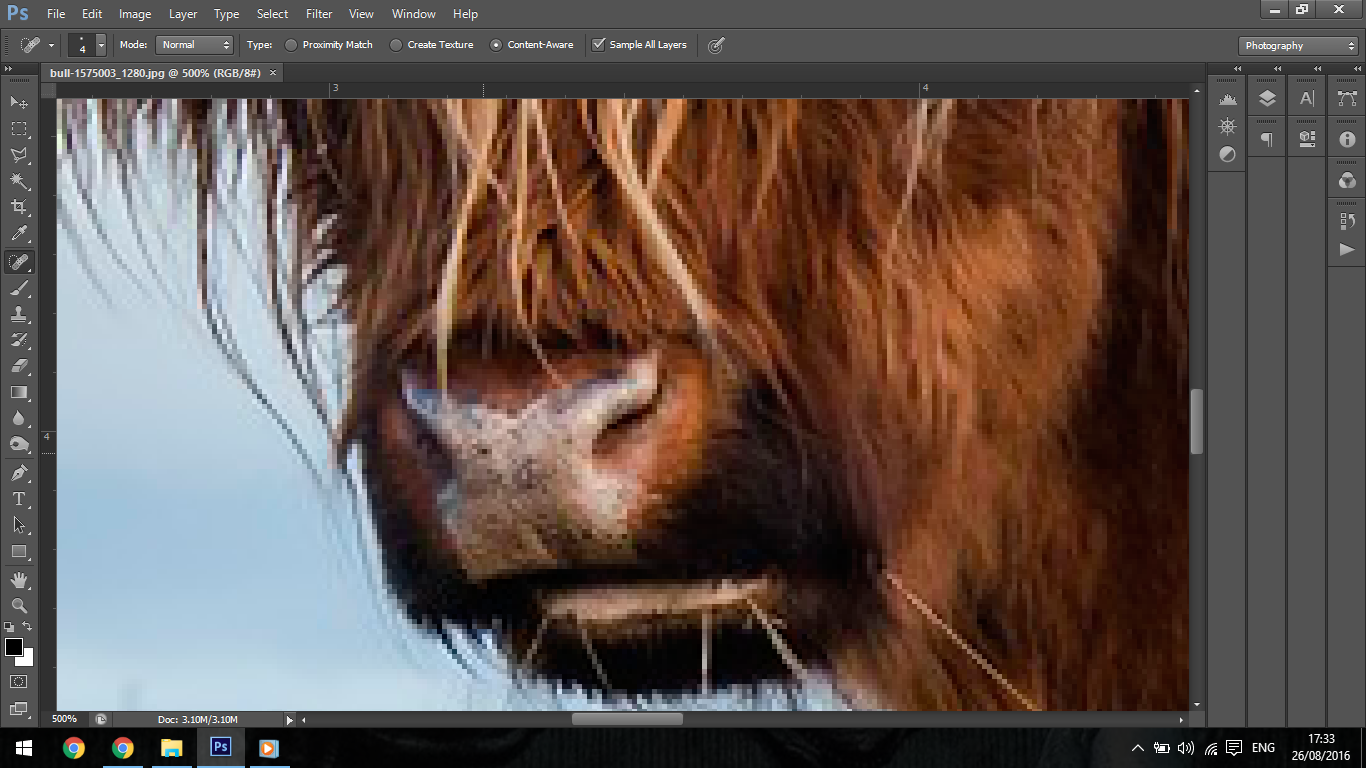
After As you can see from above’s before and after I have significantly tidied up the Bulls nose, it’s just a matter of clicking and clicking and dragging down a blemish.
I would watch round sharp edges as the Spot Healing Tool and make a mess of them but anything within an object the Spot Heeling Tool will do an excellent job.
The Tool below this one I’m going to leave out, it’s the Healing Brush Tool, it does much the same as the Spot Healing Brush Tool, but if I was in the position where the Healing Brush Tool would be used I would probably just use the Clone Stamp Tool which we’ll talk about later.
So ignore that for now and we’ll move forward.
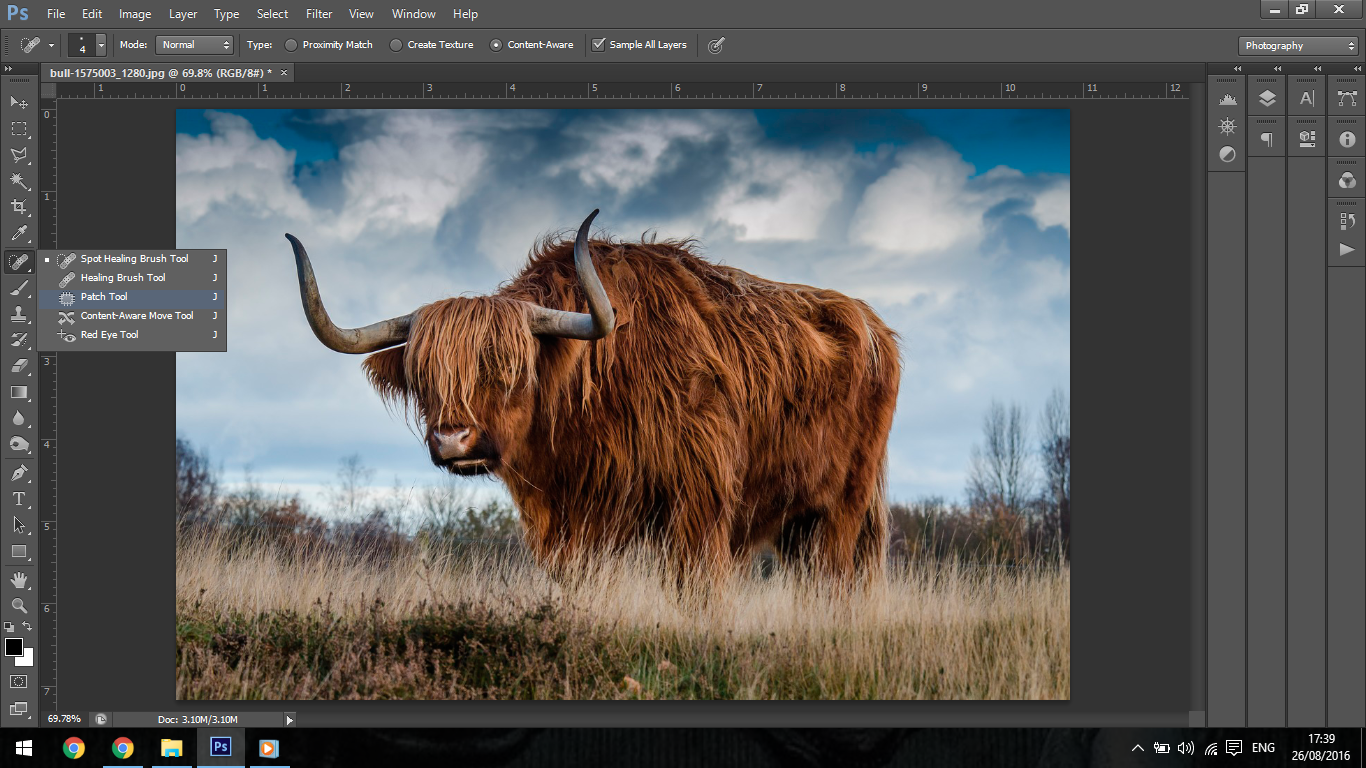
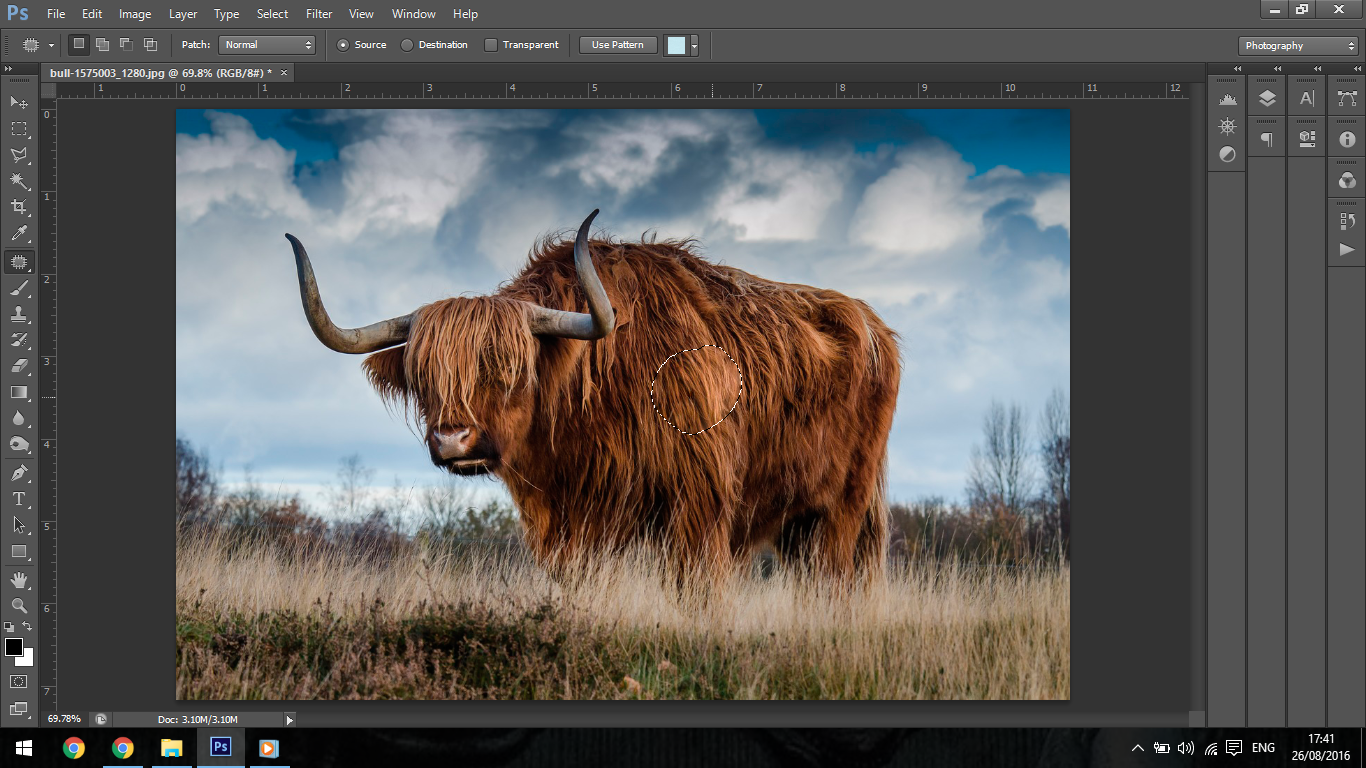
The next one I do like, it is the Patch Tool.
This Tool is for larger areas, so if you look at the Bulls shoulder there is an area there where the hair is a bit ruffled, what I would do here is with the Tool draw around the area.
Then when you release and the marching Ants get rolling you can click within that areas and move it to where ever you want on the Bull till you find an area similar enough to use as a patch over it.
Ok cool so lets move forward, the last two Tools I never use really, maybe the Red Eye Tool the very odd time, so if you want more info on those then be my guest, but I will move past them as I don’t see them as super major Tools you need to know.
The Paint Brush is next down the list, we have already covered this in our last Tutorial so we can move past that.
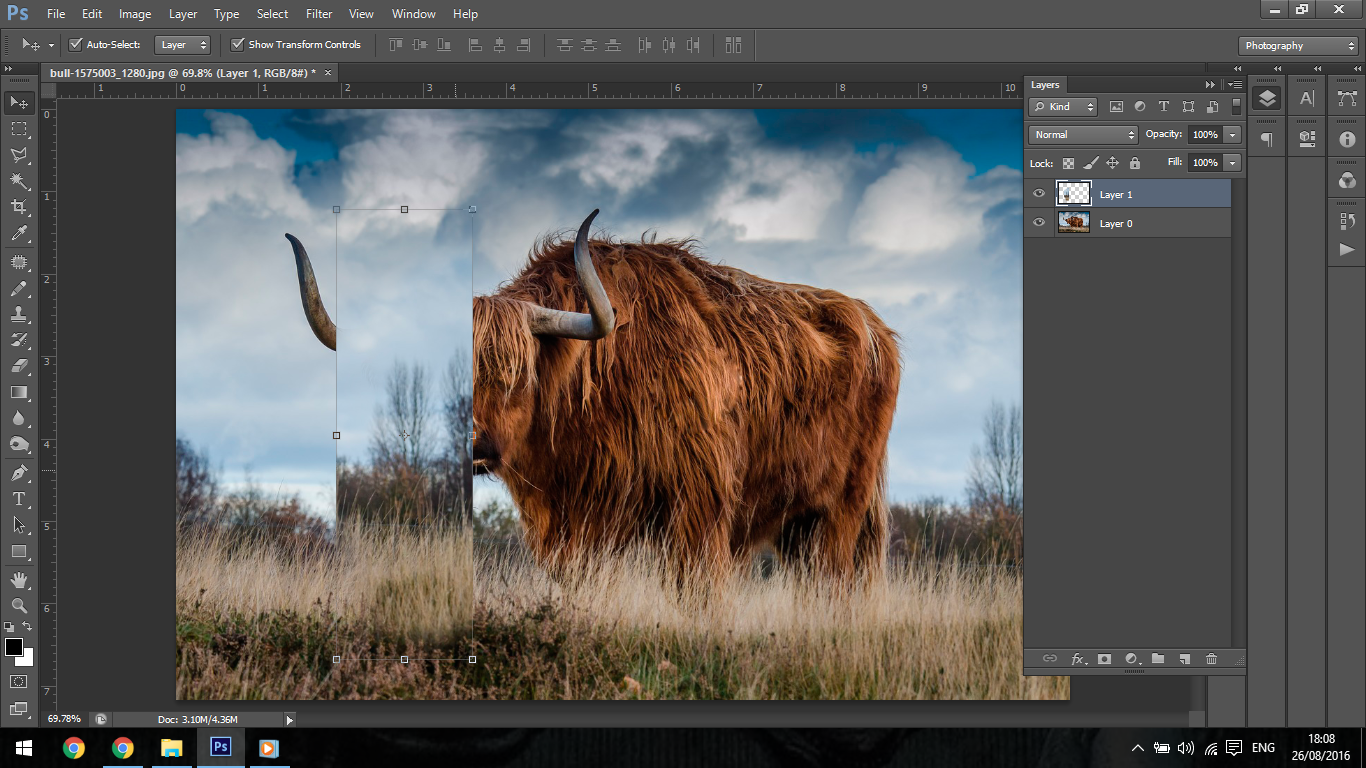
So that gets us on to one of the Tool I personally find my self using on my daily business and that Tool is the Clone Stamp Tool.
What this Tool does is it selects another area on your image, you do that by holding down Alt, then you click on that Area.
So say I wanted to copy the Trees on the right hand side and add them to the left hand side I would hover over them with my cursor hold Alt and then click on them.
Then on a separate layer I can then just paint them in where I want or you can just paint them in the center to start then hit V to activate you move Tool and shift the cloned image to wherever you want on our picture.
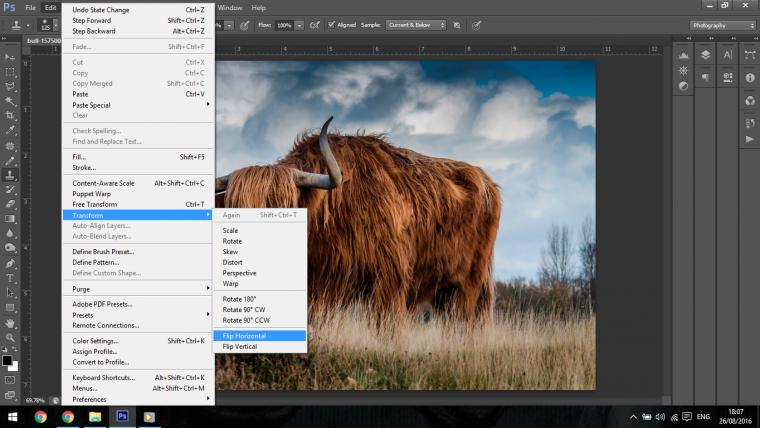
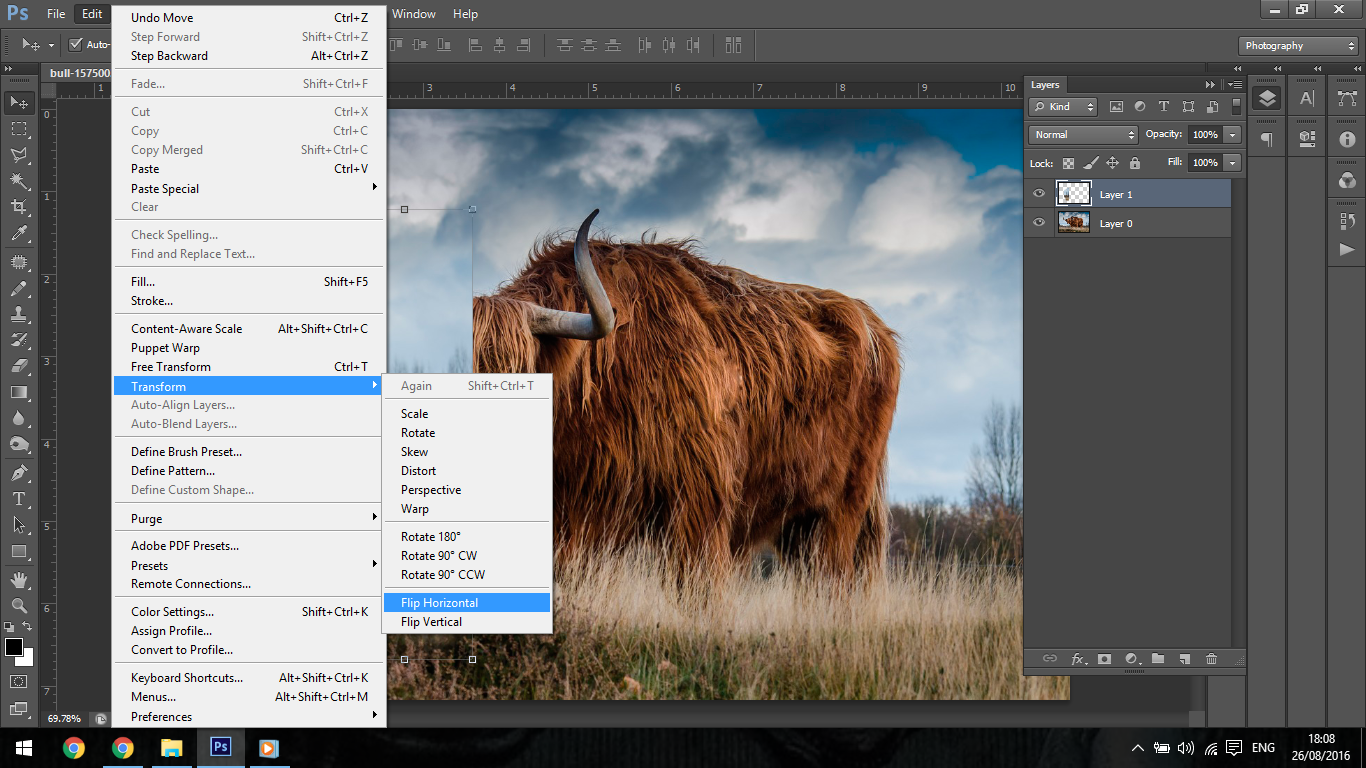
Another thing you can do with the separate layer is you can click on Edit – Transform – Flip Horizontal
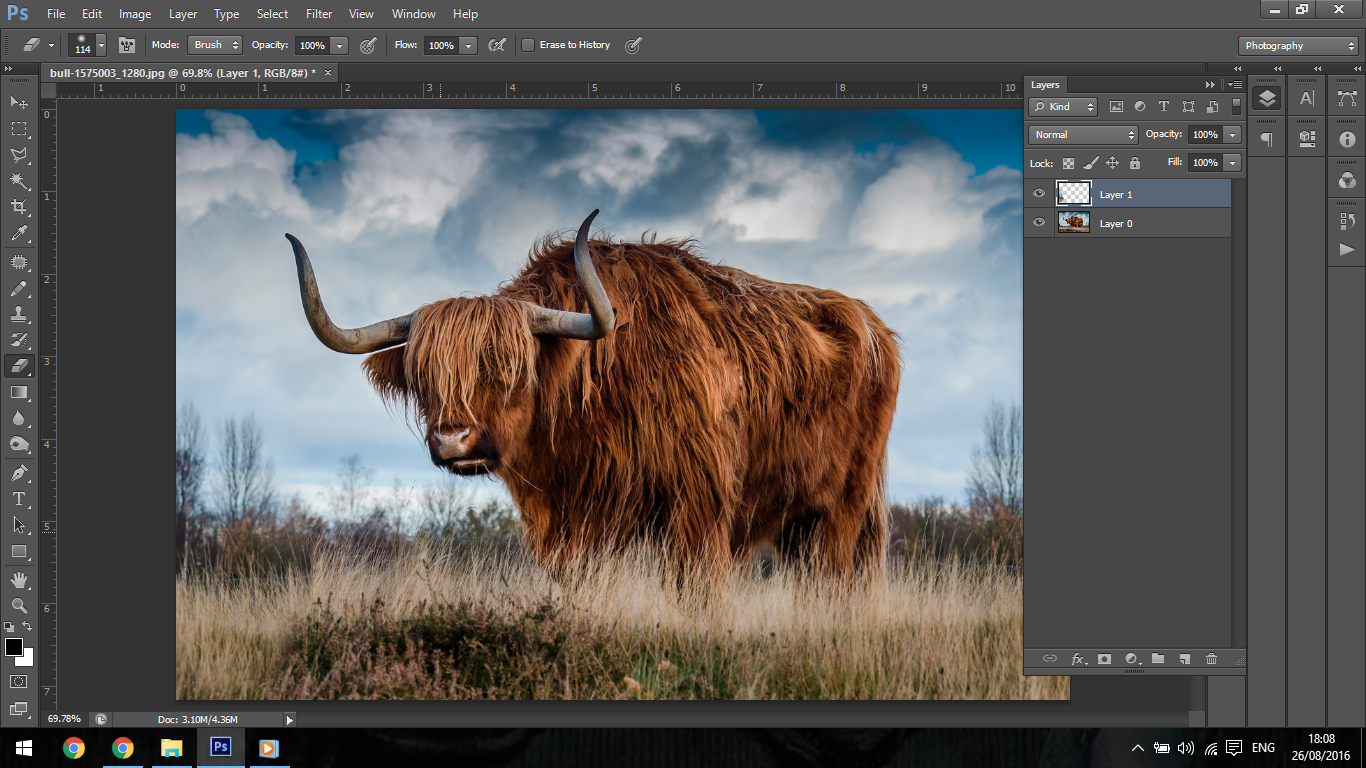
Then what I did right at the end once everything was cloned and moved to where I wanted it to be, using a Soft Brush combined with my eraser Tool I just went over the edges to help blend them in a little bit better.
The eraser to work in the same way as the Paint Brush Tool does, only it erases of course, what I do is I will drop the opacity of the Eraser Tool down to around 50/60% and then build my blending, I find this is the best way instead of just going all out with 100% right away.
You will also find yourself in the future using this technique with the other Tools we talked about like the Spot Healing Tool.
Graduated from college in 2002 with a degree in Art & Design, I started exploring my way in Graphic Design and Professional Post Production. Full-time freelancer since 2011.


 Facebook
 Google +
Comments (0)
There are no comments yet.