Turn a Negative into a Positive using Lightroomwww.sleeklens.com
Hey 🙂
Today we’re going to be taking a look at how to turn a photographic negative into a Positive, using the power of Lightroom. Yes, the power of Lightroom! That is, if you have already installed the Lightroom presets which we will be using.
Why would you do this you may ask? Well you may have some old Negatives laying around that you found in your attic and would like to develop those for free, this is how it’s done.
First, you have to get those Negatives scanned and added to your computer, then we’re set to go.
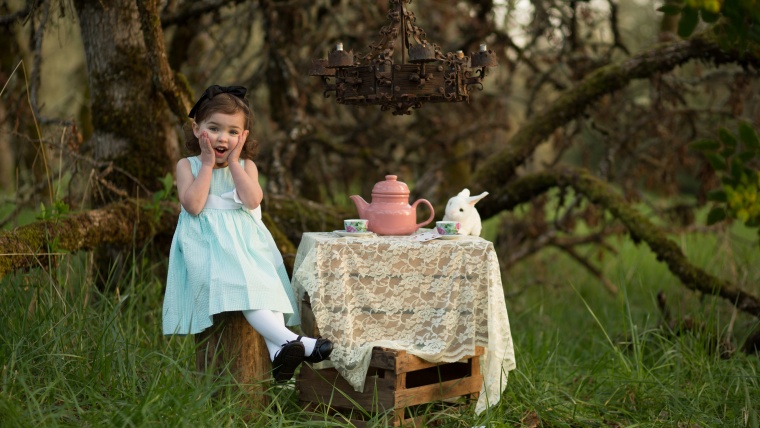
Here is the Negative we’re going to be playing with today.
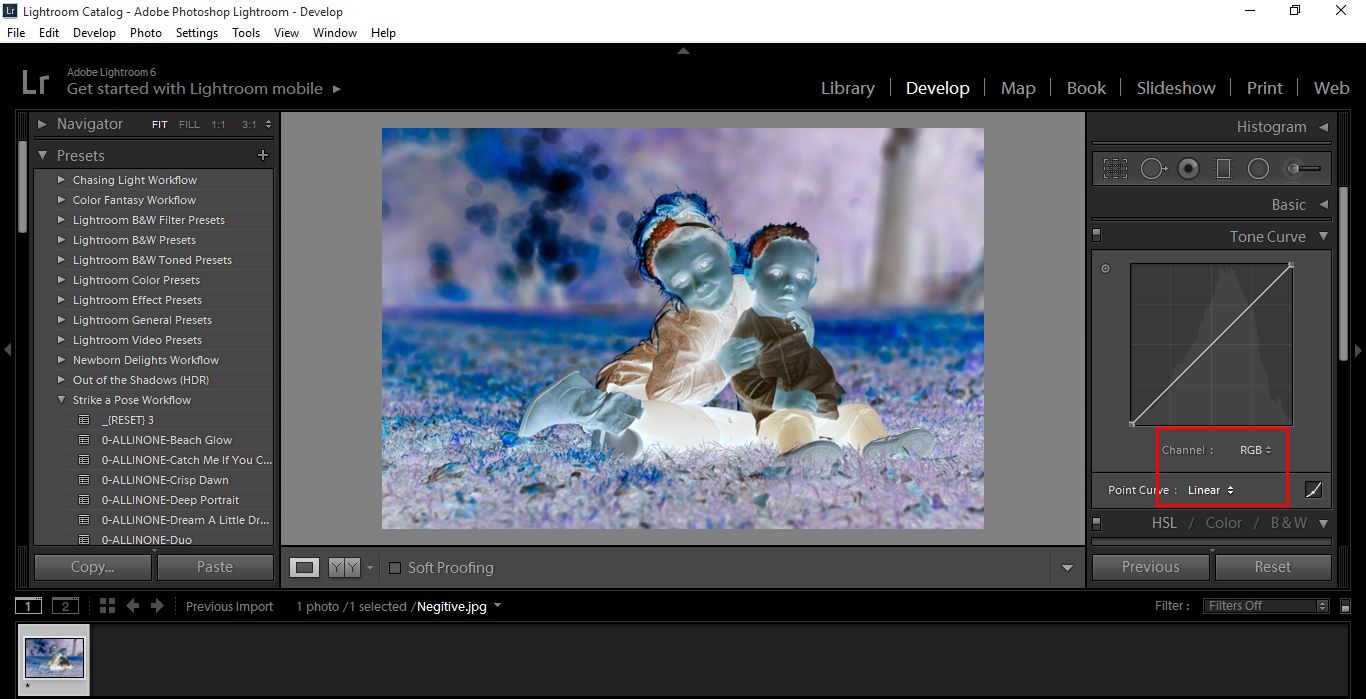
After we have a good copy of our image scanned and Imported to Lightroom presets, go straight to Develop and then click on Tone Curve.
Once there, make sure you are on the RGB Channel and that the Point Curve is set to Linear.
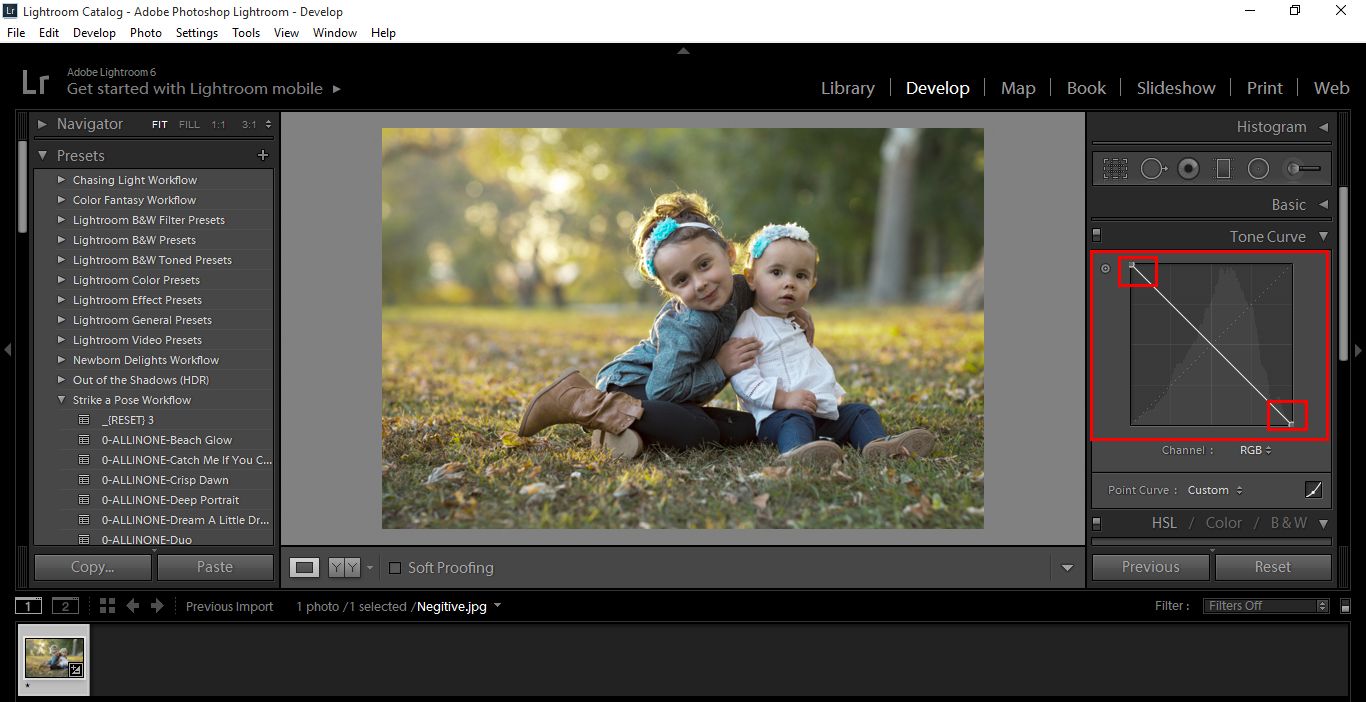
Now on the Graph, where is says RGB Channel, you want to click and drag the markers. The bottom left hand side goes to the top left hand side, and the top right hand side marker does the opposite, dragging that to the bottom Right hand side.
Quick note: You might have to drag halfway, release your mouse button and reclick. It can be a little annoying and deselect by itself if you go too fast, so don’t freak out it happens to the best of us… like me during this tutorial **cough **cough.
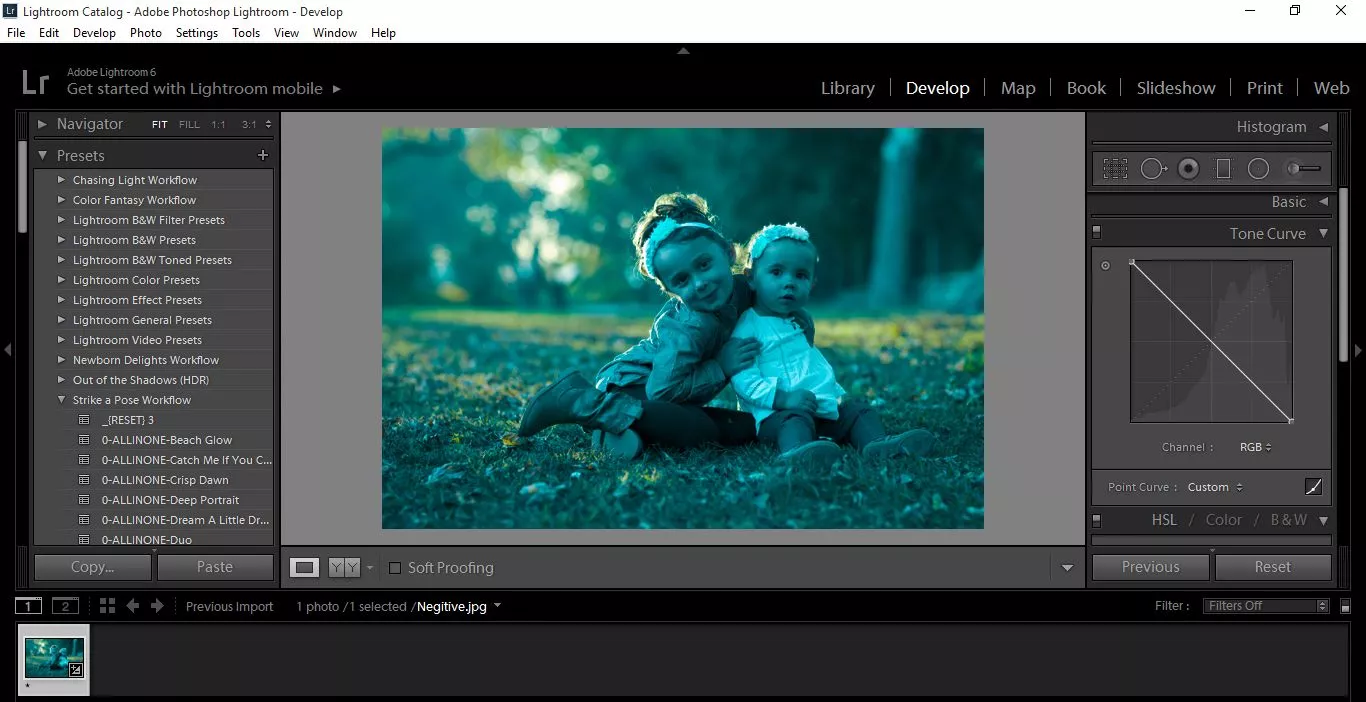
So right now my photo looks fine and you’d think that was it, but no! if you have a scanned image from a physical negative, you may lose a lot of Contrast and the photo could end up looking like it has a filter running over it, so you might actually end up with your image unfortunately looking more like this…
Agh! Horrible!
Lets fix this right now.
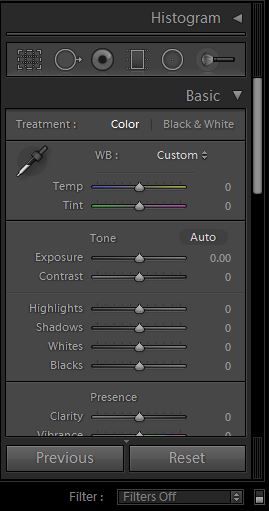
Click on your Basic Panel.
Ok, first be aware that because you inverted the Tone Curve, now the sliders are all going to work a little different to say the least. It’s not really a big deal once you are aware of that, so just take a little mental note.
Contrast will be the same.
But the Temp and Tint are now the opposite.
To go a Step further, the Highlights Slider now becomes the Shadows and Shadows Slider now becomes the Highlights, and the same goes for the Whites and the Blacks as well.
You’re probably thinking at this stage what the…
But like I said, it’s no big deal. You could catch onto this, just by playing around.
Anyway.
Enough of this madness, let’s get this done.
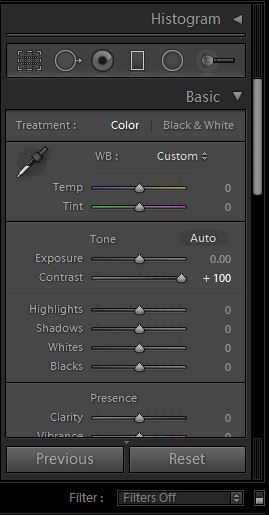
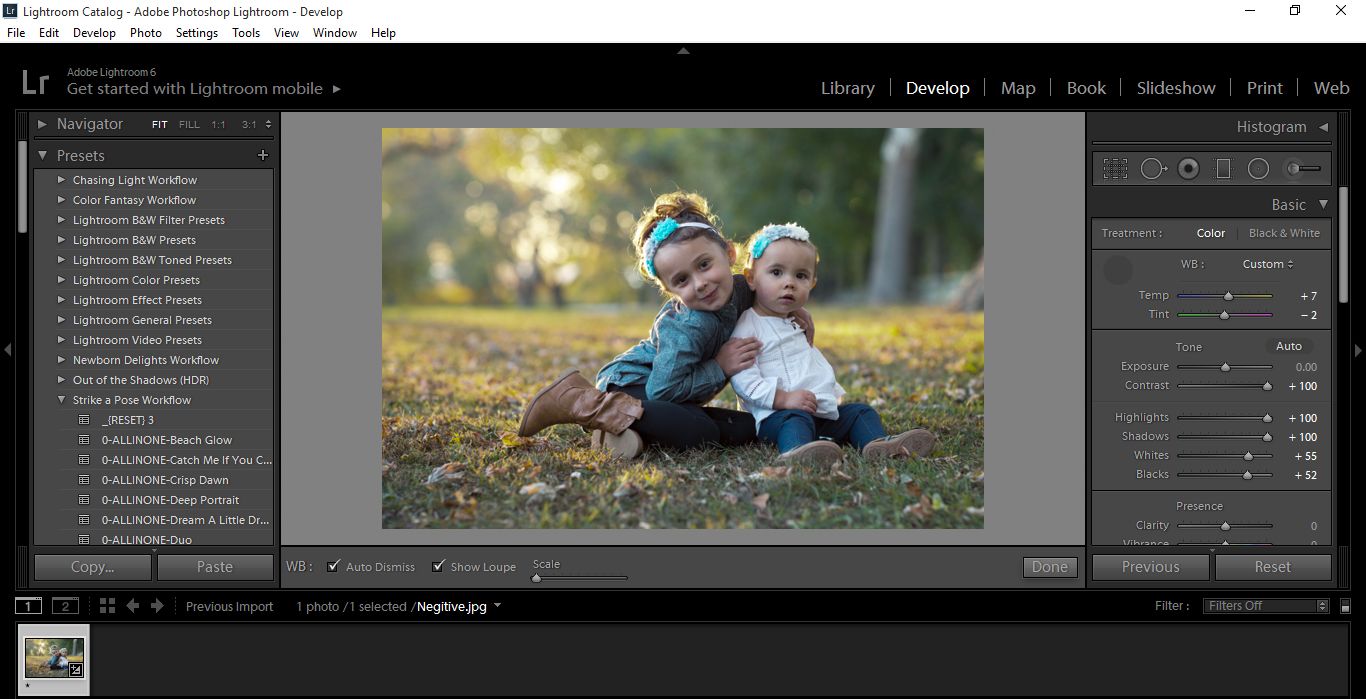
I would suggest first moving the Contrast to the Right First, set it at +100, as we can always go back.
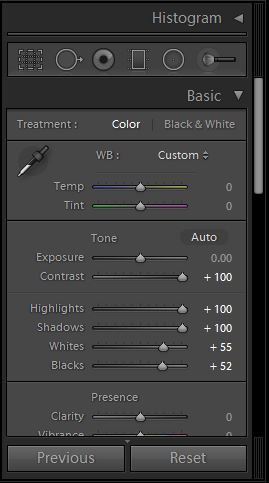
Also +100 your Highlights and Shadows, and when I say Highlights and Shadows, I mean as they are on the actual Basic Panel. The same goes for everything else.
Whites and Blacks, I would Bring them up to around +50, though all these setting really depend on the image and how good the scan was.
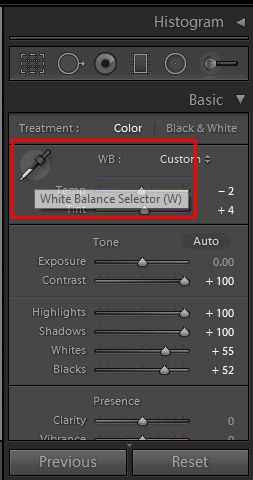
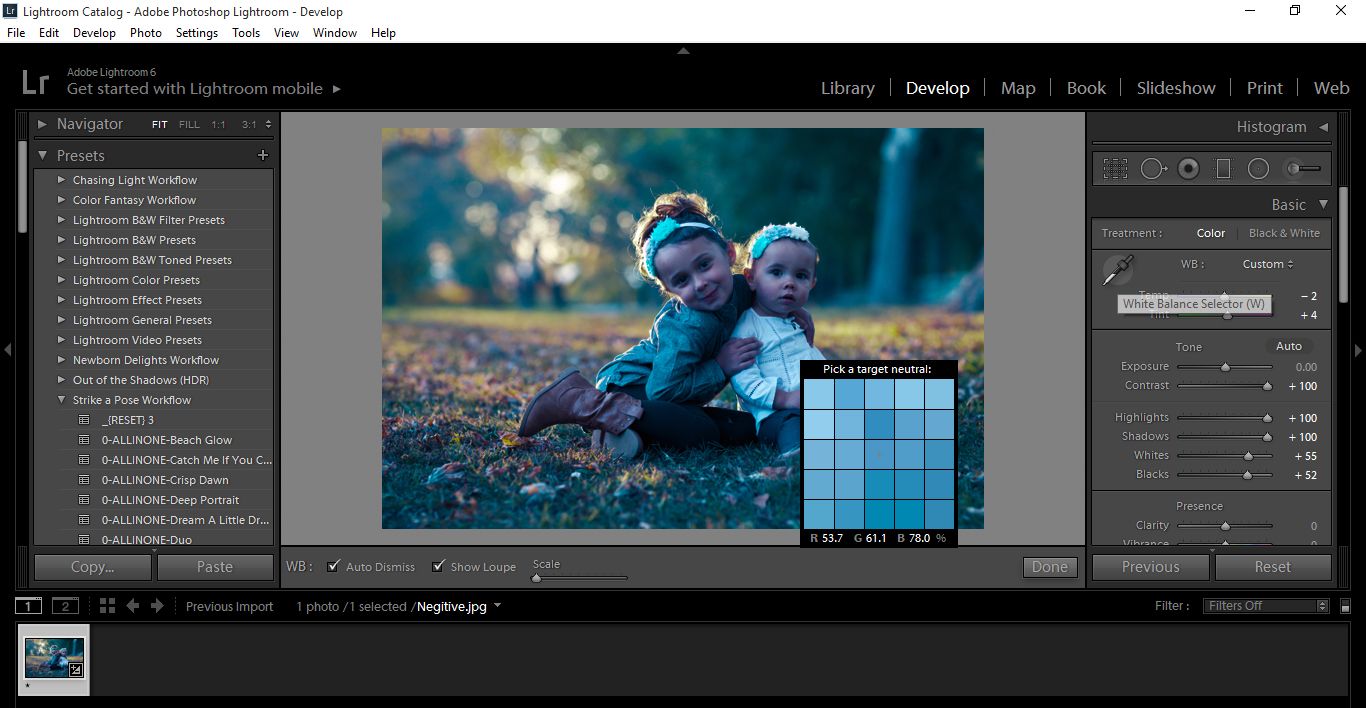
Now, Click on the Eye Dropper Shown Below or Press (W)
And find an Area that has a neutral tone, such as white and Click on that.
Your image should now be set, looking something like this.
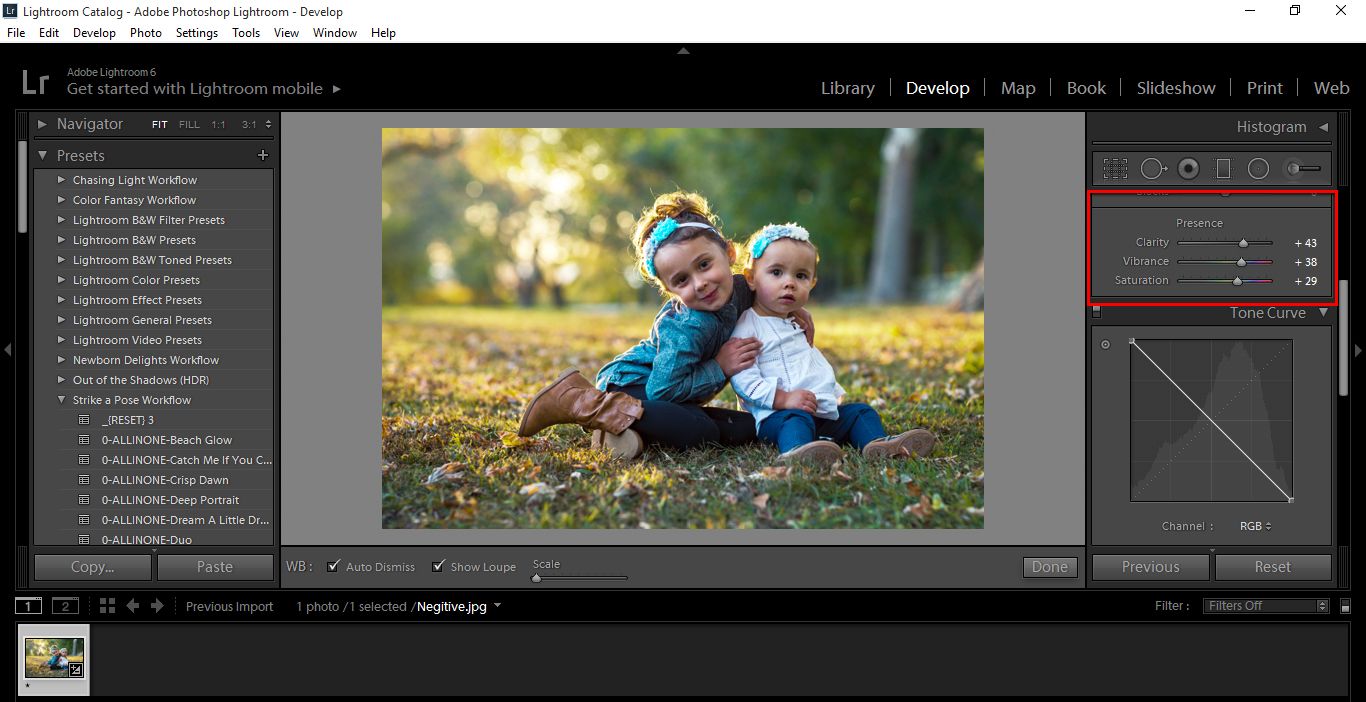
I would suggest at this point to play around a little with your Sliders, and see what results you come up with.
Just make little minor adjustments until you are happy with the Results. I would also suggest checking out Presence at the bottom of your Basic Panel and messing around with Clarity, Vibrance and Saturation.
I got some nice additions to my image, using those sliders and felt they really made the image just that little bit stronger.
That’s it for this Tutorial, I hope you got a little something out of it.
And you can make these look even better with the addition of some Newborn Delights Workflow Presets. If you want to know more about Lightroom, you can check my tutorial on How to Make Underexposed Image Pop. Surely, you’ll learn a lot from it.
Graduated from college in 2002 with a degree in Art & Design, I started exploring my way in Graphic Design and Professional Post Production. Full-time freelancer since 2011.
This was so helpful. I’ve been surfing through so many different methods to get the most out of my flatbed scanned negatives. This is the both the best and most simple solution. Thank you!


 Facebook
 Google +
Comments (2)
Cheers Ben, glad I could help 🙂
This was so helpful. I’ve been surfing through so many different methods to get the most out of my flatbed scanned negatives. This is the both the best and most simple solution. Thank you!