
When we go out to take photos, we may come back with a mountain of shots for the same image. Possibly, we weren’t sure if we had the lighting correct or not, so we tried a lot of different settings on our camera like adjusting our F-Stops, Focus, IOS and so forth.
So, we end up with a lot of images that look very similar and then try to go through all the photos and figure out which is the best.
You could, if you wanted, go through them individually and delete that way and have a look if you like the monotony of it all, or you could try a few of the Tools that Lightroom provides to help you with this very task. So, that’s what we’ll have a look at today, and hopefully save ourselves some headaches in the future.
First, I would suggest going through your photos in Lightroom and picking out any completely obvious bad photos, when people may be blinking or something got in the way of your shot.
Lightroom has 3 keyboard shortcuts, to help us out with this.
(P)
which stand for one you have Picked.
(U) which means you have Unpicked that image.
(X) which mean you want that image Completely Deleted.
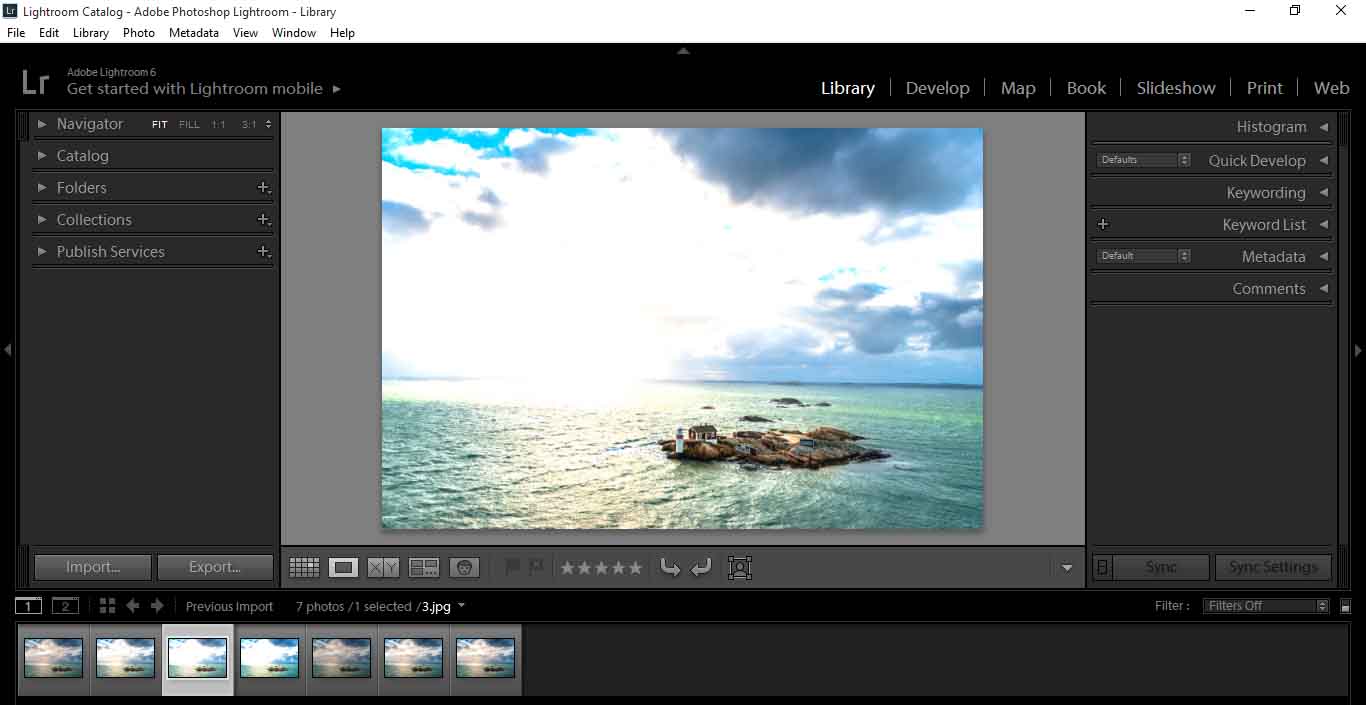
A Little tip I would give you, but it isn’t necessary, is to remove the side panels so your image is as big as possible. click on the arrows highlighted in the diagram below.

When you click them, your screen will end up looking like so…
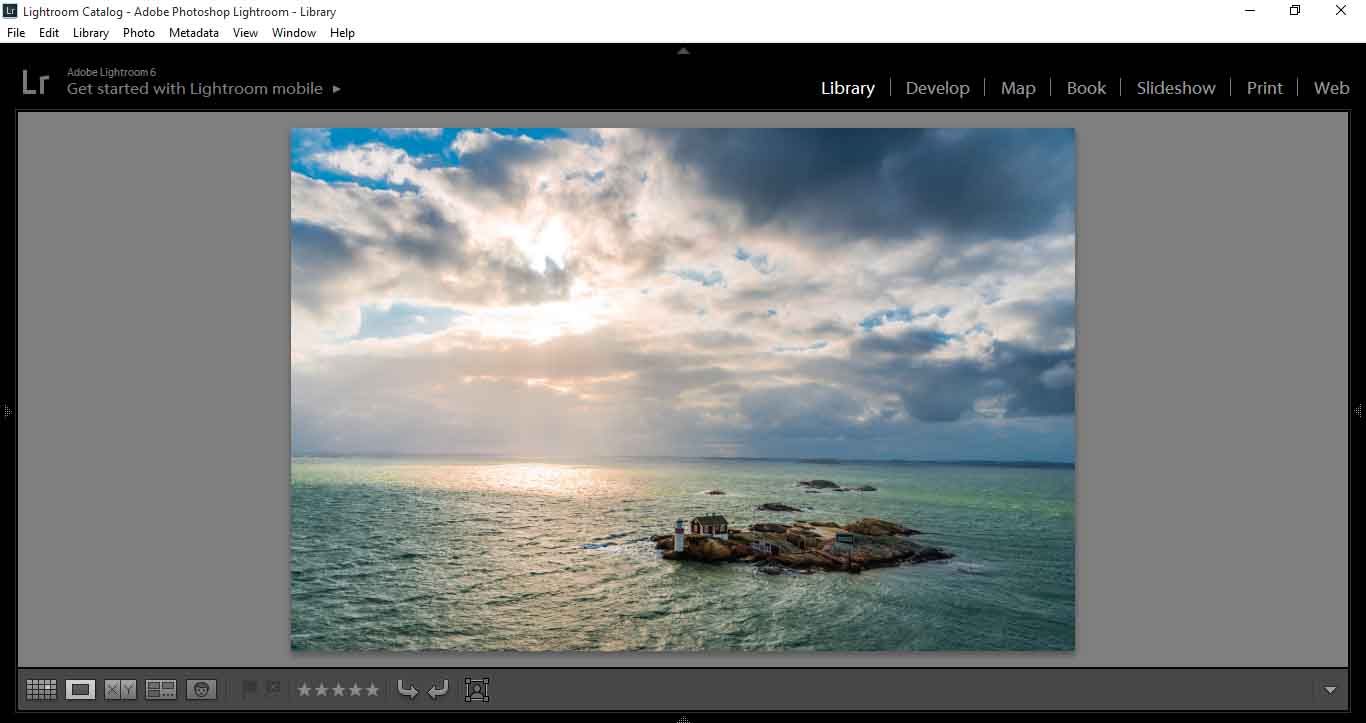
As a personal choice, I choose to have the bottom panel visible, but whatever your personal choice is, go with it.
To bring those panels back, just re-click on the arrows and you’ll be back to normal.
Next, go to Photo (Highlighted Below) and make sure Auto Advance is checked.
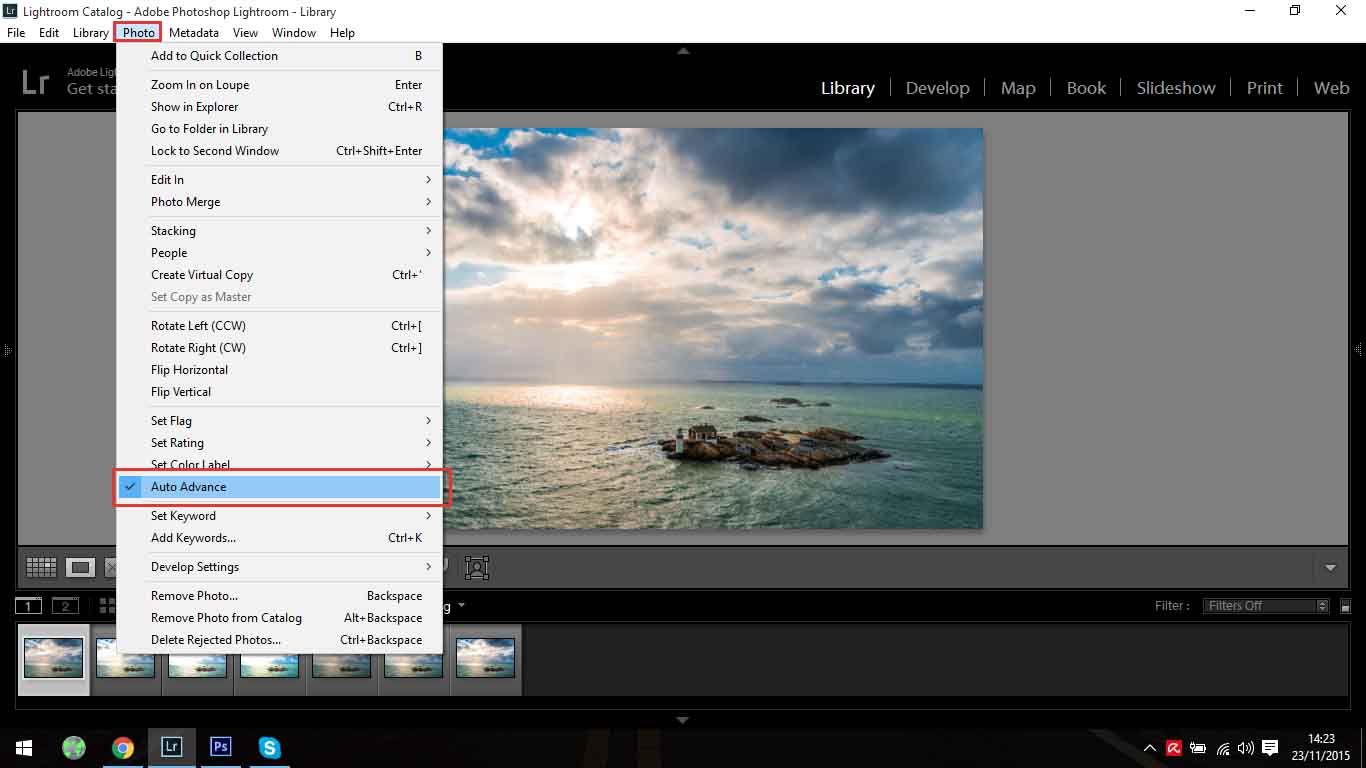
This means, as you go through your photos it will go to the next, automatically with great speed.
So if you have a large quantity of shots you have taken recently, take 5 minutes to go through them and try out what we just talked about.
You will notice some being marked with a White flag and others with a Black Flag to correspond with your Keyboard shortcuts.
Now, if you are reading this line, that means you are back and you have quickly sorted through your collection.
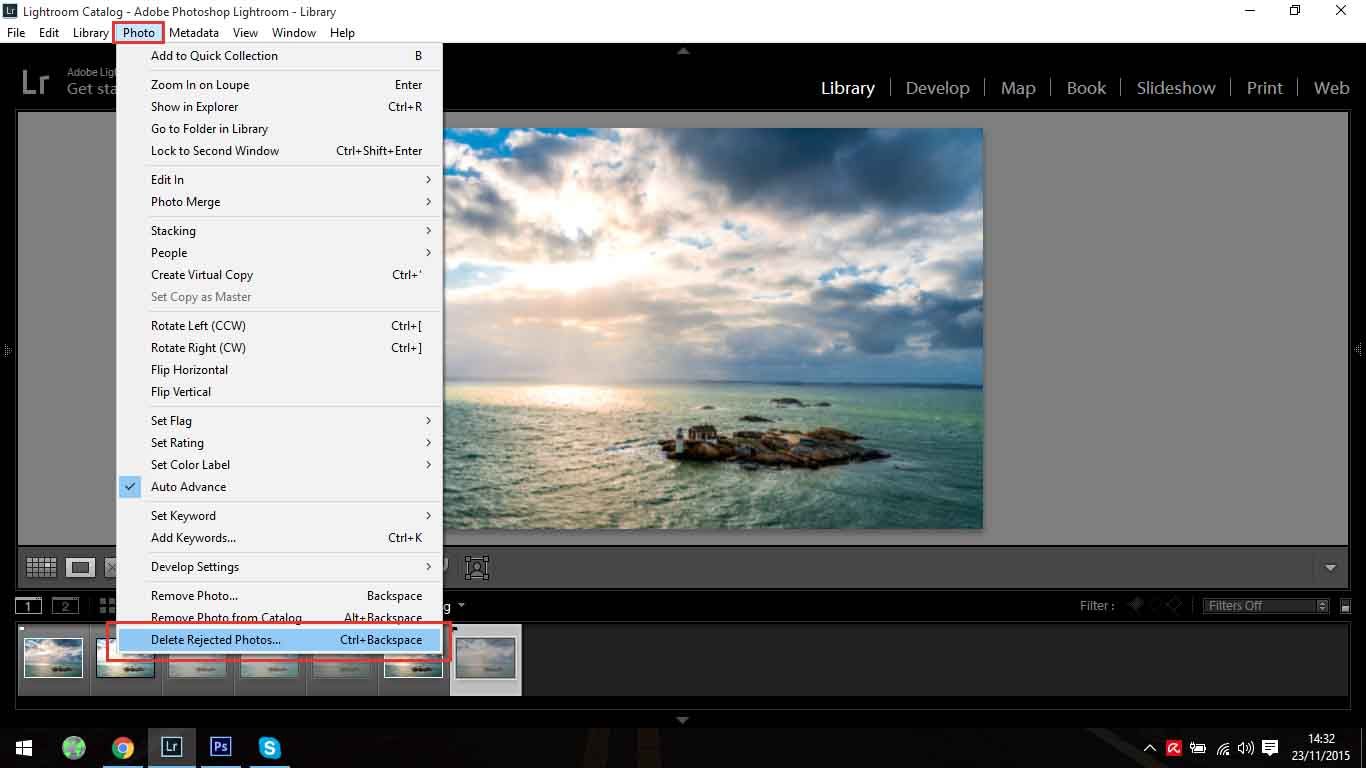
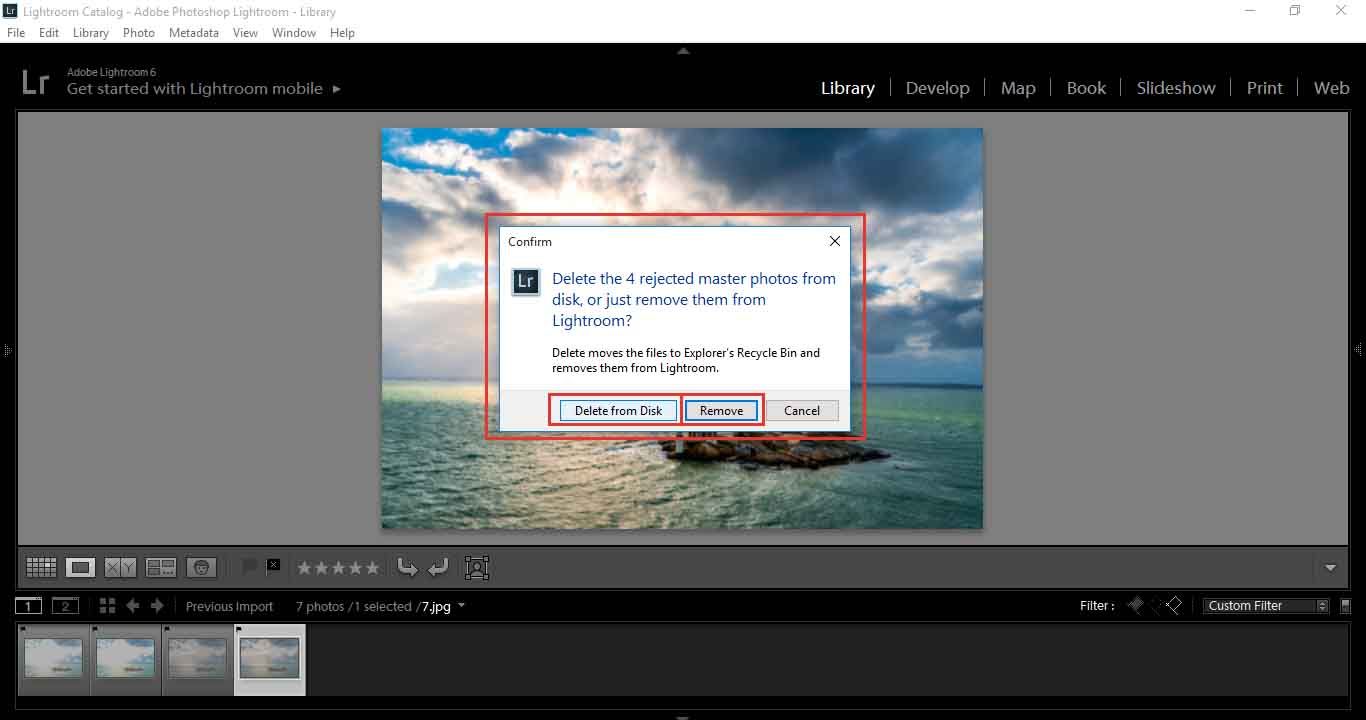
To delete the photos you no longer want, click on Photo, then Delete Rejected Photos.
You will then be presented with 2 options, either you just remove them from Lightroom or you Delete them completely from your Hard Drive/Disc Drive.
So now, if you go to your bottom right hand corner you will see Custom Filter.
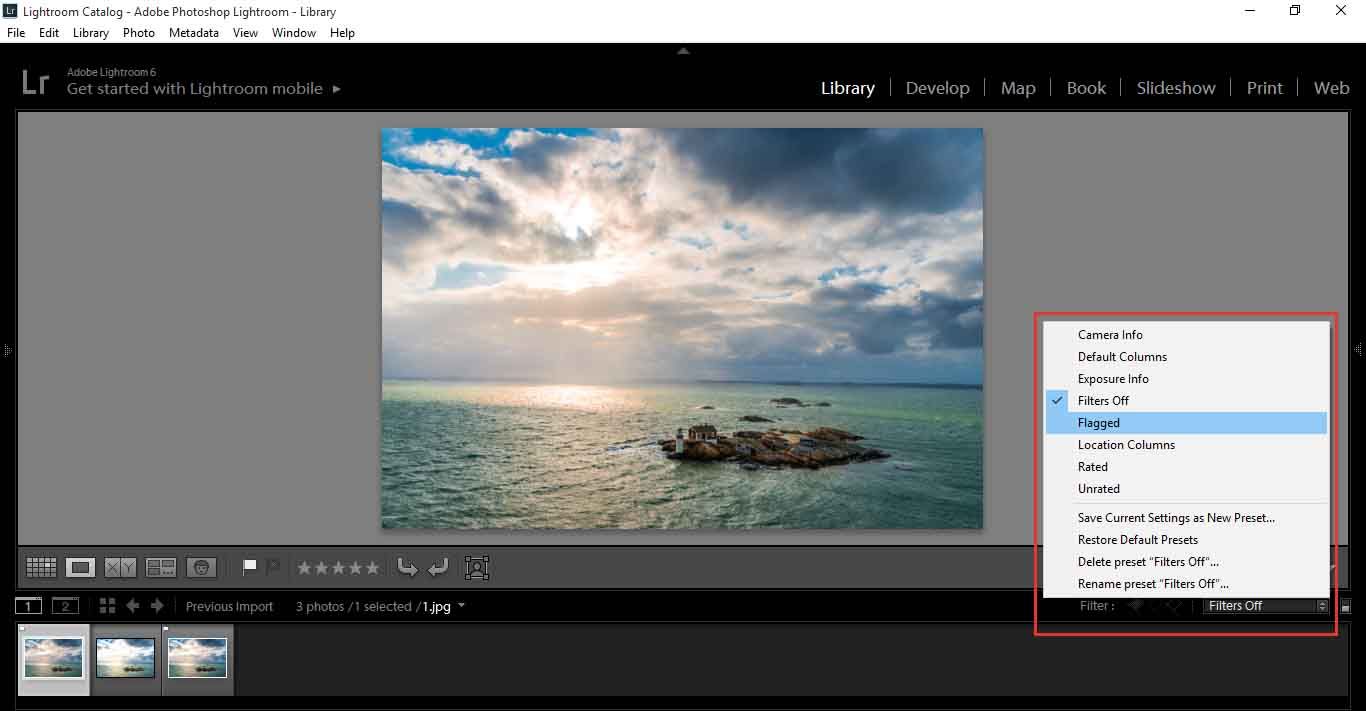
Click on that and choose Flagged.
This means that you have now made only the images you picked visible, which brings me down to just two images.
So now, there are two ways that you can view your images to see which one you like best, the first I’ll show you is called the Compare View option.
You can access that by clicking on it or simply use the keyboard shortcut (C).
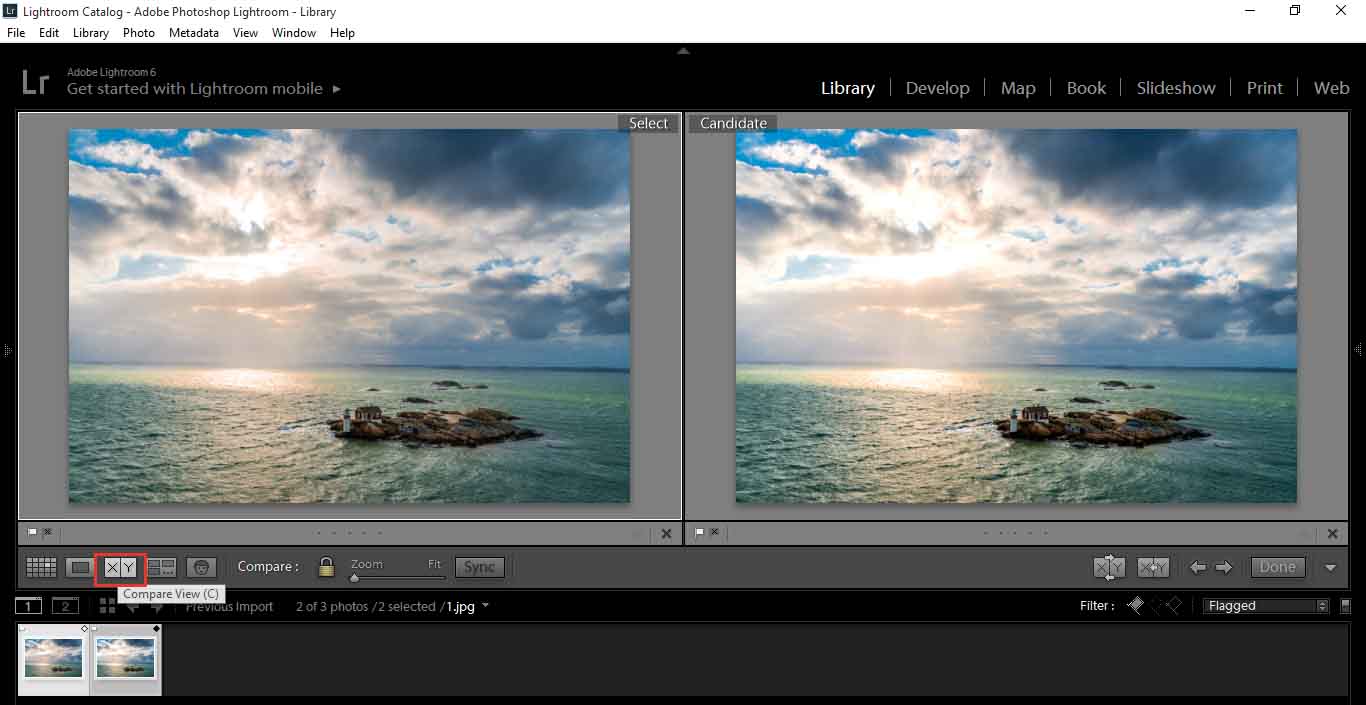
Now, the image on the left is your Selected image and the image on the right is the candidate image. Usually if you had several you would choose which one you liked the best and then compare the candidate images to that, so you can better make your decision.
You can do that, by clicking on the arrow key to the right.

Clicking on that will cycle through your options.
If your case is like mine, I want to change my selected image. You will click on the X-Y key shown below, this means that you have now changed which one is your favorite image.
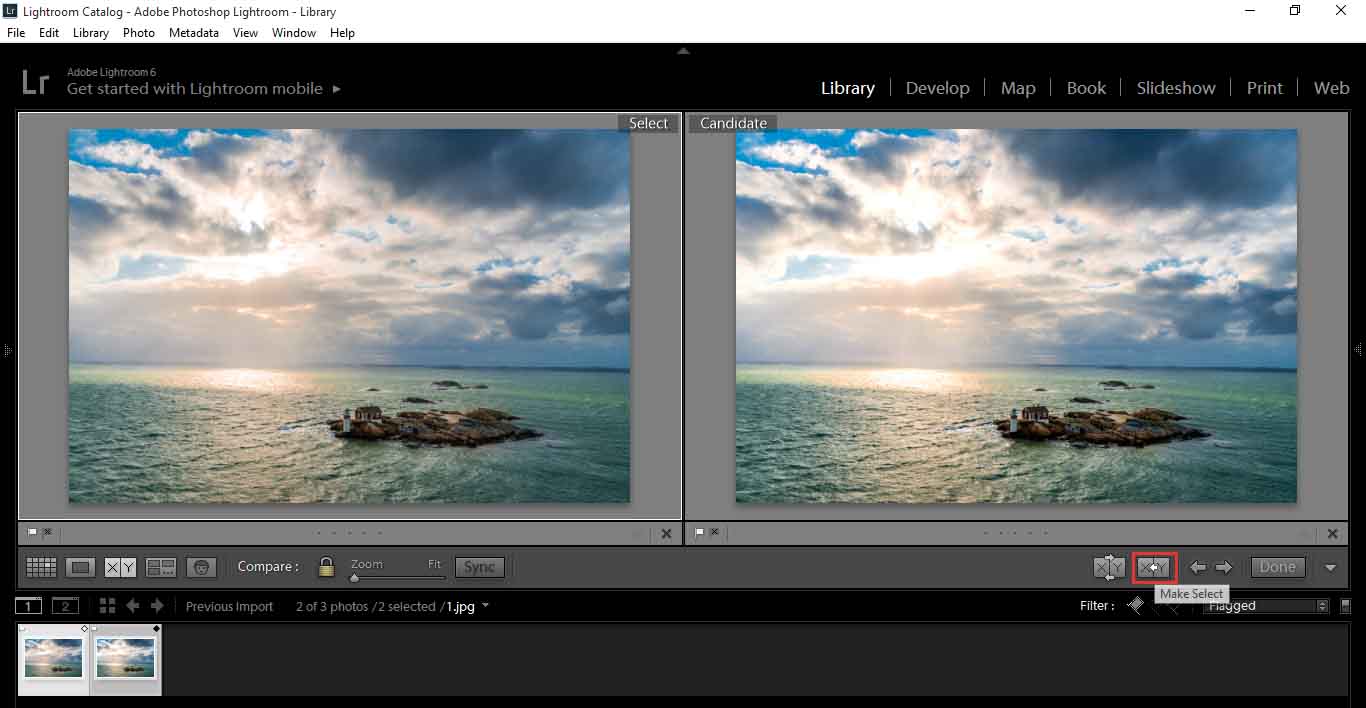
Then press Done and you have your selected image.
So, that’s one way you can do it.
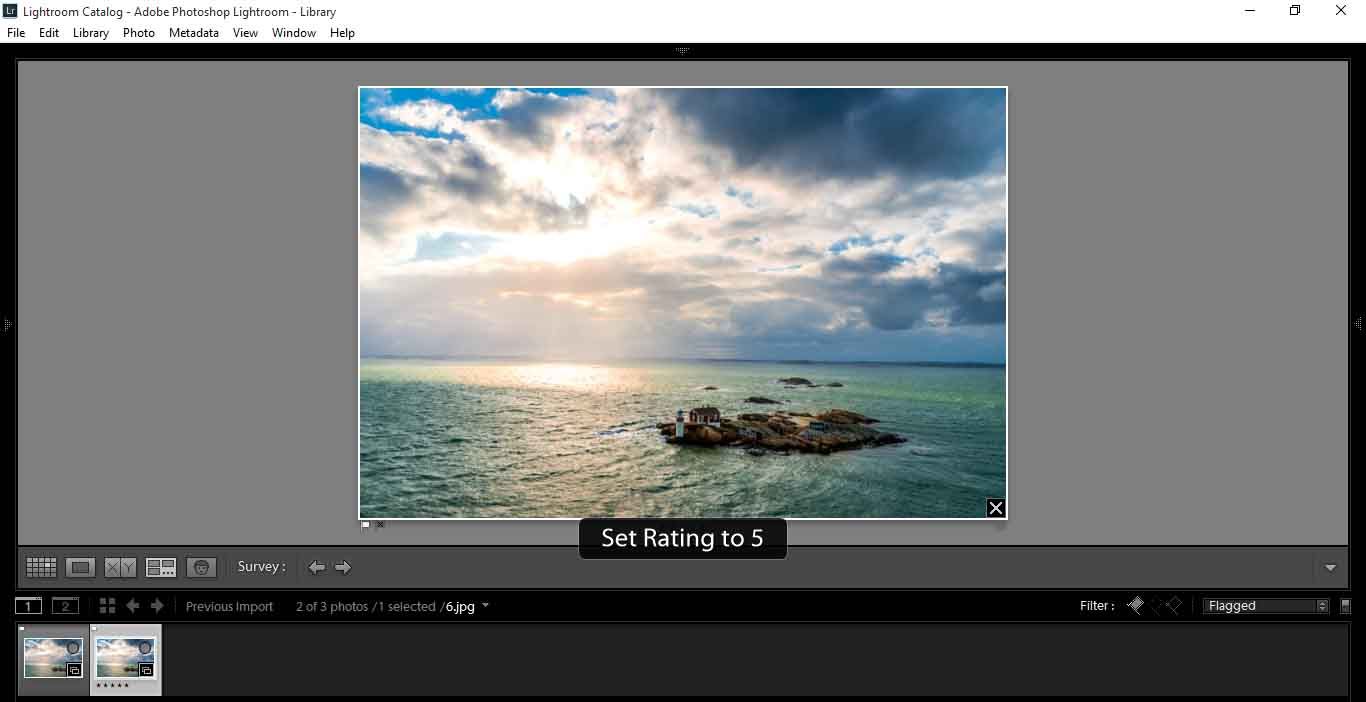
The next is called the Survey View (N)
To do that, you have to select them all by clicking on your last image while holding shift and then click on your first image. This will highlight all your images.
Highlight
all of your images and press (N)
You should now see all your images up on your screen.
I have only two as said, but you could have 20. So, to further refine using this mode, click on the X at the bottom right of the image and it will disappear. magnifying the other images, you keep doing this till you have gotten to the point you are pretty sure which image you are going with.
Then indicate that by giving it a rating, 1-5
Then you can go to your Develop module and further edit or add some great Presets if you choose.
So, I hope this helps you with you pick your image, so you can work smoothly and more efficient.


Please verify your software version before proceeding.
 I’ve verified my software version


 Facebook
 Google +
Comments (0)
There are no comments yet.