Today, we’re going to take a closer look at the Spot Removal Tool.
This Tool is the second Tool over from the Left, in the Develop Module, you can also press (Q)
So, in our image we will use today you can see our model has lots of little freckles, I’ll show you how to remove them, which is very simple.
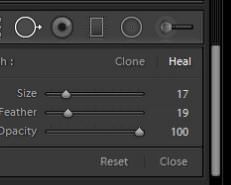
There is two modes you can choose from, Clone and Heal. I’ll show you how to use Heal today, and what you would use it for.
In the first image we have a portrait, for this you would usually use the Heal option, as the Blemishes on the skin are generally very small and you are dealing with Skin textures that are very similar.
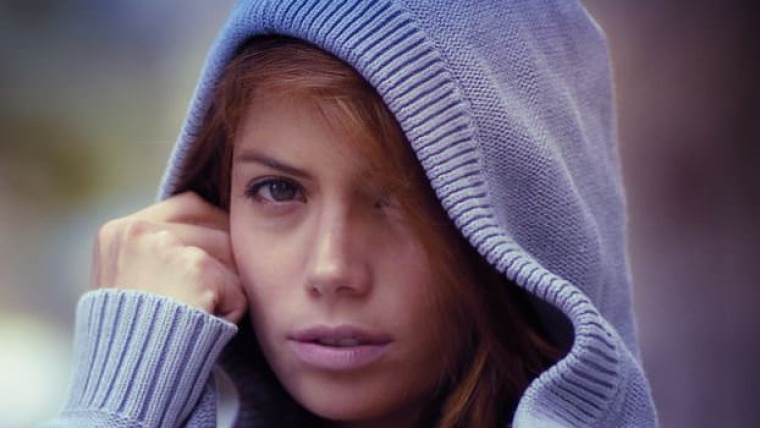
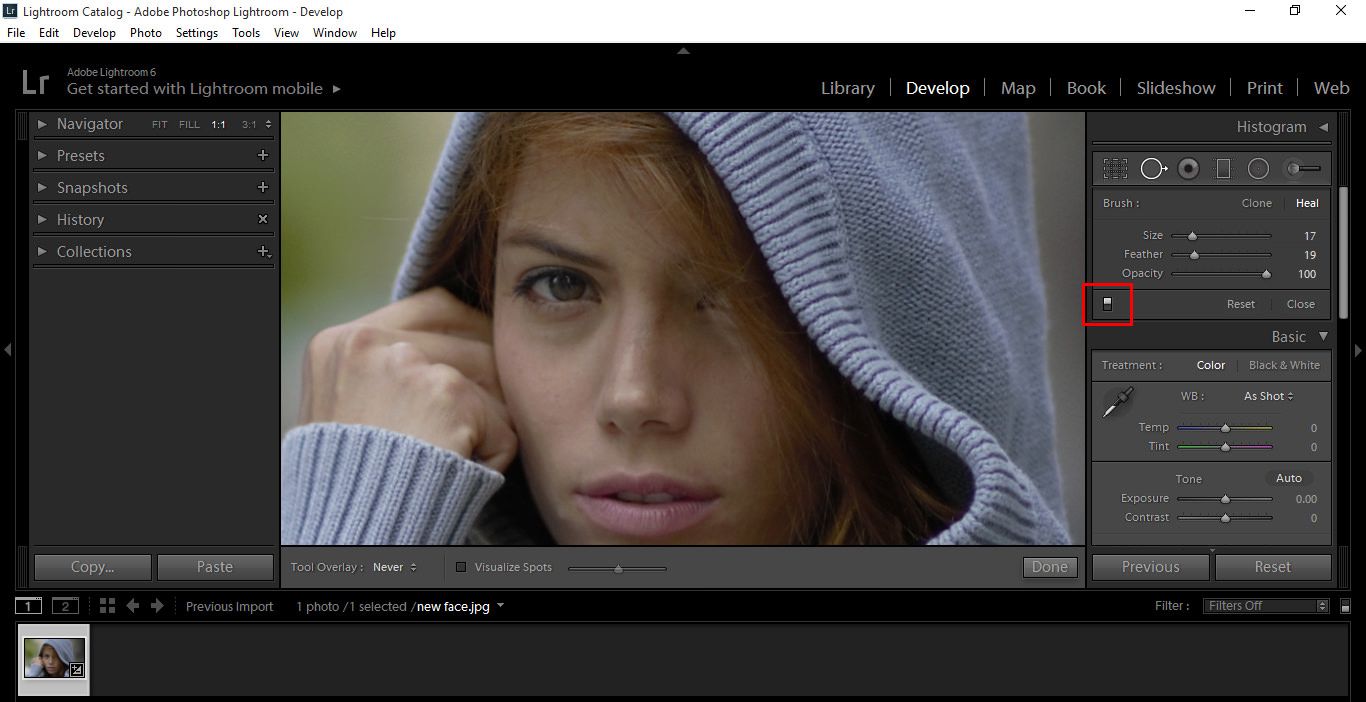
Below is our starter image.
You will see areas of the Skin that we will call, so called “blemishes” for retouching purposes being that the fashion industry is very particular about their finished images…
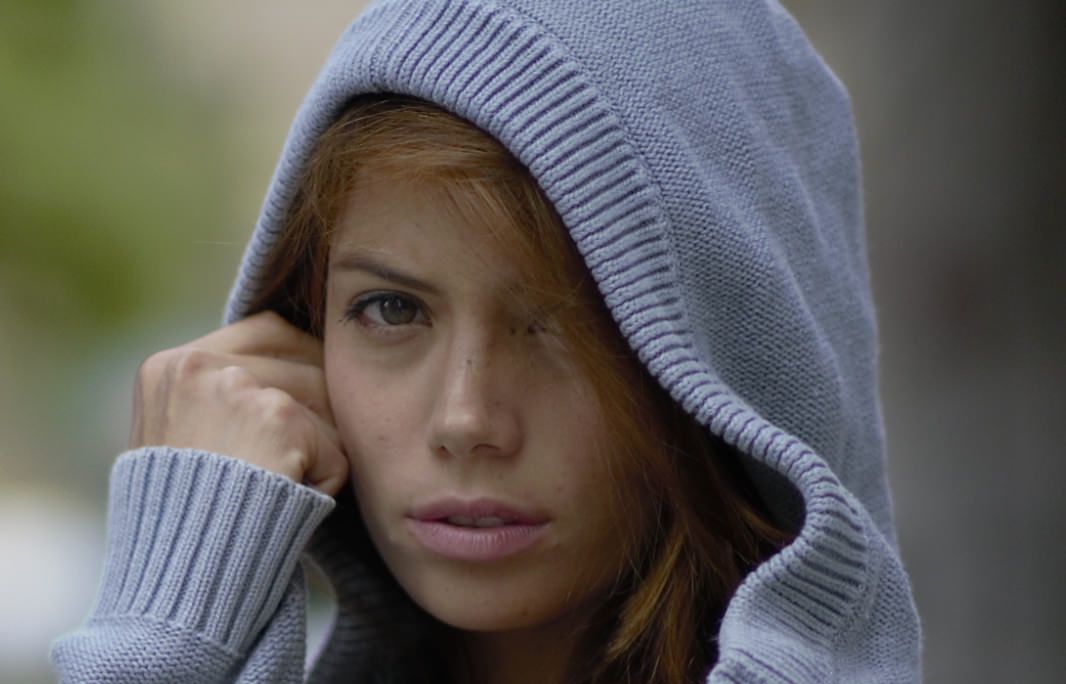
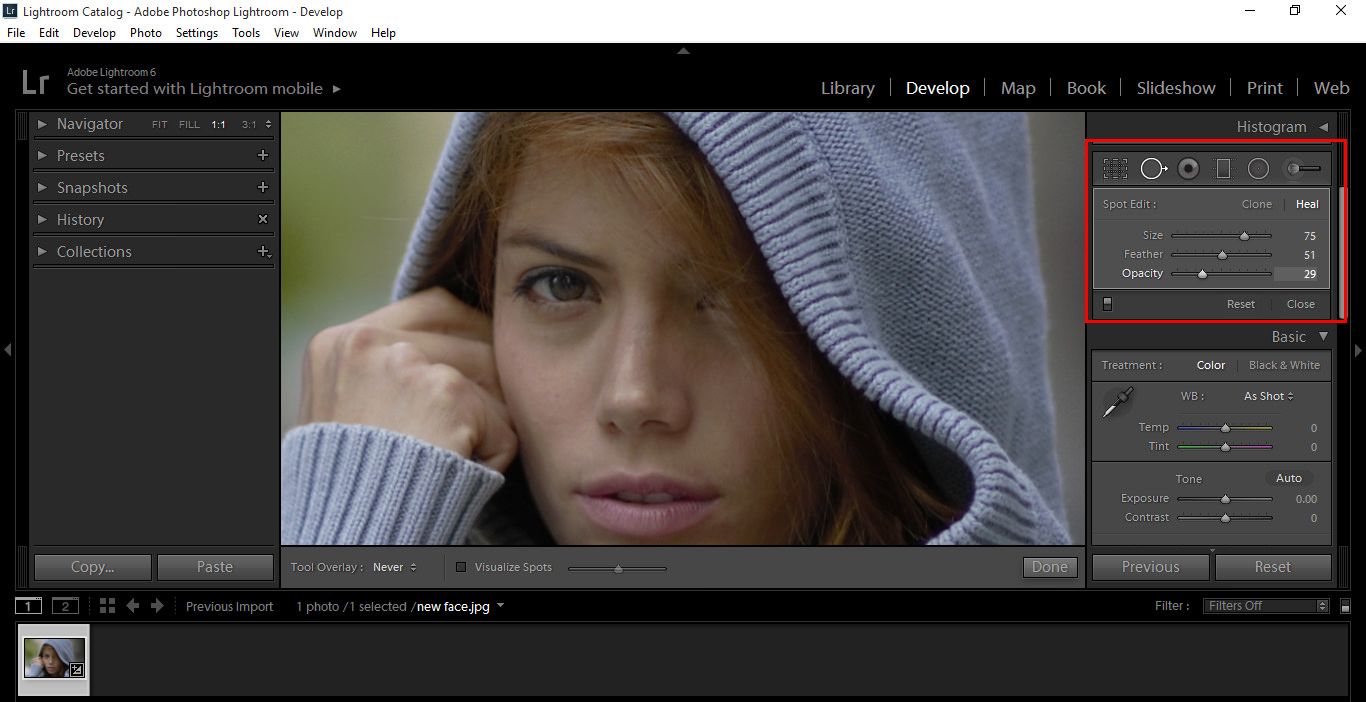
Below I have an example of the types of areas you would use the Spot Removal Brush on, marked out.

So press (Q) and select Heal Mode, then using the Bracket Keys you will be able change the size of your brush to fit the size of the “Blemish”.
Then simply click over the areas you wish to remove, changing the size of your brush as you see fit going along.
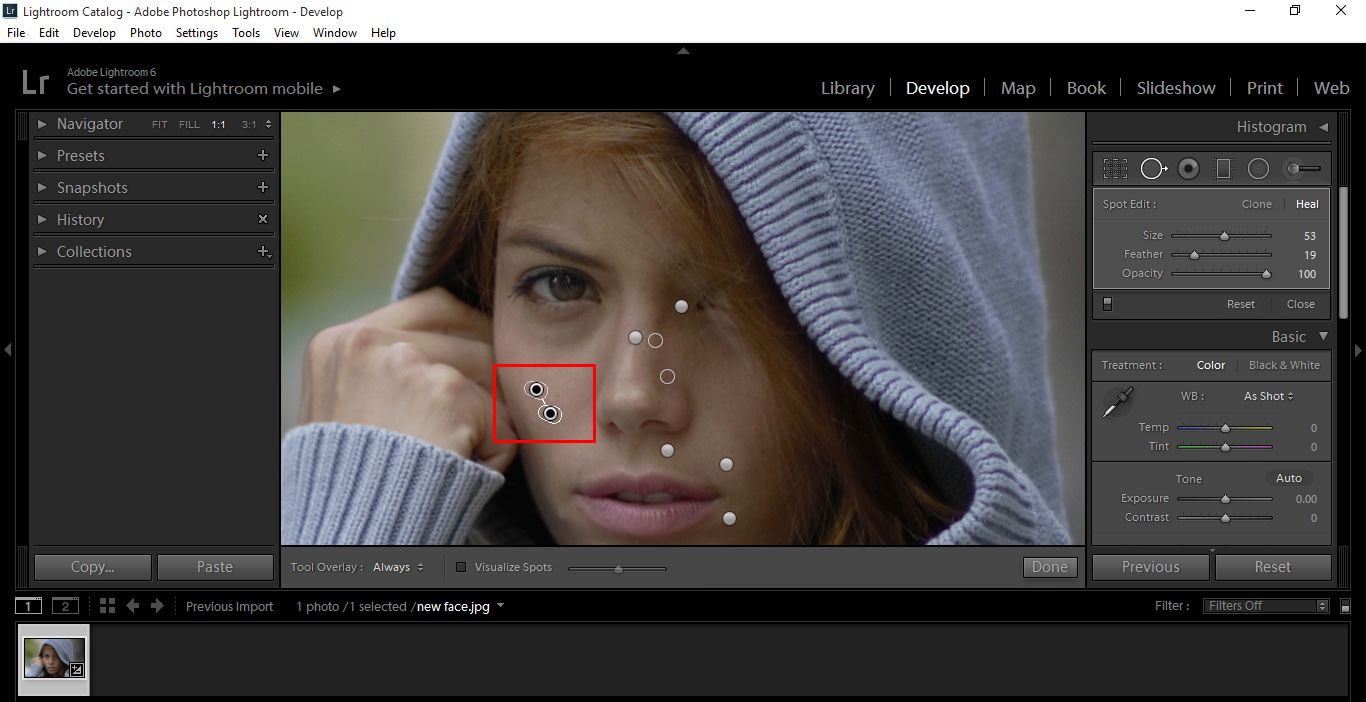
Lightroom will then sample and area close by to clone over the area you wish to remove, if this cloned area is not to your liking, you can click on the Icon next to where you clicked and move it around to a far more suitable spot.
You may also hover over until a little double sided arrow appears, which allows you to click and drag to enlarge the cloned areas.

Pressing (H) I can hide the icons that cover the Spots, then click on the button shown below to get a back and forth before and after look at the work in progress.

While going back and forth, using the Tool you can press (Ctrl Z) at any stage to delete mistakes you may have made.
You can also (Shown Below) use the Opacity and Feather Sliders, these come in very handy at times so take note of these for sure.
I would suggest using Opacity to clone over areas like hair, where you will want a gradual blend between the two but still have a slight bit of hair showing so it’s not so noticeable compared to if you had done it with 100% Opacity, maybe in and around the 25-40 mark would work best, it really depends on the image being used.
So, I would end up with my image finally looking pretty cleaned up compared to what we had started with.
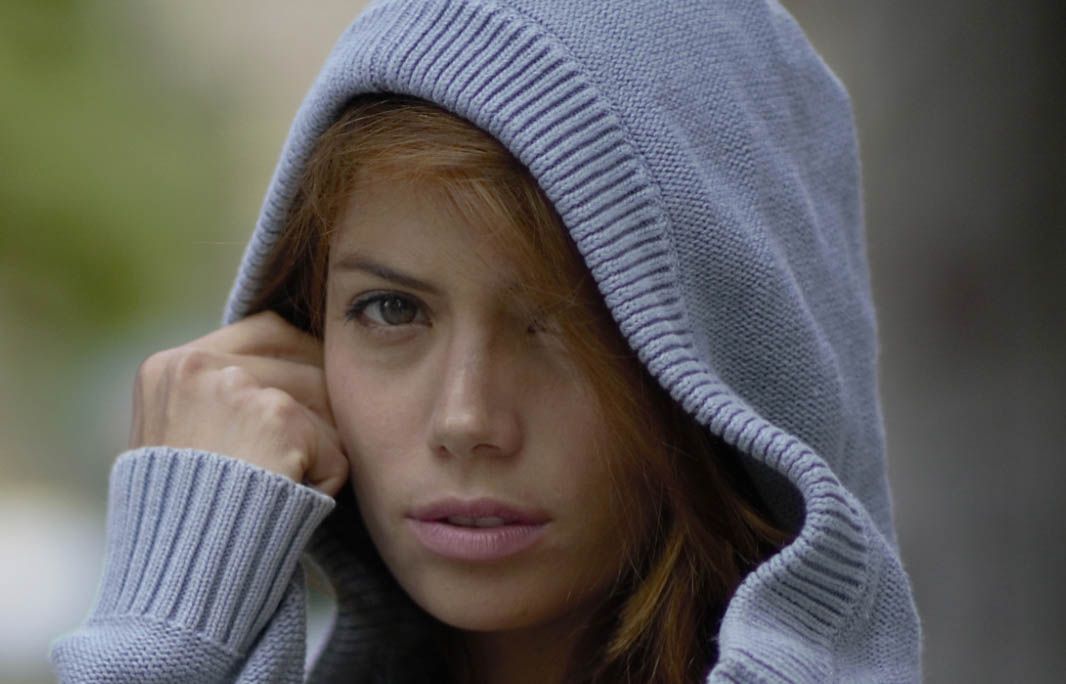
Then you can re-assess what else would need to be fixed and go back and forth working on your image till you are happy with your results. I can see that there is still a little area on the chin I could fix, but in general I’m pretty happy with that.
As you can see it’s fast and very simple!
Now that my image has been cleaned up I’m going to add a few Presets to it and see what I can come up with.
Check out these cool images, with a simple Retouch and Presets session that lasts approximately 10 – 15 minutes, you can come up with some really great looking images!!

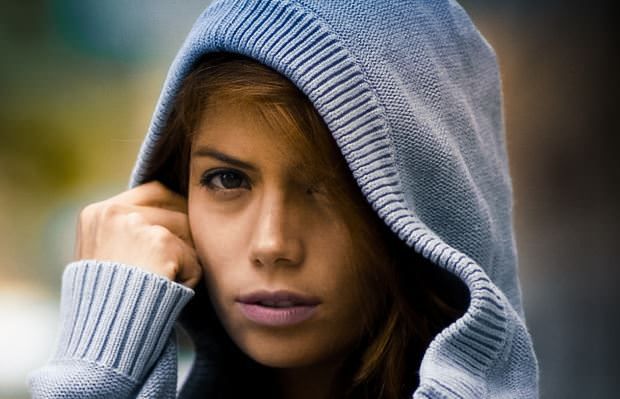
Presets used: Strike a Pose Workflow
There is 60+ more Presets to choose from.


Please verify your software version before proceeding.
 I’ve verified my software version


 Facebook
 Google +
Comments (0)
There are no comments yet.