Hi all, today I’m going to be going over some very basic reasons why you should be using Lightroom and how you can install the Lightroom presets and use it to edit your images.
So when I first started I never used Lightroom really and to mass edit, I went about things in a very awkward way that created a huge Photoshop file and took up a lot of room.
At the start, I never really appreciated Lightroom sort of seeing it more as a lesser Photoshop and I never really got why I should even consider using it.
Well, I was wrong and I’ll explain why, Photoshop is excellent at handling one image at a time and doing crazy stuff with manipulations, retouching and edits like that, but Lightroom is more for mass basic editing. Yet you can edit sunset like a master in lightroom from scratch.
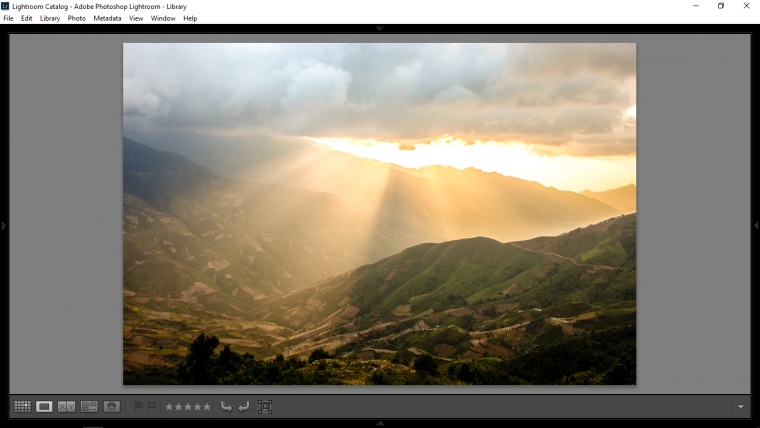
Check out the two images that we are going to use as examples here.
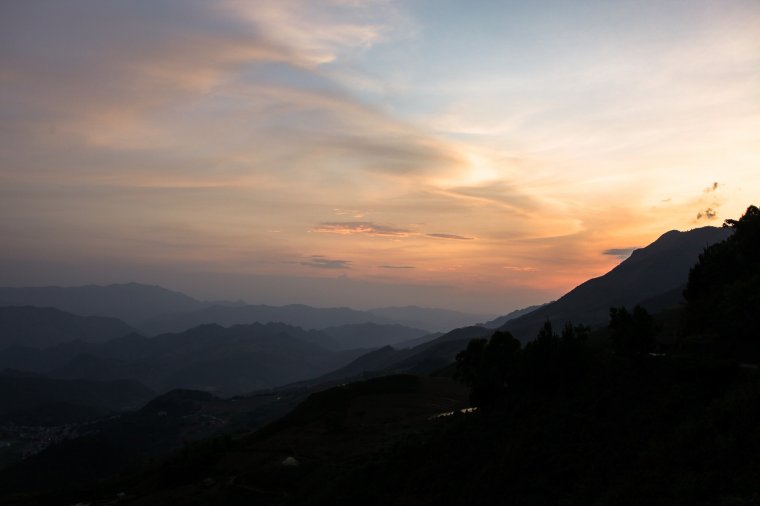

Awesome photos but let’s see what we can do in Lightroom, now imagine you didn’t just have 2 images but you had 200 of these types of images, well in Lightroom it wouldn’t matter! when doing this type of editing that requires Lightroom presets it won’t make a difference.
Ok so let’s get on to adding some Lightroom Presets to our image and see what type of result we get, at the minute I just have the standard presets loaded that come with Lightroom but if you have others feel free to use them.
You will find those presets on the left-hand side of Lightroom.
By the way, it doesn’t matter which one you choose because this is more of a recommendation and advice compared to a Tutorial where I’m showing you some complex technique.
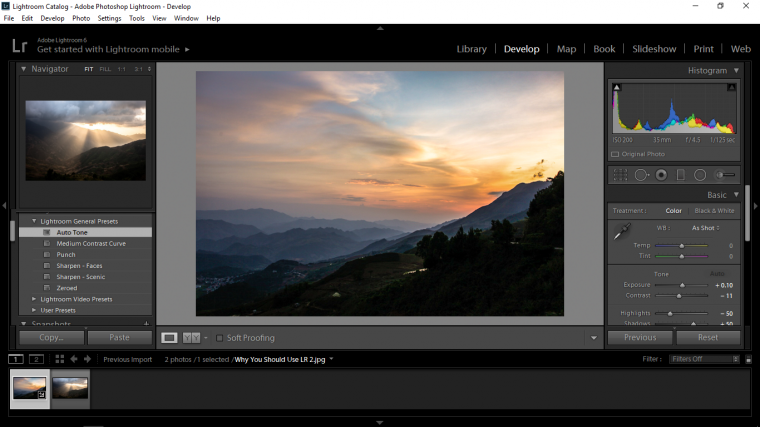
Once you have your preset added you can start to apply different option in the basic panel to the right-hand side.
You will see a whole lot of sliders here, if you want you can go through them all and see what all they do, when you are finished you will have a far better idea of how they change your image, when finished you can click on Reset at the bottom right-hand side to go back to the default setting you had before you started tampering and testing out.
Note: you will have to reapply the Preset.
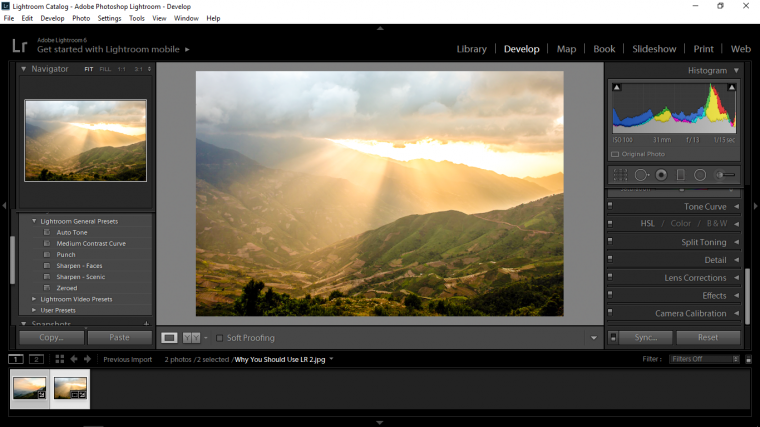
When I was done my image ended up looking like so…
What I used for this have I upped the Temp.
Added a little Vibrance.
I also went to the Blacks held Alt and moved my slider till I was barely able to see the black pixels on the screen anymore.
I also did this with the Whites, but the opposite of course.
The last thing I did quickly was to add a gradient, it’s not in the sliders but if you look just above the basic section you will see 6 little icons, first one looks like a grid.
Well, I used the fourth one over… the way to use it is you just click drag and rotate, I just applied it to the full image to lighten the sky and darken the ground.
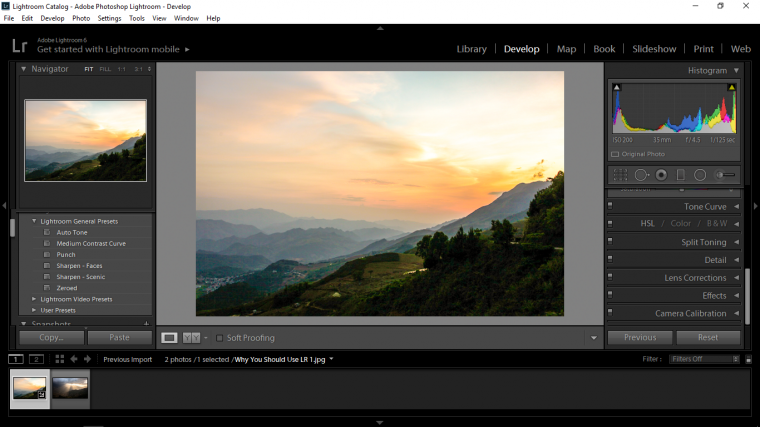
Now all we have to do is to apply all these new updated setting to our other ‘image/images’
So you will have your first image selected at the bottom…
But to select them all you go to the last image that you want to apply the new setting on, hold shift on your keyboard and click it, you will now see all the images from the first to the last image will now be selected.

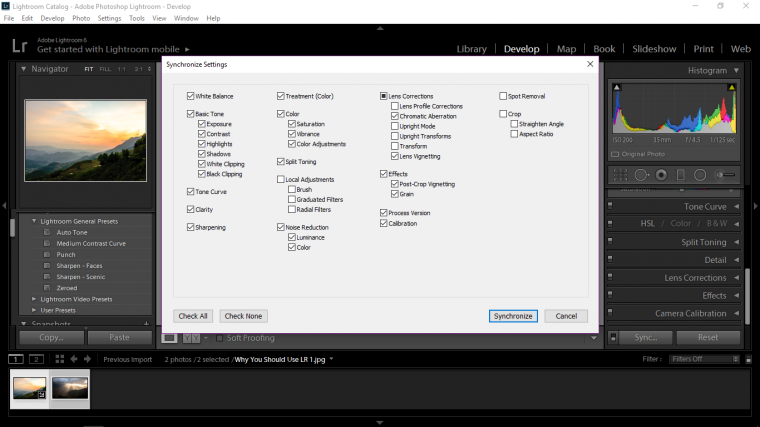
Then all you have to do is to click on Sync.
When you do you’ll see a panel appear, make sure to check the box that the bottom left of the panel that says ‘Check All’
Then hit Synchronize!
When you do this you will start to see all your image update with the new setting in turn, if you have a few hundred, sit back and have a chill because it may take a few minutes.
When done you will be able to flip through each image and see how it did, if the images are similar then they should all look pretty good but you may just have the odd one out of place, all you have to do here is just go back into basic and play around with the sliders again.
Then you can go to Library and export the whole bunch instead of Photoshop were you’d have to save each individual image which could take forever, this alone is worth working with Lightroom! and that’s it, handy I’m sure you’ll agree!


Please verify your software version before proceeding.
 I’ve verified my software version


 Facebook
 Google +
Comments (0)
There are no comments yet.