
Hi everyone, today we’ll be starting our Tutorials on How to Master Smart Objects in Photoshop.
So if you don’t know what Smart Objects are then you are in the right place to learn how you can use them to improve your Photoshop skills.
In this Tutorial you will learn all you need to know about Photoshop Smart Objects, you’ll learn the differences between Smart Objects compared to standard Images in Photoshop.
Ok so let’s get to it we’ve got a lot to learn.
First of all, if you take a look at my image below.
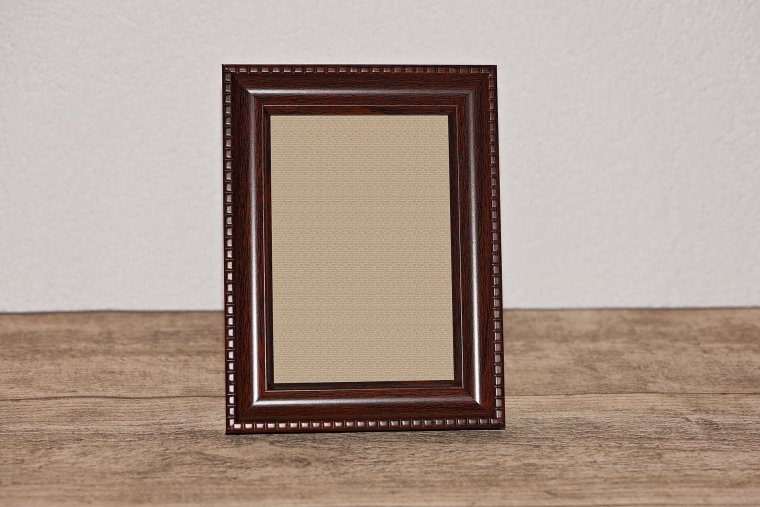
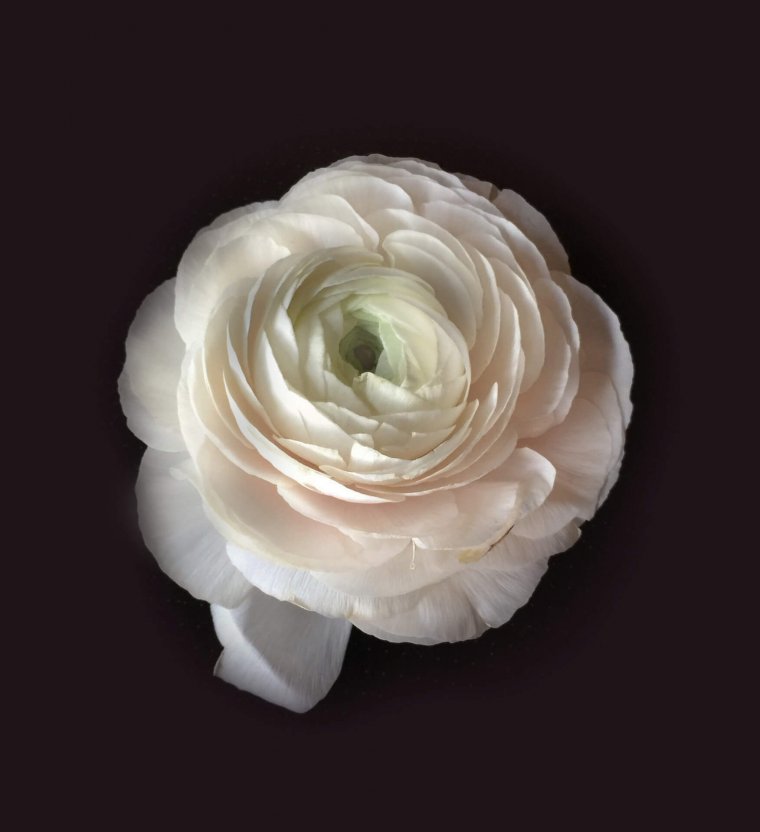
Now what I want to do here is to place my image in the picture frame.
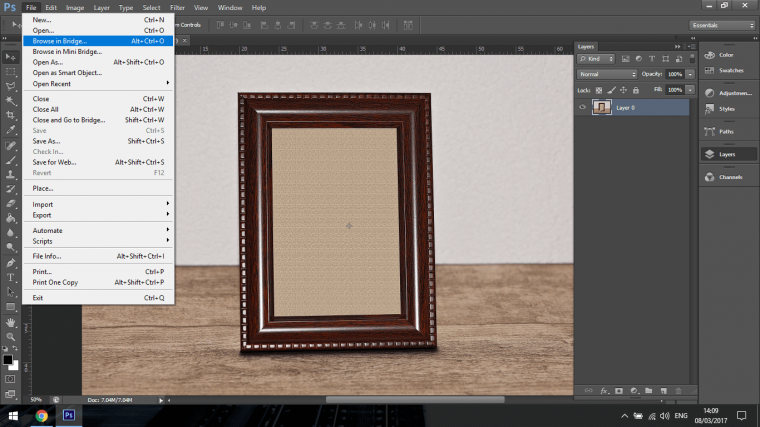
To Place what you can do is click on File and look down till you see Browse in Bridge, click on that.
You will also notice that there is a Photoshop shortcut that you can key in on your keyboard, that Alt+Ctrl+O.
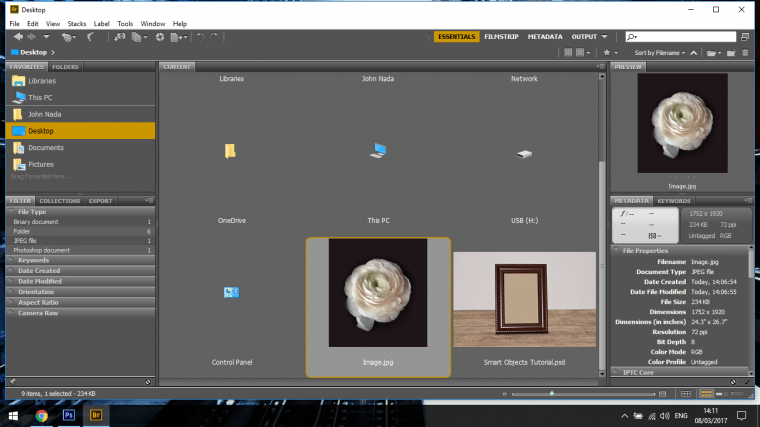
Once you are in Bridge go to where your image is located and click on it once, don’t double click, just enough to highlight the image getting it ready for the next step.
Next click on File, scan down till you see Place near the bottom when you click on that you will see a few options depending on how much Adobe you have on your system.
Click on ‘In Photoshop’
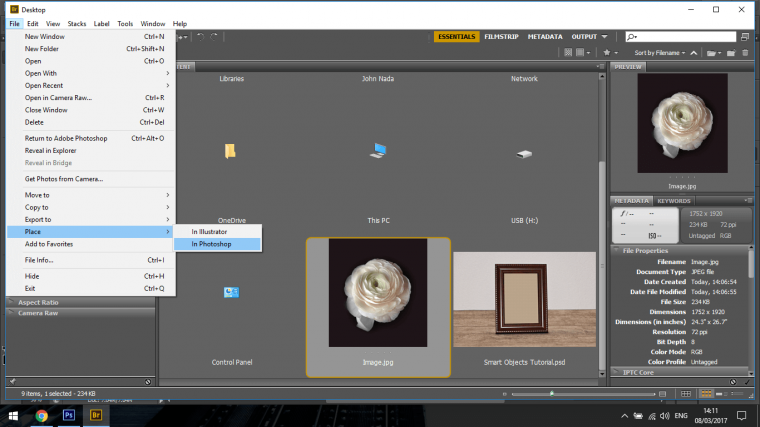
Then your image will now appear in your Photoshop work space.
Your image is now a Smart Object.
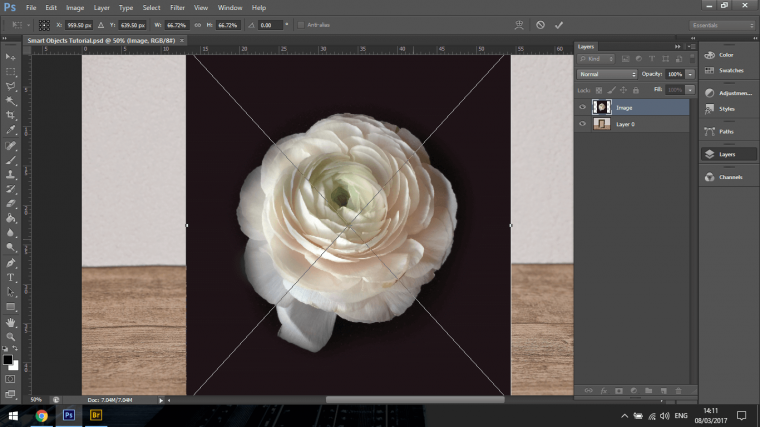
Holding down on Shift you will be able to click on the Corners and increase or decrease the size of your image.
This is called constraining your image.
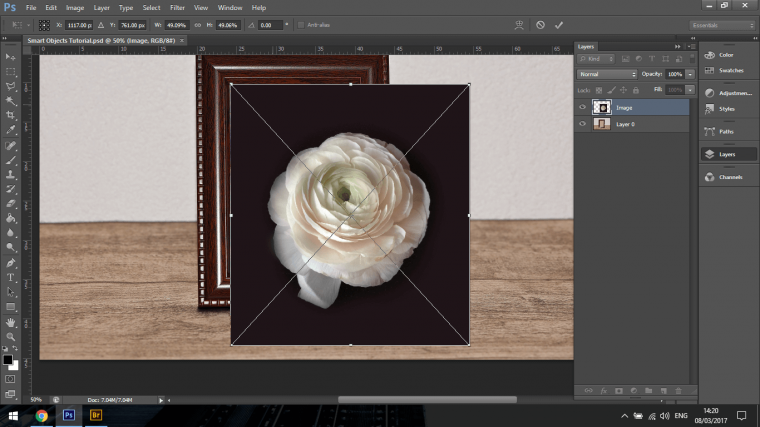
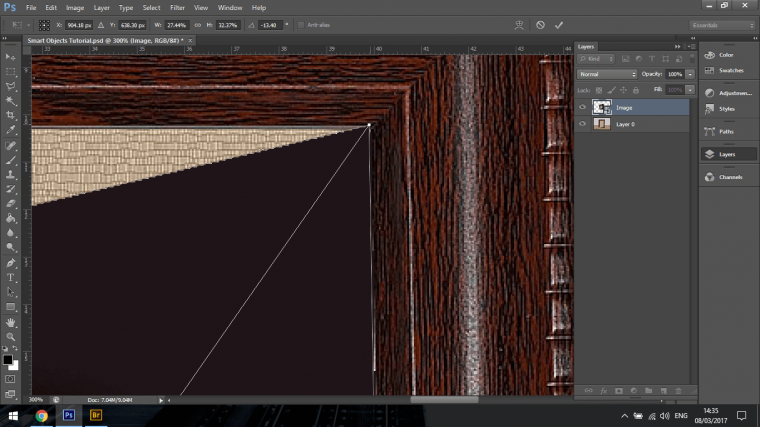
You can also hold Ctrl and when you click on the corner this time you will be able to manipulate the angles on the image so you can manually fit the image to the picture frame.
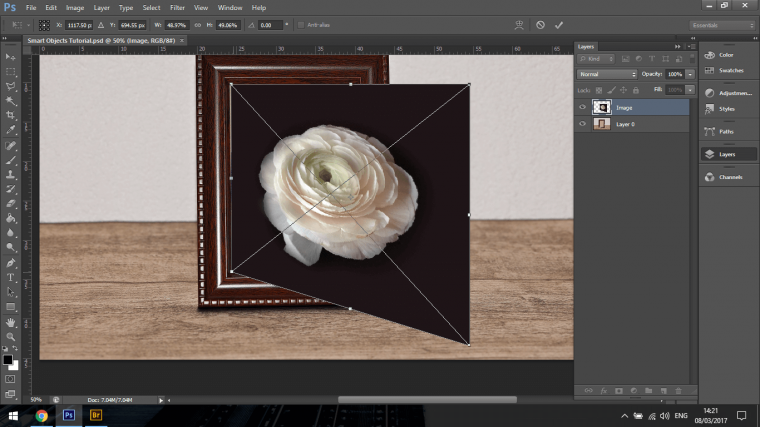
When you get close, you can zoom in and neaten up the edges.
So what would happen if I did Double Click the image?
Well if you Double Clicked you will see that the image will appear in a different window beside our already open file.
If you click and drag it across or copy and paste it into your picture frame image you will see that it is not a Smart Object, it hasn’t automatically converted yet.
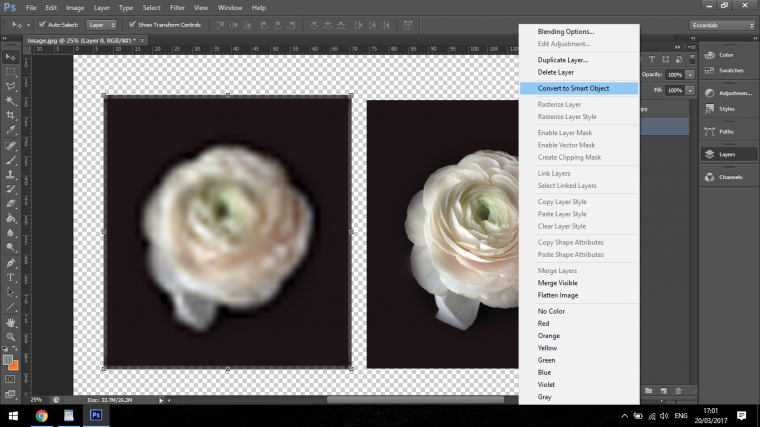
The way you would convert the object manually is you right click on the image and the click on ‘Convert to Smart Object’
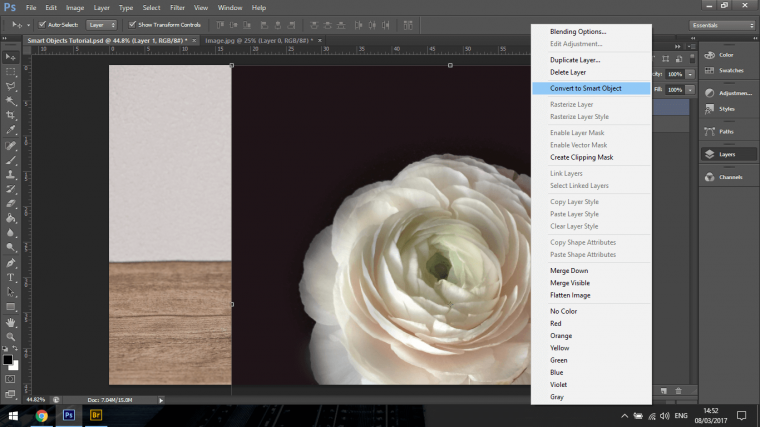
You will also find the same command if you click on the Layer Menu.
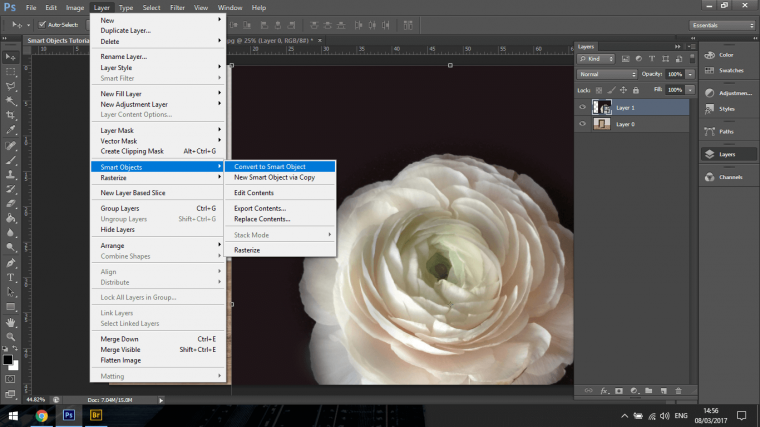
When your Object has been created you can key in Ctrl+T to activate your Free Transform Tool and you will be able to move the Object as we did previously.
So, so far we have looked at the Automatically Placed Smart Object and second the Manually Placed Smart Object.
Now things will get a little complicated but hang in there you’ll get it.
If you Double click on the Layer within the image.
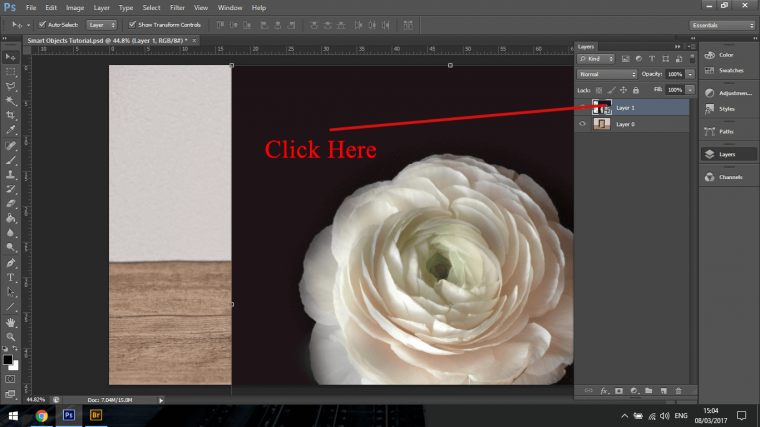
When you click on this the image will now open up in another window.
Click OK if that pop up appears.
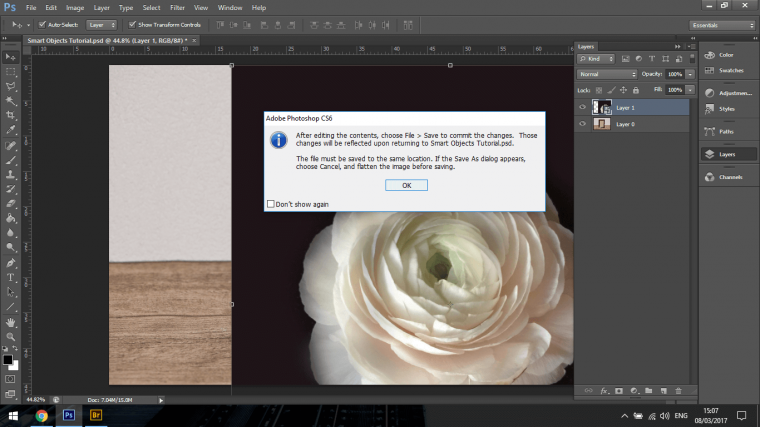
Now your Object Image will open up.
What will happen here is, we can adjust our image using Adjustment layers, so with this one, we will change it to Black and White.
You can find this in Image – Adjustment and click on Black and White.
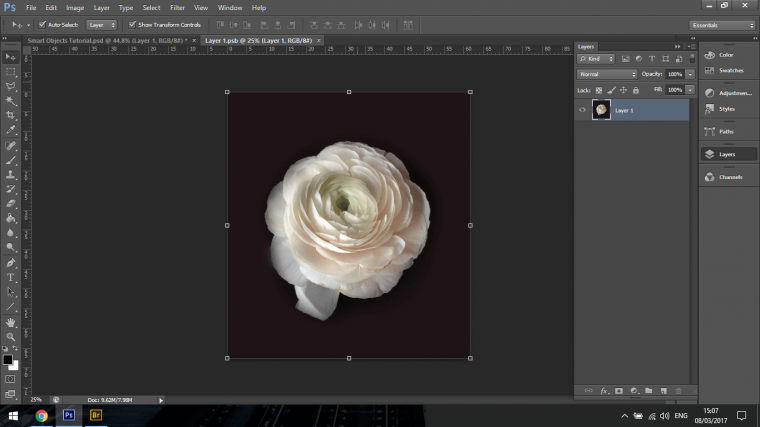
When your image changes to Black and White you now go to File – Save and close, now if you look at the image in our Picture Frame Image you will see that the changes have now been applied to our Object there.
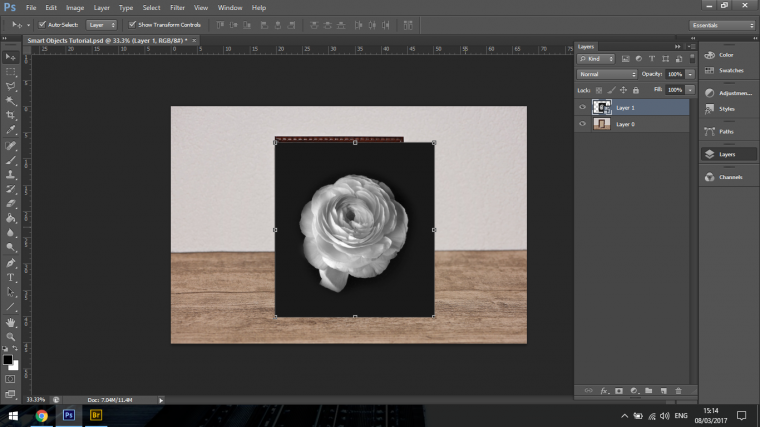
So we have done this with the Manually Placed image but we haven’t done this with the automatically placed image.
My advice here is to stick with the manually placed image for now as it is the simplest way to do this and the other way using the automatically placed image can get a bit confusing, especially if you are just starting out with Smart Objects.
Honestly, I tend to work within the Frame Image PSD (our original file) and create adjustment layers and groups but each to his own.
Now we will talk about what’s the difference between Raster and a Smart Object and actually what does Raster mean for all you out there not familiar with the term just yet.
So the main difference between Raster and a Smart Object is, when you resize a Smart Object it will preserve its detail.
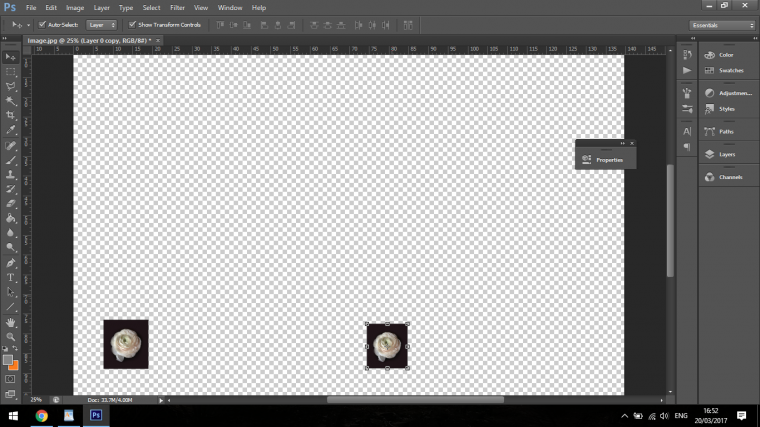
Raster will not preserve the details that you started off with, so if you shrink an image and then try to resize it, it will come off looking like the image below.
The Flower on the left is Raster and the Flower on the right is a Smart Object, both have been decreased in size and then using the Free Transform Tool then resized again.
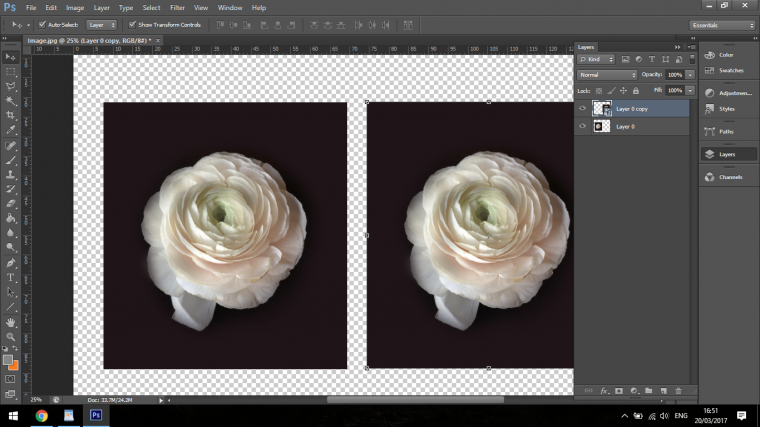
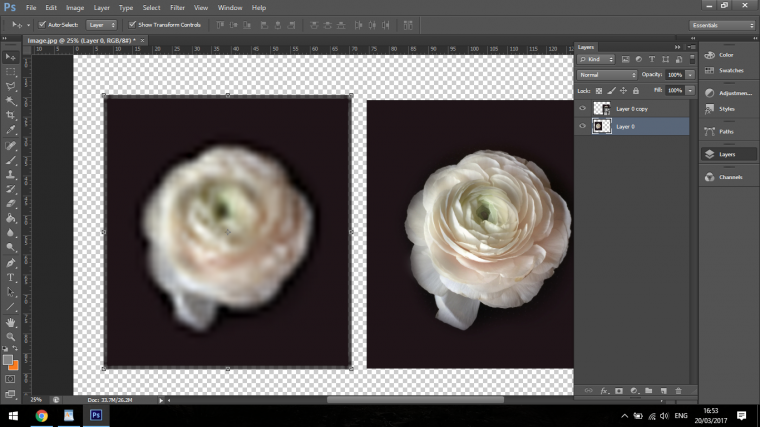
The reason you would use a Smart Object is because if you create an image that you will probably come back at a later date to edit you will need to preserve the details, you never know what edits your client will ask for in the future so you must work in this nondestructive way.
Even if you rotate your image eventually using Raster the details will start to become deteriorated.
So if you are going to be resizing images then always change them to a Smart Object, which takes two seconds to do and save you an eternity of misery.
Well, maybe not that extreme haha.
Again to change to a Smart Object just in case you have missed it you or forgot, it’s done by left clicking on the images layer in the layer panel, then click on Smart Object and you’re done.
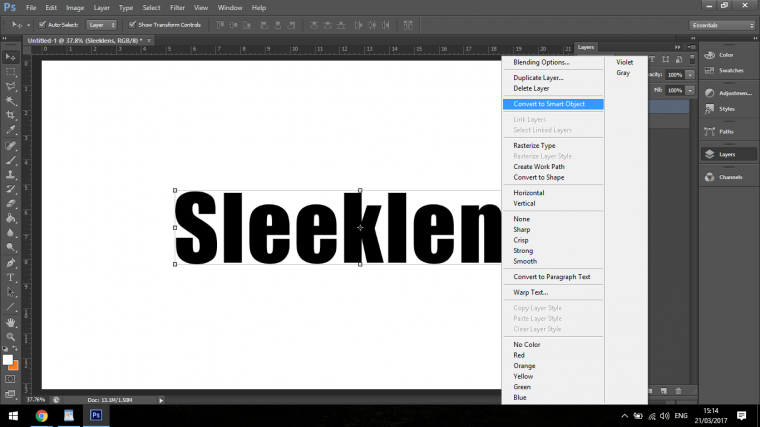
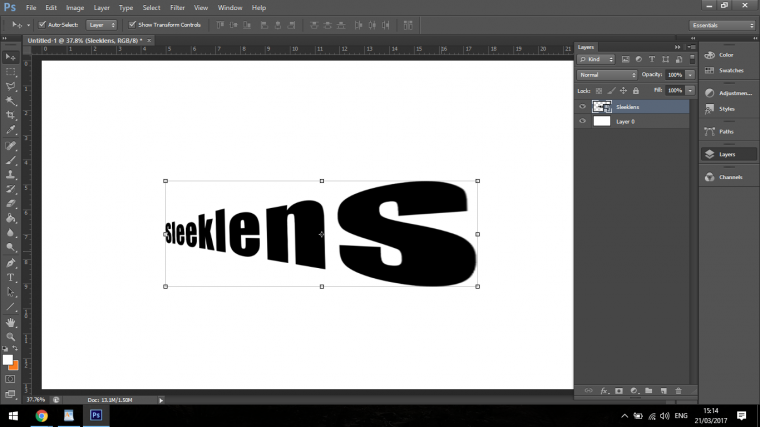
Next, on our list we will talk about how changing text into a smart object will give you different options.
When you are using the Transform Tool and you hold the Control Key on your keyboard you will be able to manipulate objects.
When your text is in it’s standard form just using the Text Tool you will be limited while using the hold down Control Key option.
Standard.
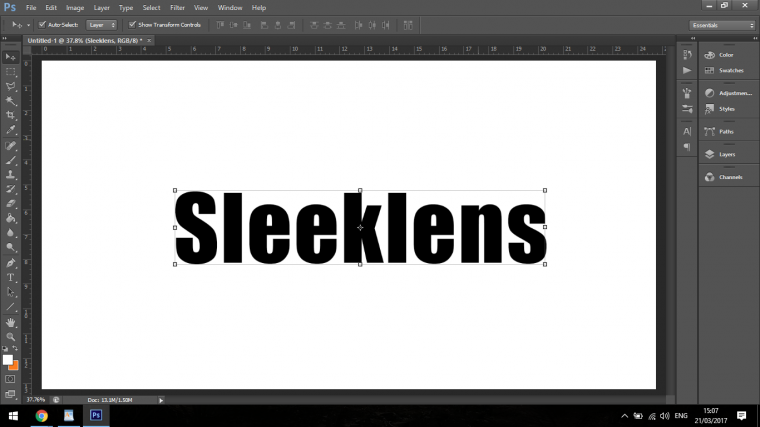
How it looks when using the Control Key to manipulate the text.
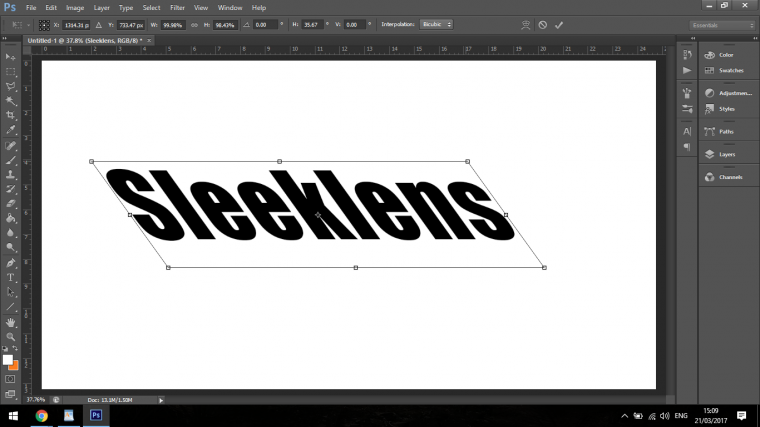
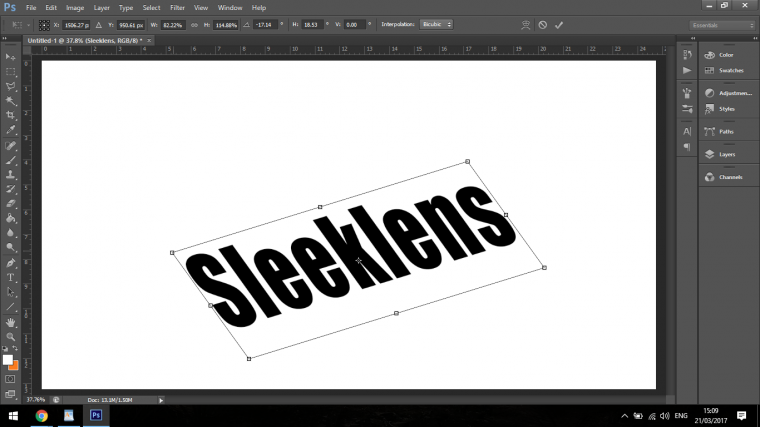
As you can see from above, you are able to warp it in an Italics way and Rotate etc but as for actually changing perspective, you have no options there for that.
But when we change it to a Smart Object we are now able to manipulate the object so much more using perspective resizing edges exactly how you want them using the same hold Control Key method.
Now we’ll finish off this little series with how to create Linked Smart Objects.
Please note that you will need the most up to date version of CS6 at least for this.
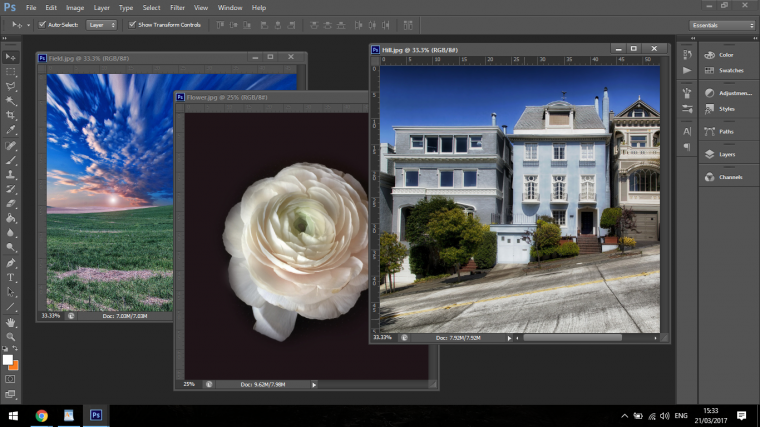
For this to start with you will need three images open, any three images will do.
Just a side note, this will work for 2 Images +, we are using 3 just for the example.
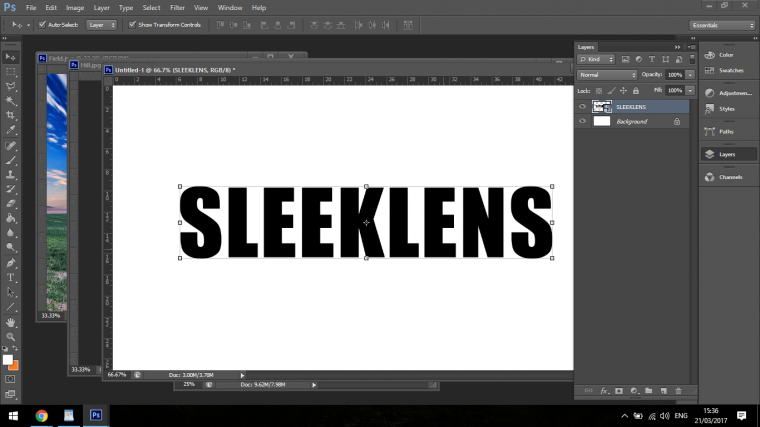
What I did here was to create a new text document much like the one we just had, then I saved it as a PNG file.
This means that there will be no background only the text.
My job here is to add the text to the 3 images and change the color that my ‘Client’ want’s, so let’s pretend this is their new logo but they haven’t decided on the color yet.
So what I decided to do here was to create the files to get the ground work out of the way and when my ‘Client’ decides on the color I can change the 3 files very quick and very easy.
To do this I go to File – Place Linked, then I find my file and click on it so it places the png.
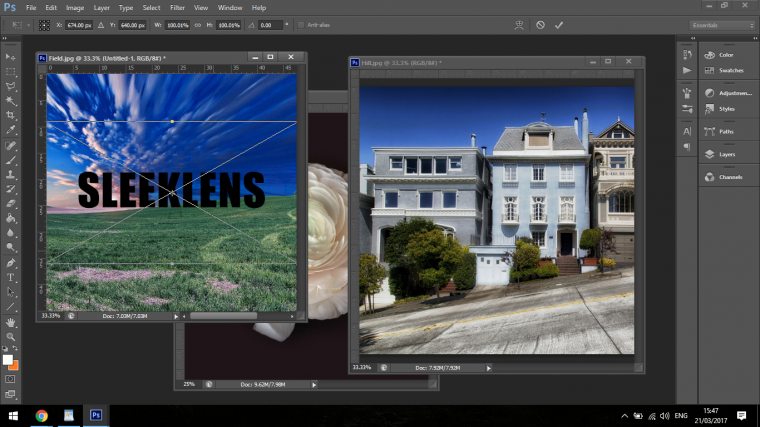
There will now be a little chain icon on your layer thumbnail.
Now all I have to do is hold Alt, click on the Object and drag it into my other images, you can also do this just place it in as you did before, then all your images will be linked.
Now if you double-click on the Smart Object Icon in the layer it will bring you to the source image, so in our case, it’s the text, so if we change the color of the text it will change the color in all three files.
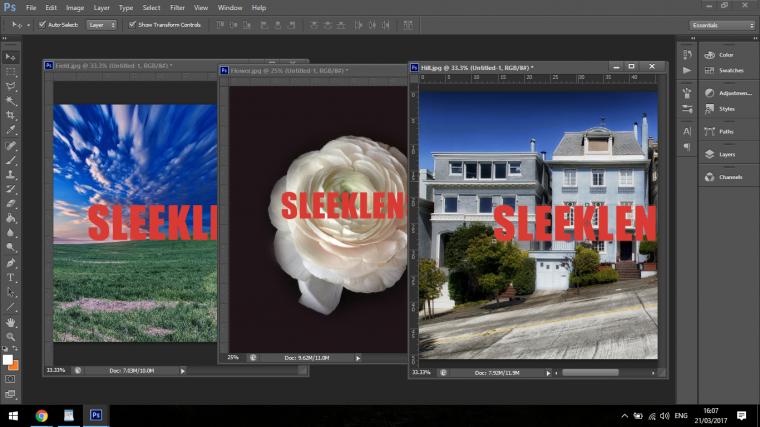
That’s it for Smart Objects, this is just an introduction and there is much more to learn but this will definitely start you off running.
Comments (0)
There are no comments yet.