Hi all, today I just wanted to go back into a previous subject, or at least an element of a previous subject in more detail as I think it deserves a tutorial all by it’s self.
In a previous tutorial we looked at how to fix mature skin, well in this tutorial we’ll be working on the same theme but going into more depth and using different techniques.
With wrinkles when they are removed completely it makes the retouched image look fake which is not good, because if you do this in advertising, even though advertising is doing this to sell you products anyway, is to manipulate the viewer into believing something that is not real, what you want to do is to reduce the wrinkles not remove them in total.
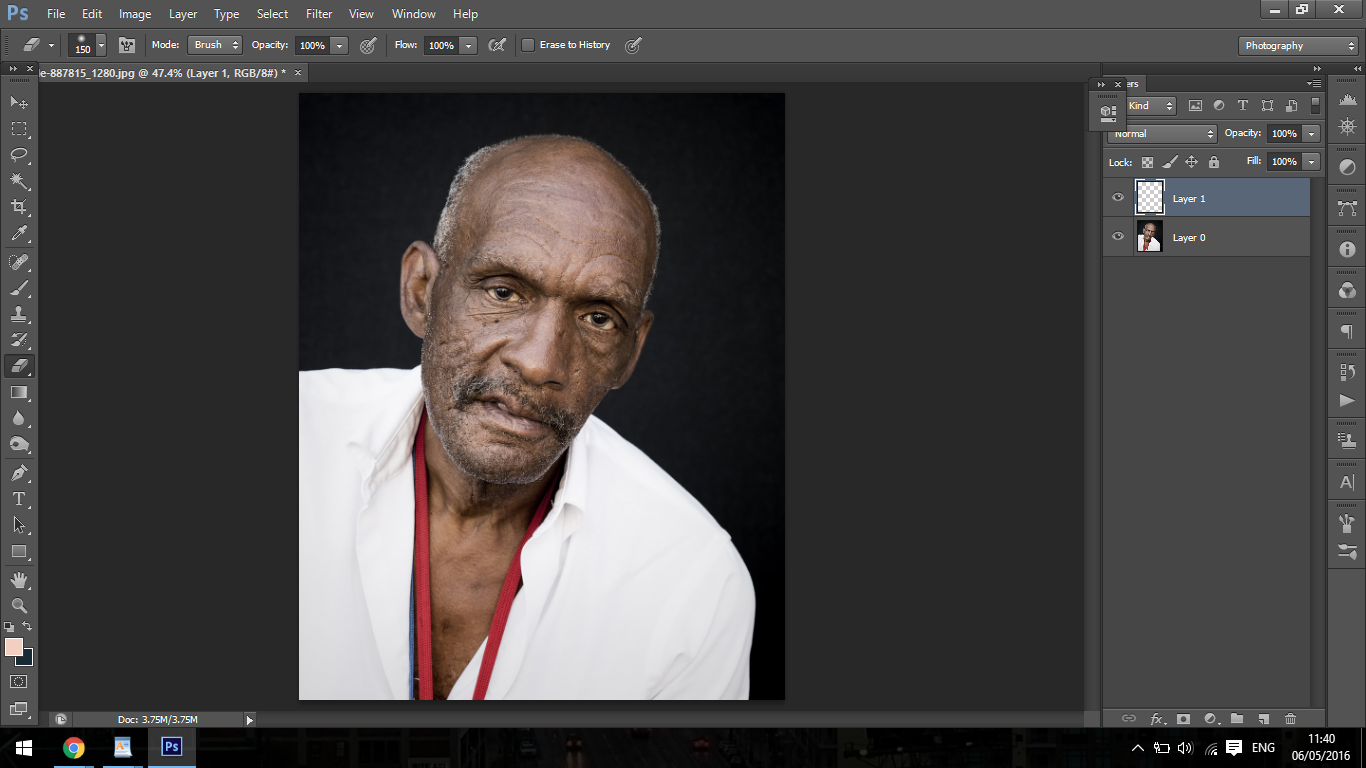
To start off, you will want to create a new layer.
Hold Shift Alt then press N.
Next I want you to click on your standard Healing Brush Tool, in a previous tutorial “How to retouch mature skin” we were using the Spot Healing Brush Tool, so I have that highlighted in the image below.
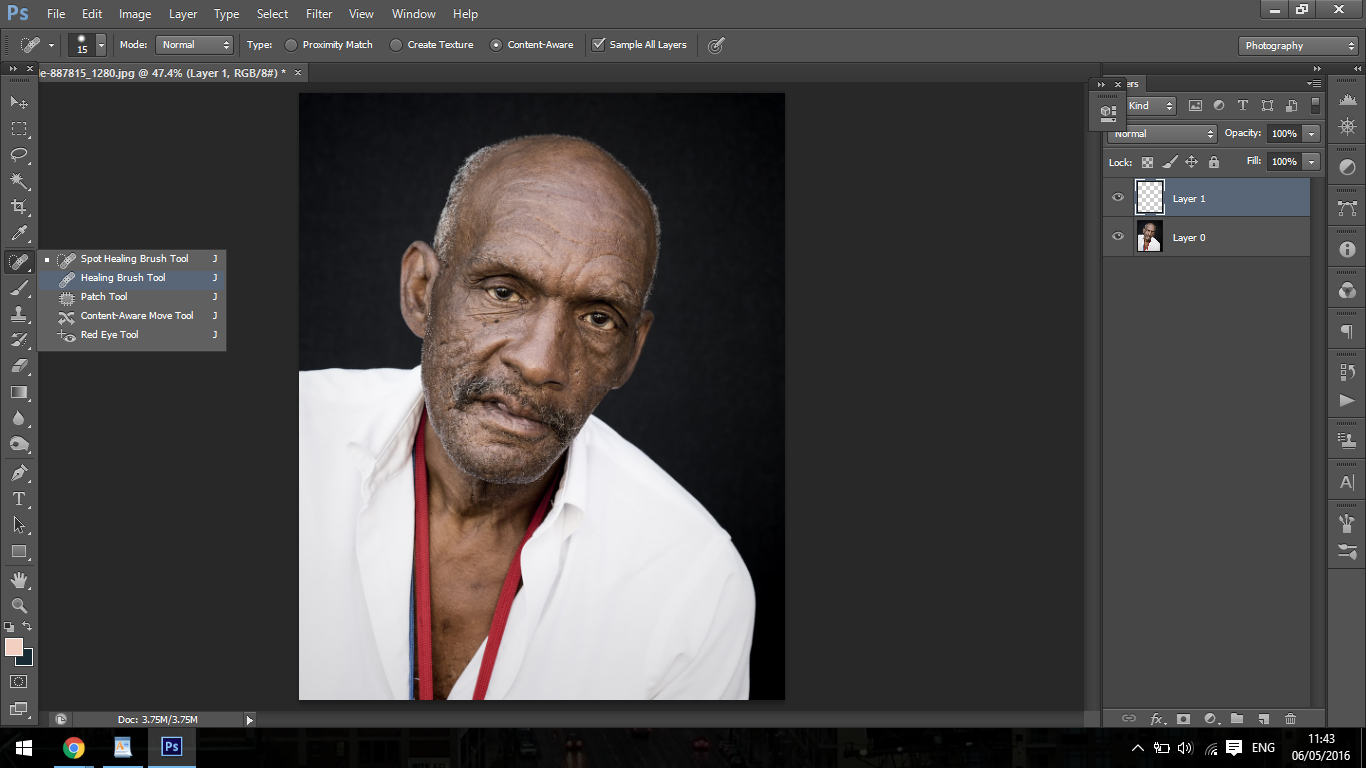
Ok so you’re on your new layers and you have activated your Healing brush Tool, you use this in the same manner as you would your brush tool, you can change the size with the bracket keys on your keyboard [ & ]
Make sure your brush is on Current & Below
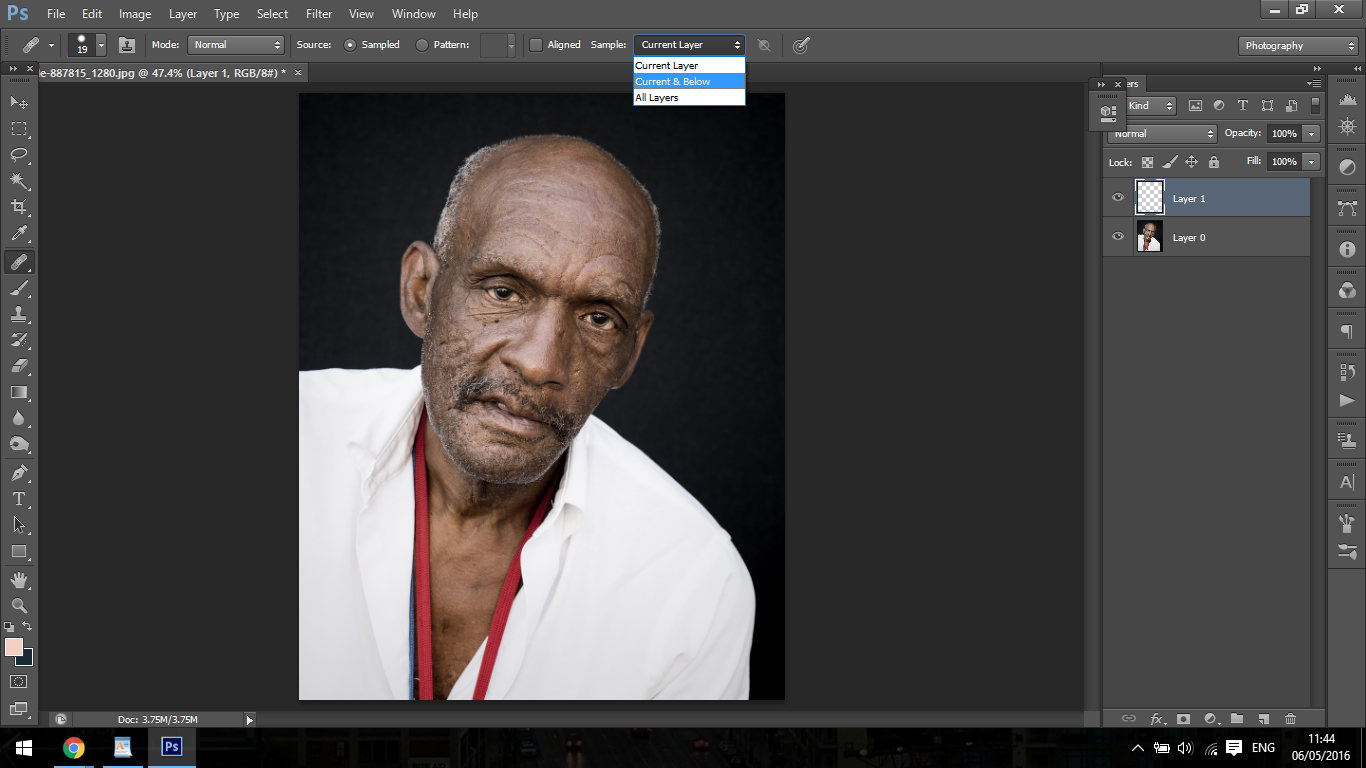
To use this tool, using the bracket keys so a little bigger than the actual wrinkle itself then hold Alt and click on an area you want to clone then you draw along the wrinkle, this will then clone over the top of the wrinkle and it should completely remove it, you may have to do this a few times and be careful when you get to the edges.
This is the technique you would use to completely remove the wrinkles, chances are as good a job as this does it’s too much, to completely remove the wrinkles and will look odd.
So this is similar to what we discussed in the tutorial on retouching mature skin.
The next technique is in my opinion better and more realistic so it suits this job better.
To start you have to duplicate the bottom layer, you do this by clicking on it and dragging it over the icon that you click to get a new layer.

Alternatively you can click Ctrl + J for the shortcut.
The hit S on your keyboard to activate your Clone Stamp Tool, then you go to mode and change the mode to Lighten.

What this will allow you to do is sample from the light areas of the skin by holding Alt on your keyboard and paint directly over the dark areas without effecting the already light areas of the skin.
This technique will actually let you work faster because you are not cloning areas that are dark, instead what is being cloned is the areas that are light and adding them directly over the top of the wrinkles.
off course this doesn’t mean you have to be reckless while doing this you still must use skill, patience and intelligence to end up with the best result.
The results of the second should come out looking pretty good and the wrinkles will be softened down.
Depending on the client or option you need choose from those above, don’t be dogmatic and think that one shoe fits all as this is the case, you want to adapt your techniques to fit the situations, with these there is only a slight difference but it’s enough to make a difference.
One more little tip I want to add to this before you I go is that if you choose to use the first technique and completely remove the wrinkles but then the client turns round and says that they don’t really like it as it has been retouched too much is to lower the opacity of the top layer you were using (this applies to both techniques.)
Then you can play with the slider and give them several options until they are happy with what you have for them.
So that’s just an extra little tip to help you in your freelancing career. 🙂
Retouching Newborn Babies Blotchy Skin In Photoshop could never be easier!


Please verify your software version before proceeding.
 I’ve verified my software version


 Facebook
 Google +
Comments (0)
There are no comments yet.