Hello
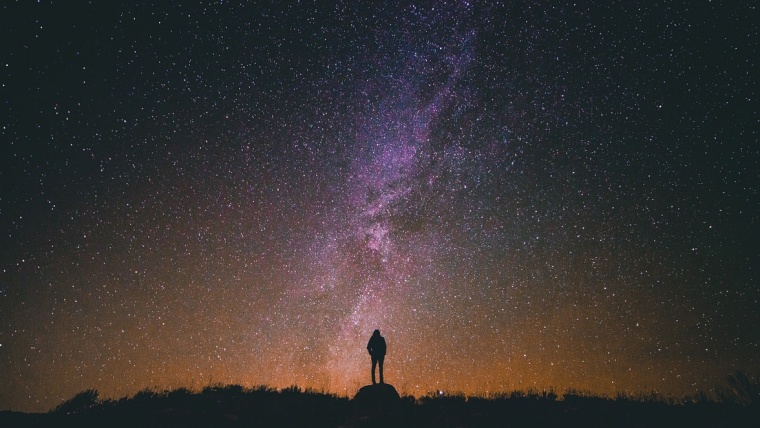
Today we are going to be looking at how to add Stars to an image using Photoshop.
Sometimes you will take an image at night and because of the Exposure you will unfortunately lose out on getting the stars in there two which is a shame.
But never fear, I’m going to show you the technique on how to do this today that will work on any image large or small.
Check out our Photoshop Actions, if you are lazy 😉
So lets look at this awesome image I found on google.
Awesome Image with the eerie mist going over the rocks, but no stars due to several reasons, overcast, exposure and light pollution, these are the things you will have to bare in mind when taking such photos.
Thank goodness we have Photoshop in our Tool box right!?
Now the easiest and most simple way to add stars to this sky would be to open your Brush Tool using an extremely small setting and click each individual star as you go along and then at the end use one of your blur options and maybe drop the opacity a little here and there to change things up and so forth.
The only (and major) problem with this is that it will take you an absolute life time to do and we don’t have that sort of time because we have other photos to edit!
So what we’re going to do is create a custom brush.
To do this first open up a new file (File New) and set your file to 500 by 500 Pixels.
Now you have your new file open press B to open the brush tool and with black using a hard brush click 2 or 3 random marks as shown below.
Once you’ve done this click on Edit – Define Brush Preset.
Tip To Remember – Quick way to use photography templates for adobe photoshop
Name it and then Click ok.
We now have our custom brush but it is not ready for using yet, if you try it out you will see why.
It still has to be calibrated to what it is supposed to do for us, you do that by pressing on F5 on your keyboard and the brush option will appear. (If it isn’t working just check by pressing B to activate your brush and it should be fine.)
The Setting you need to have are as follows.
Double click on Shape Dynamics
Increase your Size Jitter to 100, and do the same to Angle Jitter (Boost it up to 100 as well) what this does is it changes size as you go along an rotates them so they are different.
Note: just below Shape Dynamics you will see Scattering, you can use this tool to increase the distance between the dots for a more wider and random effect.
Another little trick is to Double click on Transfer and increase the Opacity Jitter, this will give your stars depth by making some more transparent than others just as it would be when you look at them in real life.
Now click where I have indicated below, Click on New Brush Preset, name it and Save.
Now it’s time to paint your stars on, find your preset and click on White and start to paint on to a new layer using the bracket keys [ & ] to increase and decrease size of your brush.
Work on this a little and don’t be afraid to use your eraser tool to get rid of any stars that over lap building after you are finished.
You can also do this after you have finished to erase out some areas that have too many stars.
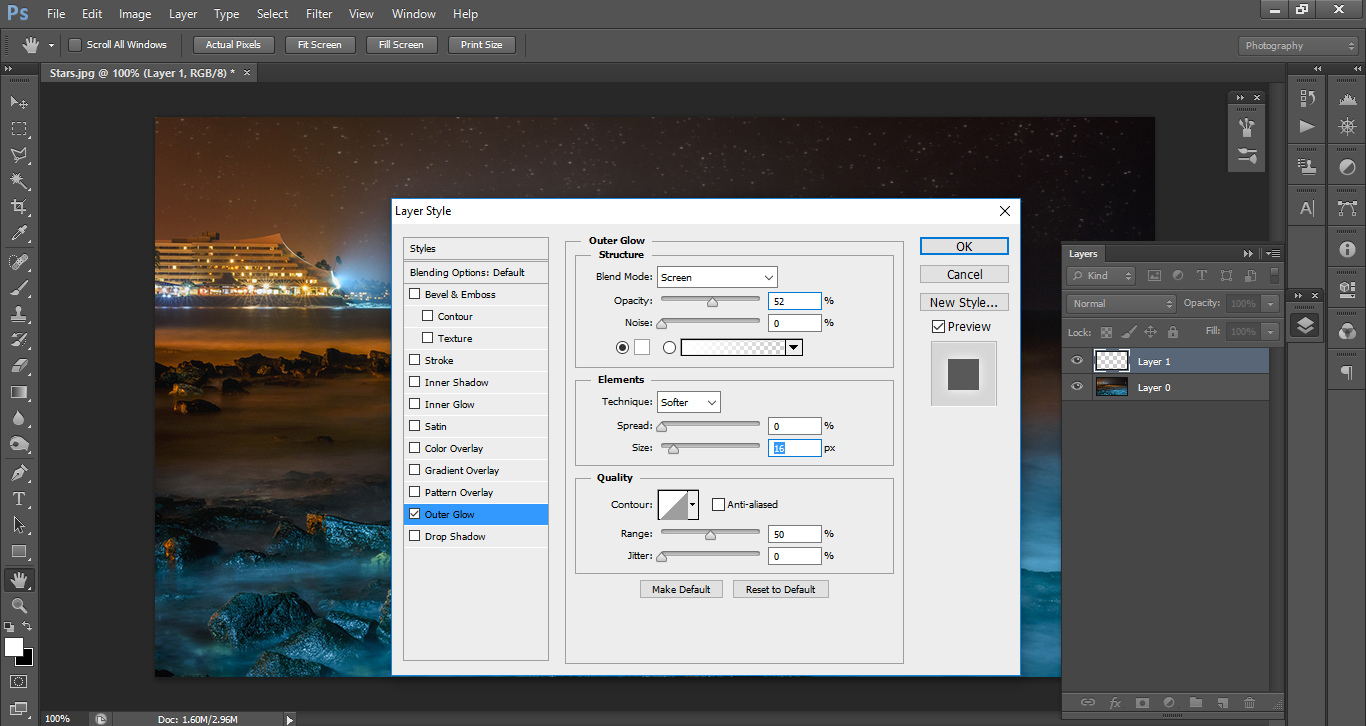
Next we’ll be adding some Outer Glow, you do this by double clicking on the layer you have the stars on, as you can see below the panel that has opened up, choose the setting s that I have in there, you can play around with opacity and Size if you like as it may give you different results to what I have.

To finish off I’m going to add a little blur to blend the stars in, go to Filter – Motion Blur.
Set your distance slider to 1 or 2, think that should be enough, feel free to try higher settings.
That’s it for this tutorial, hope you enjoyed it and Learned a good deal, not only did you learn how to create stars but you also learned as a side lesson how to create brush presets 🙂
Comments (0)
There are no comments yet.