Hello there, are you ready for some more Photoshop Tutorial learning fun?
Cool, today let’s take a look at giving people completely different haircuts, this is a follow up to another tutorial I did call ‘How To Make Anybody Bald Using Photoshop’
In that tutorial, I took a random model and completely removed his hair to see how he would look if he shaved it all over.
So if you’re thinking about paying a visit to the hairdressers to get a grade 1 or less then that will be a good tutorial for you to look at.
But for this, we’ll be doing the opposite, in this tutorial I’m going to be just changing up a person hairstyle totally.
Again this is a great tutorial if you’re thinking about a new haircut but you don’t want to go all out just yet.
Using this tutorial you can change yourself up for a couple of different hairstyles.
If you really like one then you can maybe get a print out to show the hairdresser exactly what it is that you would like done.
So, now I’m going to Pixabay to I find suitable images to use for this tutorial.
Ok, so there are two ways we can do this depending on the result we want.
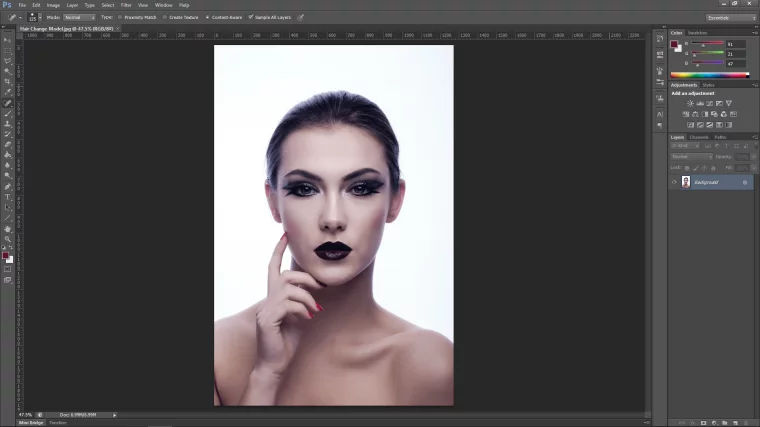
As I just want to see what my model would look like with a different haircut I can superimpose the face of this main image onto another…
Thus keeping the second images background limiting any messing around with the hair.
But if you have to do this for another reason then you may have to cut the hair out on the second image.
Then place it over the main image or over a new background or whatever then superimpose the face.
I have numerous Tutorials on cutting out hair, links provided below.
My Solution to Cropping Long Hair in Photoshop
My Solution to Cropping Short Hair in Photoshop
How To Remove Fringing After Cropping Hair In Photoshop
Enjoy those!
But for this, we are just going to go with option 1!
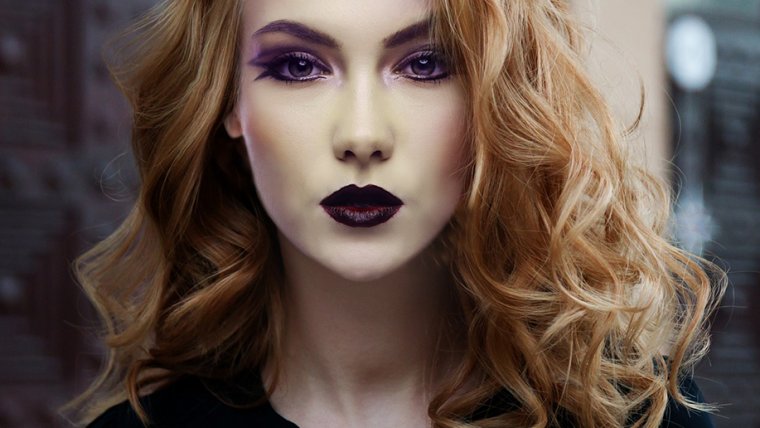
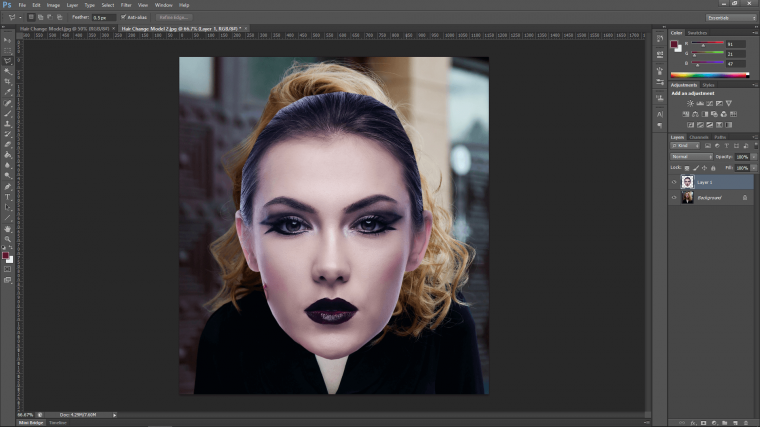
The image below is where I’ll be adding my model.

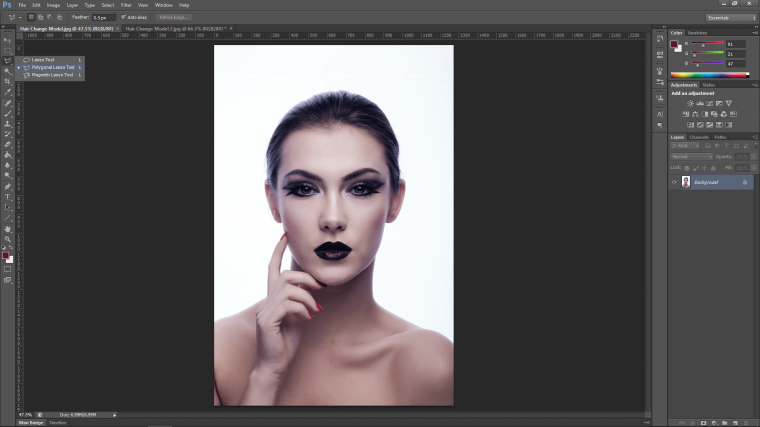
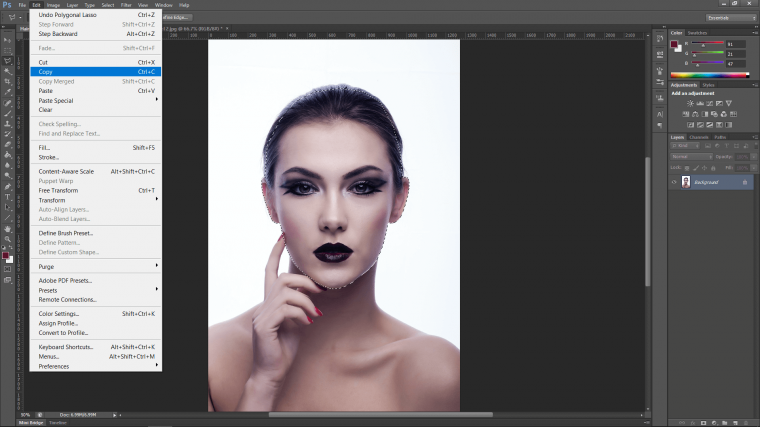
Select your Polygonal Tool.
Above that, you’ll see the Feather option (you’ll see it just below Type and Select in the top menu) change that to about 2 or 3, and when you make your selection, take your time and do it correctly and as good as you possibly can.
If you make a mistake Ctrl+Alt then hit Z
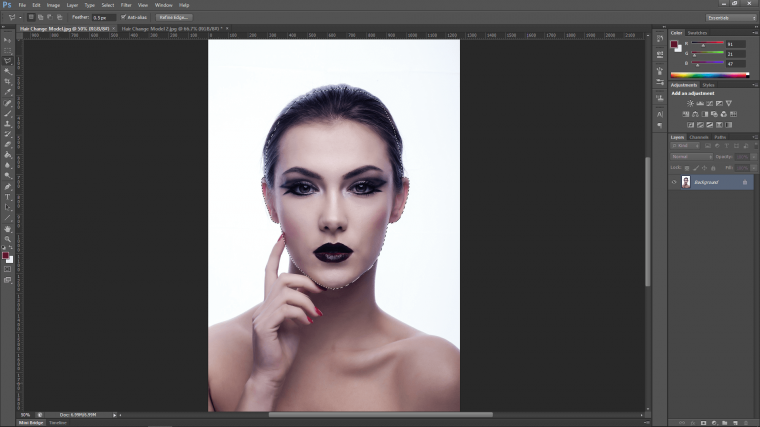
Then just start to click along the jawline etc. until you get a perfect cut out, in saying that, just with that face, you can be chilled with the hair.
Just make sure the main face is good, then at the end click where you started to close the selection and you’ll see the marching ants.
Now copy and paste your selected image into your second image.
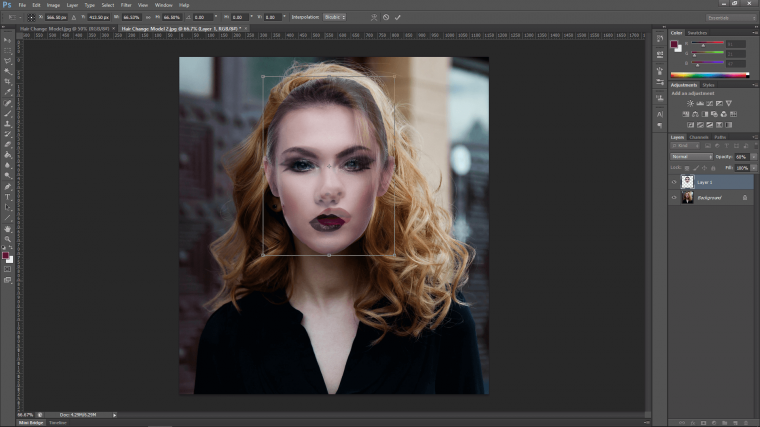
Key in Ctrl+Alt+T on your keyboard to open up your free transform option, you can now click and drag the ends to resize the face so it looks right.
You can also drop the opacity of your new layer (you will see on the right-hand side) so you can match it up with the face underneath.
Note: holding shift will keep your image the same proportions.
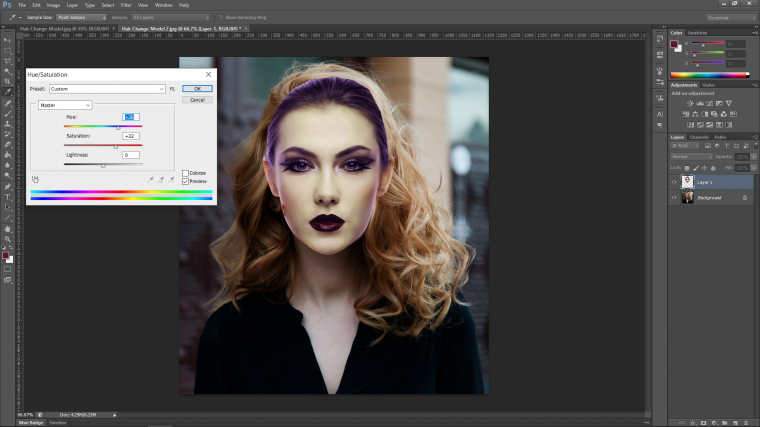
Your face may be off in color, there are many ways to fix this up but one of the easiest is to play with the Hue and Saturation.
You’ll find that in ‘Image’ on your top menu.
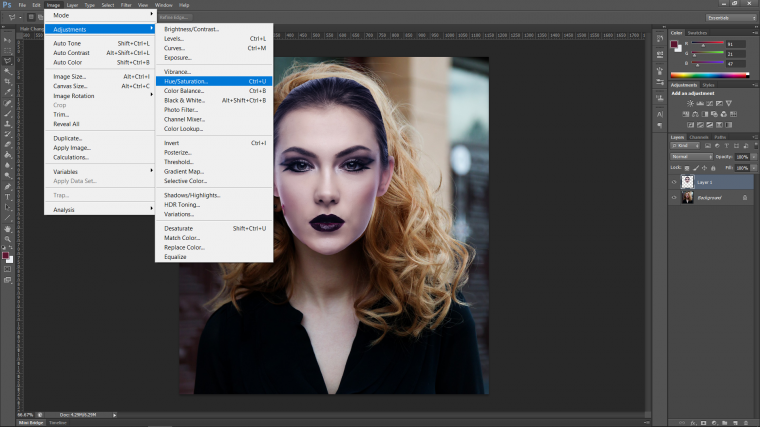
When that’s open what I do is first I’ll adjust the Hue until I find a flesh tone similar to the one below.
Then I’ll move to Saturation, usually, you’ll find as you get better these two steps should be enough.
But you may need to go back and forth a few times to make little adjustments.
I usually never have to mess with Lightness but you’ll find sometimes if you feel you’re 90% there, a little tweak on Lightness can help.
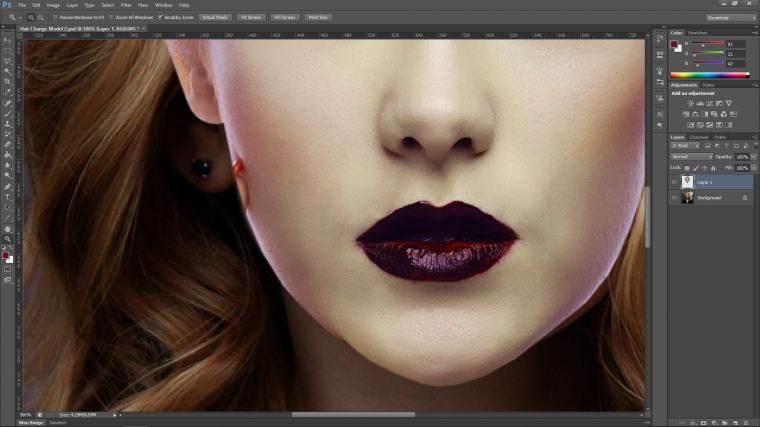
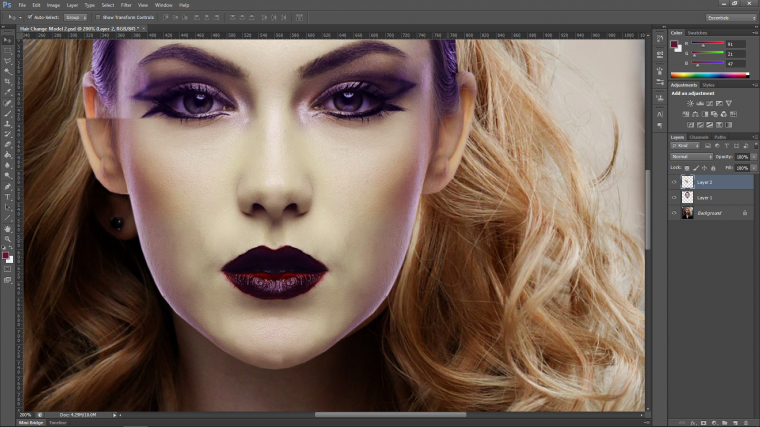
You may find areas that don’t match up, like this ear, so for this, I suggest using the Clone Stamp Tool (Check out ‘Become a Master of Photoshop’s Clone Tool’ Tutorial Link here) to tidy them up.

You may also have some areas of your original selection to tidy up as well.
Like the areas on the left-hand side of the jaw on my model here.
An easy way to fix this is you can select if the face is pretty much symmetrical as mine is with the Rectangular Marquee Tool.
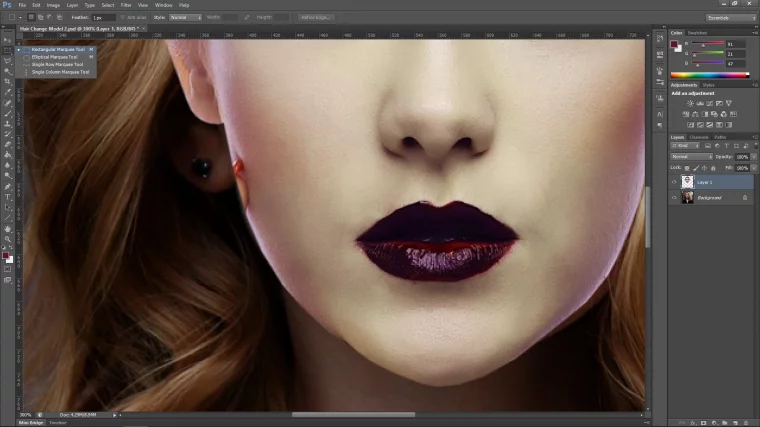
Then you copy, paste as we did earlier and then flip it by going to Edit – Transform – Flip Horizontal.
Vertical will flip it upside down, so that’s good to remember in case you need it.
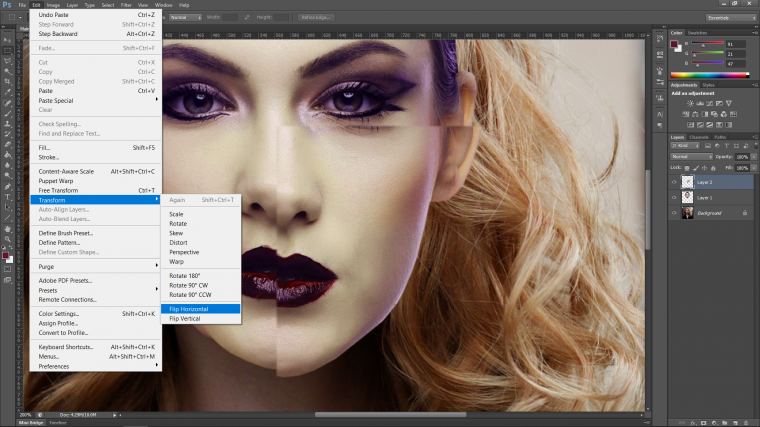
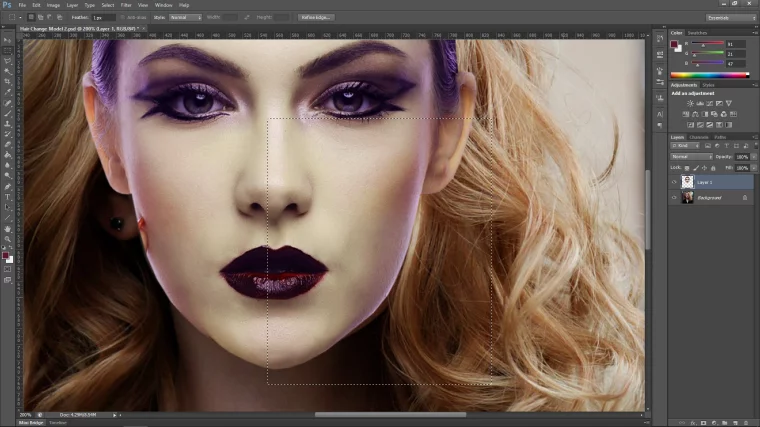
Then all you got to do is to place it [Ctrl+Alt+T for the Free Transform Tool] where you need it, as we did with the face originally you can drop the opacity if you need to, to 50% and then back again when you’re done.
When you are happy with the placement and everything you will most likely have to blend them together, which takes me to the next part.
Which is Layer Masking.
So what Layer Masking is in a nutshell, imagine in real life if you could take a marker to your photos and where you drew on your photo it disappeared.
And then you were able to take another marker and drew over the same area again and the photo reappeared.
Well, this is exactly what a Layer Mask does.
Making sure you have selected the top layer in your layer panel which will be the pasted part of the face.
You then go to Layer – Layer Mask – Reveal All
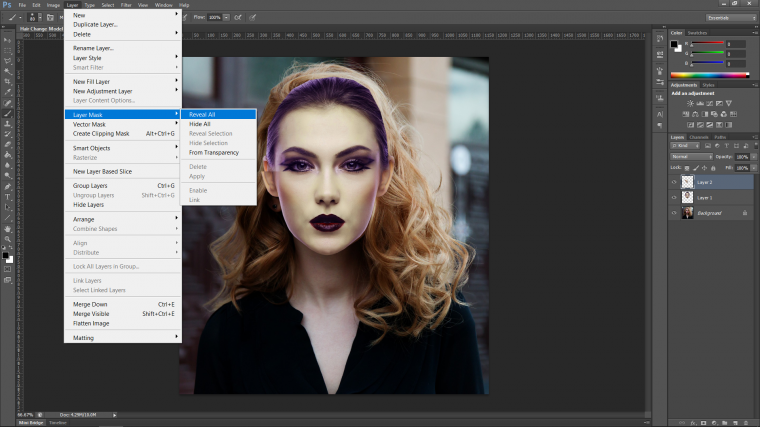
When you do this, you will now see a small White thumbnail appear next to your layer in the layers panel on the right as illustrated below.
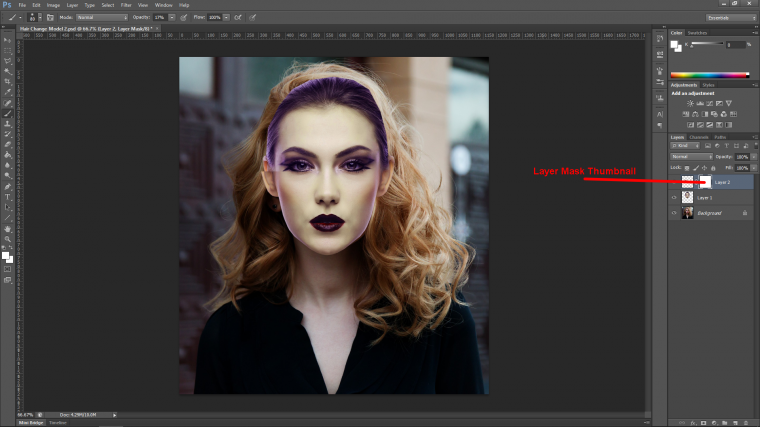
Ok so you now have to make sure that you have clicked on that thumbnail if you don’t this will not work.
Sometimes you might forget, I do all the time while working fast, so if that happened just backtrack the mistake by keying in and holding Ctrl+Alt then hitting the letter Z.
Select your Brush Tool, we’re going to be using it for pretty much the rest of the Tutorial.
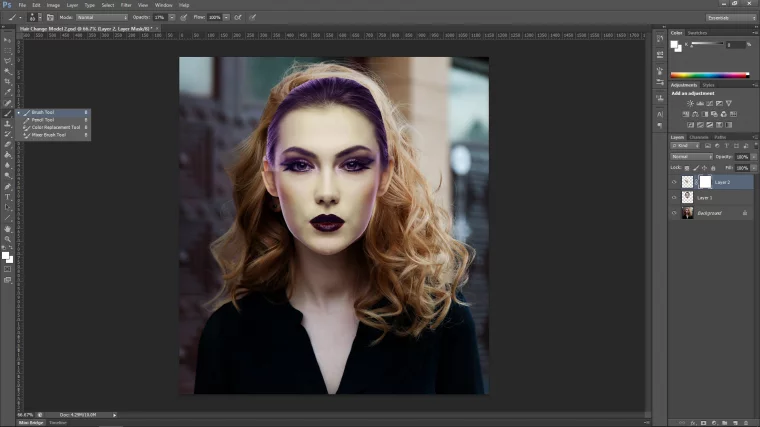
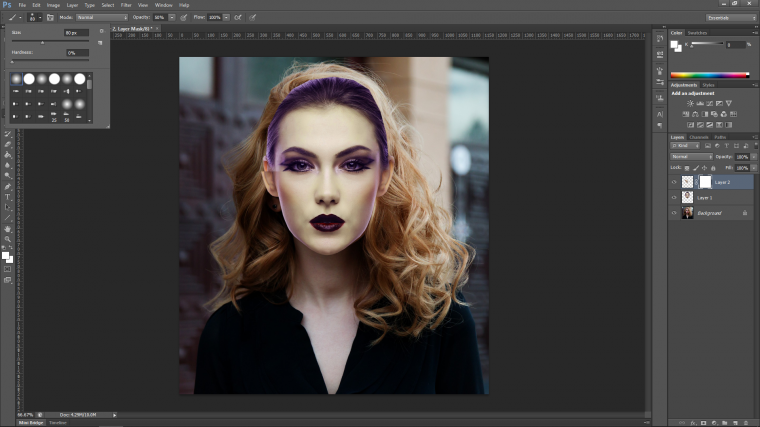
Then we are going to choose our brush head, so click on the tab just below the word ‘Edit’ on your top left corner in the menu.
A panel will appear.
You want to choose the first brush in that menu, that’s the brush I use probably 99.9% of all my Photoshop work.
I only ever really use other brushes when they are custom made ones, the brush next to the soft brush is the hard brush.
Those two plus my custom made brushes (generally for hair retouching) are the only brushes I basically use ever.
Click that, then look to the right a little bit to you see the word ‘Opacity’ with this you can choose how strong the brush is…
An Opacity of 50% is really great for blending, though I will change up and down depending on the situation.
I also do this mid workflow with the size of my brush by hitting the Bracket keys on my keyboard.
Another is holding the space bar, this will allow you to click and drag around your image while holding it.
Now chose the color of the brush.
This is important.
Black Hides
White Reveals
So just like we talked about a second ago with the magic makers analogy.
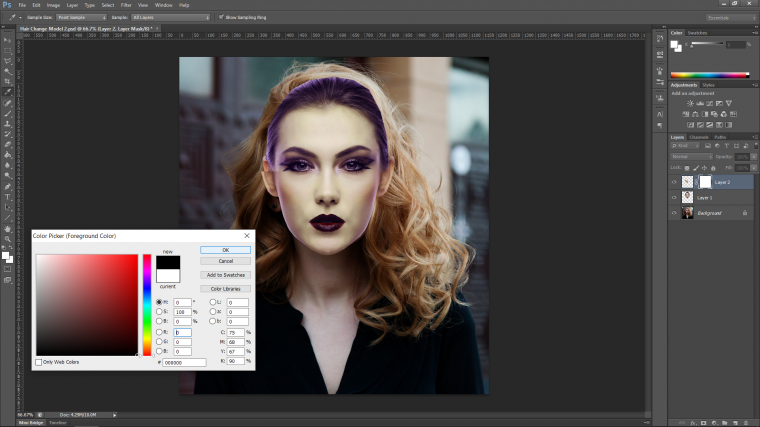
There are two ways you can do this, you can double click on the two squares two thirds the way down the menu on the left and then change your color.
But we don’t need color.
So just above those two main squares, you’ll see another set.
Click them for change your brush to Black and White.
Then by clicking the little arrow beside that to the right, you can flick between the two.
You are now set!
Now just start to multi-click over the areas that you want to get rid of and they should blend in nicely.
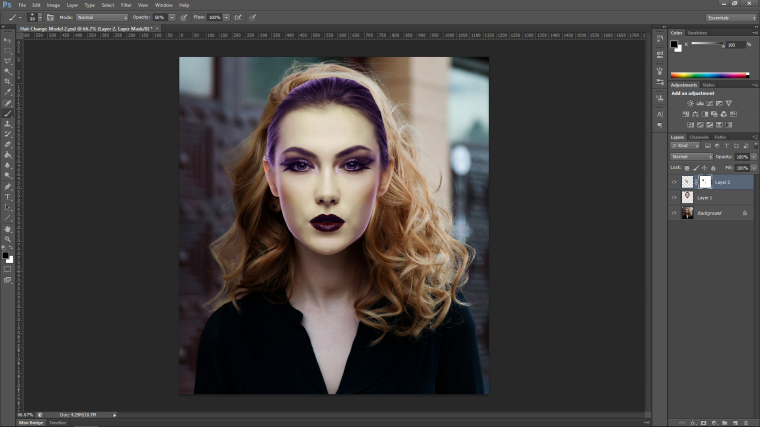
Now we repeat this whole process with the main face and blend it in.
This will take time and care! and remember to Clone out carefully those areas from the face beneath to tidy it up.
The one thing I want to point out here is that I did a lot of low opacity soft blending around the edges, clicking many many times to build up the blend.
This all really comes only with practice, your final image will look as real as the time and effort you put into it.
Tip for those who want to learn improving local contrast in photoshop.


Please verify your software version before proceeding.
 I’ve verified my software version


 Facebook
 Google +
Comments (0)
There are no comments yet.