
Hi all, today I very excited to be doing this Effects Tutorial as i is something that I love doing myself, we’re going to be looking at how to create some great effects for Sports Photography.
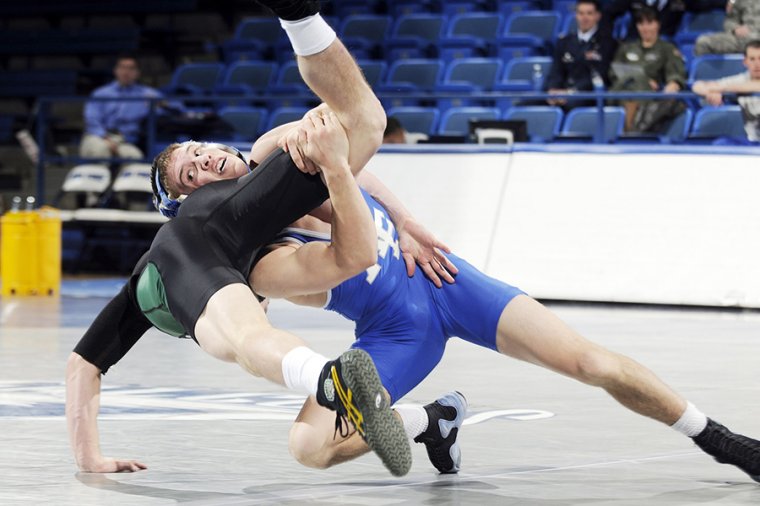
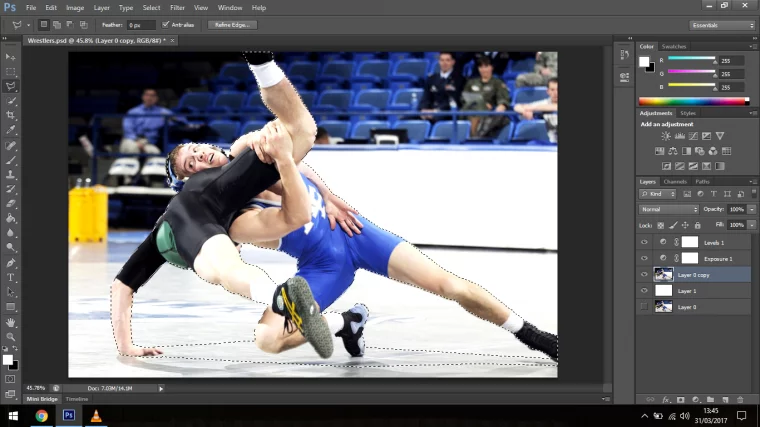
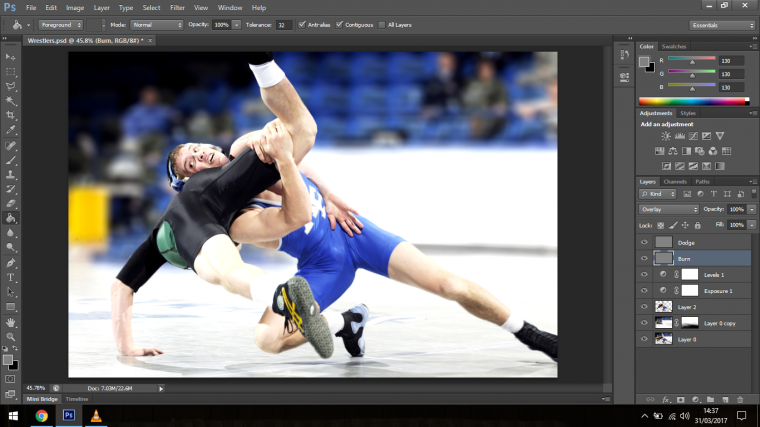
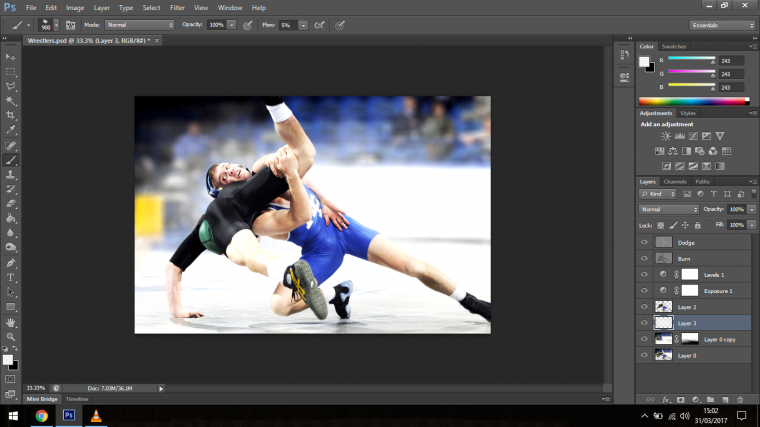
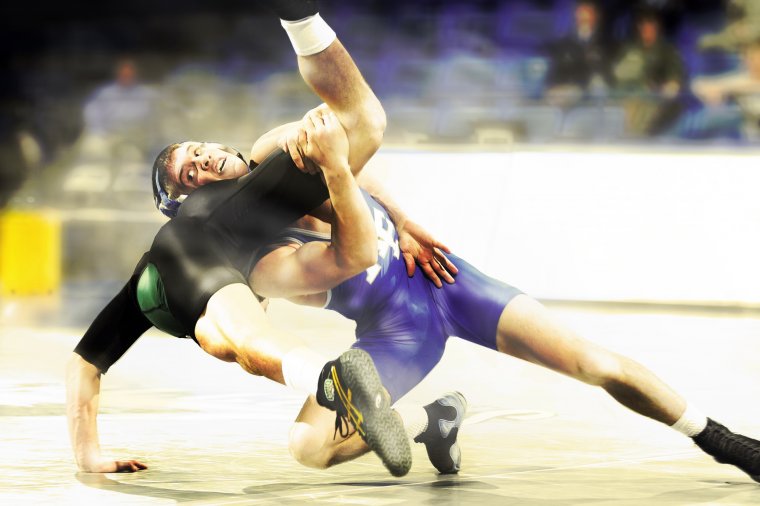
I have a personal interest in all this Wrestling, MMA and Martial Arts so the image I choose to use is this rather dramatic image of a Wrestling match in action.
For this Photoshop Tutorial, you can use which ever sport you favor as to make it more fun and interesting for yourself… as if the Tutorial alone wasn’t interesting ha ha.
So alone Sports Photography is good, very good, but that doesn’t mean we can’t take it up a few notches, why do we have to just go to ten when we can with Photoshop’s help go to eleven.
The main issue I have with this is that I don’t like the lighting, it’s just not dramatic enough with the colors, just looks like we’re in some sort of leisure centre and not a crazy world tournament.
I also am not fond of the lack of crowd so I defiantly want to make that less noticeable.
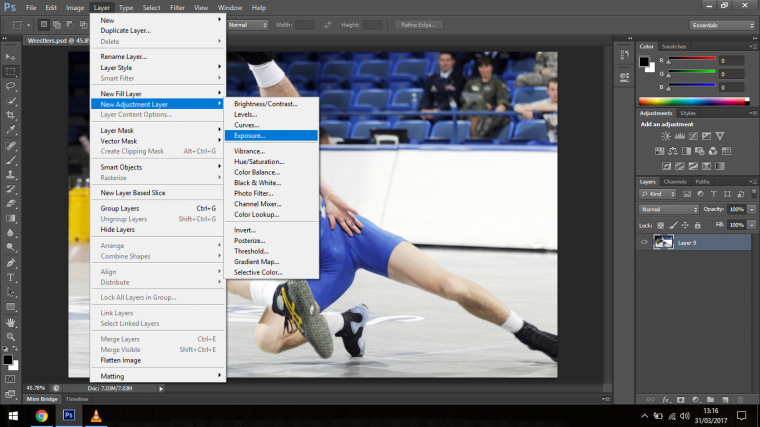
Ok so the first thing we’re going to do is mess with the setting s a little.
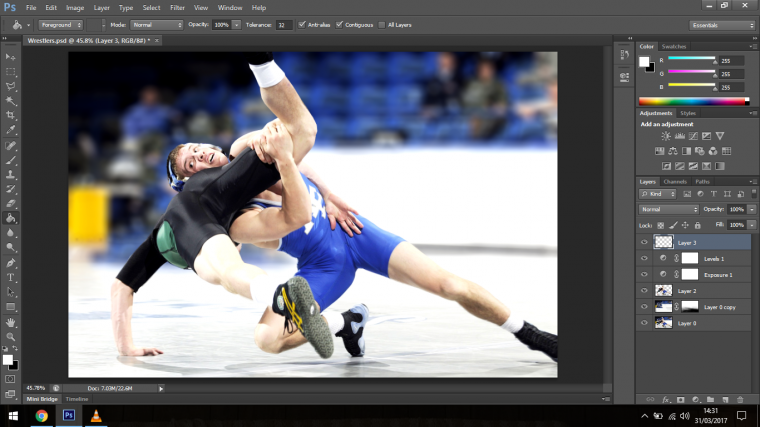
Click on Layer in your tool bar and then click on New Adjustment Layer, then Click on Exposure.
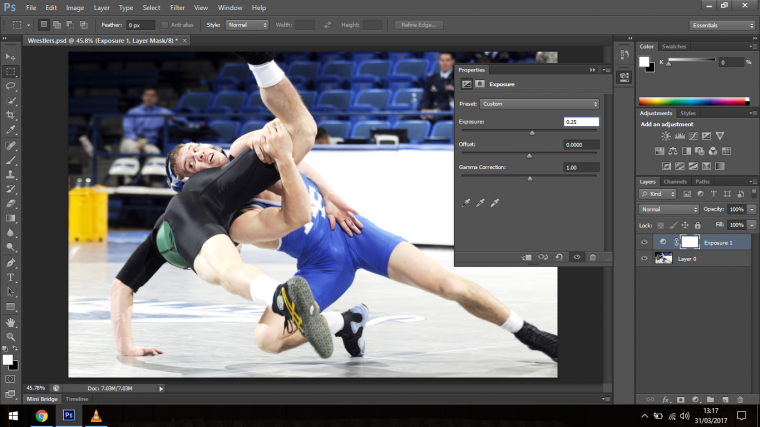
Once your Exposure panel appears change the setting to about 0.25
You can go a little higher depending on the image but there no real set rule apart from don’t go completely nuts with it subtlety is key here to a point and mot things are when it comes to Photoshop.
You can add Photoshop action if you like, you can learn here how to install photoshop actions
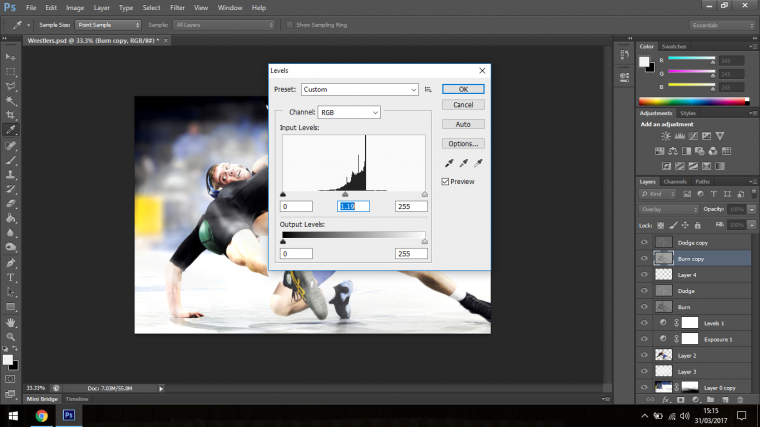
Next Adjustment Layer we will choose is Levels, once you have this open click the black slider on the first set of sliders below the histogram (This is the sliders that has 3 not 2 below them) now bring the black one in a little and then do the same with the white one.
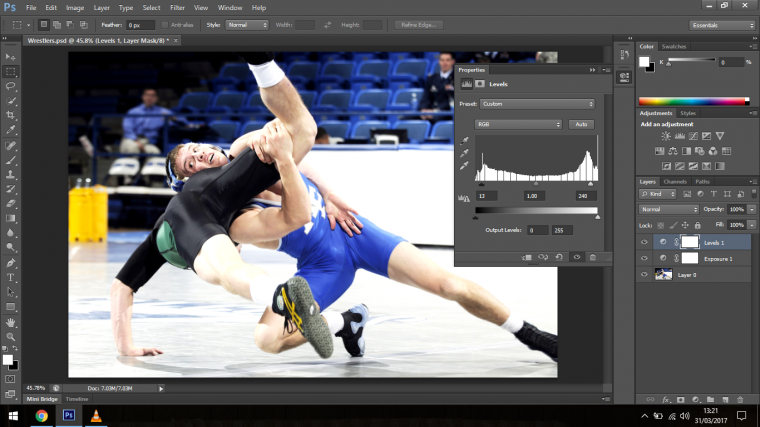
This will darken the dark’s a little and bring up those highlights a little more also.
Now using the Pen Selection Tool we are going to cut out the figures leaving a little bit of the floor below them, remember to save a duplicate underneath as you will need it.
This may take you a little time so take your time with it and don’t rush please, it doesn’t have to insanely perfect completely just good.
You will also have to zoom right in for best results.
By now you should have a selection around your image that you wish to cut out.
Go to Edit – Copy the Paste it in, you will now have a clean image cut out minus the part at the bottom of the floor we talked about.
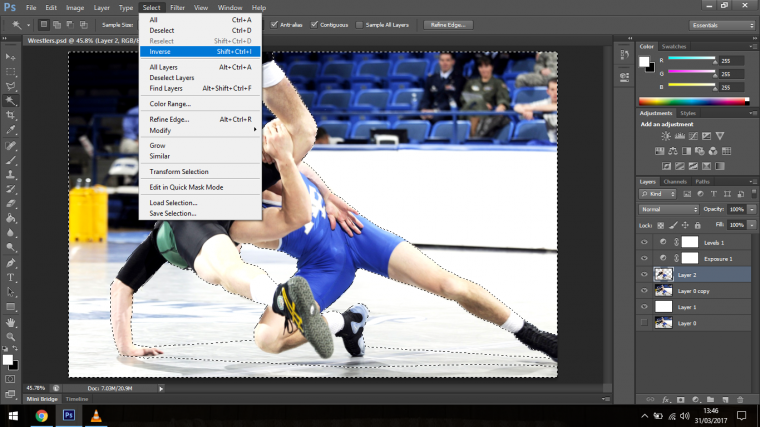
Now re-select the cropped image using the Magic Wand Tool.

You will have to then invert the selection because to select you have to select the outside of the image where it is transparent.
Once you have made your Selection you have to go to Select (In the Tools Bar) Modify – Expand.
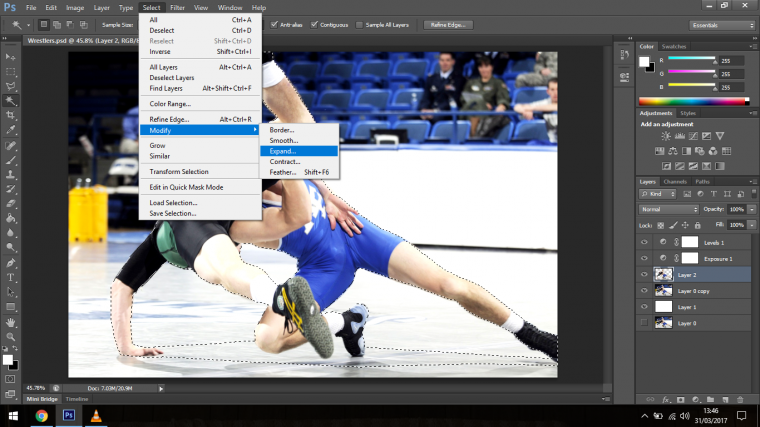
I Panel will appear, type into that panel 120 then press OK and you will notice that your selection has now been expanded out a significant amount.

Now you have to go to Edit – Fill.
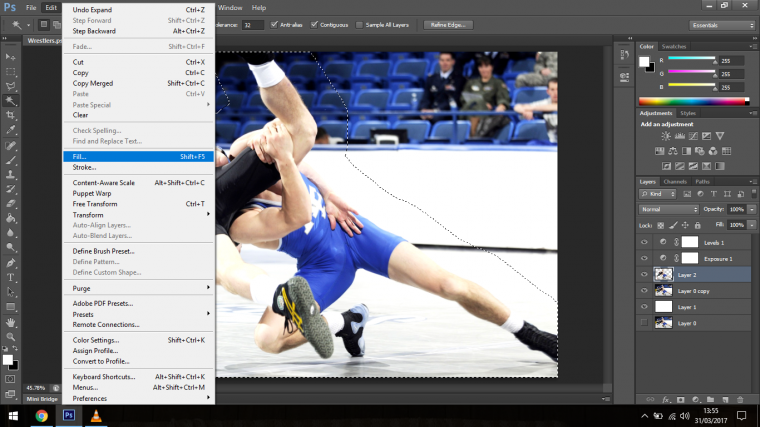
When your options box appears You will have to chose content aware, also make sure to do this over a full version of the image not the image cropped out.
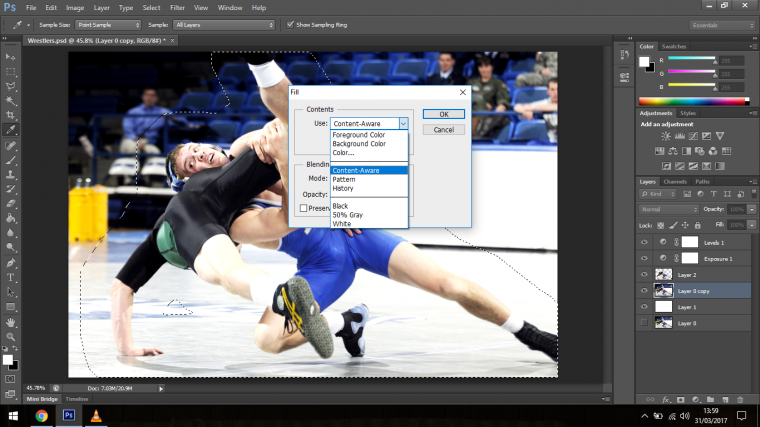
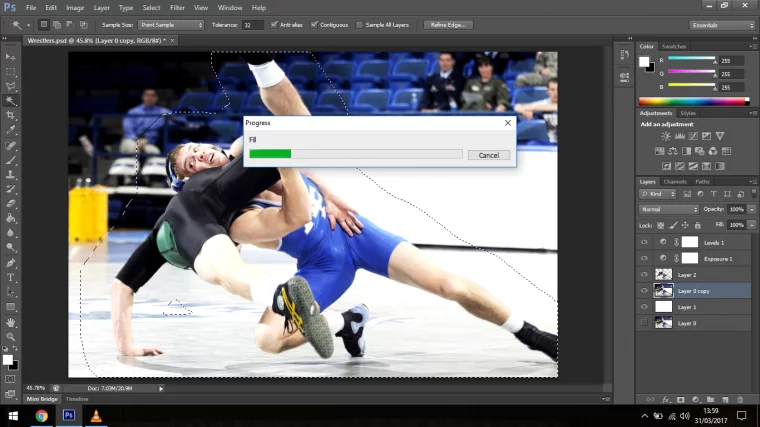
Now everything within that image will be filled in with the background like so.
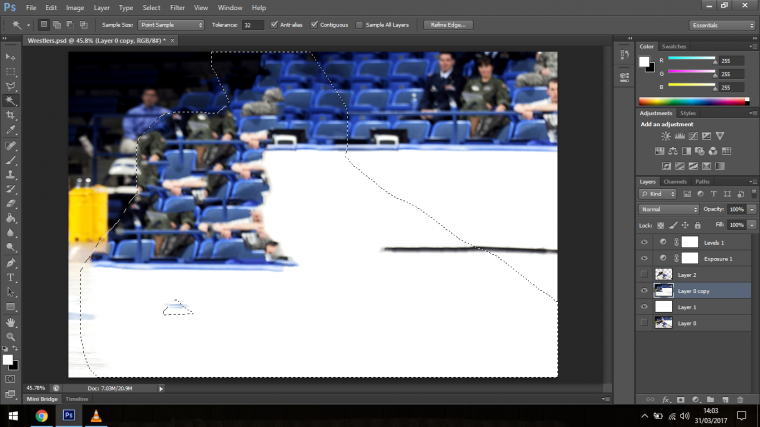
Now key in Ctrl + D to deselect.
Now we are going to add some Lens Blur to this background.
You do this by going to Filter – Blur – Lens Blur
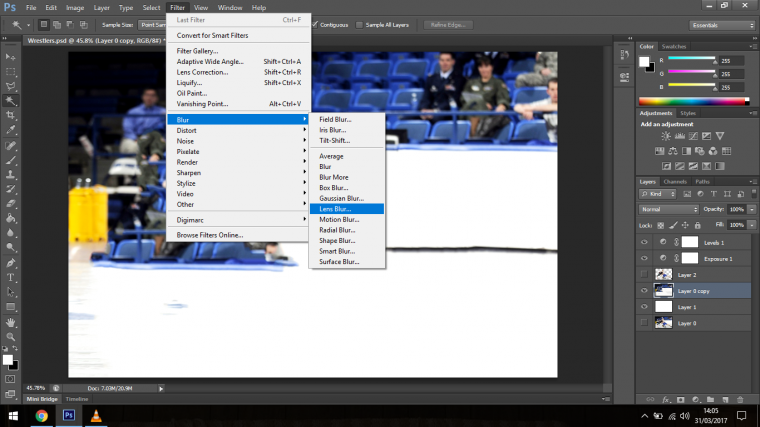
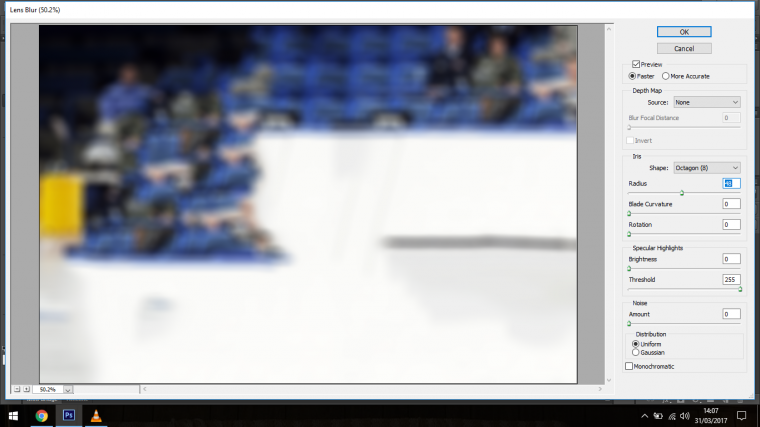
Change the Shape to Octagon
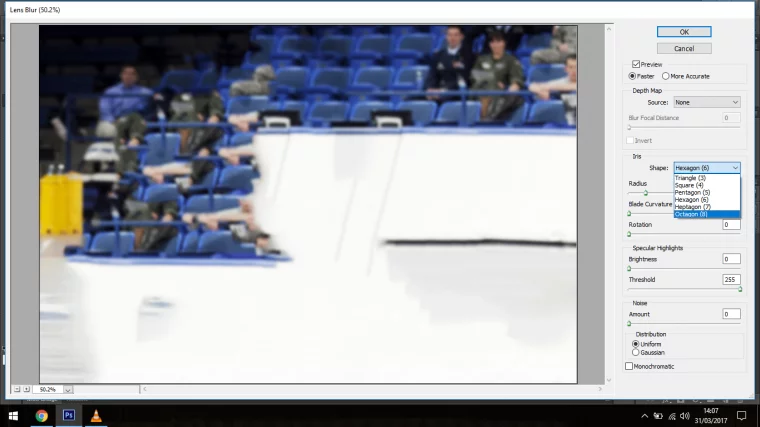
Change the Radius to around 50%
The last step of Part 1 of this Tutorial is you will have to blend in the foreground to make the image believable.
This is simply done by creating a mask, you do this by clicking the icon at the bottom right hand side of the layers panel that looks like a dark circle inside a rectangle, it’s right beside the FX icon.

When you do this using Black on the Brush Tool with the Flow set at 5% you will be able to slowly but surely bring back the foreground, if you make any mistake you can repair that by painting over using white.

Next on my list to do is to create some Dodging and Burning Effects.
Before we get into this just know that this takes time to master, it comes down to a certain amount of artistic foresight that has to be learned threw repetitions you may not get this first time so don’t be disheartened, but remember with Photoshop subtlety is key.
If you stick to that rule you shouldn’t go too wrong too many times while using Photoshop.
So create a new layer.
Then select the Fill Tool, you will see it in the image below in the middle of the Tools bar on the left hand side, it looks like a bucket spilling out some water.
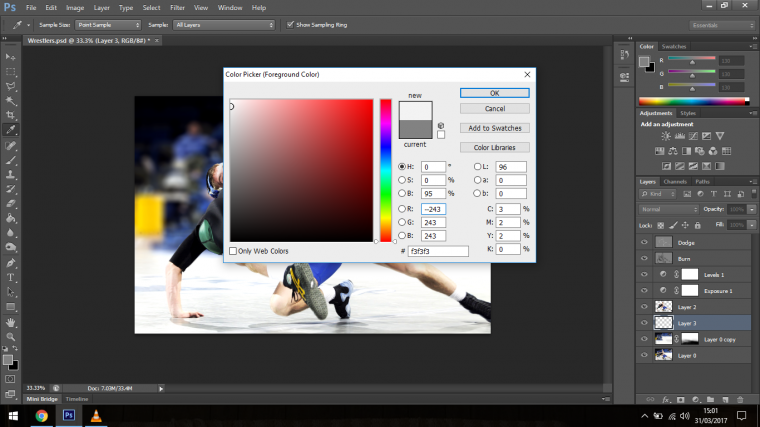
Then select a grey that’s 50%(ish) between Black and White, doesn’t have to be perfect just close enough.
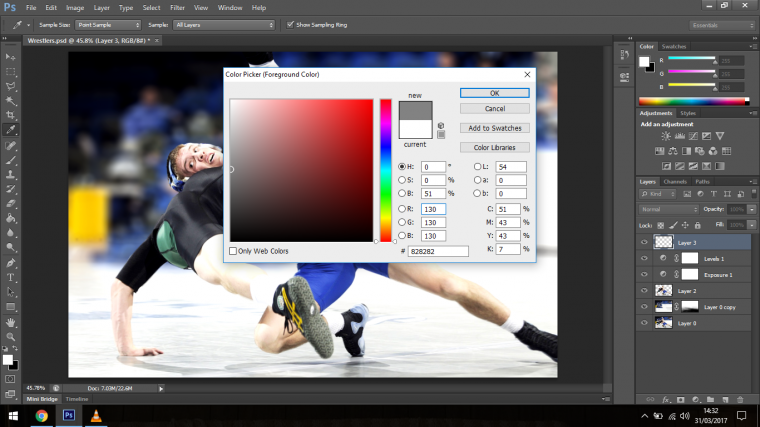
Once you’ve done this in the layers panel you will see a drop down box with ‘Normal’ written on it, click that and scan down till you see the Overlay option.
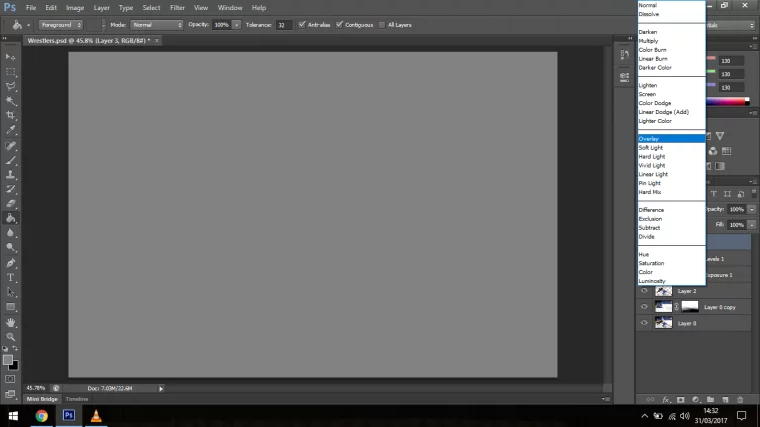
When you click that you will see the grey completely disappear from view.
Next I want you to create a duplicate of this layer.
Name one Dodge and the other Burn.
So what you do now is you select the Dodge Tool.
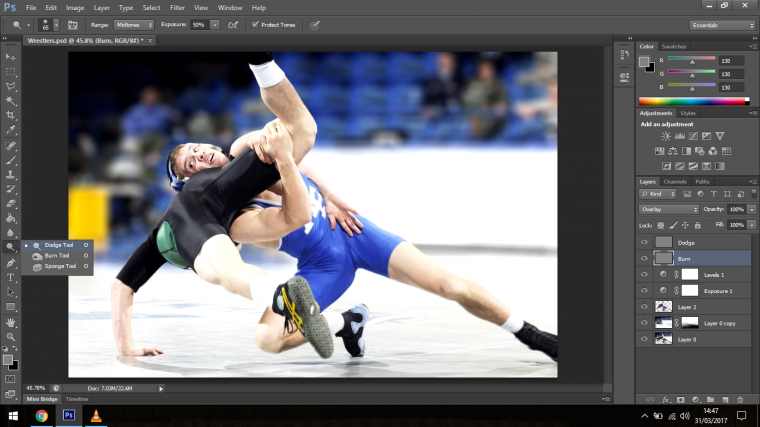
Then on the Layer we named Dodge you zoom in and start to paint over the highlighted areas on our Wrestlers, so areas like highlights in muscles, on the face and on clothes etc
I keep my Dodge Tool around 50% and on Mid tones, it will most likely unless you’ve used it before be on those settings.
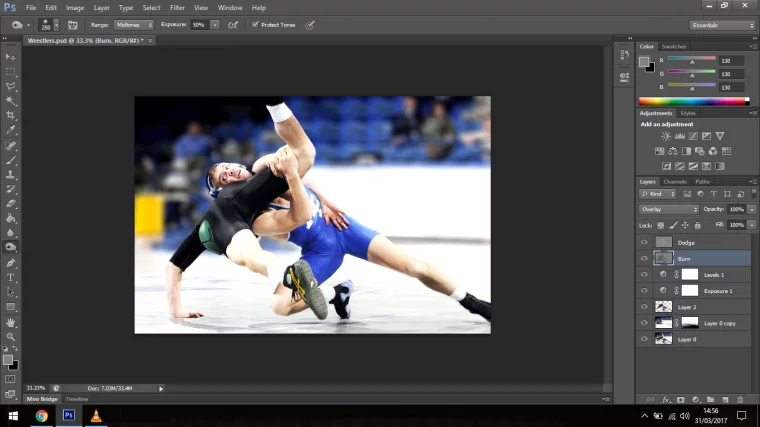
Now you do the exact same with the Burn Tool on this time you are going over the Dark Areas
This will add some awesome depth to your image.
Now we’re going to add a slight smoke effect.
So create a layer in between the blurred background and the cropped image of the wrestler.
Then choose a Brush that’s a little misshapen and with a Flow set to 5% and an almost white chosen as your colour start to paint on a smokey like effect in between on our new layer between the cropped wrestlers and our blurred background.

Woo! things are starting to get a little more dramatic 😀
Now create a new layer on top of all the other layers.
Start to add in the same sort of pattern with the steam around the Wrestlers, use Artistic licence here, get a little creative.
I like to make the Steam seem like it’s weaving in between limbs, snaking around the Wrestlers.
After that then Duplicate your Dodge and Burn Layers and move those to the top of the layers pile.
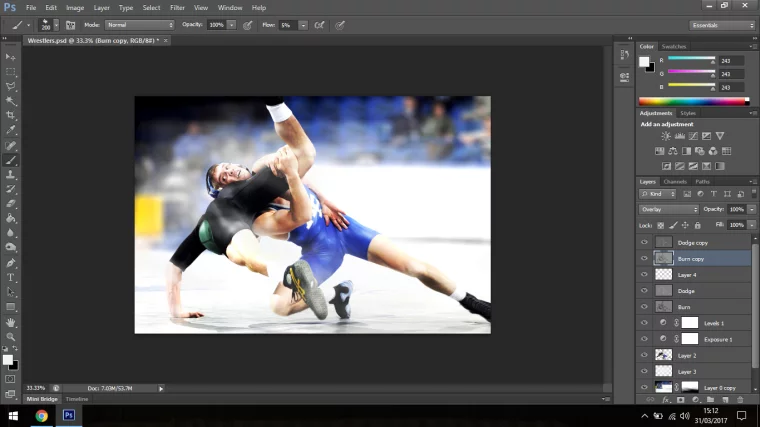
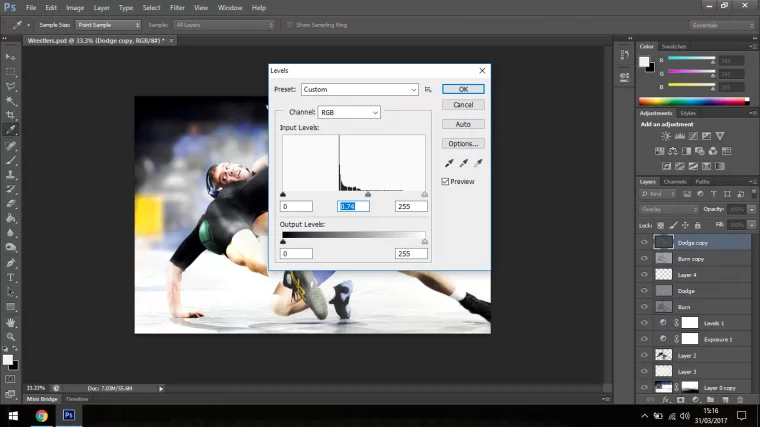
Once you have then created then click on first the Dodge to edit and then the Burn or vice versa, when you do this click on Edit – Adjustments – Levels for each.
For Burn we move the Middle Slider to the Left.
For Dodge we move the Middle Slider to the Right.
Ok so looking good, we have two more tasks to do before we are complete.
First is we are going to create a Stamp, this is easy, all you do is on your keyboard Press Shift+Ctrl+Alt+E and all your layers will now be in one image.
If you like you can add in a few more Dodge and Burn layers if you feel it necessary, I think I’ve done enough and I’,m happy to now create a Filter with my final Dodge and Burn Layer.
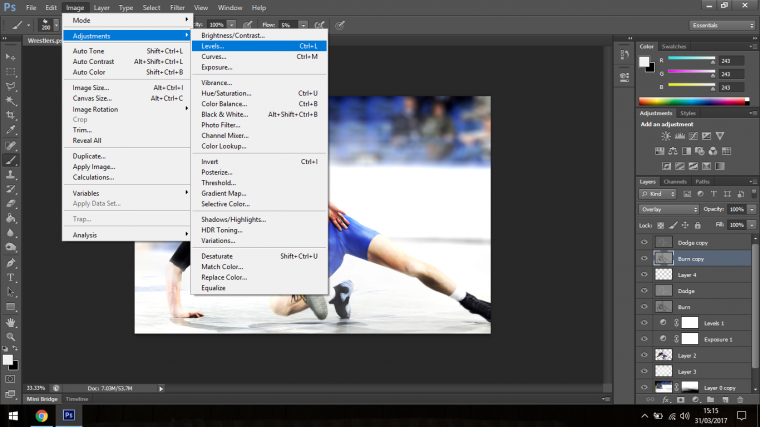
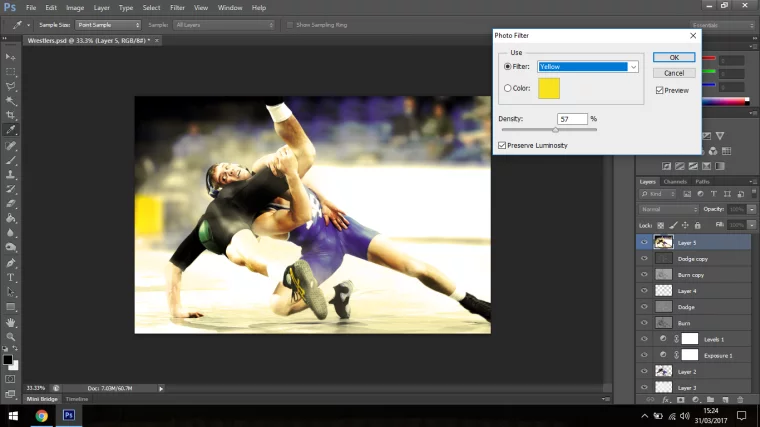
You create a filter by going to Image – Adjustments – Photo Filter.
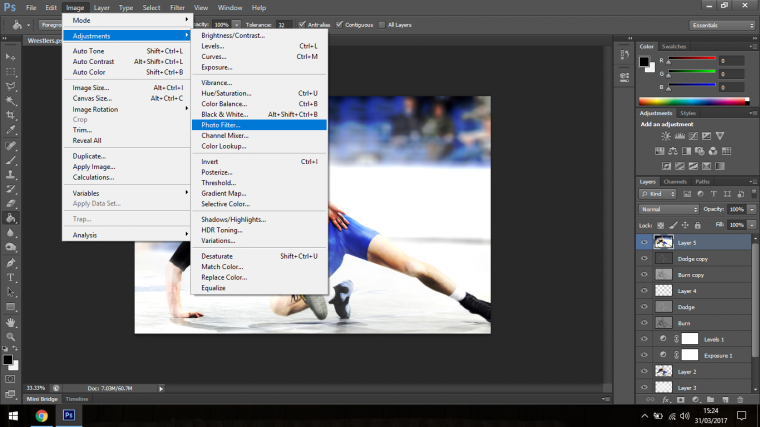
Choose which ever option you like best, and change the Density to your liking also.
Now all we have to is Duplicate our Dodge and Burn Layers again and move them again to the top of the stacking order, when I do this I go back to Edit – Adjustments – Levels and play with them a little again, don’t be afraid to try the other two sliders and see what that does for your image.
Last little tips is you can add in some more steam and if you feel that you have went too far with the image edits then you can group everything together minus the original image and drop the opacity.
Hope you create some awesome images.


Please verify your software version before proceeding.
 I’ve verified my software version


 Facebook
 Google +
Comments (0)
There are no comments yet.