Simple Dispersion Pixel Effect in Adobe Photoshopwww.sleeklens.com
In this tutorial, I will teach you how to make a dispersion effect or shuttered pixel effect in Photoshop. This idea was given by one of the Exclusive Sleeklens Club members on Facebook and if you don’t mind you can go ahead and join the group.
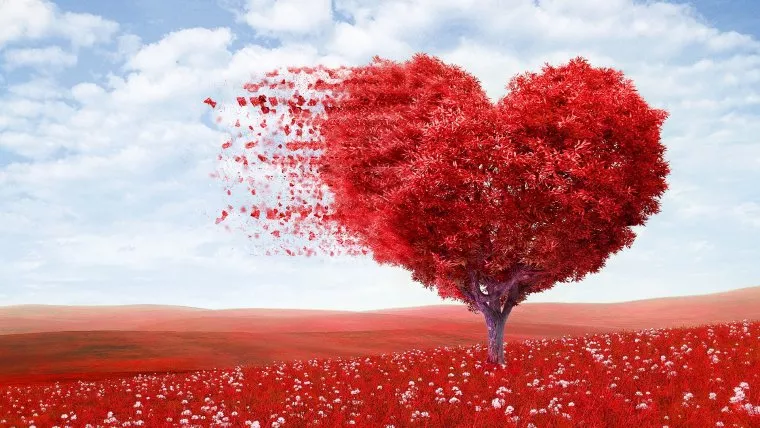
Making the dispersion effect in Photoshop is actually simple but the more time you spend with it, the better it usually gets. To start the process, you will need to have your photo ready and uploaded in Adobe Photoshop. I have extended my image to the direction that I want my effects to go. The effects will make the image look a bit shuttered and the model’s skin and clothes will look as though they are coming off her.
To start the process, I will make a duplicate of the image. This I will do by dragging down and make a copy. I will then use the original image to remove the model from the background. The best way to do this will be to use the quick selection tool, paint over her in a neat way for more effectiveness and once she is selected, I will copy and paste by clicking the Command/Ctrl + C and then Command/Ctrl + V and pop her on a new layer. This means that if I deactivate the other layers, my model will have been copied to a different layer.
From here, I will pick the middle layer and use it to make a blank canvas. This is going to be easy because the background is white but if I were to use a regular image with a false background or something like that, it is best to clone out or clone in the missing pieces. But these effects are normally done with a solid background. To remove her, I will use the “Eraser Tool” and draw around her and then go ahead to “Edit > Fill > Content Aware” and then click OK and this will remove her from the image.
The white background is now ready for the actual effects and that was basically the preparation for the effect to make it turn out as best is it can. From this point, I will create two images of the top layer of the actual person. I will take the first one and hide it and then take the second and apply a layer mask. I will then get my brush (Splatter Brush is the best) which promises us good results. I will make sure that the foreground color is black and then break up the sharp edge of the figure using a fairly small splattered brush until I’m satisfied.
With the effect to play, we can now toggle on the bottom layer and must turn it back on. It will look as if nothing happened. From there, I will warp the image to make it really big. You can press Ctrl +t and the right click and click “Warp”. There are tutorials where people go to ‘Liquify’ and change everything that way. However, many people are not familiar with Liquify tool and the method we are using is the easiest. What I will be doing is to warp my model and although it makes her look deformed, it puts all the colors.
I will warp the model to make her more deformed and this aligns everything and puts the colors out there in a perfect way. I will then hit enter and apply another layer mask by holding Alt key on the keyboard and then click the layer mask button and turn it into a black mask. This will allow me to choose a white brush and paint everything back in. This brings the color back and we can finish everything from here to give it a sporadic look. We will keep clicking until we get the desired effect.
There are some parts of the model that will be matching a little bit with the colors in the dispersion effect especially the hair and I will change my paint brush to black again. This will allow me to remove some matching colors on the effect without messing up with the speckled pattern. If you would like to change some of these colors a little bit, you can unlock the warped layer, click on the actual image (not the layer mask) and then click Command/Ctrl + T and you can move the effect freely while keeping the speckled pattern. If you don’t like what this does, you can hit exit and it will revert to the previous pattern.
That is how you can make the dispersion effects in Photoshop with ease. A lot of variations of this effect happen and some people use different kinds of brushes but it all depends on the kind of effects you would like to put together. You can try your hands on different images and see what happens. With time, you will be able to perfect the art ad do it like a pro.
You can visit Sleeklens.com for more videos, blogs, plus Lightroom and Photoshop presets to help advance your photography skills.
I am a Real Estate and Landscape photography as well as a Graphic Designer based in North Carolina, USA. My passion for photography started with taking photos with a point-and-shoot and now I own a successful photography business. My goal is to help others learn the art of photography, develop their creative side and just have fun.


 Facebook
 Google +
Comments (0)
There are no comments yet.