Whether you’re a seasoned pro or an aspiring amateur, your choice of the camera goes a long way to defining and reflect who you are as a photographer. While a sports photographer will likely lust at the low-light, quick shooting behemoths, a street photographer will want a quiet, compact, one-handed companion. There are a ton of factors that go into choosing the camera that best fits your needs and style, and one of the first decisions that should be made is what sensor size to go for.
If you aren’t familiar with the concept of sensor size, it is literally the physical dimension of the electronic sensor that records the light and thereby makes the image. The sensor size is not only built into the camera but has a direct effect on the lenses and image characteristics as well. From the days of film, when the sensor size was simply the type of film the camera accepted (35mm, 120mm 4×5, etc.), this has been a key factor in choosing a camera and ultimately a shooting style that fits the photographer’s needs. Today, most camera companies offer at least two options through different camera lines, with some offering even more. It’s important to note that when choosing a camera and the sensor that’s in it, you’re also choosing what lenses and accessories that will be available to you, so do your research on the entire system that surrounds the camera as well.
Before we dive in, a basic explanation of how sensor sizes relate to the actual photo is in order. It’s helpful to think of an image sensor as a water bucket and light as rain. A larger sensor (larger bucket) can collect more light (more rain) than a smaller sensor in the same situation. So a camera with a larger sensor will perform better than a camera with a smaller sensor in a low-light scenario because it can collect more of the light that’s available. This means faster shutter speeds, lower ISO, and overall nicer images. Another major factor of having a large sensor is the shallower depth-of-field (more background blurriness) it creates. Because of optical math, we needn’t worry about, a larger sensor produces a shallower depth-of-field than a smaller one shooting the exact same image. The last important element of a larger sensor is simply the advanced technology it requires. Because larger sensors are simply harder to make, they often come in overall better (and more expensive) cameras. Because companies put their best tech in their most expensive cameras, larger sensor sizes nearly always come with better and more recent technology. These three factors— low-light performance, shallow depth-of-field, and cutting-edge technology— are why most people assume bigger sensors are always better. However, amazing images can be made with any sensor size out there, it just depends on what you’re shooting and how you shoot it.
Here, we’ll go through the pros and cons of the four major size options available for interchangeable lens cameras, with some examples for each size mentioned.
Taken with a Medium Format camera (© Takuma Kimora)
1. Medium Format (~44x33mm to ~54x40mm)
These are super expensive, high-end studio cameras from companies most people have never even heard of such as Phase One, Mamiya, and Hasselblad. While they’re unwieldy, slow shooting, and a rental-only option for most people, they also produce the highest quality images available. With amazing dynamic range (range of brightness to the darkness that can be recorded in the same image), extremely fine detail (up to 100mp), and great bokeh (quality of the out-of-focus area), these cameras are perfect for many types of art, fashion, and archival photography. However, they are difficult and unnecessary for most other types of shooting and serve as a specialty option.
- Pros:
- Best Image quality available in favorable situations
- Instantly gives any image a high-end look
- The shooting experience is unlike anything else
- Cons:
- Extremely expensive
- So difficult to manufacture that high ISO and other recent technology isn’t available
- Large and clunky
- Examples:
- Pentax 645Z ($4,000, one of the best cameras ever made)
- Hasselblad H5D series ($7,500-$45,000)
- Phase One XF series (Up to 100mp for up to $55,000)

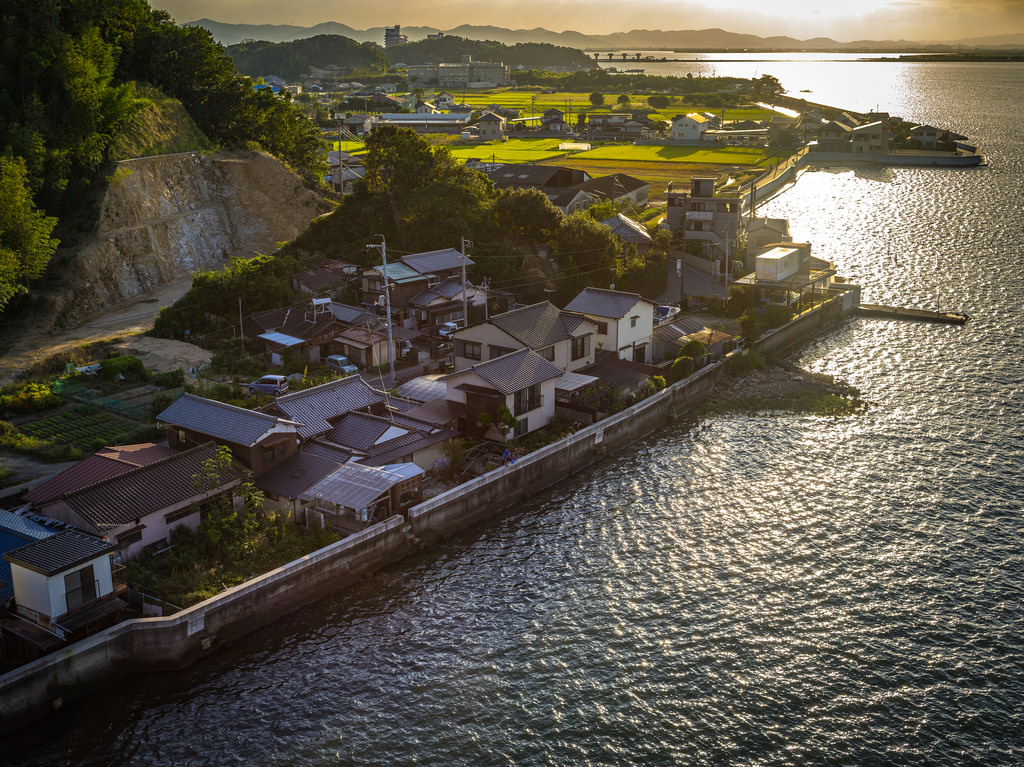
Taken with a Full Frame camera
2. Full Frame (~36x24mm)
While in the days of film, this size was thought of as too small for any self-respecting professional photographer, digital cameras make this the go-to size for most professionals today. This is what the flagship cameras for many companies utilize, as it offers a great balance between superb performance and acceptable price. Many people believe that a 10-year-old camera with this sensor format (such as the Canon 5D Mark I) is still better than any new camera with a smaller sensor inside. However, with the improved high-ISO performance of modern cameras and tons of great lenses available for almost any mount, there’s not much supporting this way of thinking.
- Pros:
- Often sports the best technology available
- Amazing low light performance and high-quality look
- Best lenses and accessories available are for these professional-grade cameras
- Cons:
- Still pretty expensive
- Fairly large bodies and lenses
- The industry may start to favor smaller formats soon
- Examples:
- Canon 5DSR ($3,600, 50mp of raw power)
- Sony a7R II ($3,200, mirrorless that’s fairly compact and critically acclaimed)
- Pentax K-1 ($1,800, amazing quality for half the price of its competition)

Taken with an APS-C camera
3. APS-C (~23x15mm)
This is what you’ll find in most cameras that aren’t point-and-shoots, and for good reason. While for a long time this format has been aimed at amateurs, more and more pro-quality cameras are coming out with this size thanks in large part to the introduction of mirrorless cameras. If you’re not already invested in a camera system, you should strongly consider getting an entry-level APS-C mirrorless camera and going from there. While Canon and Nikon have been sticking with the same DSLR formula for over a decade, companies like Sony and Fujifilm have bet big on mirrorless APS-C cameras and it looks like it will pay off. The absolute best cameras that won’t break the bank are of this variety. Because recent technological advancements allow them to accommodate high-res sensors with clean images at high ISO— and there are now many amazing lenses built for this format— some APS-C cameras can go head-to-head with all but the best full-frame competition.
- Pros:
- Much more affordable options available
- Some are both compact and still high-quality
- Next generation of popular cameras will be APS-C Mirrorless
- Cons:
- Still, can’t match the performance of the best full-frame cameras in demanding situations
- Some of the amateur options aren’t worth buying (looking at you Nikon and Canon)
- Still thought of as unprofessional in some circles
- Examples:
- Canon Rebel series ($400+, better options available for similar prices)
- Sony Alpha a6000 ($600, very compact with great image quality)
- Fuji film X-Pro2 ($1,700, unique design with professional image and build quality)

Taken with a Micro Four Thirds camera
4. Micro Four Thirds (17x13mm)
This is a very interesting option that deserves serious consideration from almost any photographer. About five years ago, many people believed this format to be the future of all photography. While it hasn’t yet lived up to that hype, it has quietly grown into a robust segment that can offer superb image quality for very low prices, but definitely, sacrifices some flexibility. Unlike all other image sensors, Micro Four Thirds (MFT) cameras are standardized across manufacturers. So a lens that fits a Panasonic MFT camera will also fit an Olympus MFT camera, which can be very helpful. Also unlike all other image sensors, this option is mirrorless only, no DSLRs here. But even the cheapest MFT cameras can offer image quality that often out-performs popular, entry-level DSLRs. While this sensor size is a little too small to work well in low-light settings, the bodies are so compact that it might be worth the sacrifice. One thing to note is that most if not all MFT cameras lack the premium build quality available in other formats.
- Pros:
- Cheapest option available
- More nice lenses than you’d expect thanks to universal standards
- Some extremely small options out there
- Cons:
- Poor low-light performance
- Generally not acceptable for professionals
- Not many studio accessories available
- Examples:
- Olympus PEN EPL7 ($450, extremely compact but toy-like body)
- Panasonic GH4 ($1,300, professional-ish option with great 4K video)
- Olympus EM-5 ($480, worth every penny)
There are amazing cameras made using every sensor-size, so choosing a size is really just a matter of taste. If you want to be able to take incredibly detailed images for large prints that are dripping with quality, then a Medium Format or Full Frame camera is probably your best bet. If you want a decent shooter that won’t be noticed when you’re taking close-up street portraits (or if you just want to save your wallet), then an MFT camera may be right for you. And if you’re looking for a jack of all trades that can create amazing images in favorable light and perfectly acceptable images in almost any situation, then maybe go for an APS-C sensor. Before deciding on a specific camera or even one brand, it’s best to weigh your options and consider what your expectations are, then you can find the camera best suited to capture the images you want.


 Facebook
 Google +