Ok, we got a big title today, but one that gives up an equal amount of rewards. For this tutorial I want you to spend a decent amount of time getting a really cool image!
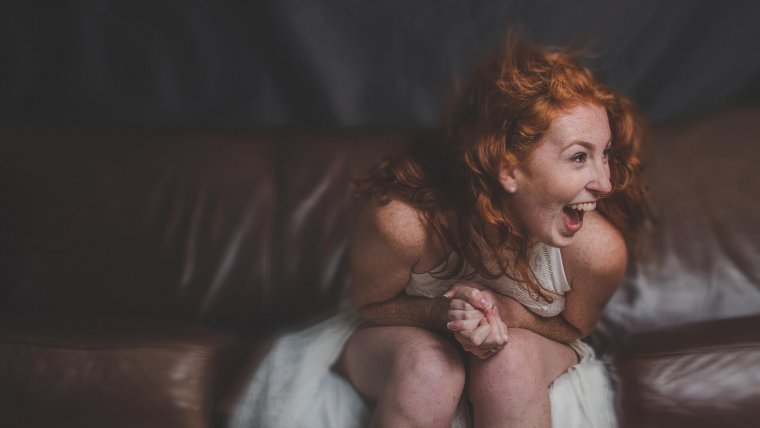
I’d love for this tutorial to aid you while editing your own images. If you want to add a cool atmosphere to your images then grab a hold of your images pick one and get it opened. For we have work to do 🙂 Or if you don’t have your own then the image below is the type of image that I want you to get. I used the keywords ‘Fashion Model’ to search for images I thought would work well for this.
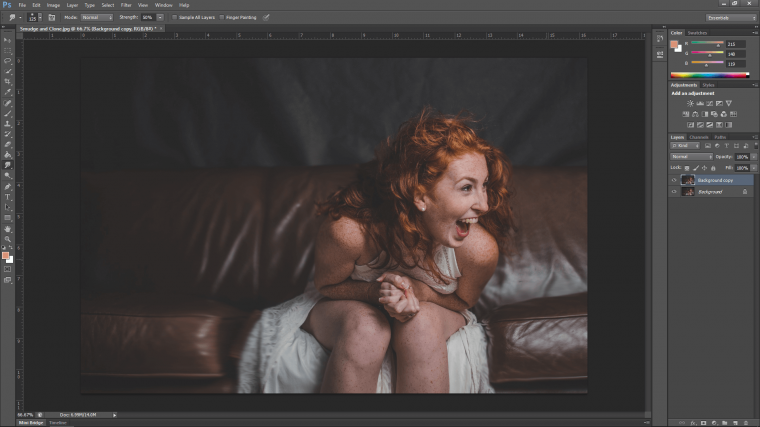
And this is the one I choose. So something artistic and a little bit different than the normal average photo.
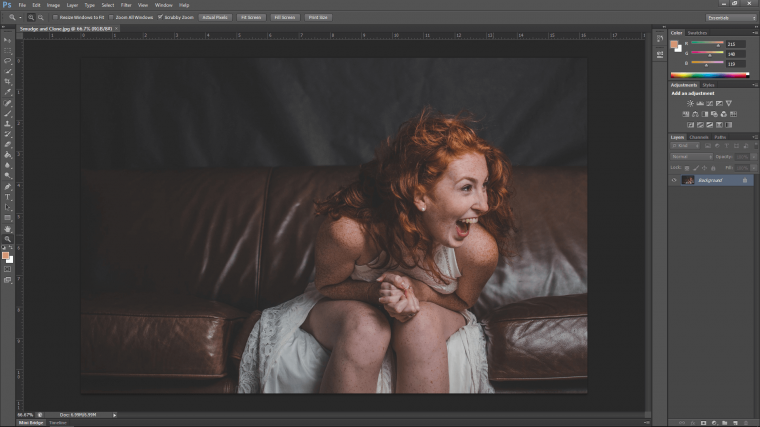
So safety first, let’s create a duplicate of this layer.
If you have read my tutorials before you would have heard me bang on about this.
You’re probably like “dude! stop with the duplicates already we get it”
But it can save you a ton of time.
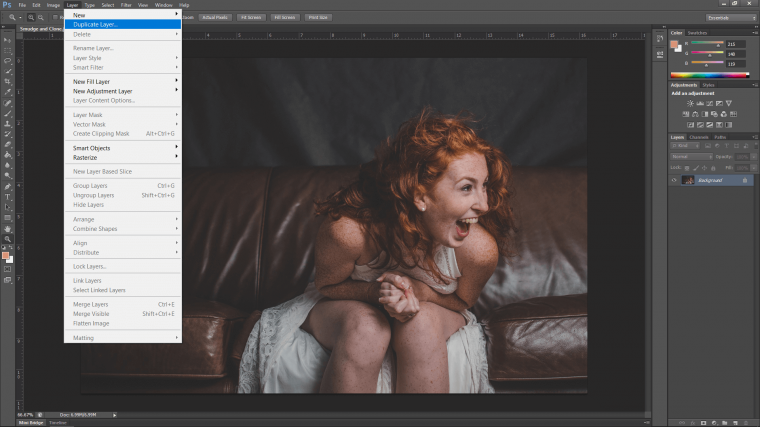
So go to ‘Layer – Duplicate Layer’ the press OK when prompted to do so.
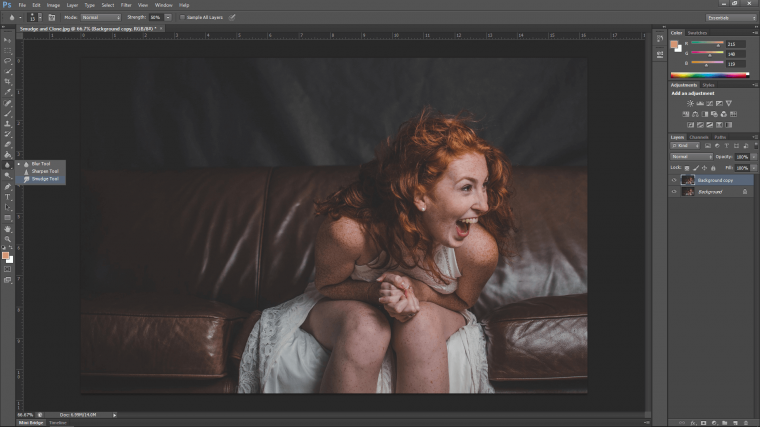
Ok, let’s now grab the Smudge Tool First.
You’ll find it on the left-hand side menu.
As you can see from the image below you have to click on the section icon that looks like an eye drop.
Then you’ll see the Smudge Tool at the bottom, the icons a cool little hand smudging with its index finger 🙂
Ok so it’s a strength should be about 50% for this. You’ll see that option at the top menu under ‘Window’. Then what I’m going to do is click and just smudge the tiniest bit on the surrounding edges. So areas like the edge of the seat, the dress, etc. You have to be extremely subtle.
If you feel you have gone too far the holding Ctrl Alt and tapping Z will take you back steps.
When you have done this then create a brand new duplicate layer of the layer we just edited.
Then just lightly go over the furthermost edges again.
I went over the back edges of the chair again just slightly.
Then, I pulled a few bits from the hair at the back of her hair out.
This all gives the image a little bit of surreal motion.
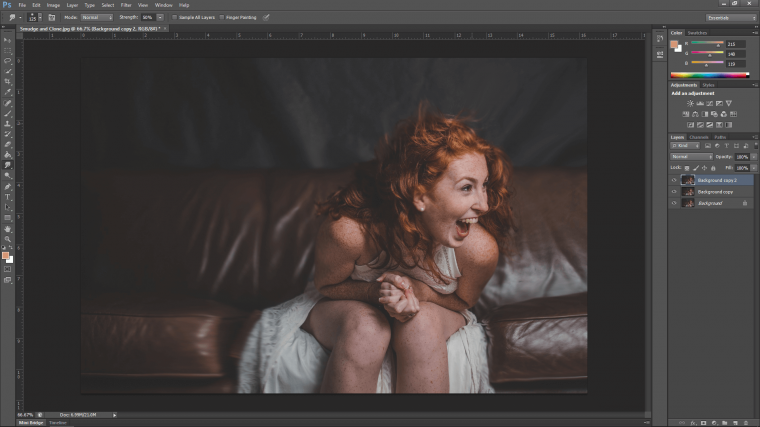
Feel free to try your own experiment to see what type of effect you get.
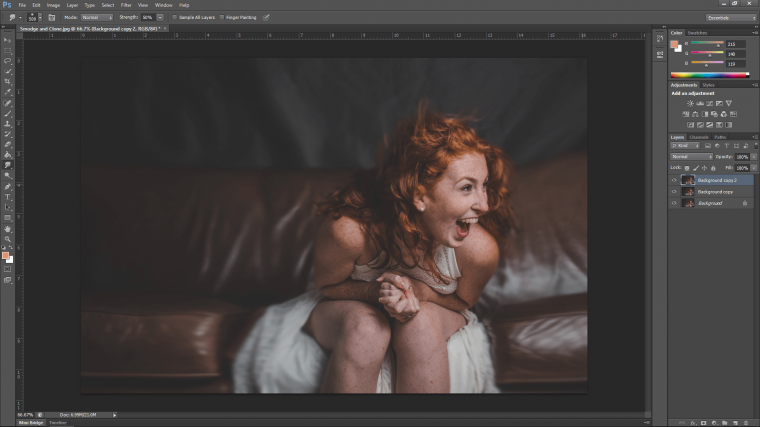
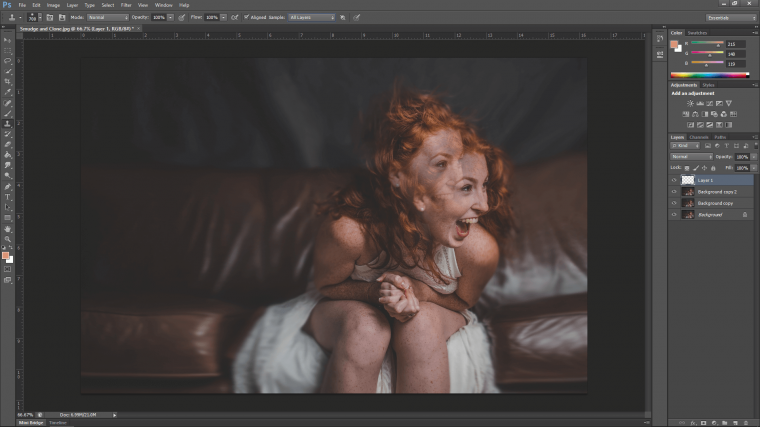
After I did the layer in the image above I decided to go a little bit further with the layer.
If it doesn’t look good you can, of course, go back or delete the layer, create a new duplicate and go again.
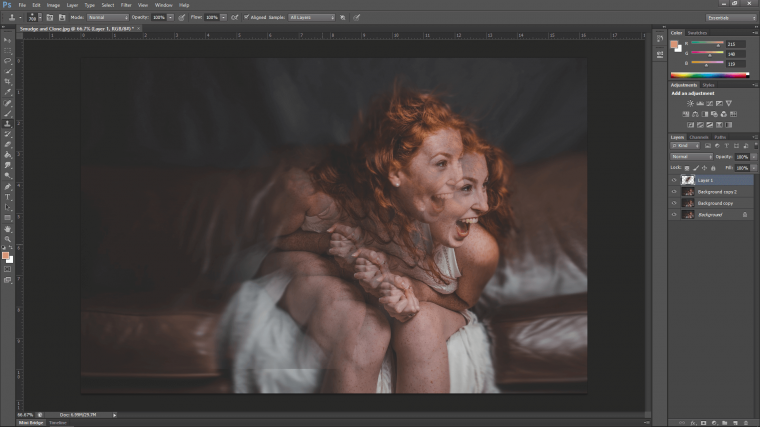
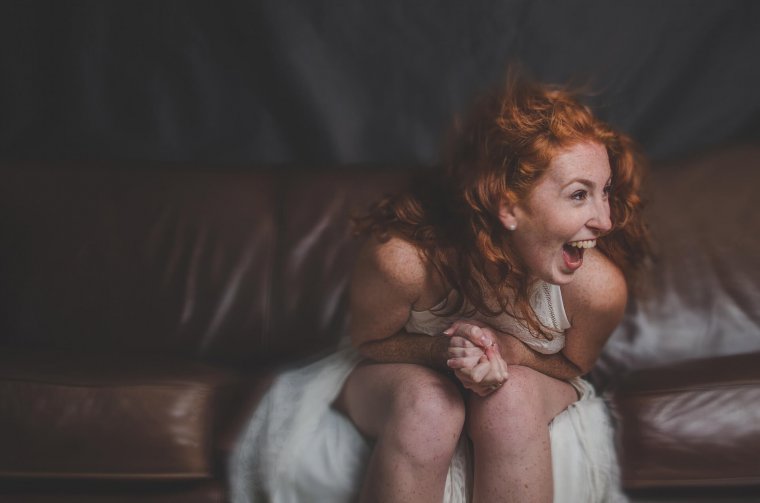
As you can see from my image below how much further I’ve taken the image.
I pulled the edges of the seat up so it looks like our model has just jumped down on the seat almost.
Or in the process of jumping out… whatever your creative mind what to think.
Now we’ll move on to the Clone Stamp Tool.
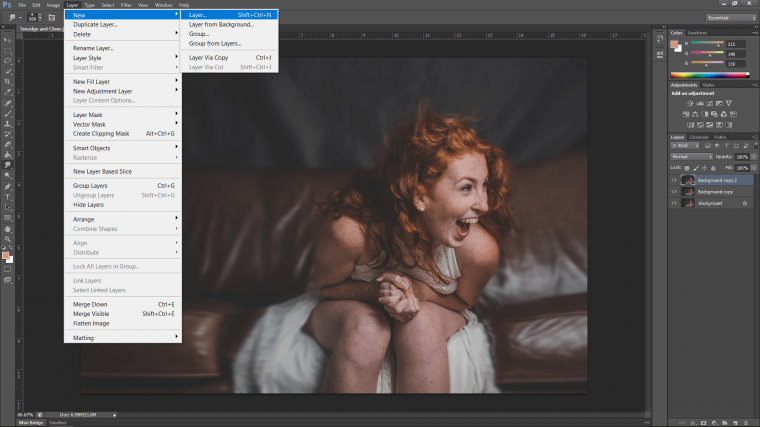
Create a new layer.
Layer-New – Layer
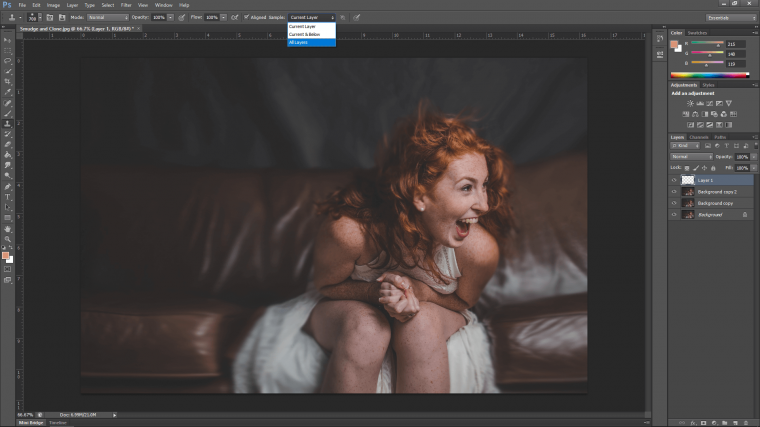
Then chose the Clone Stamp Tool from the left-hand side menu.

Make sure that it is on the ‘All Layers’ option as in the example image below.
Now to sample the area you want, hold Alt on your keyboard and click.
You can now paint the image sample off to the side just so you can see it.
We’ll be positioning it just in a second.
Drop the layer’s opacity to around 30%, we may change this when positioned.
You’ll see the option on the right-hand side in the layers menu, it’s beside the word ‘Normal’
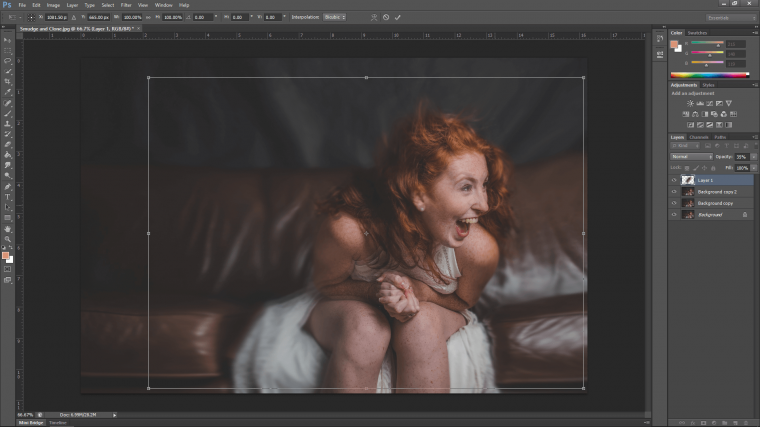
Now hold Ctrl T to open up Free Transform.
You will now be able to click on the cloned area and move it.
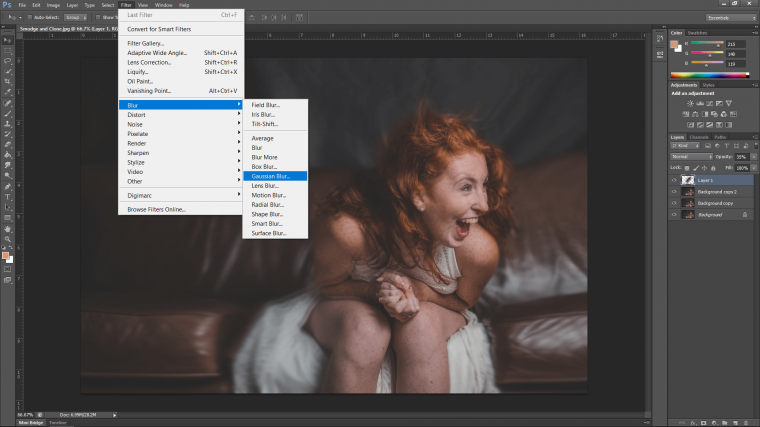
I want to position it just to the top left of my model like she is in motion.
I’ll give it a 1 on the Gaussian Blur too as shown below.
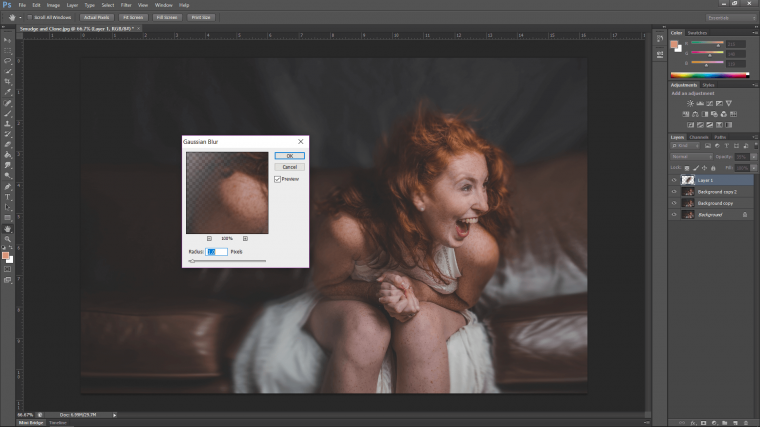
The last step is I’m going to create one more layer which is a duplicate of the layer we just edited.
Then position it again just off to the top left of the freshly edited layer.
Add 2 this time to its blur and drop the opacity of that layer to about 5%.

And with all that done, you are now done!
You can tamper with the layer’s opacity as much as you want now until you are happy.
I was happy with my settings so hope you were to and enjoyed.


Please verify your software version before proceeding.
 I’ve verified my software version


 Facebook
 Google +
Comments (0)
There are no comments yet.