Hey, everyone! I have a cool Photoshop Tutorial for you today.
Today I’ll be showing you a few ways to remove Logos from clothing.
We’re going to be taking a look at a few different examples in this one so we can cover a few techniques that will work better for different scenarios.
A lot of times you will get requests from clients to remove objects from Images in Photoshop and Logos being a big one when it comes to fashion Photography.
So for whatever reason they want them removed, I’ll be showing you ways to remove those and match in using Tools such as the Clone Stamp Tool etc.
Let’s get started.
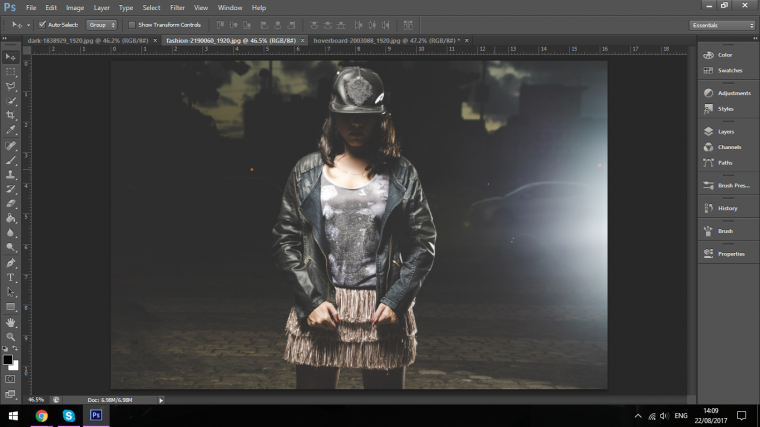
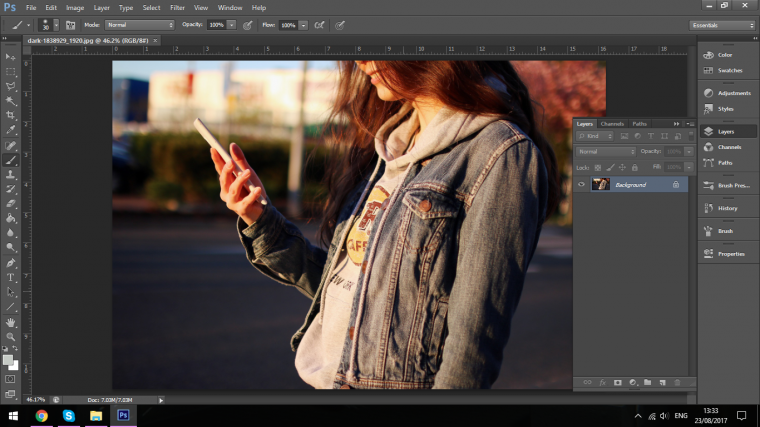
The images I’m going to be using today are as follows.

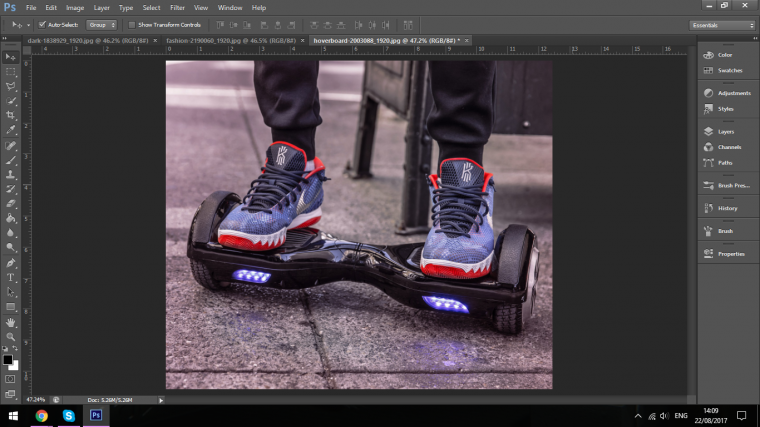
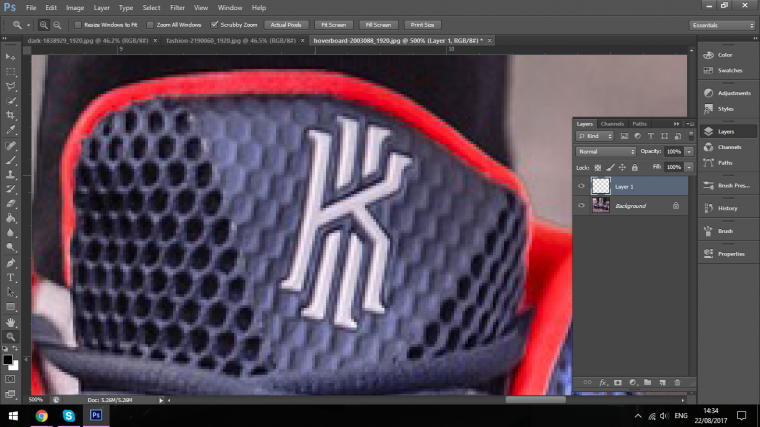
Ok, so the first one that I’m going to be looking at is the Logo on the shoes.
I’m going to be showing you how to Detail withing the image to clone over the other areas and then copy and paste it and flip it.
First things first, create a new layer.
Go to Layer – New – Layer
You’ll be prompted when you click this to press OK, so do so.

I’m going to have to zoom right in for this as this will be pretty detailed work.
To do that you can use the – and + keys on the keyboard.
So hold Ctrl and hit + to start to zoom in.
If you start to lose position, you can hold the Space bar and hold the and click on the screen and dragging using the mouse you will be able to freely move around the screen with ease.
If you have to then simply zoom out holding Ctrl and the Minus Key.
Ok now click on the new layer, you should be on it already but just incase you’re not click on it, it’s in the Layers panel to the right hand side, you can see it below, the bottom image in thee is a thumbnail of the original layer, this is called Background, about that you’ll see the empty layer, that’s the one you have to have activated so click on that.
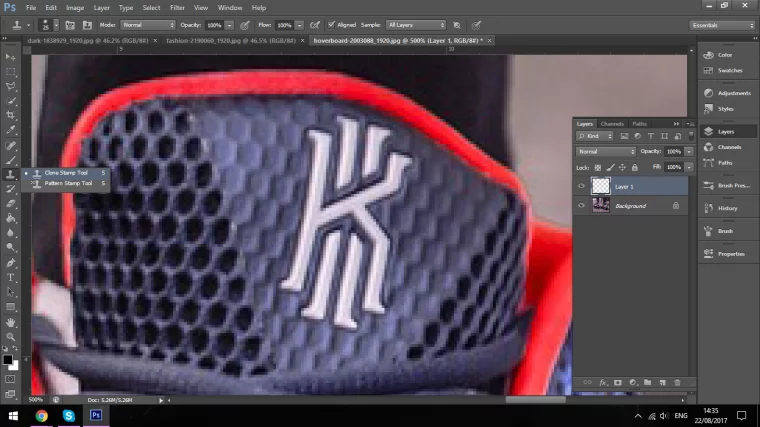
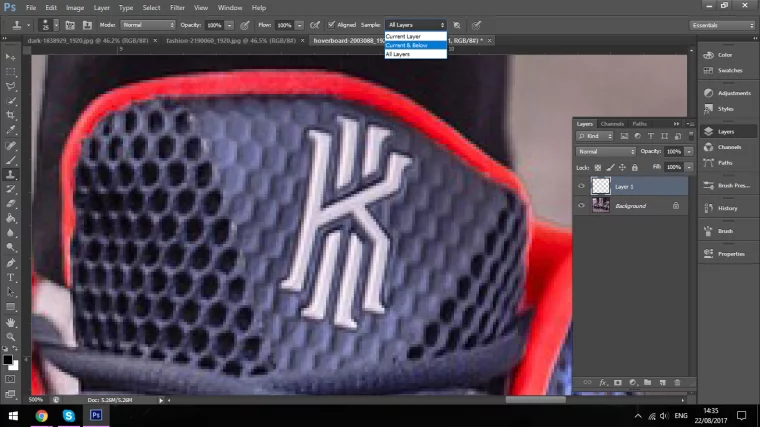
Now activate your Clone Tool, you can find it in the side bar as shown below or you can hit S on your keyboard for he shortcut if you can remember it.
Next as shown below you have to click where it says Most likely Current Layer, there is two more options in there, All Layers and Current and Below.
With All Layers this will sample as it states every layer in the layers panel even if the layer you’re working on is stacked in the middle of the pile.
Current Layer will just sample from the layer that you’ve clicked on and Current and Below will sample from the layer just below your current layer.
Click on Current and Below.
Now we’re going to start to sample the layer and painting with it, that’s what the clone stamp tool does, it is similar to the paint brush tool only instead of painting with colour it samples the actual image itself and paints with that.
Ok so to do this you have to hold Alt and then click on an area with your mouse.
This will take a little bit of getting used to.
Below I have circled the area that I started on and the first direction I painted.
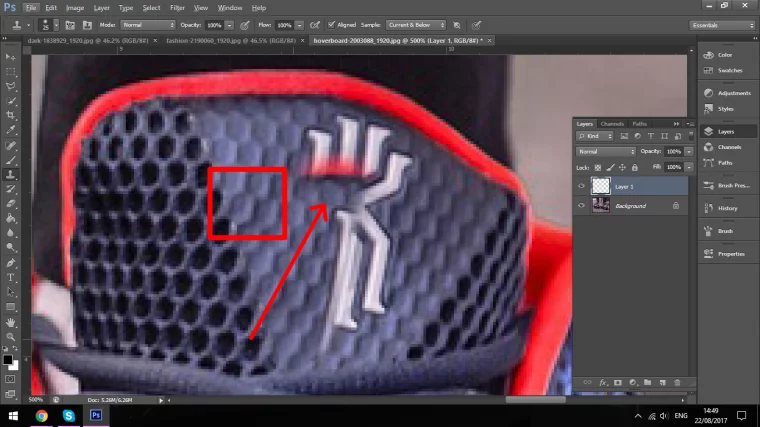
This is going to take a little bit of time and patience, you may have to restart a few times, if you make mistakes you can erase it just using the eraser tool, which you can activate by keying in E on your keyboard.
What I have below is what I was able to achieve after a matter of seconds, when doing this for a client I would take a little more time and care, but as is this is not too bad, we just have to do a little tidying up which also will not take long.
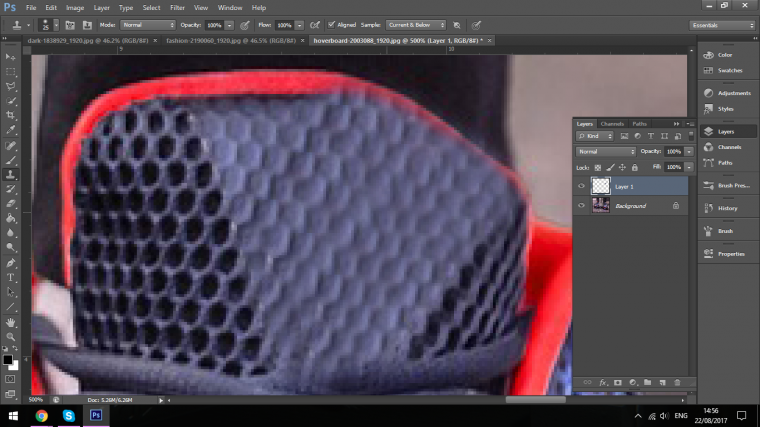
So to tidy this up I’m just going to use the erase tool as I just mentioned.
I will go around the edges and remove the messy areas.
After I tidy up a little it’s not looking too bad at all.
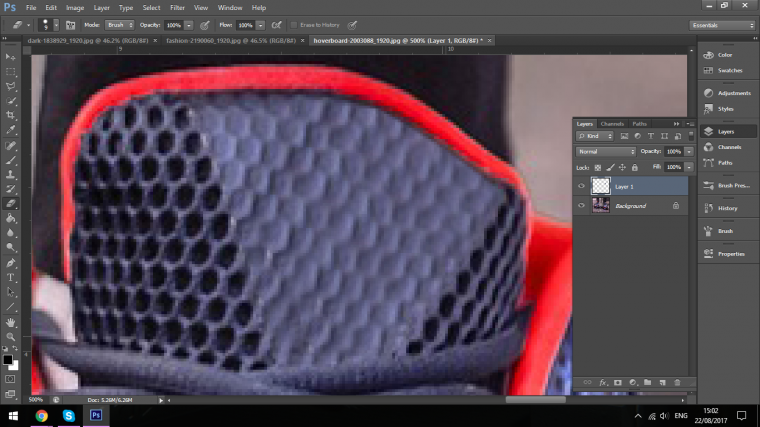
So, we had just cloned in over the logo on our shoe.
But there are two shoes.
What we could do here is we could do the exact same thing again which could take up a little extra time or we could duplicate our layer and somehow make that match on the other side.
Click on Layer – Duplicate Layer
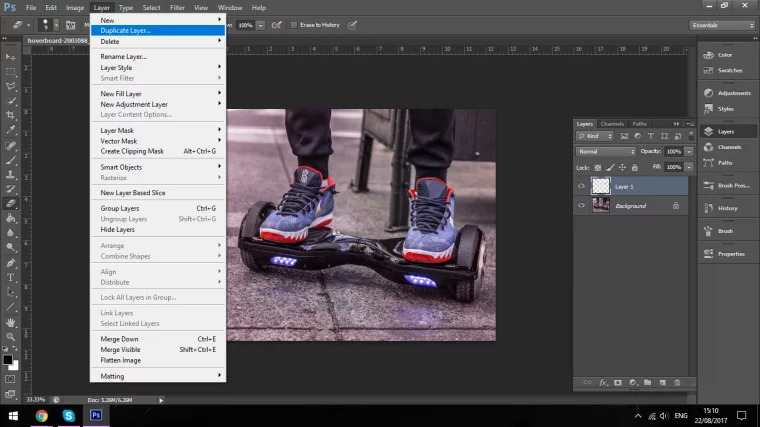
Now you will have an exact copy.
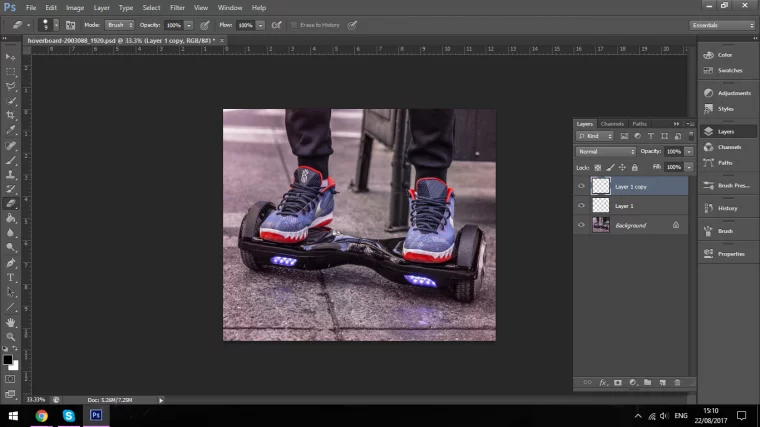
The next thing that you’ll have to do it to flip the new layer.
So make sure that you’re clicked on the new layer.
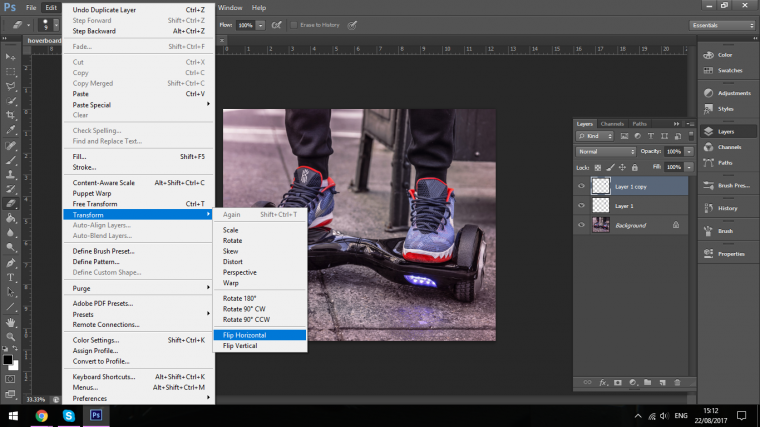
Now click on Edit -Transform – Flip Horizontal.
When you have done this Key in Ctrl + T to open up the free transform options.
This means you’ll be able to manipulate the image now.
So click and drag the cloned part across, you can rotate when you hover around the edges of the selection.
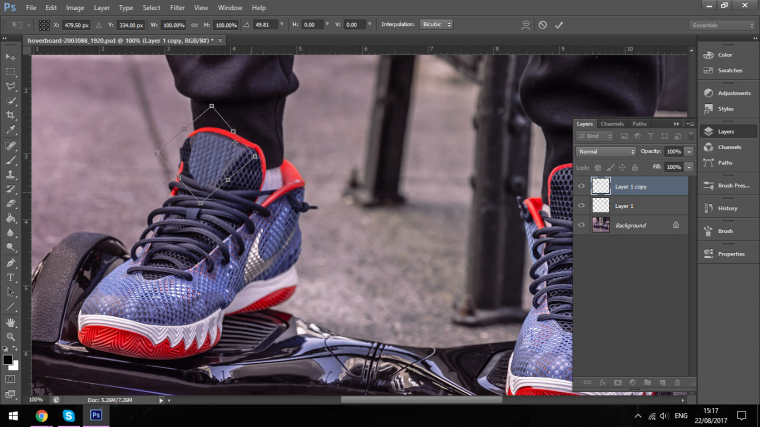
Once I am happy with the positioning I can as previous use the erase tool to tidy up.

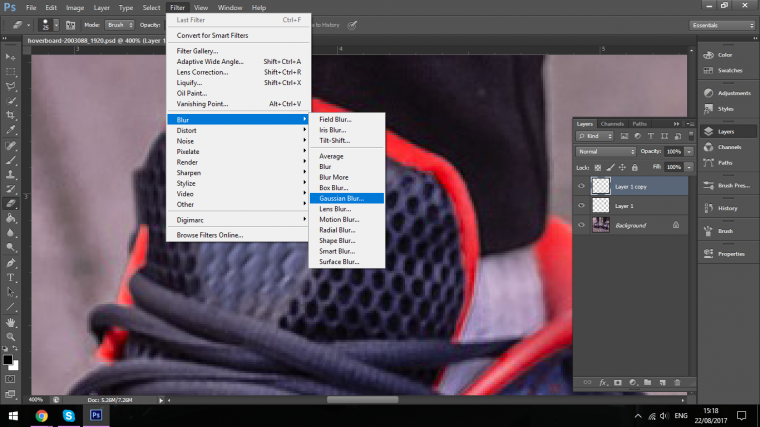
I will even add a little blur to the clone if needs are, the other foot is slightly out of focus around that area so I’ll do this for better realism so be aware of that.

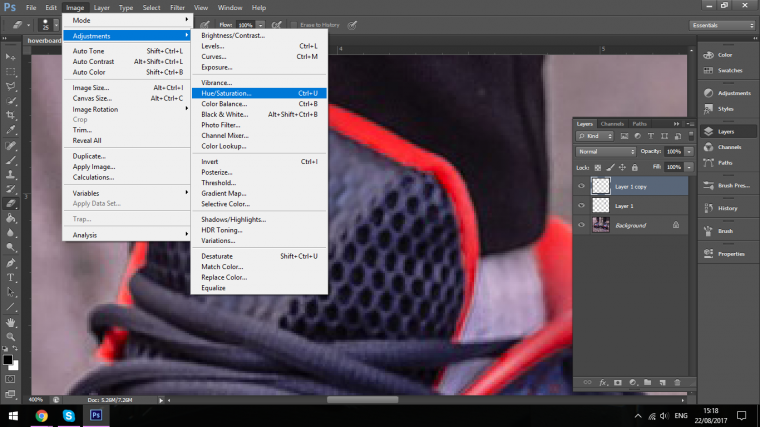
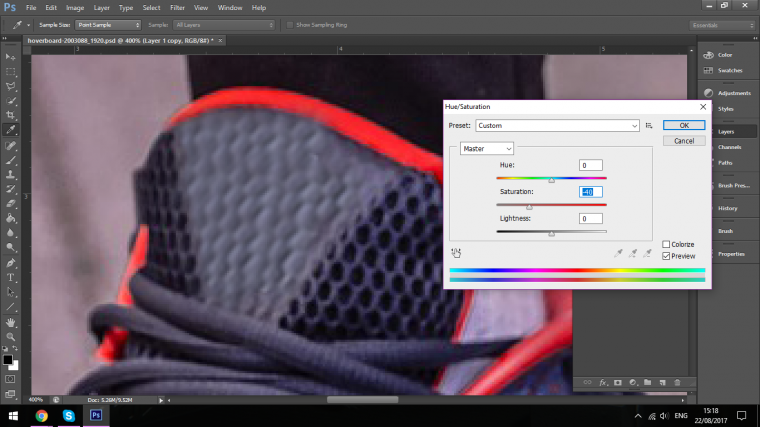
I might even need to use Hue and Saturation to match the color or drain a little bit of the color out of it using the saturation slider.
Now we should be looking pretty good and we haven’t had to do much work at all.
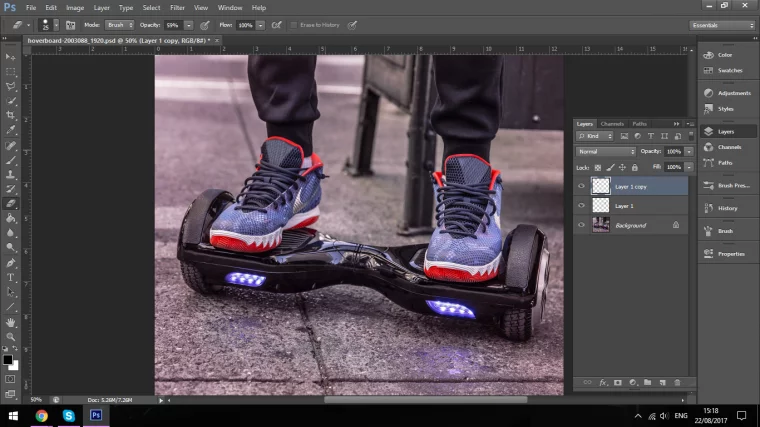
So in summary what we did there has we used the clone stamp tool to match the photoshop texture and then Free Transformed it over the opposite area to save us some time.
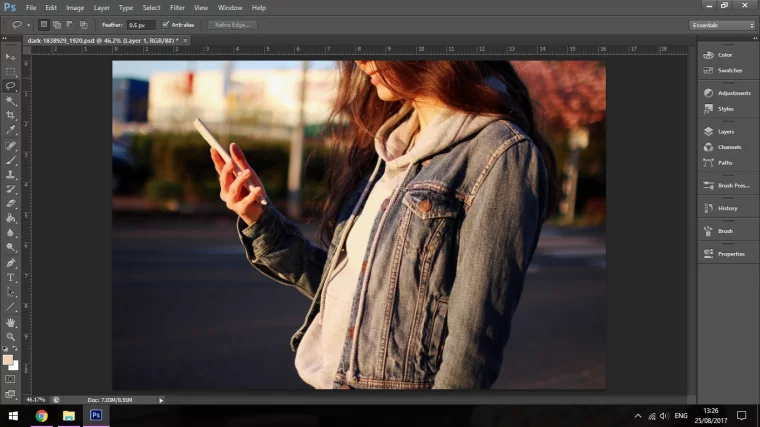
Right so next up we’ll be taking a look at the Logo on the Hoodie the young lady is wearing.
So when you look at the hoodie you will notice that there is not a lot a texture that you have to deal with, all in all, it’s generally all the one color.
What we can use here is the Brush Tool! Yes, the Brush Tool 🙂
I know you thought we’d be using crazy cloning tools for everything probably but no, sometimes depending on the situation you can just use the old faithful brush tool.
But there are a few things that you have to do with the brush tool to make it look like you haven’t just used the brush tool so there’s at least some texture to the edited area.
Lucky for both of us and all other Photoshop users this is very easily done and I have to admit that this is one of my go to’s when I do any sort of editing like this Tutorial.
Even when I use the Clone Stamp Tool, I may revert back to this simple Brush Tool technique and weave it in between other techniques.
Ok so you see the Grey on the Top and where the Logo is, looks easy enough because it is.
First thing I want you to do is to create a new layer, you should know how to do that by now if not the hint is it’s in the layer menu at the top.
Now activate your Brush Tool.
You can find it in the menu shown below or just press (B)
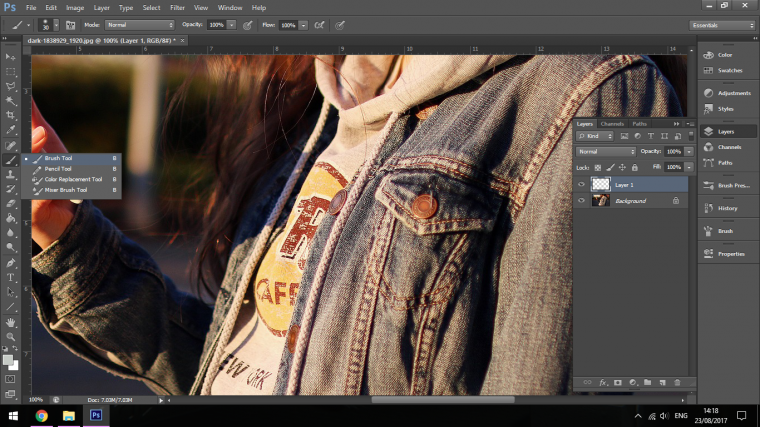
Now zoom into the area you are about to cover starting at the top or whatever.
Hold Alt to activate sample, click on an area close to the area that you are going to sample that is the same colour and start to paint over the logo, while you’re doing this make sure that you’re using the first brush in your brush menu.
You can get this up by right clicking on the screen.
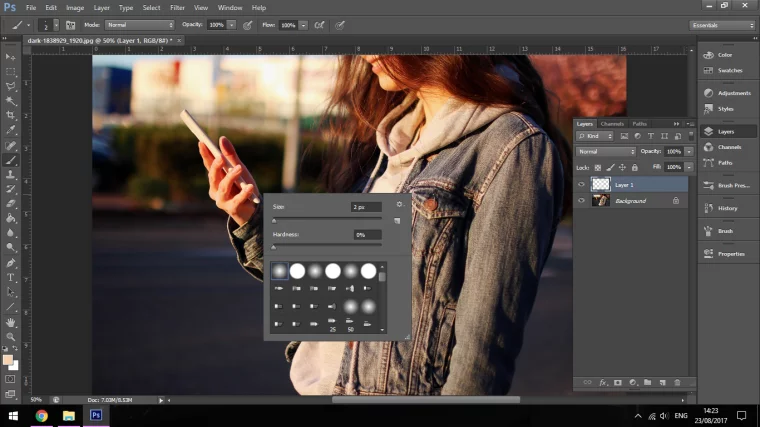
Then start to paint over the area on the new layer, done worry too much about over spill we’ll be dealing with that after.
Remember to resize your brush when it suits and re sample where it suits, you’ll have to be doing this back and forth a few times.
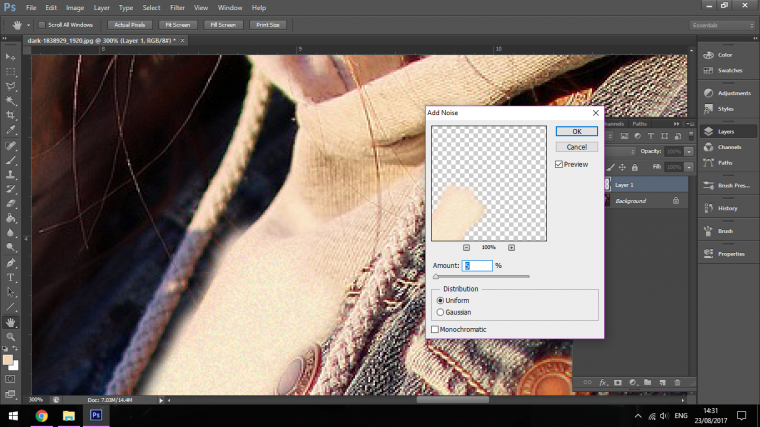
Now to add a bit of texture zoom in then we go to Filter – Noise – Add Noise
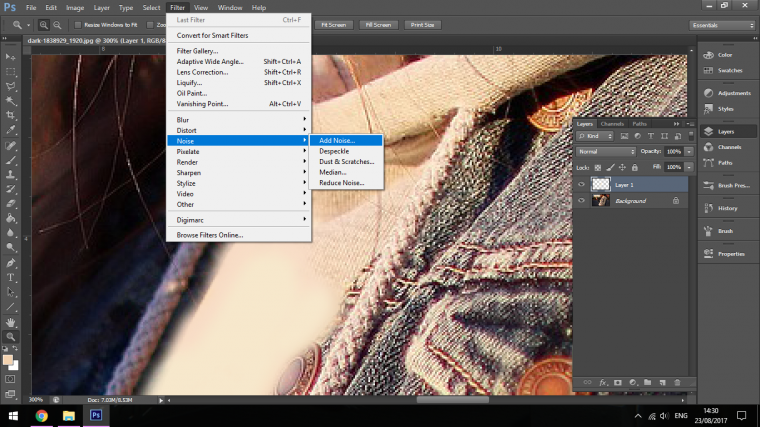
Using the slider change the level of noise till it start s to match in pretty good, you don’t have to get perfect just close enough, nobody will be zooming in this much to look unless it’s a massive bill board or something then you would use other techniques, number one being not to do the Photo shoot with the top in the first place.
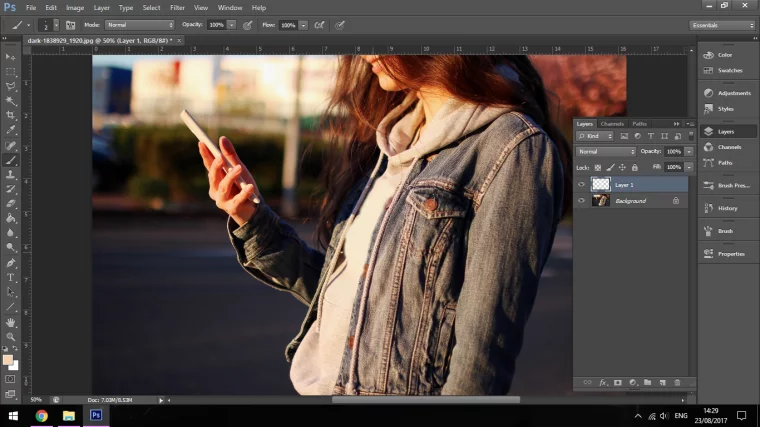
Now all we have to do is to tidy it up a little, I use a combination of the eraser tool to get rid of unwanted areas and the clone stamp tool to add little areas back in that I may have messed up erasing.
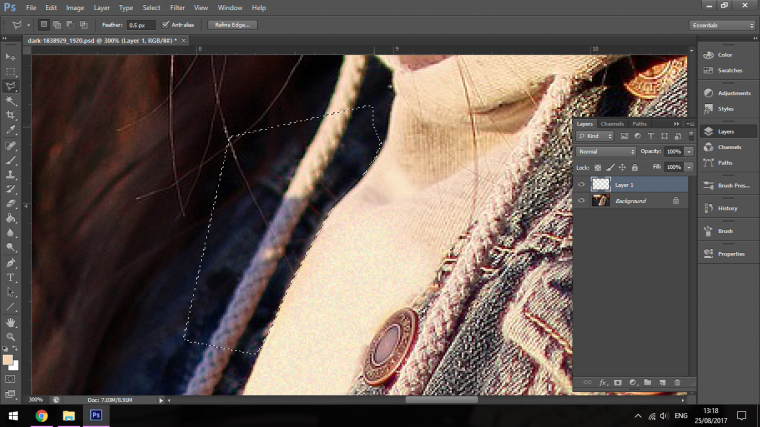
For Sharper edges I will use a combination of the Lasso Tool or Polygonal Tool creating selections over areas and then pressing delete on my keyboard to finish the job.
And there we are, not looking too bad.
Ok let’s move on to our final part.
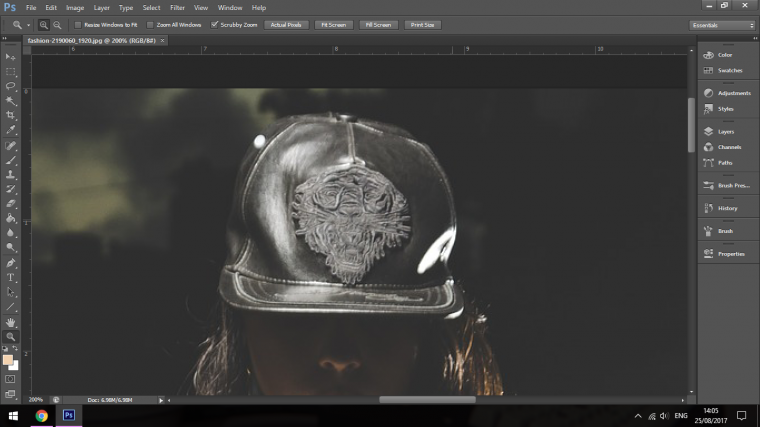
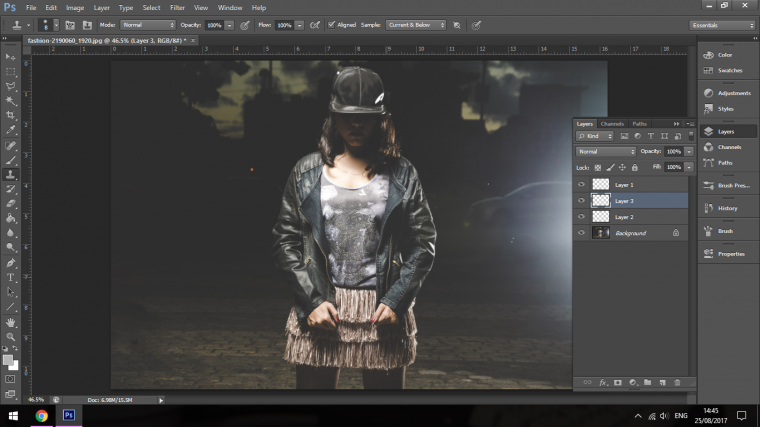
For the final part I’m going to be editing this fashionable young ladies hat.
I’m going to be doing a combination of everything I have written about in this tutorial and show you how I would do these in a real life situation in as close to real time type writing as I can.
What I’m going to remove here is the Lion Logo in the middle of the hat.
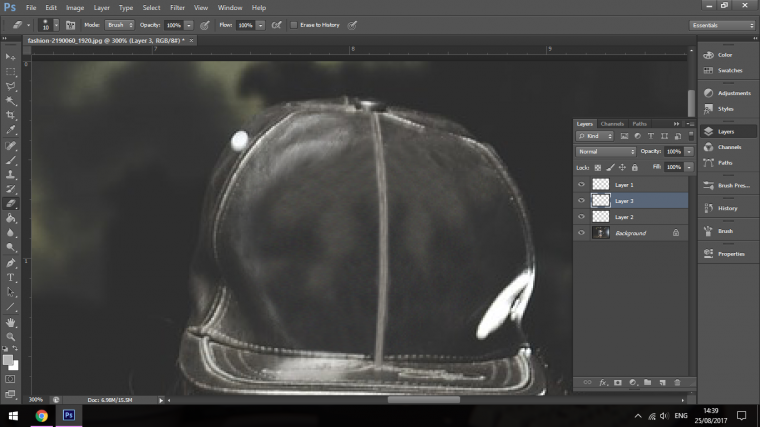
So my first observation that came to mind was that I would have to replace the line in the middle of the hat first and then leave it at the top of my stacking order in my layers panel.
For this I’m going to use the Clone Stamp Tool on a new layer.
So I cloned down to create the seam.
I noticed that when I was doing it that a few little bits would stand out and repeat so I made sure to go back on those and tidy them up.
Then using the Polygonal Tool I tidied the edges and deleted the access areas not needed.
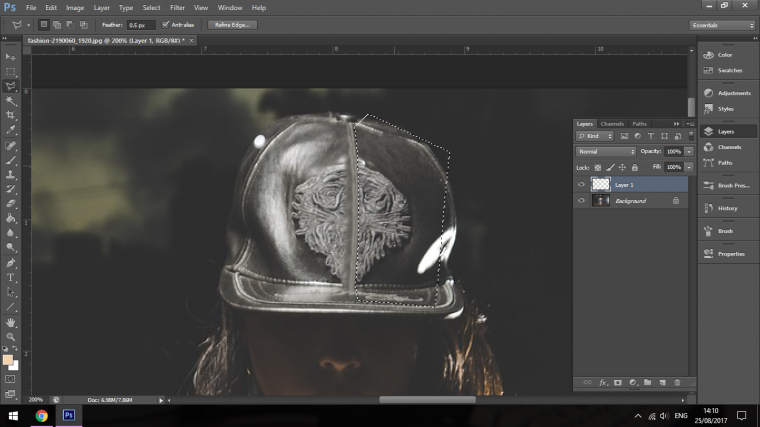
Remember this will remain at the top of your layer stacking so anything else you do this will always be visible on your image.
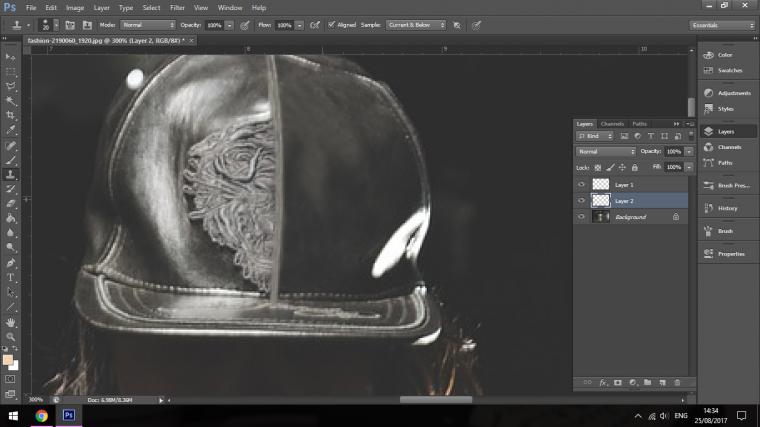
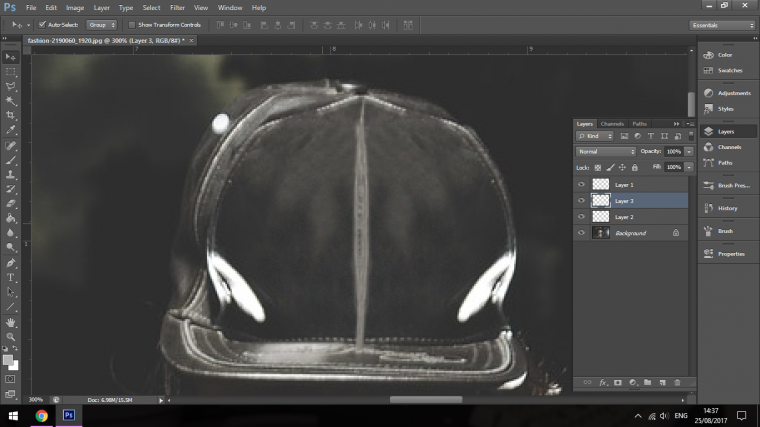
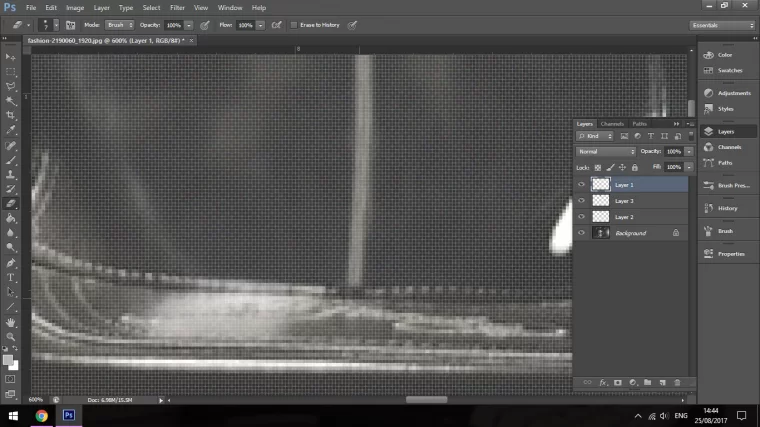
Now I’ll take each side of the hat, each one poses a different challenge but both can be dealt with in pretty much the same way.
For the first I just figured that I could probably get away with the entire thing just using the Clone Stamp Tool.
So I took a sample and then just started working with it until I had the areas filled being aware of the reflected areas.
I then added some noise and changed the amount to 1 as this was a copied area but with the cloning some areas smoothed out so I needed to add a little bit of texture.
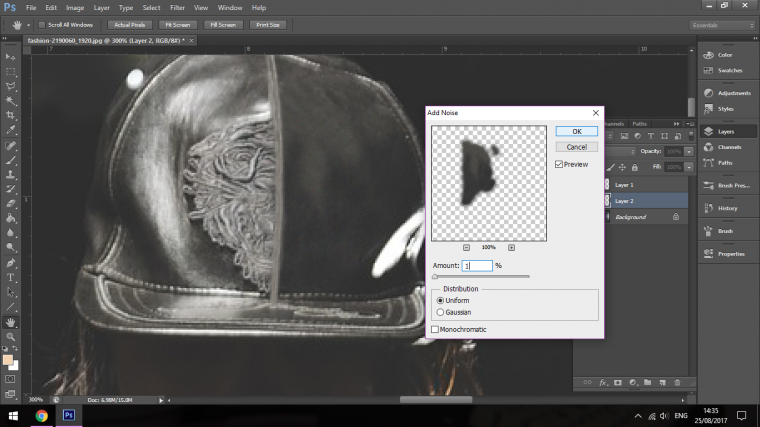
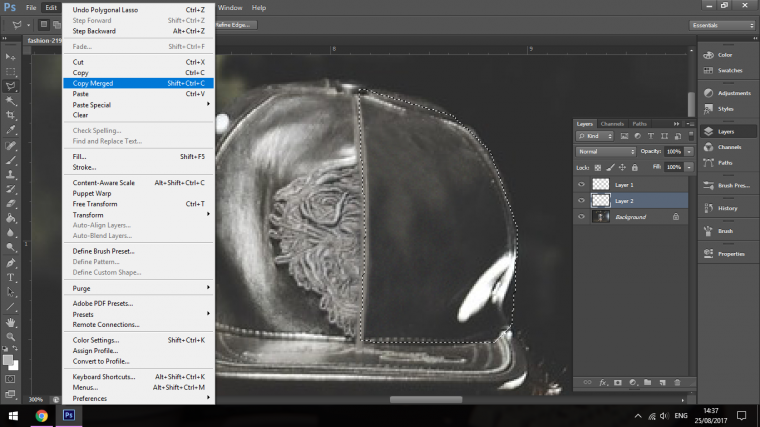
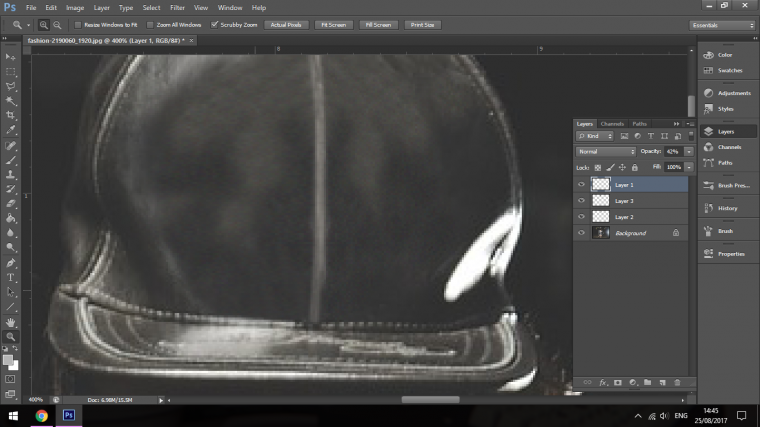
Next I created a selection around the area, I was rough with this, close enough is good enough for this selection.
I then copy and paste it. (Used copy merged so it will collected all layers)
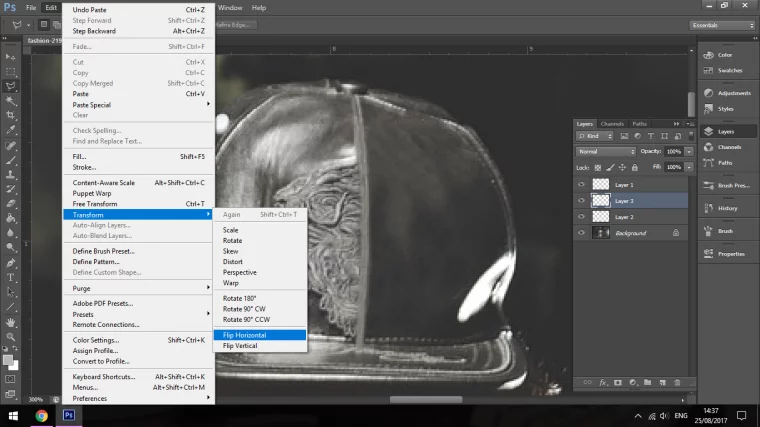
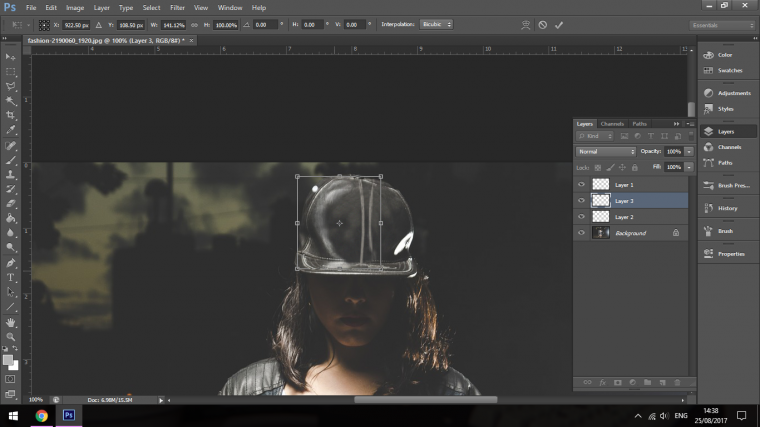
I then opened up the Transform Tool to Flip the edit Horizontally so I can use it on the other side.
I then started to use the eraser tool to blend it in as best I could, I also used the transform tool to stretch it out.
I went back and forth with this for a little bit, I even re-cloned in some areas I felt needed to be to keep it realistic, so use your artistic judgement as best as you can here.
The last little touch I did was to go back to the original clone we did of the seam and blend in the little bit at the bottom that was sticking out over the rim.
I also tided up any other little areas I felt needed to be with the clone tool.
I then dropped the opacity of that original clone a little to blend it in better.
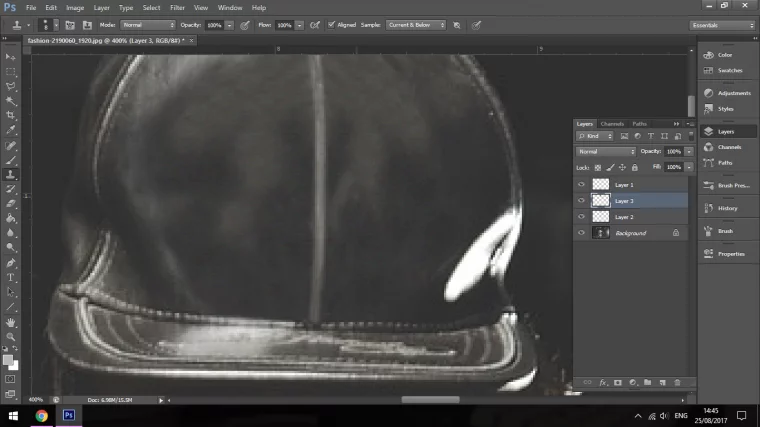
Once I did this I was happy enough to call this a completed image that.
And here comes the final result:
![]()
We hope you liked this guide and see you next time!
Before you go anywhere, you should check this method to edit Like luizclas Instagram in Lightroom to Photoshop.


Please verify your software version before proceeding.
 I’ve verified my software version


 Facebook
 Google +
Comments (0)
There are no comments yet.