Some times we take Photos in an undesirable location so we have to rely on or Photoshop to rectify this.
There are many options at our disposal, we can remove things in Photoshop using Cloning Technology, start Cropping left, right and center or we can get creative.
For this, we’re going to get Creative.
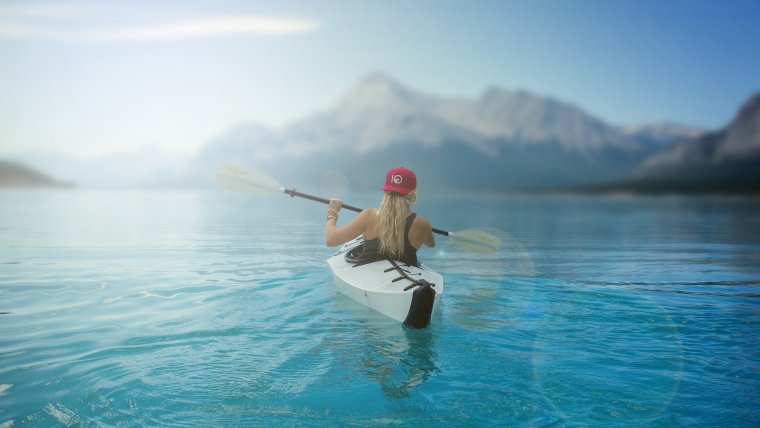
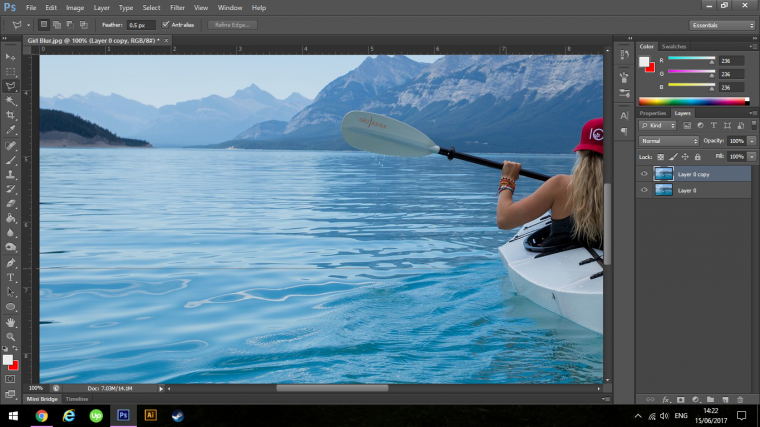
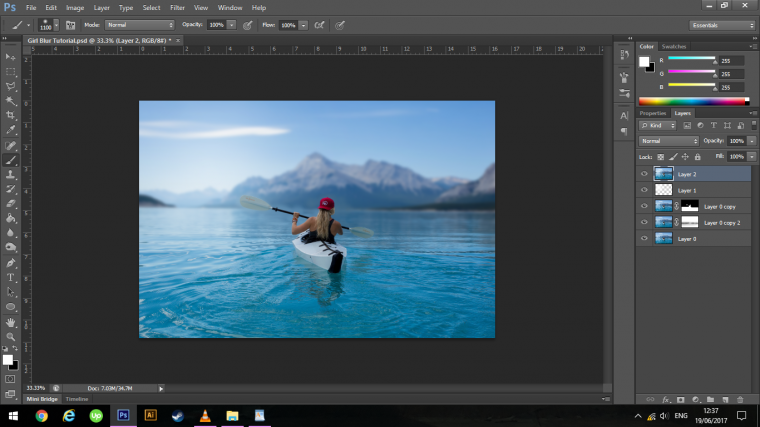
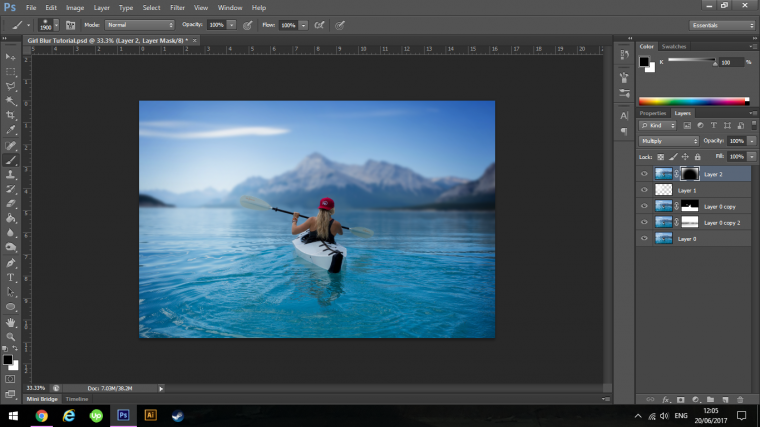
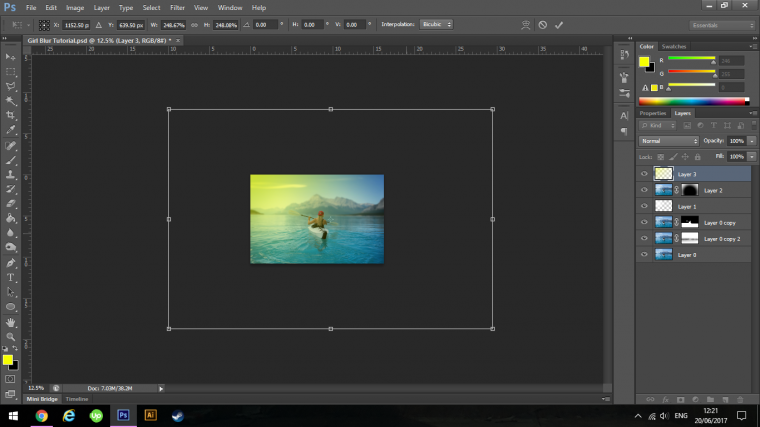
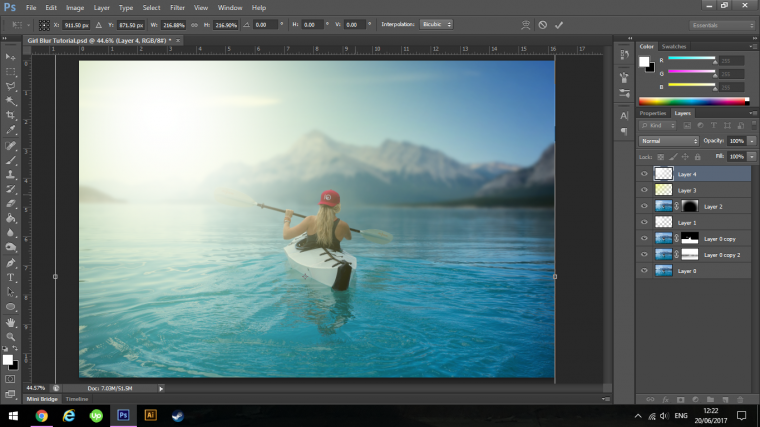
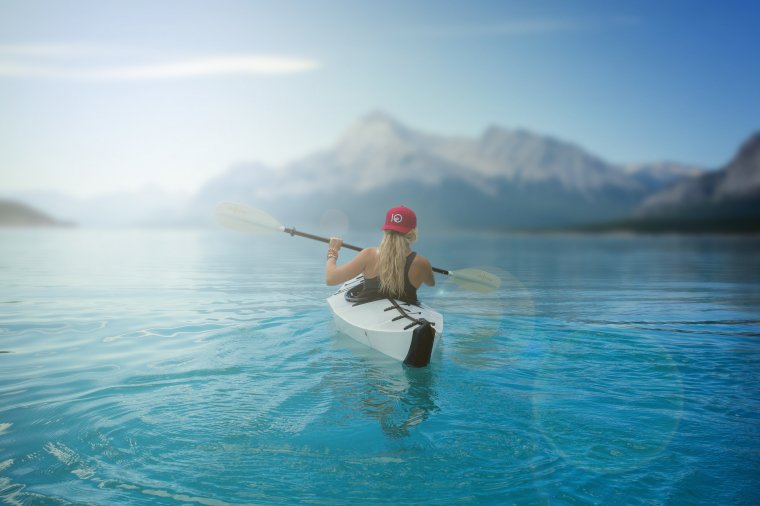
Ok so check out the image that I want to use for this, I happen to think this image is AWESOME! the Photographer that took must have had unreal fun that day taking these Photos, so going back to what I said previously with backgrounds that can be on the undesirable side, that doesn’t count for this image.
I simply wanted to use this because I liked it, but what could I do to this image? Well, I could Blur the background of course and add a little bit more depth to it and create distance.
O, so the first thing I’m going to do is to create a selection around my subject.
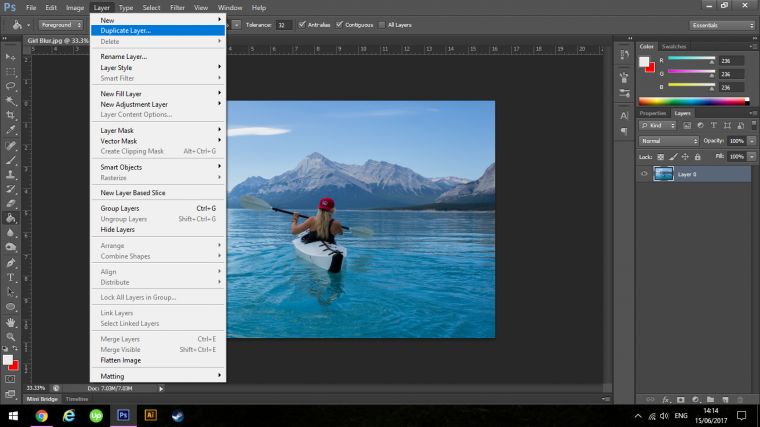
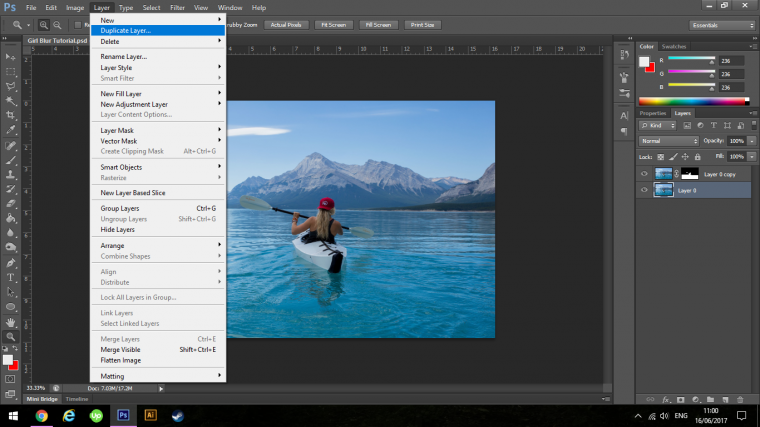
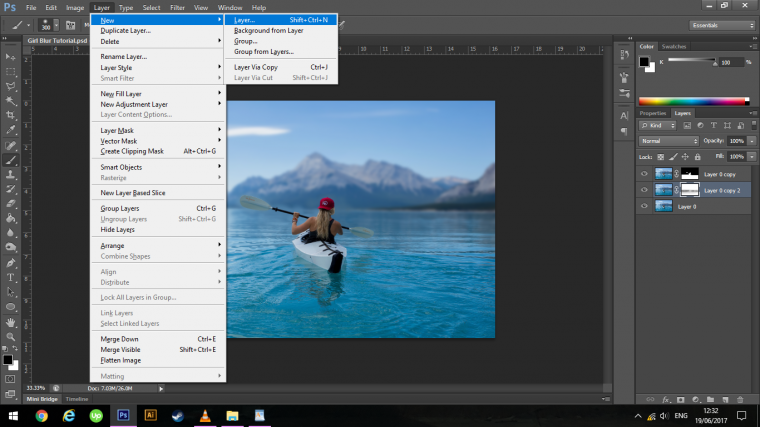
So create a duplicate layer.
You do this by clicking on Layer – Duplicate Layer, then pressing Ok.

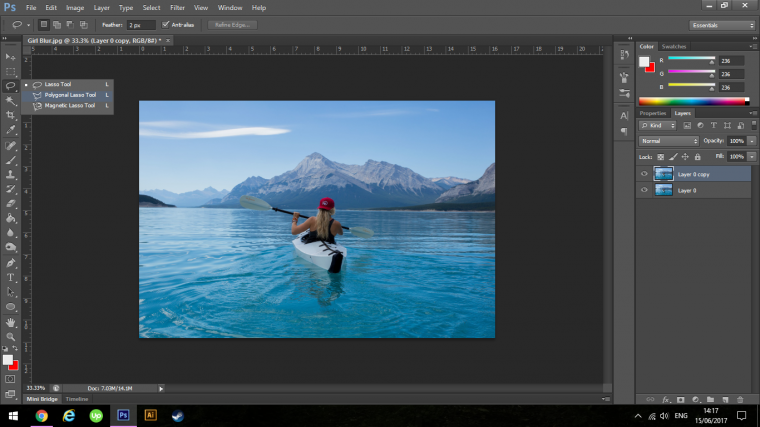
Now I’m going to select my Polygonal Tool, if you have another preferred method for making a selection then by all means use what you’re comfortable with, I personally like the Polygonal Tool as I’m not a big fan of the Pen Tool.
Then I zoom right (Ctrl – & + on your Keyboard) and holding the Spacebar you will see a hand Icon appear which will let you move your image around while holding it.
Then follow the subject and the lines where I want to select.
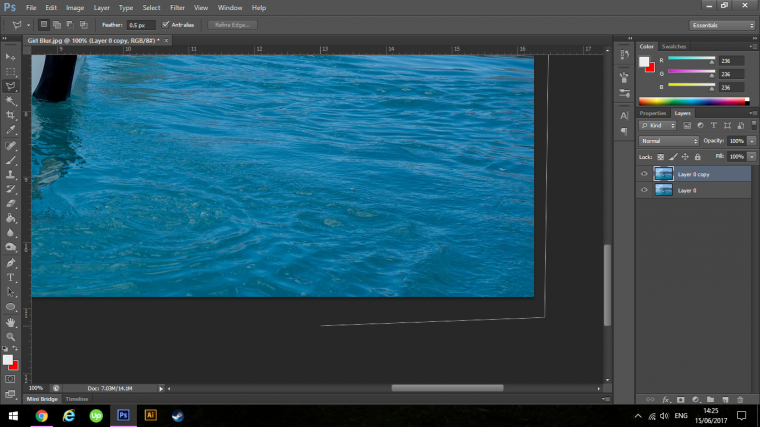
I’m going to start to select just about where the water touches the canoe at the far left-hand side and then holding Shift on the Keyboard I will get a perfect straight selection line across till I get to the boat.
Then I zoom in a said and start to go around my subject.
Note, you do not have to be exact, close enough is good enough here with this.
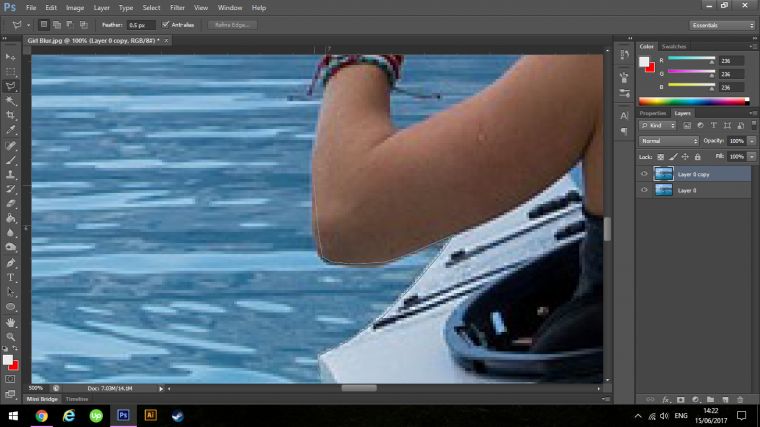
Once I have went around everything I then just click on the outside of my image just to go around to the original starting spot, then I click on that to complete my selection.
You will now see the marching ants.
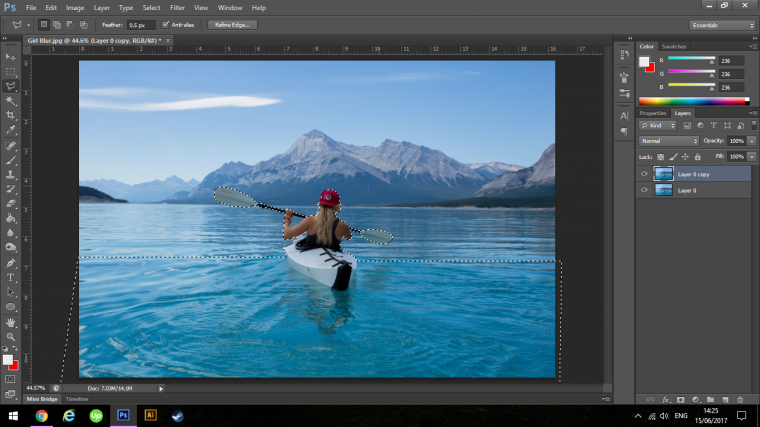
When I’m happy with my selection I then create a mask.
You create a mask by clicking on the mask icon.
You will find this at the bottom right hand side of you Photoshop Screen.
Look for the FX icon, the Mask Selection icon is the box with the dark circle directly to the right of that.
Click that and you will have your mask.
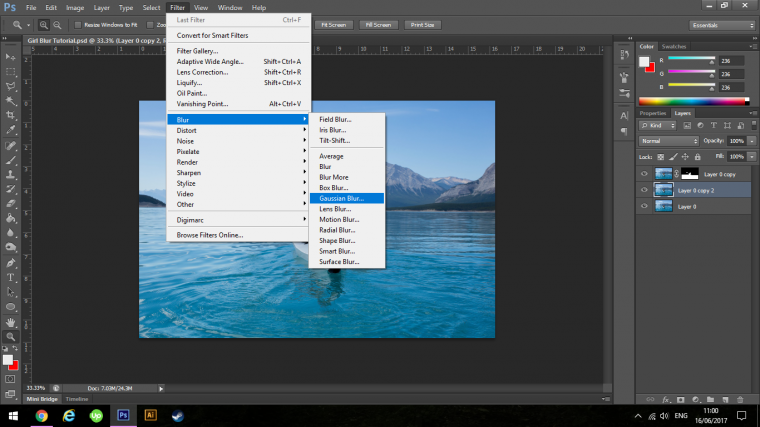
Next Duplicate your bottom layer again.
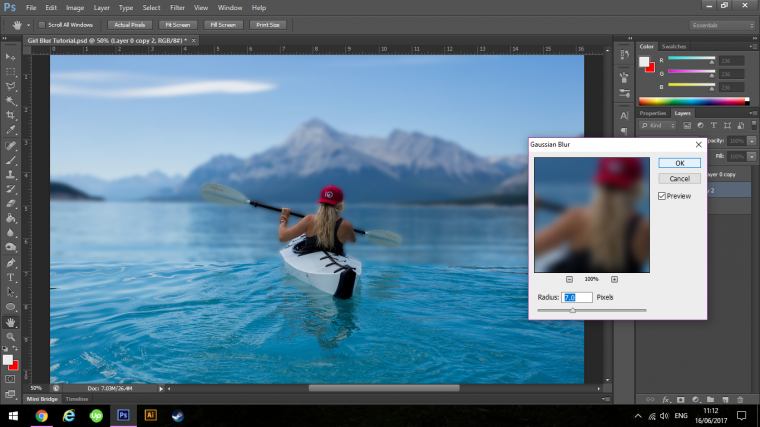
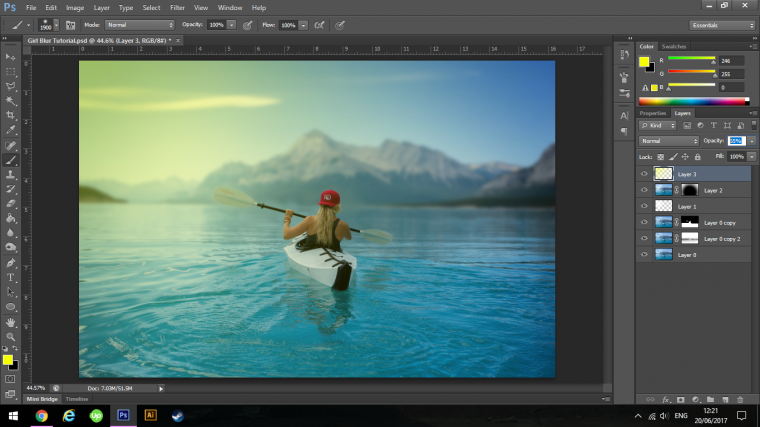
Then go to Filter – Blur – Gaussian Blur
Around about a 7 will work pretty well for this, but it depends on your image so see what you like yourself.
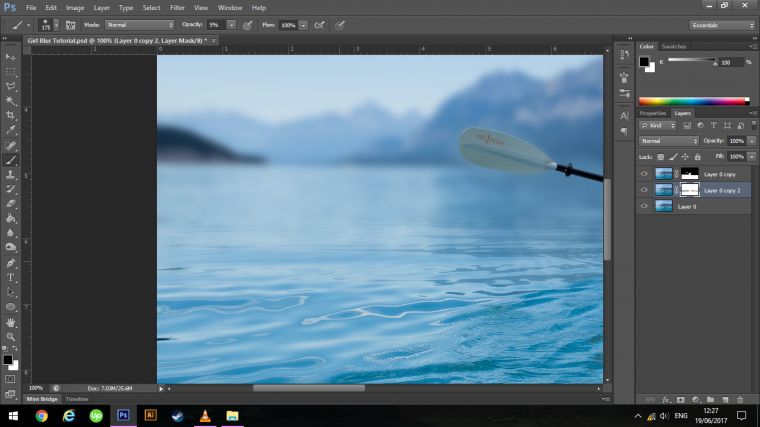
When you Blur the image you will notice areas around the subject that will have hints of the Model appear like round Her hat, arms and paddle there will be a blurred trace line.
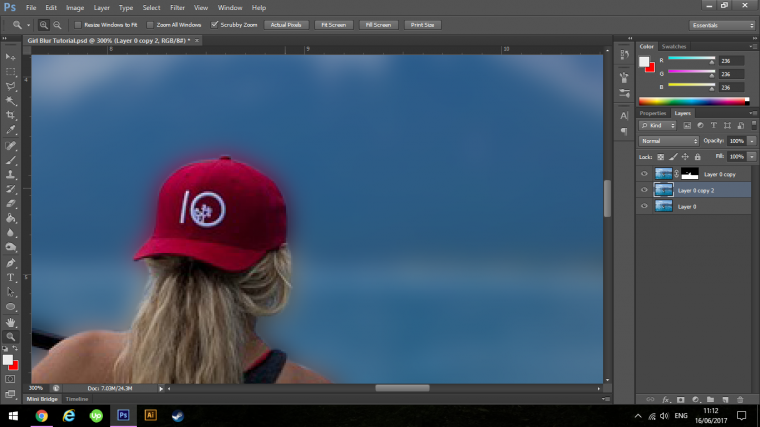
You fix this with the Clone Stamp Tool, which you will find on the left hand side Tool Bar.
This is one of my main go to Tools, I literally use it all the time and once you master it you will look like you’ve been at Photoshop for years!
(Shortcut, Key in S on your keyboard to activate it)

The way you use the Clone Tool is you hold Alt and then click on an area that you think will look good and blend in to look natural over the area you want to cover, then you start to paint over it like you would a normal Paint Brush Tool only you are using a copy of the image within the Clone Tool Brush, so you’re painting with the sampled Image. Clone Tool Brush is good to use in combination with changing your Opacity about.
I would take a little bit of time with this to create as best a looking image as possible.

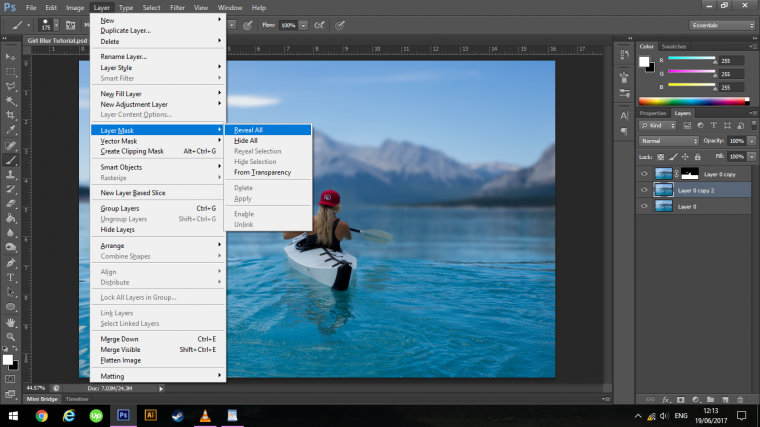
Now, let’s move on to the stage of creating a Mask on your Blurred Image.
Go to Layer – Layer Mask – Reveal All
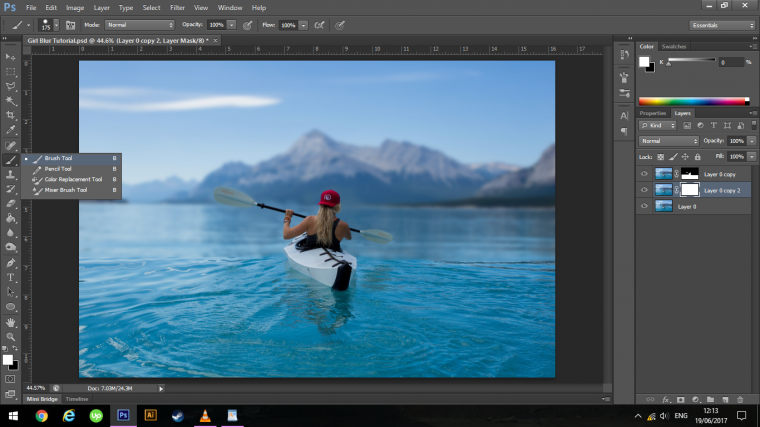
Click on your Brush Tool.
Now you paint Directly onto the Image but first, you must click on the actual Mask, the mask is on the Layers Panel, so if you look over to the right-hand side, you will see the little thumb nails of your images, these are your layers.
Besides those you will see the little “White or White and Black” Squares, click on the one we need which should be the middle one on the Blurred Image.
Click on your Paint Brush Tool (Shortcut B)
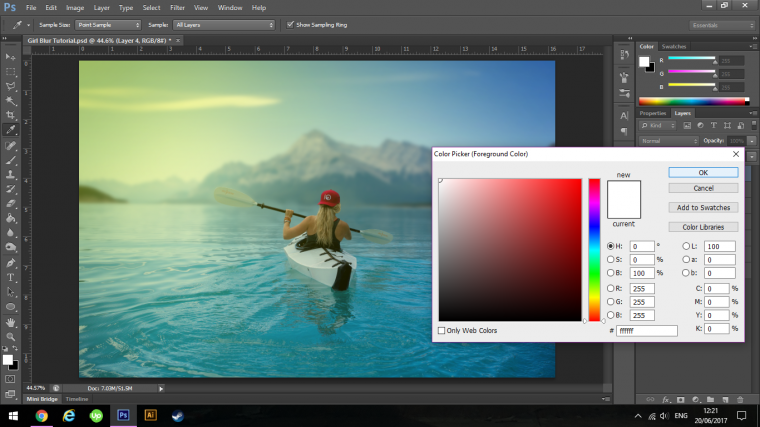
Now you will have to choose Black to paint over your white mask, so if you look at the bottom left-hand corner, you will see the two Boxes.
One will be White and One will be Black.
You will also see beside this icon a two sided arrow, if you do not have Black on top then click this and it will swap about the white from the black.
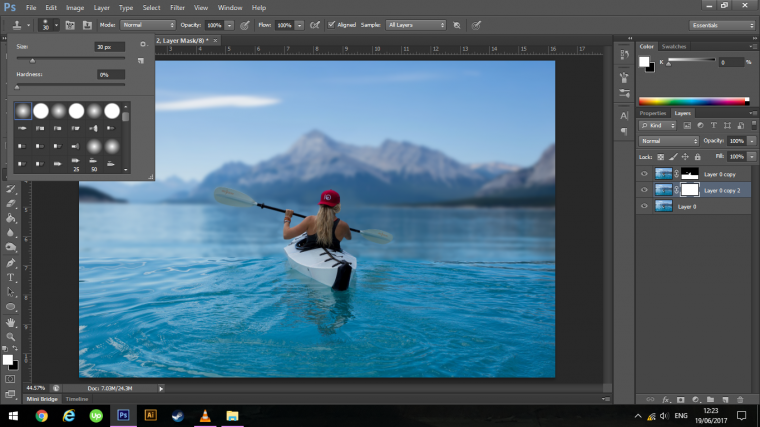
Make sure that the brush is a soft brush.
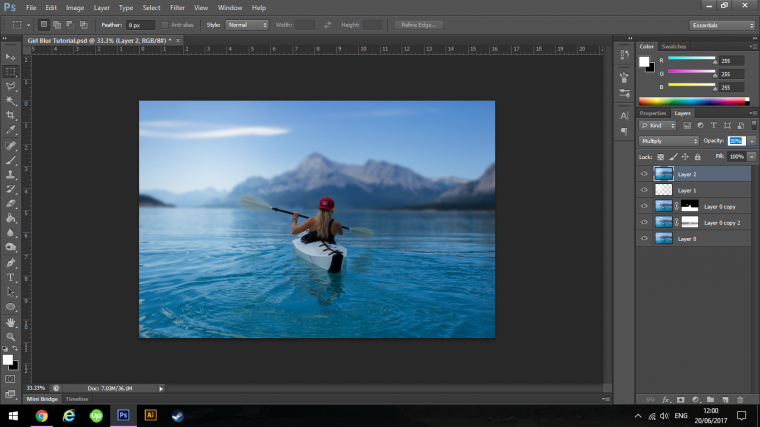
Also, drop the opacity to around 5, I wouldn’t go any higher than that, in fact, you might even want to go below this as you blend just to gradually build on the gradient and make it look more natural.
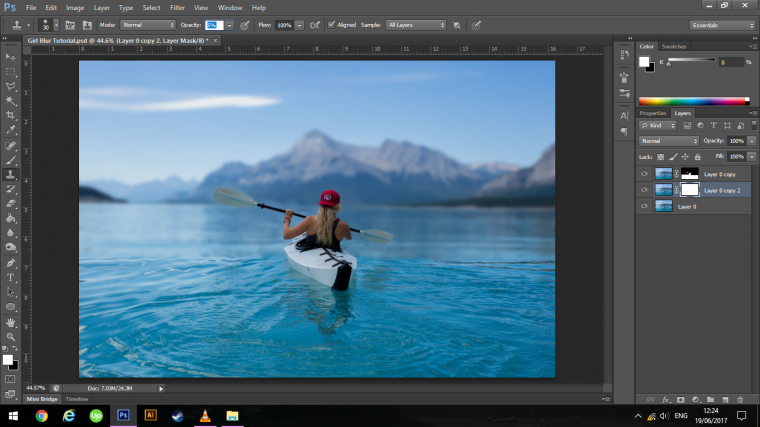
If you are unhappy with your gradient at any point, just choose white and paint over the black, you can switch back and forth to get the best results.
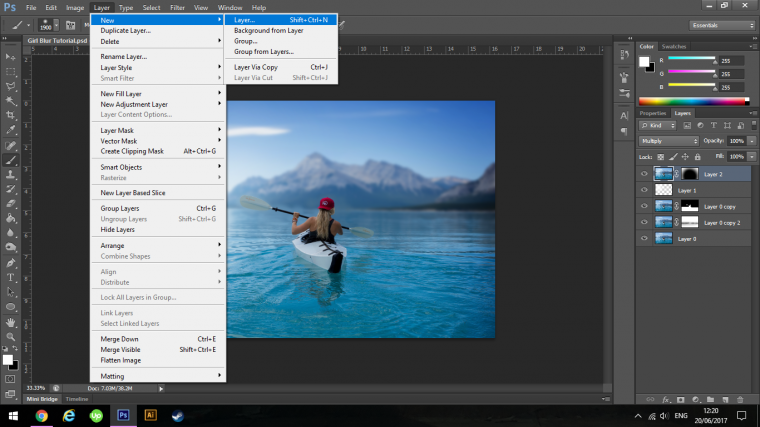
Now create a new layer
Layer New New Layer
Move the stacking order by clicking on it and dragging it to the top of all your layers, then release your mouse button.
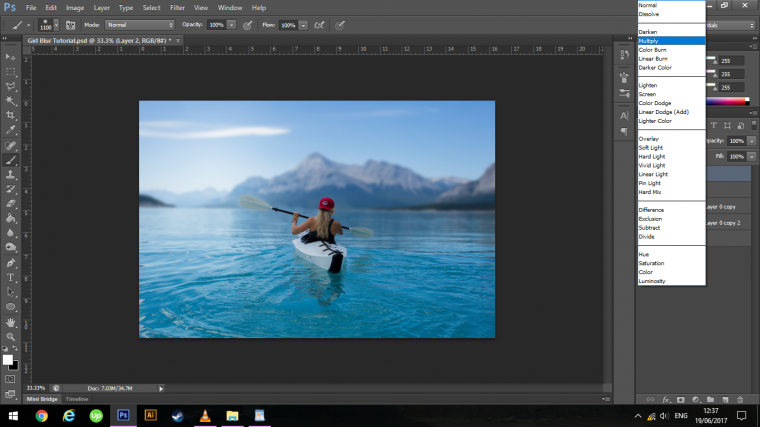
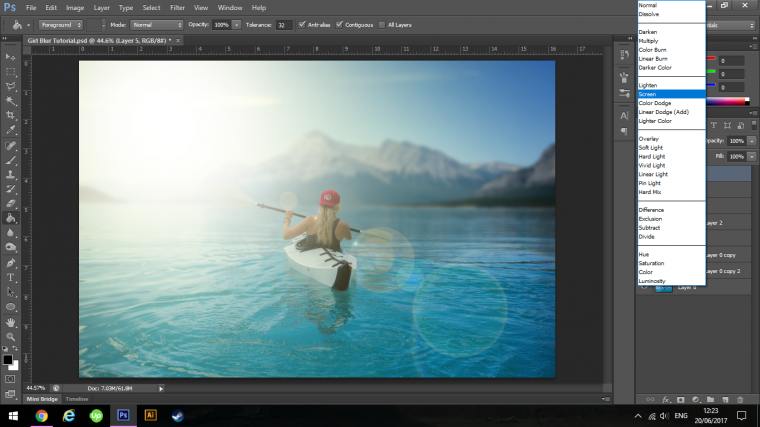
Activate your brush tool and choose white, click with a large brush size the source of the light, and change the layers blend mode to soft light.
You find the blend mode beside opacity in your layers panel containing your thumb nails over to the right-hand side, as a default, it will say Normal, click that to reveal the other options.


Now click on the bottom layer hold shift and click on the top layer to select them all together.
Now on your keyboard key on Shift + Ctrl + Alt + E all at roughly the same time, this will create a stamp of your image, now change that images blending mode to Multiply the same way you change the layer below to Soft Light.
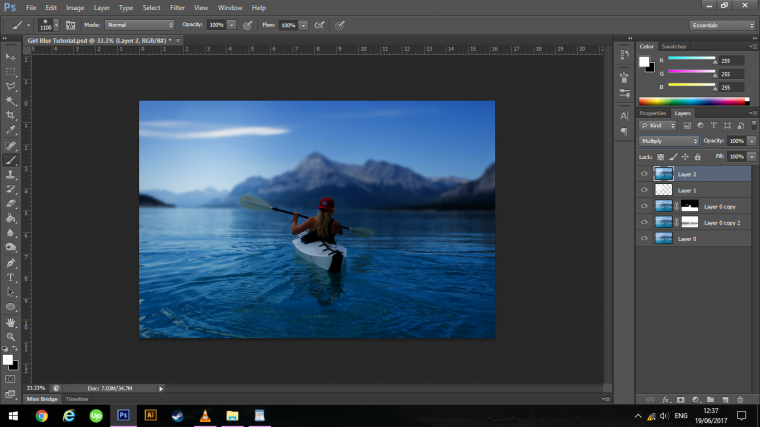
Right now the image is very dark, but don’t worry we’re going to rectify this.
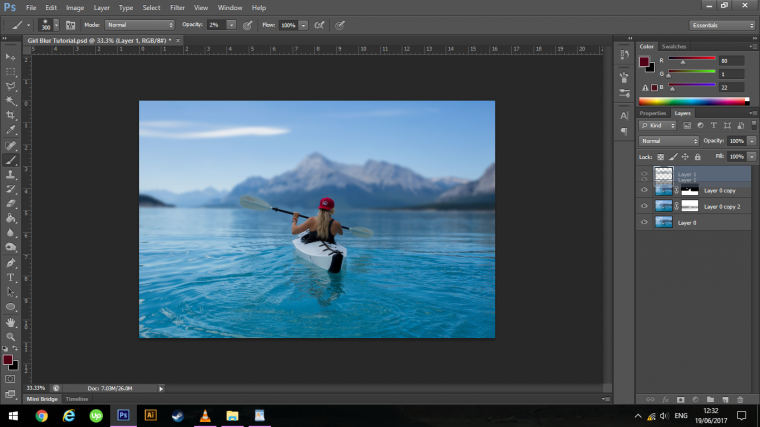
What we are doing here is creating what is known as a Vignette.
So what you have to do is to now apply a layer mask to that layer and using the Black Brush just like we did the previous click over your focus point, so for us it’s the Girl.
Use a pretty big sized brush for this too, I want to remove the bottom third at least leaving the dark around the edges and a little around the top.
This creates a cool little atmospheric effect drawing your eye into the center of the Image.
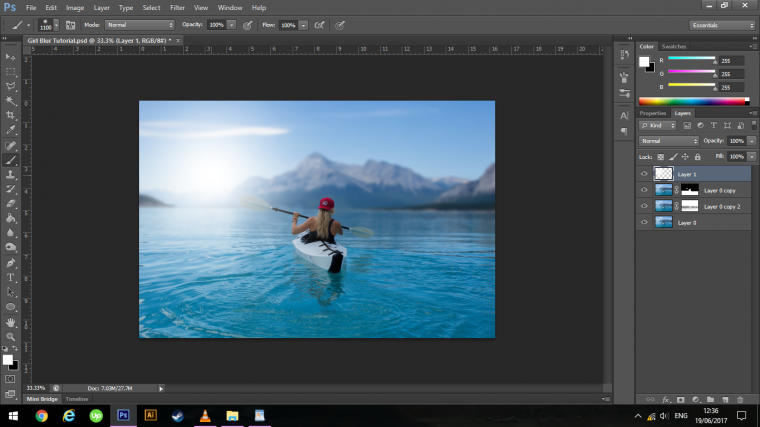
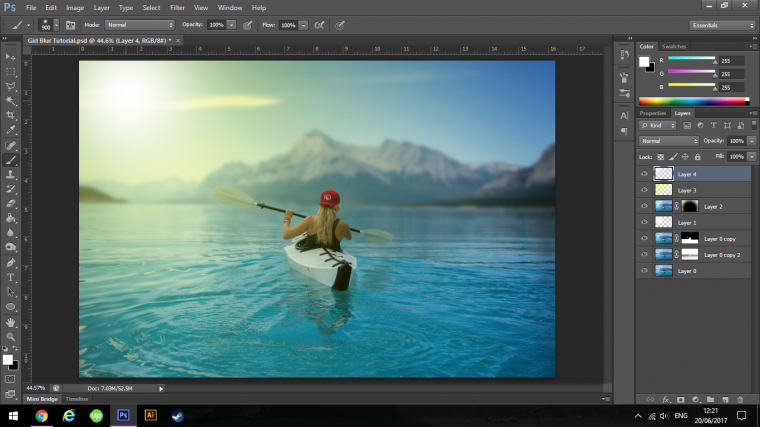
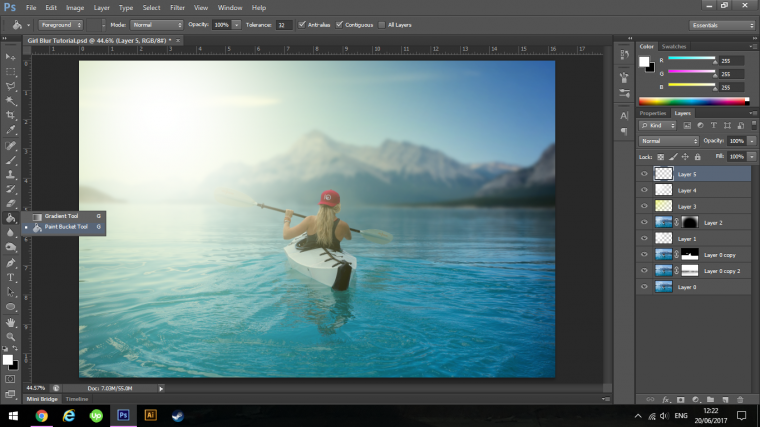
Now we’re going to add in some more lighting effects to really bring this image to life.
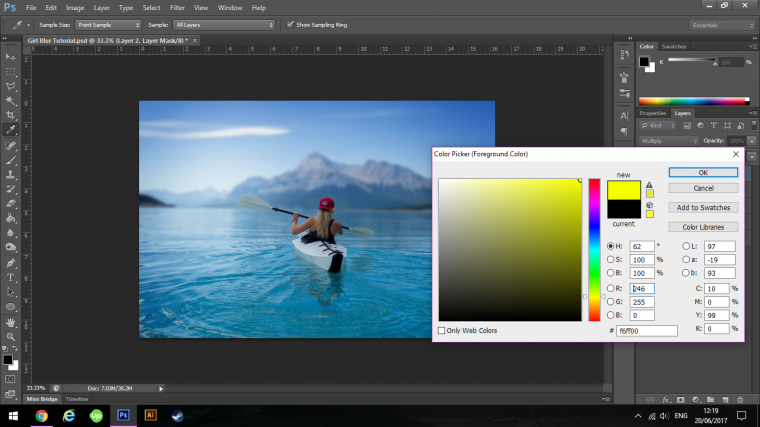
So grab your Brush Tool and choose yellow, choose a real bright strong yellow color because we’re going to be replicating a kind of sun flair.
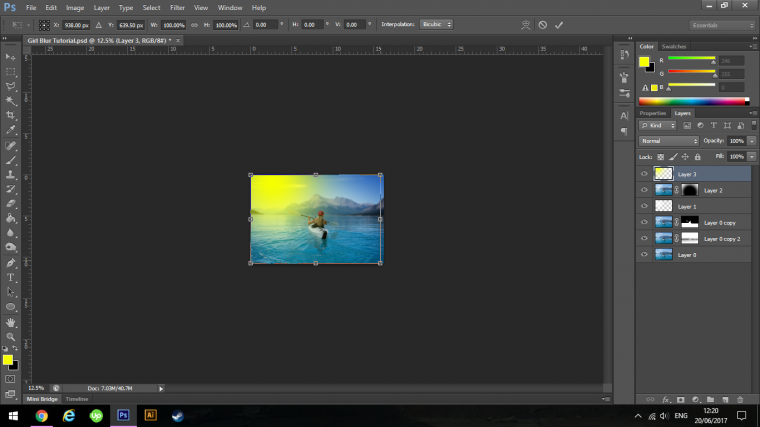
Now create a New Layer.
And Paint onto your canvas, then resize it by using the Free Transform Tool (Ctrl T) and enlarge it.
Now do the same thing again only this time use White.

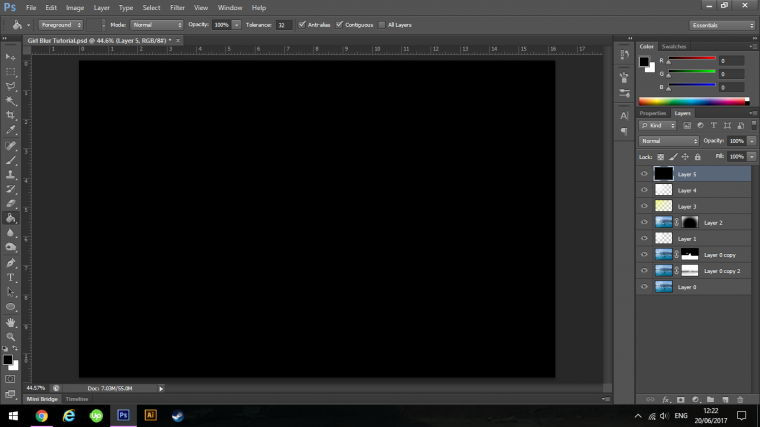
The next and final step is that we are going to create a Lens Flare.
So create your final Layer.

Open your Fill Bucket with Black was chosen as your color.
Click on your new layer.
Your screen will now turn to Black.
Go to Filter – Render – Lens Flare
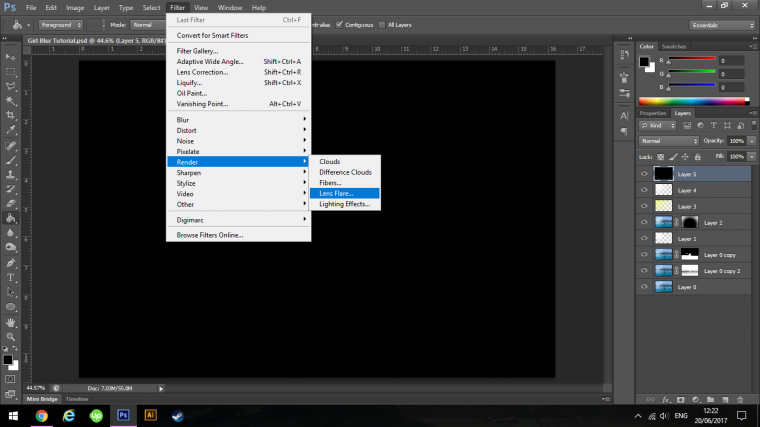
Position the Lens Flare roughly where your light source is coming from like we did previously.
If you wish you can increase or decrease the Brightness as you see fit, have a few goes if you like.
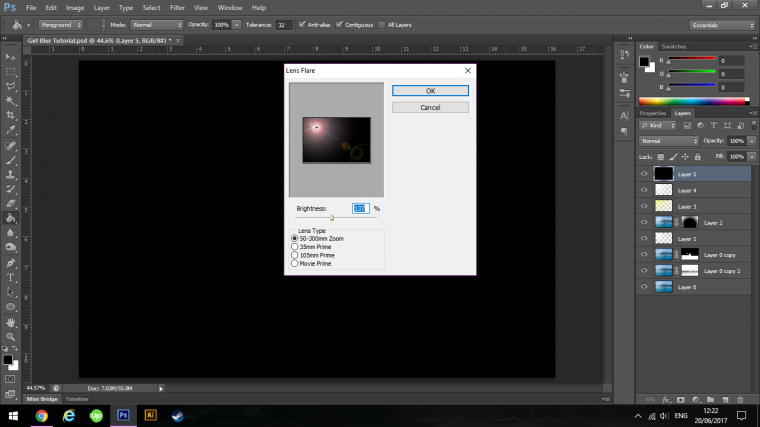
Change the Blend Mode to Screen and you are done.

Hope you created an awesome looking image 🙂
Learn batch editing with photoshop and speed up your workflow of editing.


Please verify your software version before proceeding.
 I’ve verified my software version


 Facebook
 Google +
Comments (0)
There are no comments yet.