So the first thing that you want to be aware of is the size of the actual output print.
In general I’ve found that most printing revolves around the use of inches so for this tutorial I will be using inches as my measurement system.
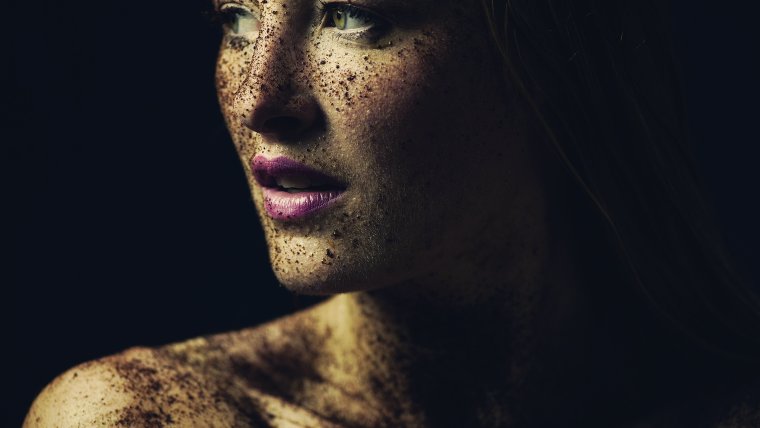
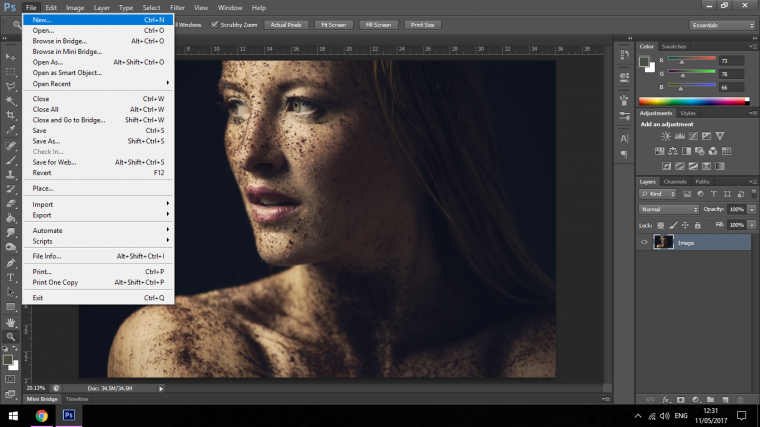
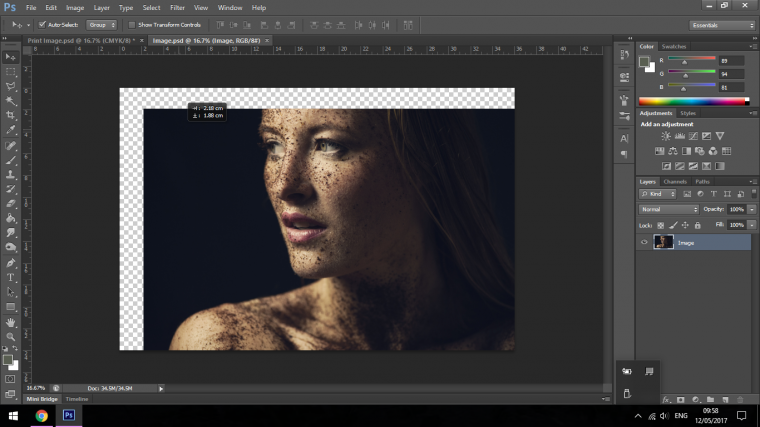
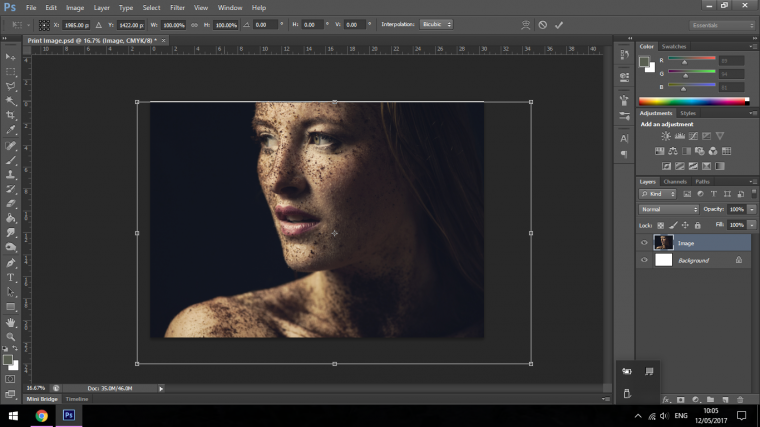
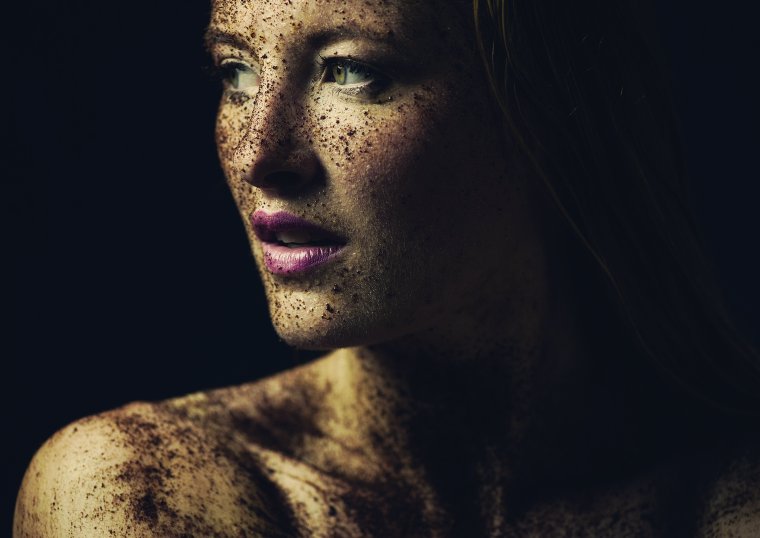
For this tutorial I’m going to be using this amazing image I found on the Copyright Free Image resource site ‘Pixabay’.
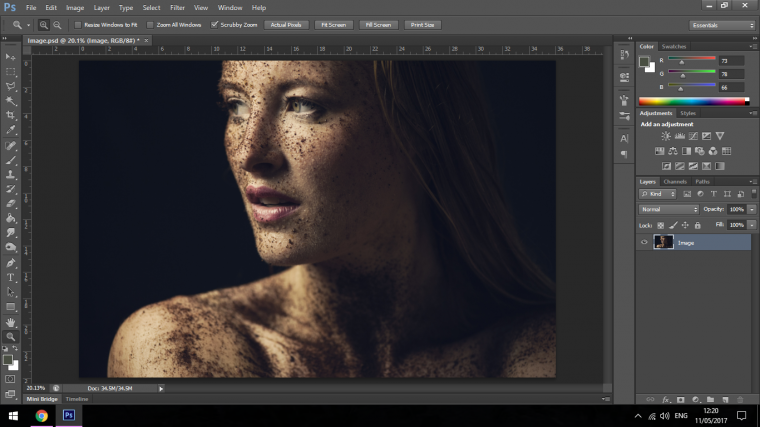
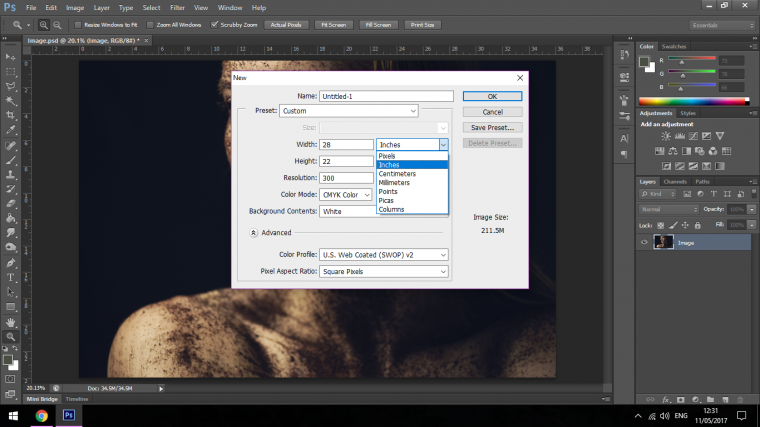
The first thing I want to show you is how to change the setting to Inches (or whichever you prefer) You click on Image then down to Image Size.
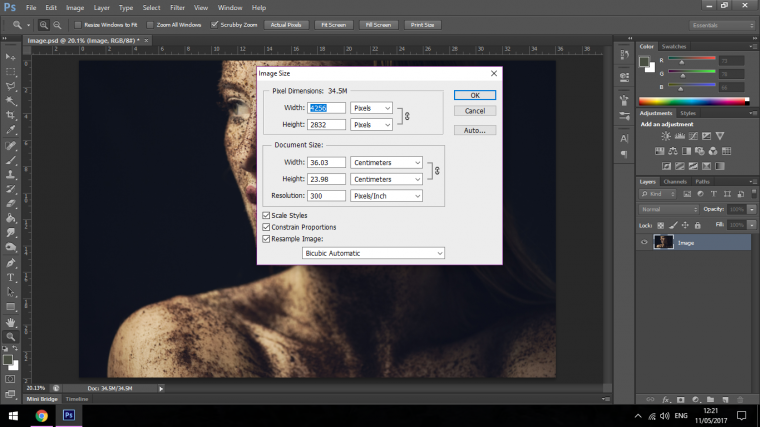
Once you click on this you will see a panel pop up with all the settings, in Document Size in mine you will see Centimetres, when you click on the drop box you will be able to change that to inches.
In the same panel, you will also see Resolution.
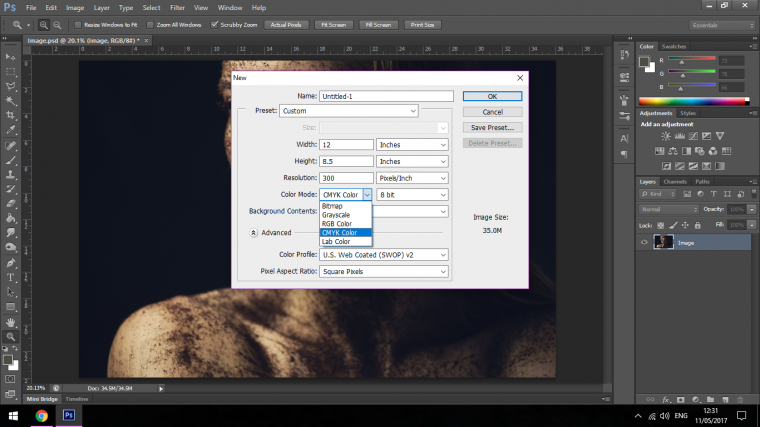
The Resolution is set to 300, this is the standard Resolution for Print, 72 is the standard Resolution for Web-based images if you stick to these two I doubt you’ll ever need any other unless specifically asked for which I have never been.
Now you have the basic idea we can go ahead and make our file.
I have been asked that this needs to be 12 Inches Wide by 8.5 Inches High, which means the image will be printed out as a landscape image instead of portrait.
This means it’s wider than high instead of higher than wide.
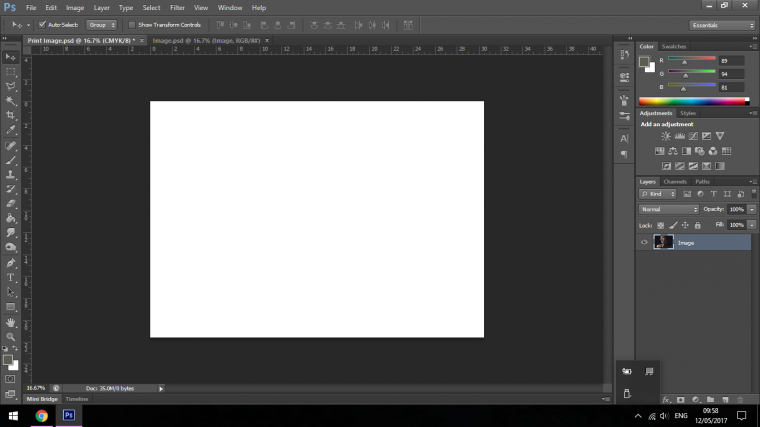
I go to File New
Change my settings to Inches
Then I make sure the resolution is 300 and the Colour Mode is set to CYMK for Print.
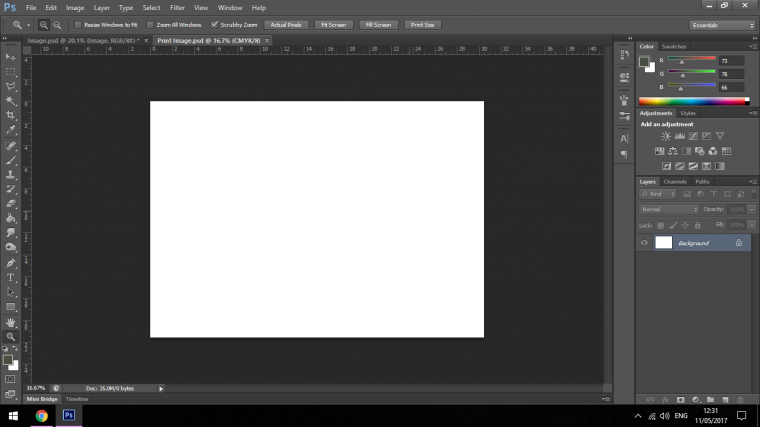
Then name your file and click OK and you’re ready to rock.
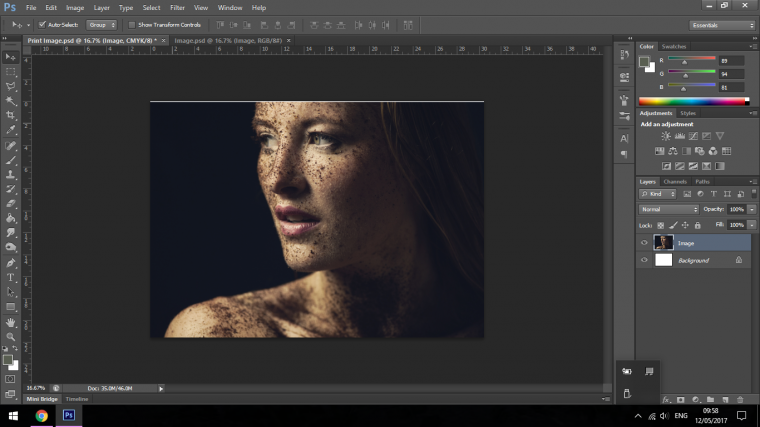
Now we’re going to be moving our image onto our new canvas, there a few ways to do this and the one we’ll be looking at is the simple but effective drag and drop, it sounds just like it says.
So making sure to Double click on my Photo Image first as there may be a little padlock, when you double click on the layer you will free it up.
Click on the Image and drag it to the New Canvas Layer Tab at the Top.
Then Release.
The Image will now be in your New Canvas Layer so you can close the Image File if you’d like just to save some RAM on your PC or Laptop.
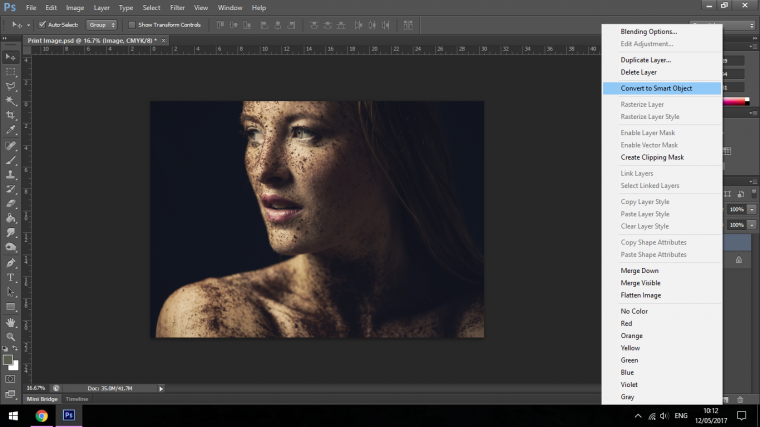
The next step is we’ll be looking to take action and convert the image to a Smart Object before we resize it to fit the dimensions we set out to have our photo be for print.
The reason I would suggest converting to a smart object is the more you resize an image and move it around the fewer details are preserved, if you change your image to a smart object it will not happen and your image will retain all it’s fine details no matter how many times you resize, rotate and move.
You do this by right-clicking on the layer and then choosing Convert to Smart Object.
So now we’ll resize the image to fit our dimension by keying in Ctrl-T, this will open up your Free Transform Tool.
Now with the Arrow Keys on your Keyboard, you can nudge the image up and across etc, or by holding Shift and using your mouse you can resize using constraints.
This means that when you resize the image will always hold its dimensions then you can use the arrow keys on your keyboard to make the final little touches and find that perfect photo.
When you’re done hit return.
Then last little step that I would take, which to be honest isn’t really that necessary but it is an option if you’d like to explore it as all this really depends on the image, for instance, your image may already be close to the size you need it to be so the Convert to Smart Object and Constraints Resizing may not be necessary and all you would need to do is a few nudges on the keyboard.
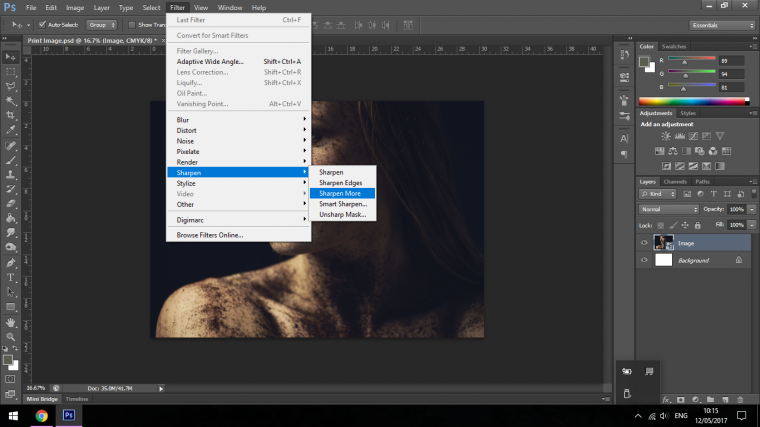
But if you’re image isn’t as crisp as you’d like it to be you can go to Filter – Sharpen – Sharpen More
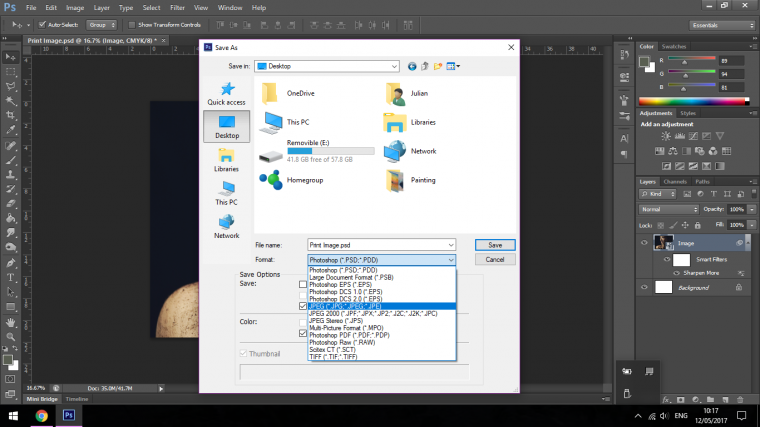
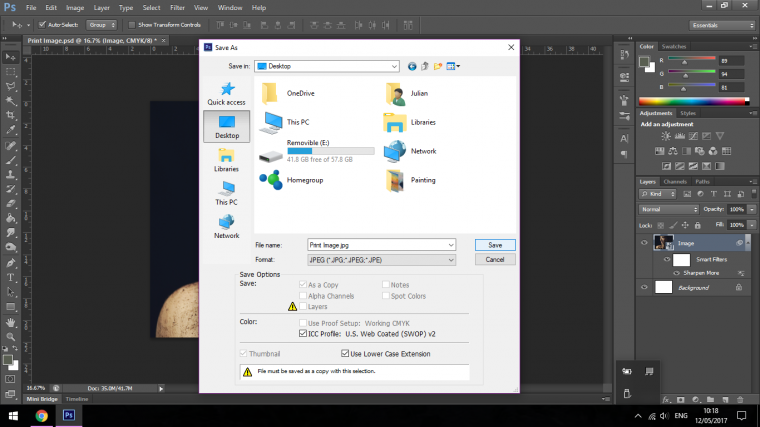
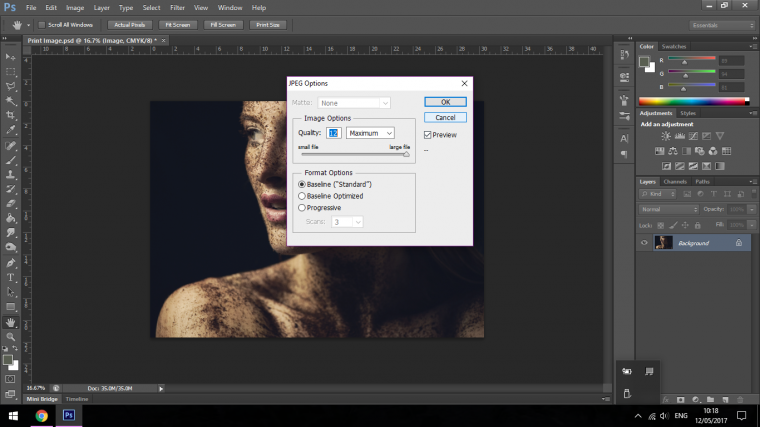
So save as a JPEG (or another format if they request it) and that’s it your image is set up for print.
Graduated from college in 2002 with a degree in Art & Design, I started exploring my way in Graphic Design and Professional Post Production. Full-time freelancer since 2011.


 Facebook
 Google +
Comments (0)
There are no comments yet.