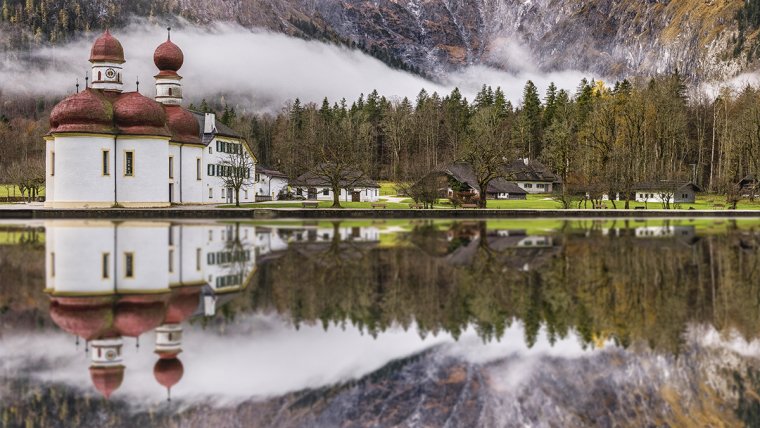
Hi all an welcome to this Photoshop Tutorial were I’m going to show you how to create a cool but very simple landscape reflection scene.
So if you have any images of mountain ranges that you took feel free to use them, in fact, I encourage it.
I’ll be no doubt adding in some nice lighting effects as it’s winter here, covered in ice and snow I’m going to go the opposite way and create a nice uplifting scene that inspires hope and happiness, I’ll keep some of the elements of cold but I want the warmth to blast through giving us a rebirth of warm weather, so with all the technical Artsy drivel out of the way lets get to it and get creating our image!
Ok, so the scenario today is that we were out taking interesting Photos but when we looked at the once we got back home we see that there could have been so much more potential but for whatever reason we missed it.
The image below is the one I wanted to focus in on.
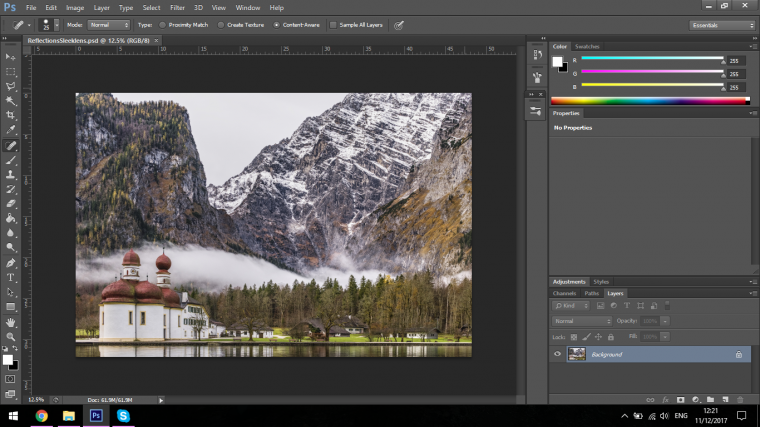
So keeping with our scenario, I wanted to take a picture of this image but I couldn’t get far enough away to fit in the buildings and the sky and the water also.
Plus there was just a very dull sky that day which did us no favors at all.
I think about taking several images of the Water to piece them together but the lighting is all off and the lookout of perspective.
Well there’s an easy solution to this, and thankfully we know how to use Photoshop.
The solution is simple, let’s take the image we have, change out the sky, make a copy, paste it a flip it round to create the reflection, then we’ll add some effects.
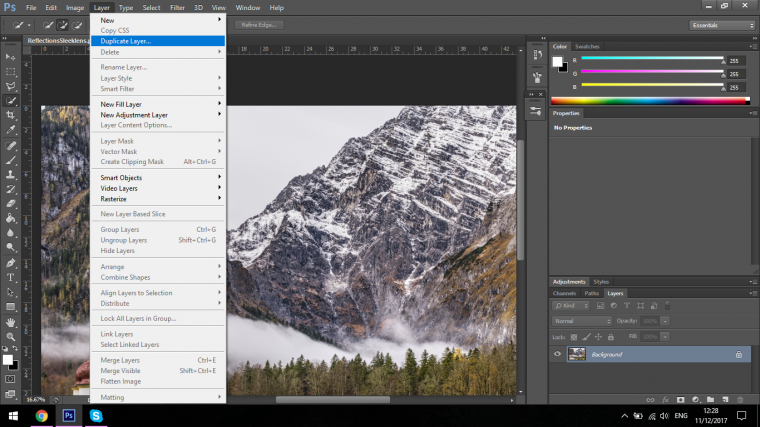
The first mission, let’s create a Duplicate of our image so we have a backup below our work.
Layer – Duplicate Layer
Then let’s get rid of that horrible derriere sky.
Chose your Quick Selection Tool, click on the sky and drag to create a selection, it doesn’t have to be perfect because we’ll be blending everything in and eventually the other effects we add will cover up any mistakes.
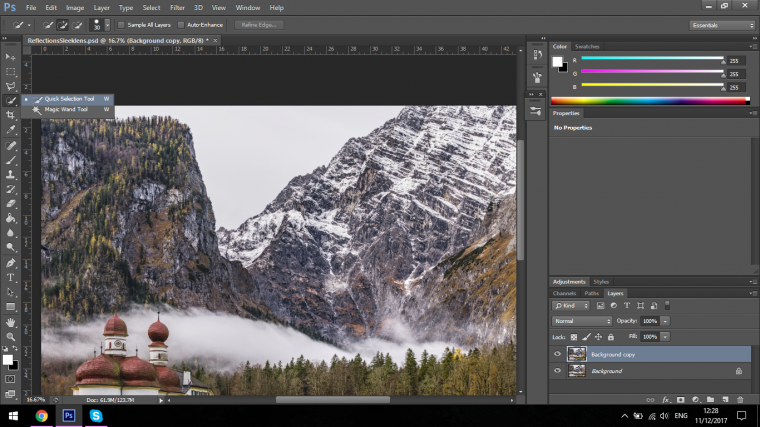
If you have any other little areas not joined to your main sky just hold shift on your keyboard and then click on that.
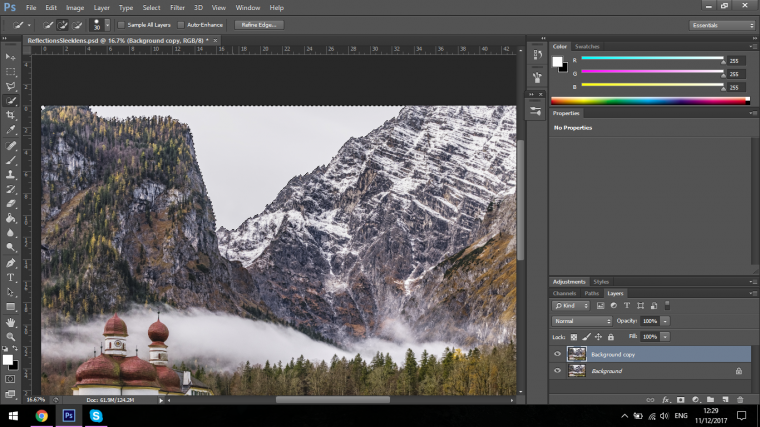
Now we have our selection, press delete.
Now find a suitable sky from stock images, something nice and uplifting or something to suit whatever you are going for, in my case a summery feel.
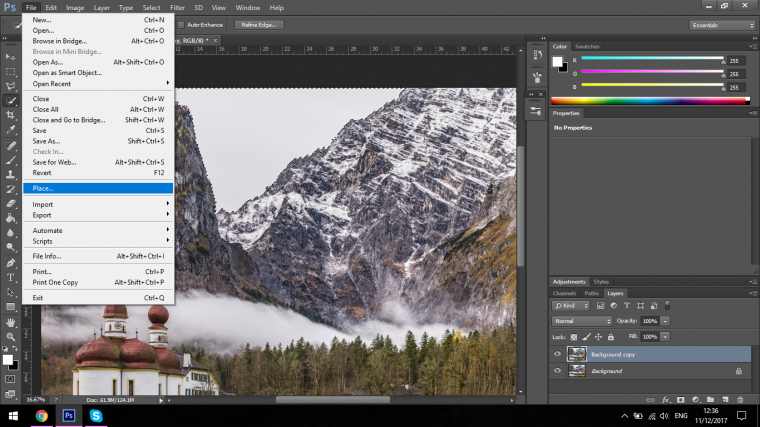
Now go to File – Place
Find your image an click on it, once you have your image click on the layers panel on the bottom right and click and drag it so it’s in the middle of your two layers.
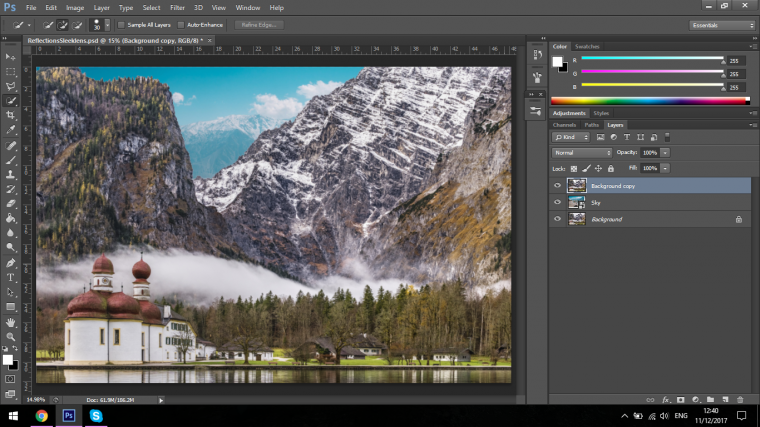
Already we are looking a little bit more Summery.
Now create a brand new layer and click and drag it to the top of the layer stack.
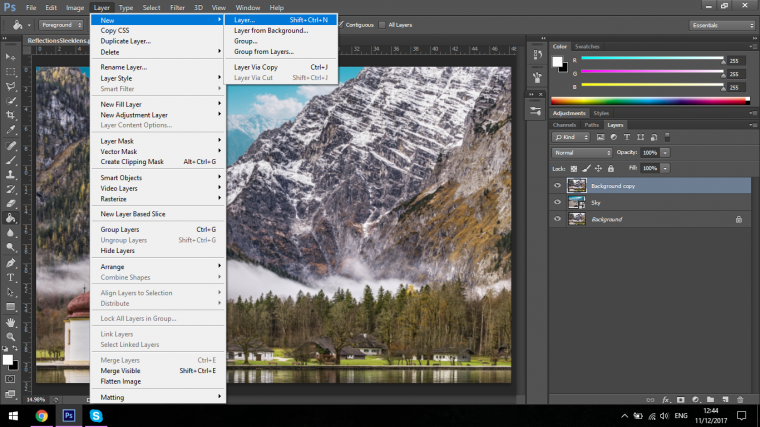
Open up your Paint Bucket Tool.
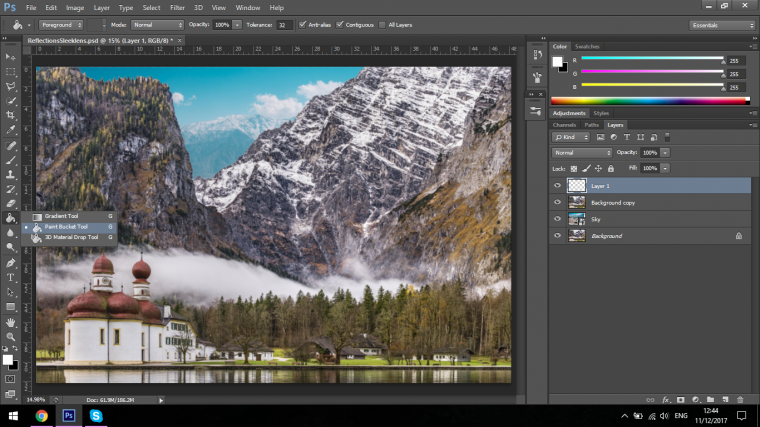
Fill your top layer with all black.
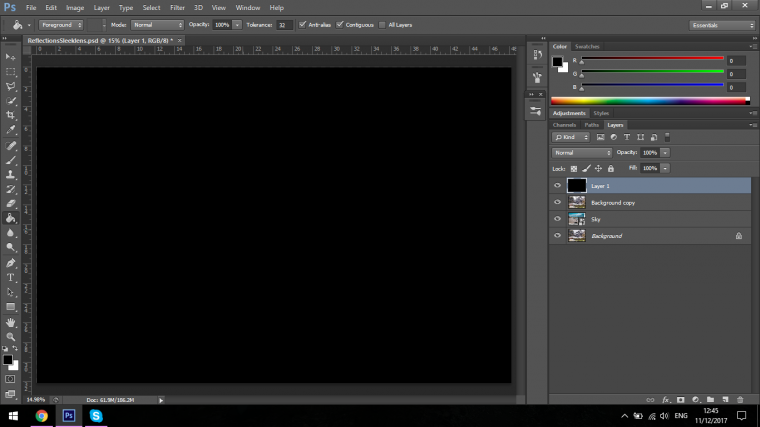
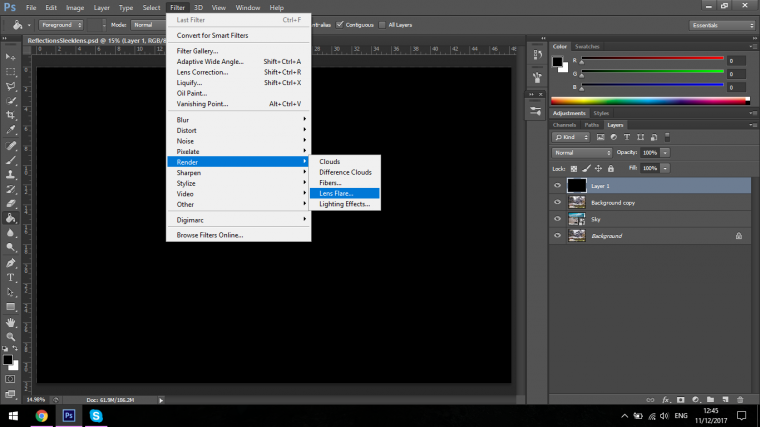
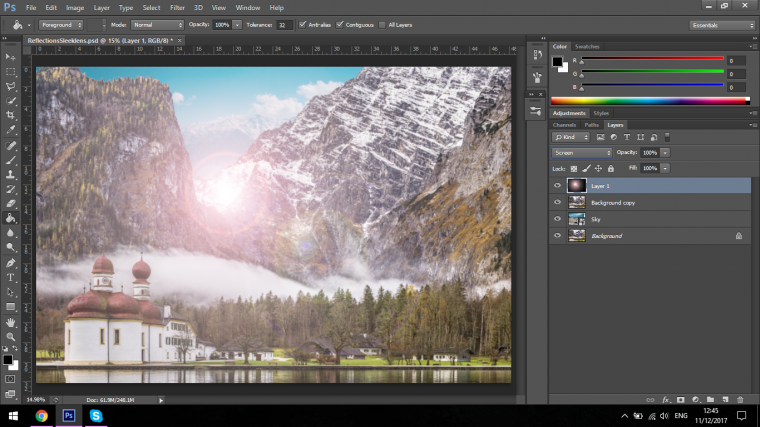
Now go to Filter – Render – Lens Flare.
In the Lens Flare options make the Brightness about 150% and press ok.
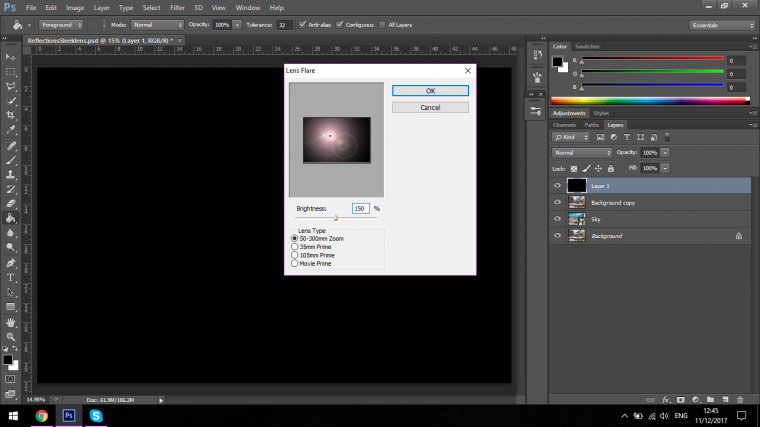
You will now be able to resize your image and click and drag it where you want it to be placed, I placed mine directly over where my selection didn’t look too good, sure you can tidy up your selections but if you have the option to completely mask it out altogether then choose that option as it will save you time.
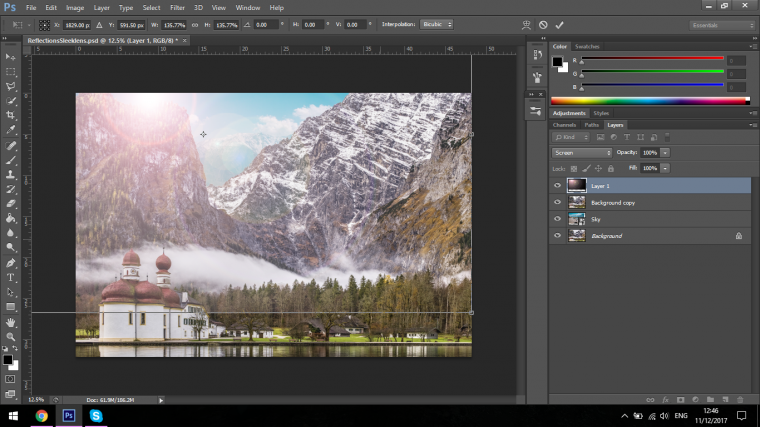
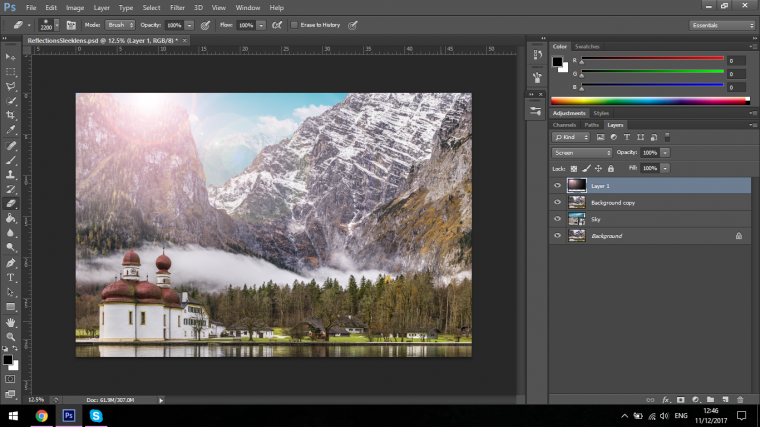
You may also see a line at the bottom of your new layer, you can simply just erase it out using your eraser tool to blend it in.
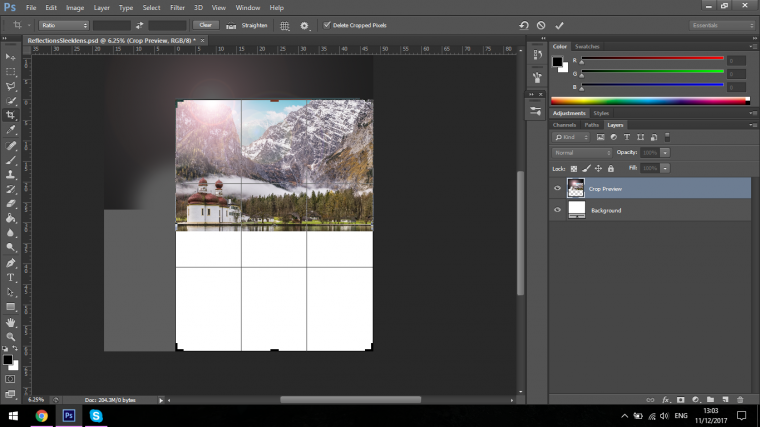
Now we are going to use the crop tool to enlarge our canvas size.
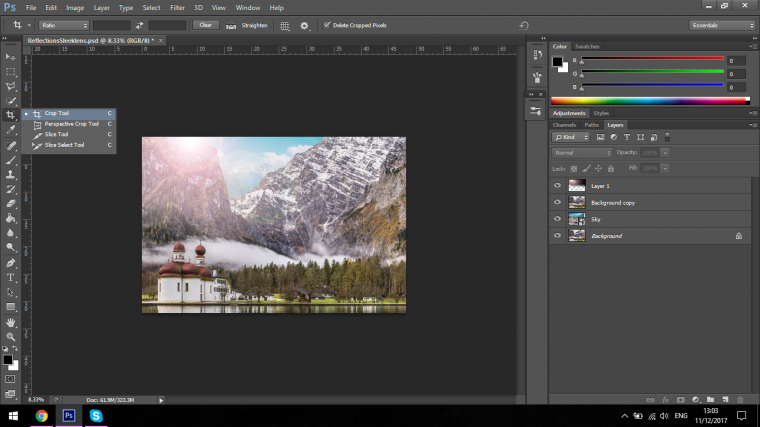
Click at the bottom and drag down until you see the center indicator reach the point where you want the reflection to start.
Next, grab your Rectangular Marque Tool.
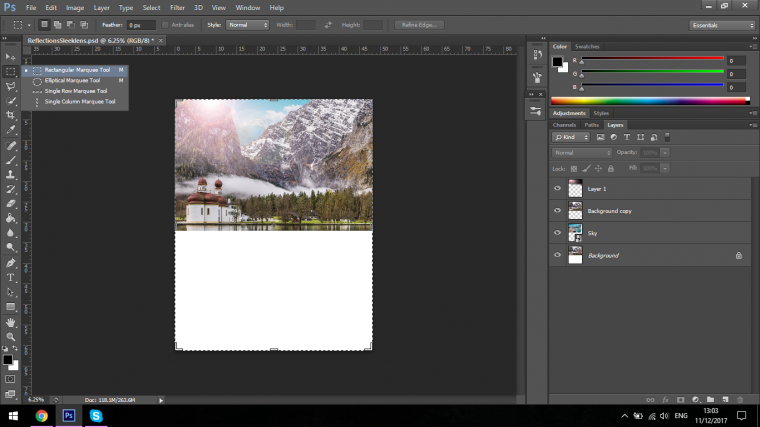
Click and drag over your image.
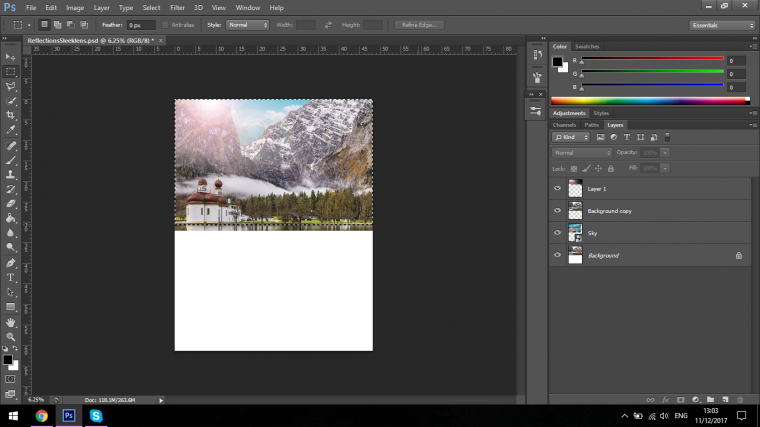
Go to Copy Merged and then Paste.
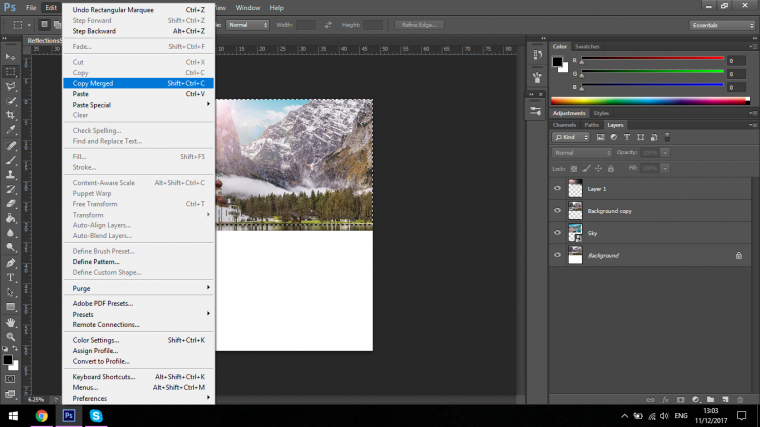
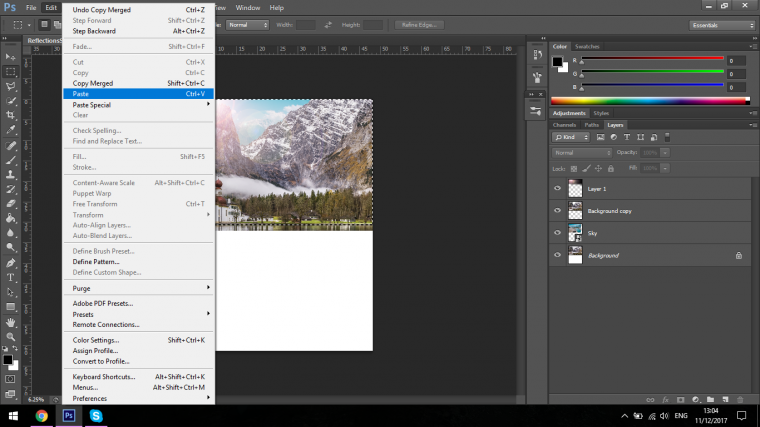
Now we have our reflection we are going to go to Edit – Transform – Flip Vertical
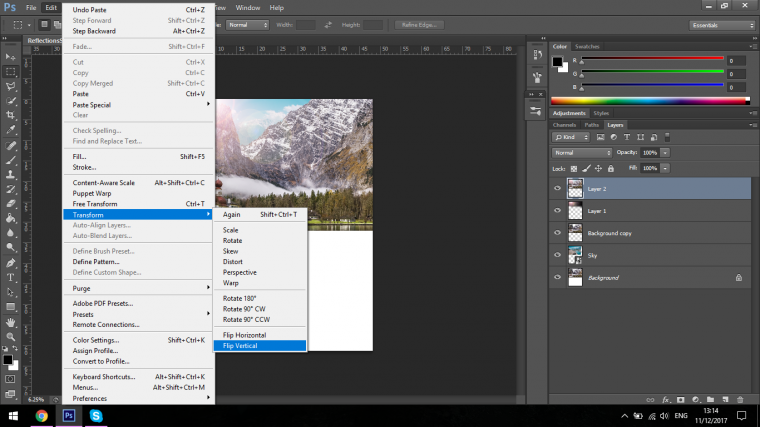
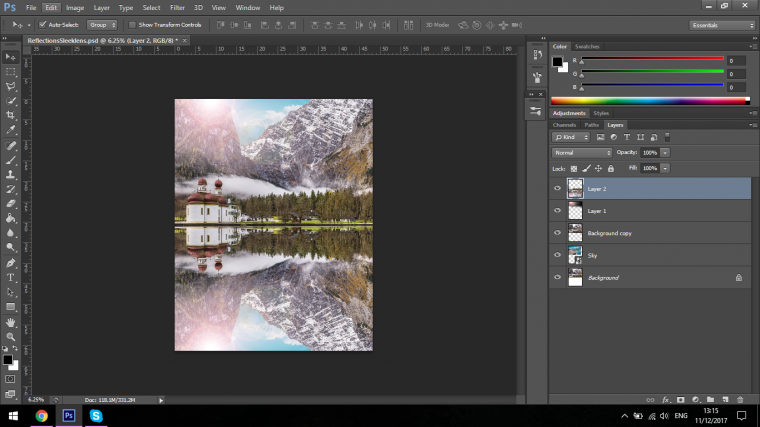
Then click and drag the image to where it needs to be, which is directly below our main image.
Now the last little touch it we are going to create a blur, Gaussian Blur to be precise.
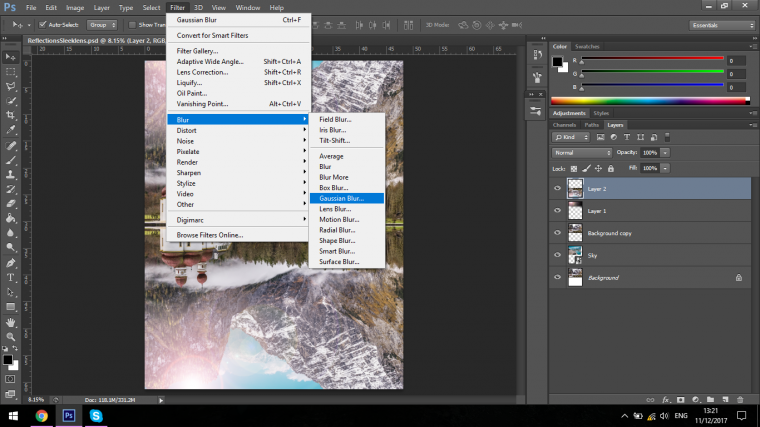
Anywhere from 5-10 should work fine, whichever looks best for your image is good.
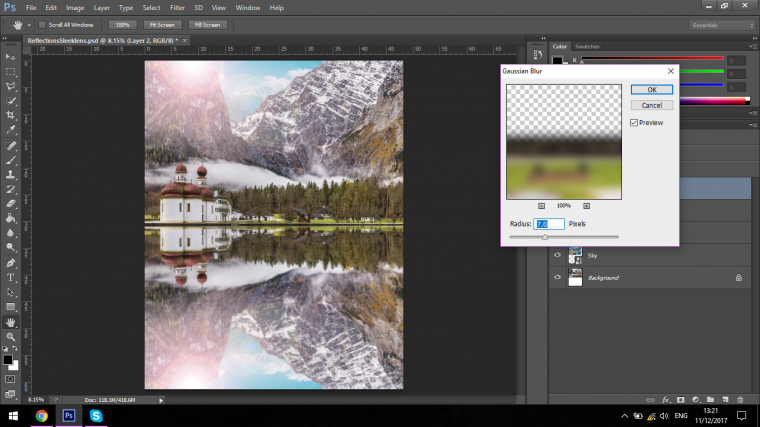
And we are done! 🙂
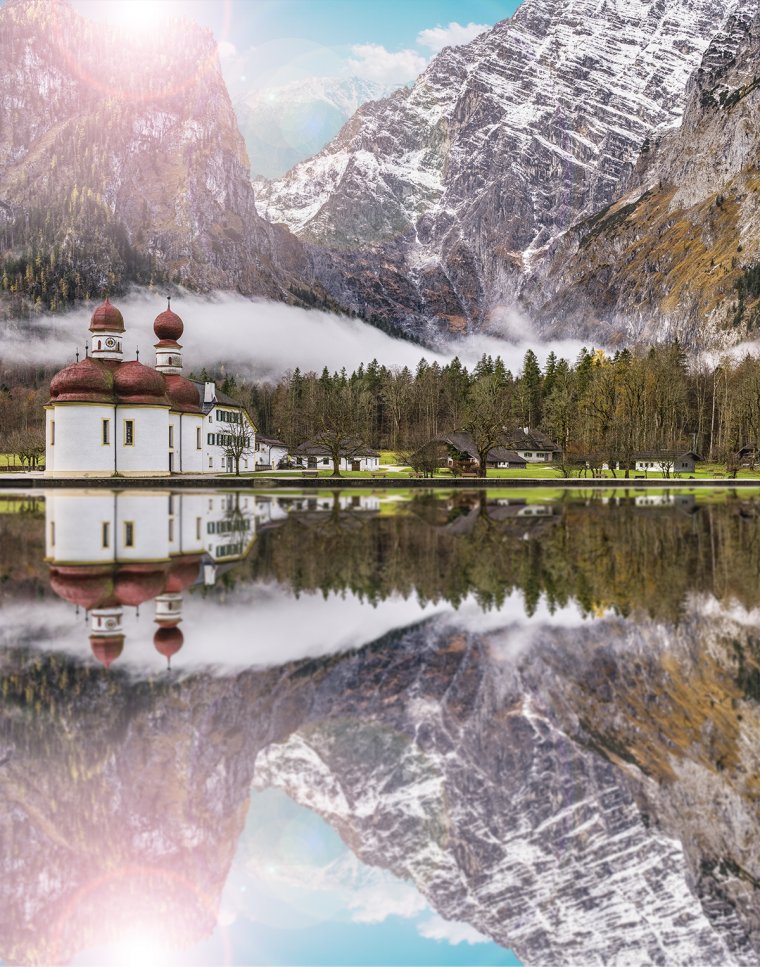
Hope your final image looks great, I’m pretty happy with mine.
Learn here how to enhance portraits with photoshop’s selective color tool.
Comments (0)
There are no comments yet.