Hi all, got a cool composite for you today to improve your dusk scenes.
Today I want to add a full day moon or an early full moon, whichever you want to call it to my image as it was a full moon this weekend for me where I live
It was out pretty early, it was out even before it got dark.
So that got me thinking about photography and how a picture would look great where I was with the full moon and all.
That takes us to here!
The first thing we must do for this tutorial is to get some suitable images to use.
Let’s do that now for ten minutes or so and before you do look at the images I got below.
Each with an explanation so makes sure to read that before you find yours.
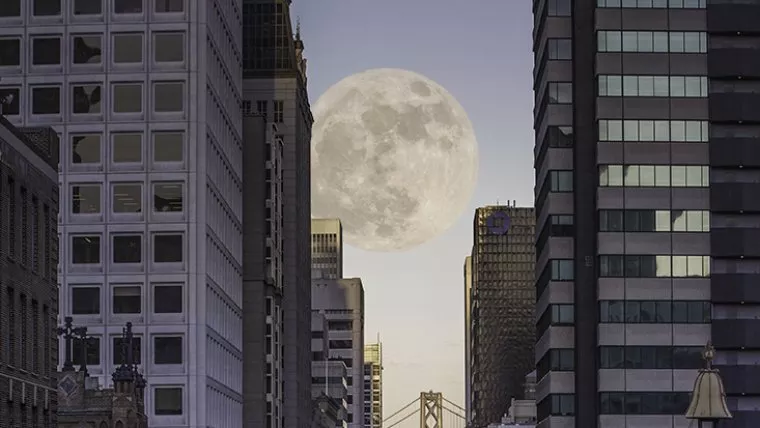
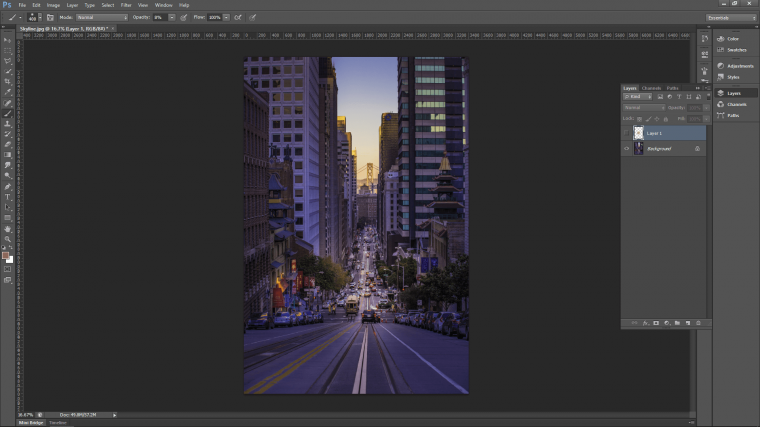
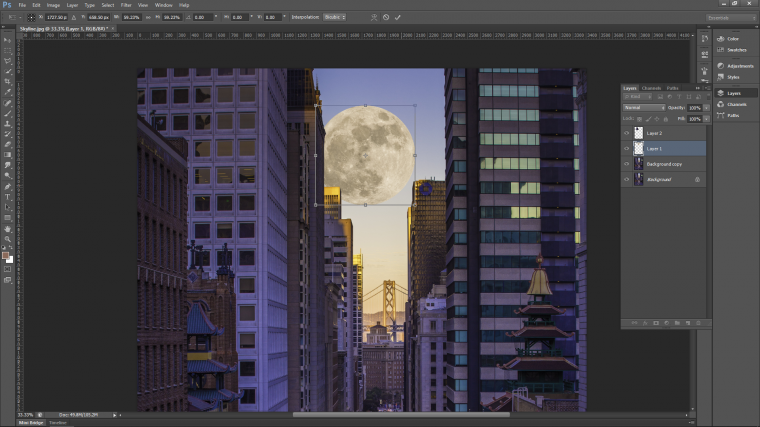
So this image of the skyline I loved.
There is an issue with it though so it’s something I want you to look out for as well.
Be careful with the buildings in your image because you can’t slap a moon on top of them in full sharpness as that would look very fake.
I do have a solution for this and I’m going to show you.
Also, note the this will only work with very soft clouds if the clouds are very strong and defined it won’t work at all.
Best look for no clouds at all.
As I am doing this tutorial as we speak I may have to improvise on this issue as well!

Now for the moon image, all you have to do is just pick a nice full bodied moon.
If we wish to at the time we can change the general tone to it so don’t worry if it looks too white.
I’ll show you how to make it blend in better.
Or if you are happy with it the way it is then cool, use that one.
Right, so the first thing I’m going to do is crop the moon out and then add it to our main image.
We are going to do that using the ‘Elliptical Marquee Tool’
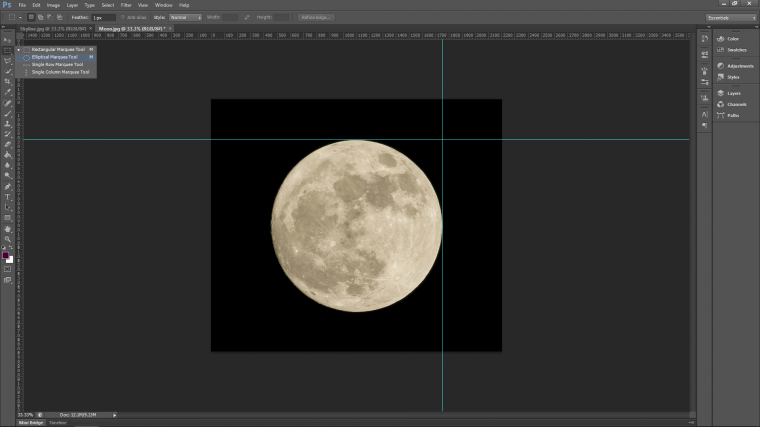
First, if you don’t have them activated, go to ‘View’ and click on ‘Rulers’
You’ll no notice that the measurements have appeared around the edges of your workspace.
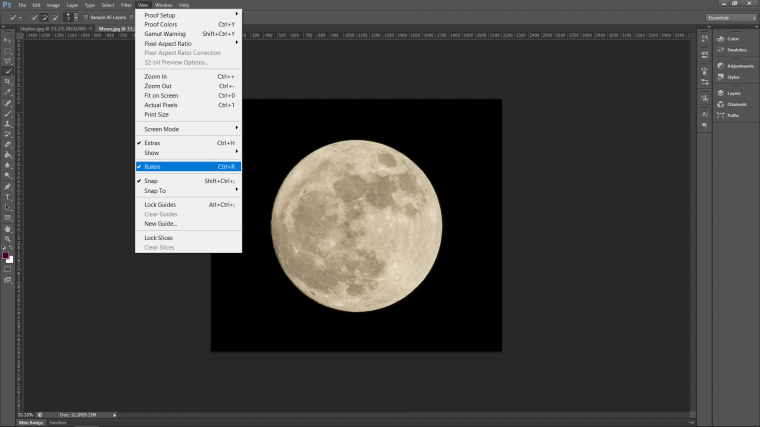
This now means that you can click on them and drag measurement lines from the top and side.
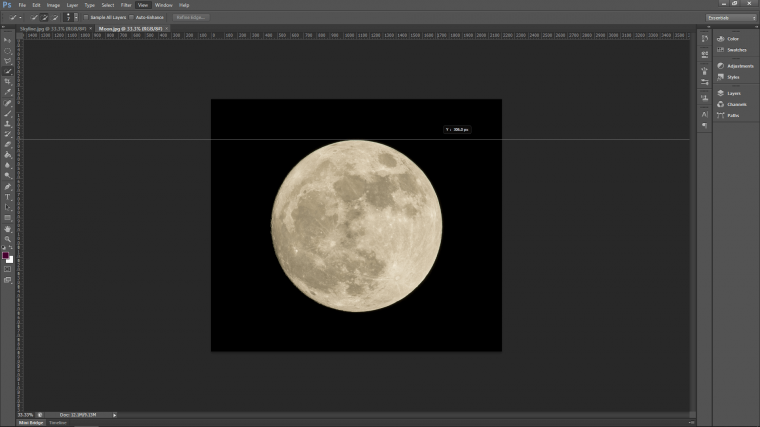
Do that twice so that they are positioned just like mine below so that they are on the top and edge of the moon.

You can now grab your Elliptical Marquee Tool from the side menu.
You’ll also notice above it on the top menu you will see the word ‘Feather’
Click into that and add 1 so that we get a small blur around the edge of our moon image.
The feather just gives it less of a sharp cut so it doesn’t look so fake which it can tend to do if you don’t add a feather.
Of course, some images may require a zero feather.
I tend to find myself adding most of the time a 0.5 just for the sake of what I mentioned above.
We can no click where our measurement lines meet at the top there.
Then while holding shift on your keyboard you can drag out a perfect circle until you have almost gotten a perfect selection.
What I mean by almost is, I don’t try to select the moon perfectly, I select about 98% of it.
This way I don’t get any of the backgrounds by mistake and it also gives me a little bit to work with when using my arrow keys to position it.
Once you get this far and your selection is made.
Hit your arrow keys on your keyboard to nudge the selection into a good position if you need to as I did.

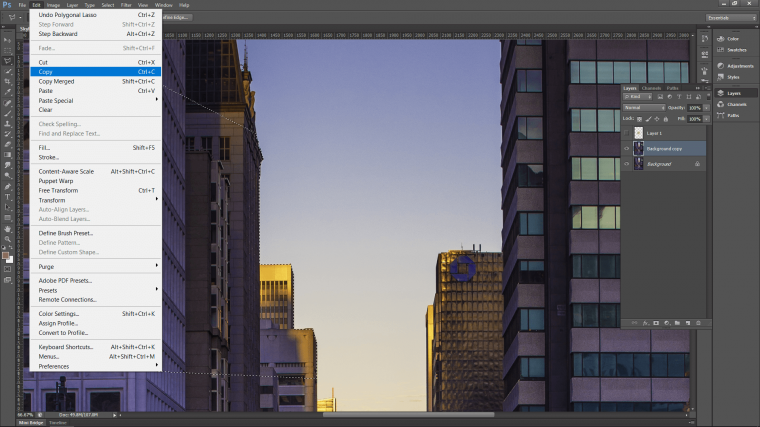
When you’re happy, go to ‘Edit – Copy’
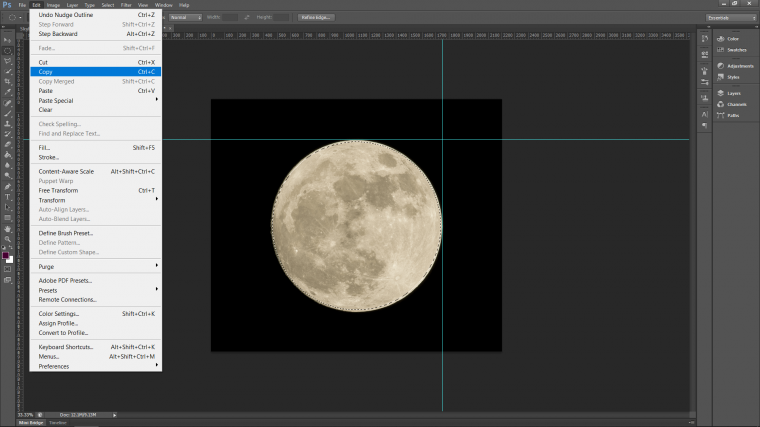
You can now close down the moon image when you have it copied.
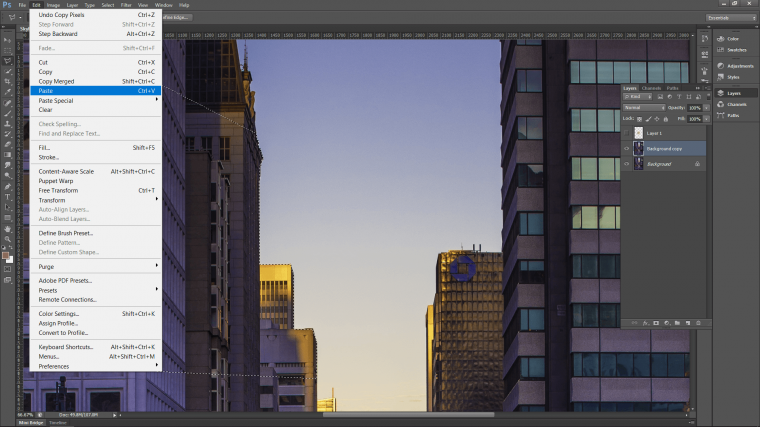
Paste it into your main image.
Go to ‘Edit – Paste’
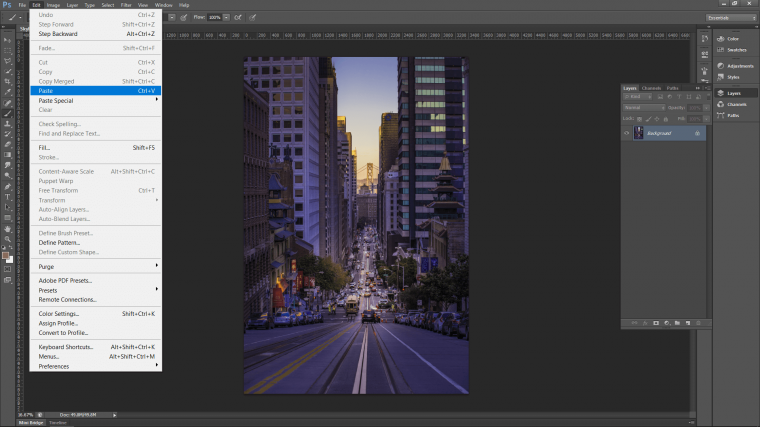
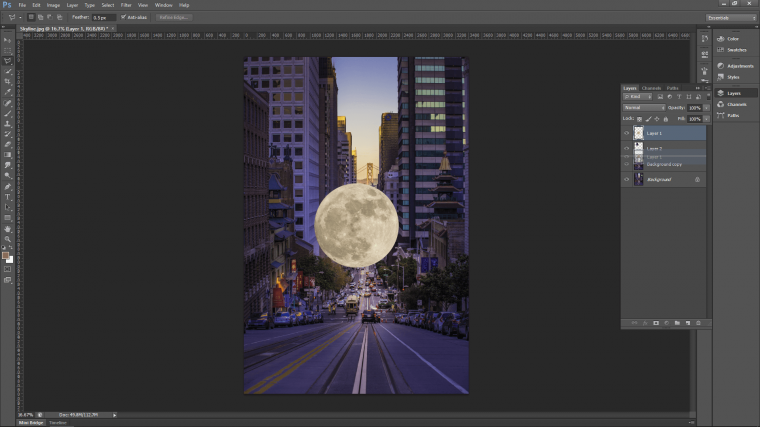
Your moon image will now appear looking good in your main image.
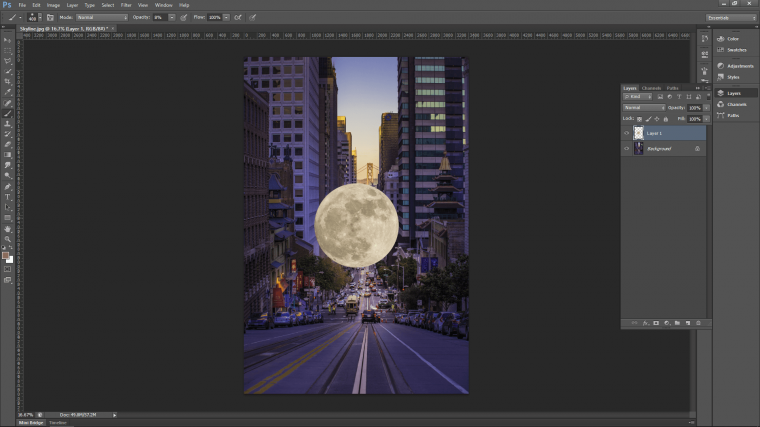
We don’t need it just yet so click on Layers there on the side.
If you don’t see it there you will find it in ‘Window’ up in the top menu. Or you can hit the F7 key.
You will see a little eye icon beside the layer thumbnail. Click the eye belonging to the moon image to hide it. When we need it again you will just click where the eye used to be so it reappears.
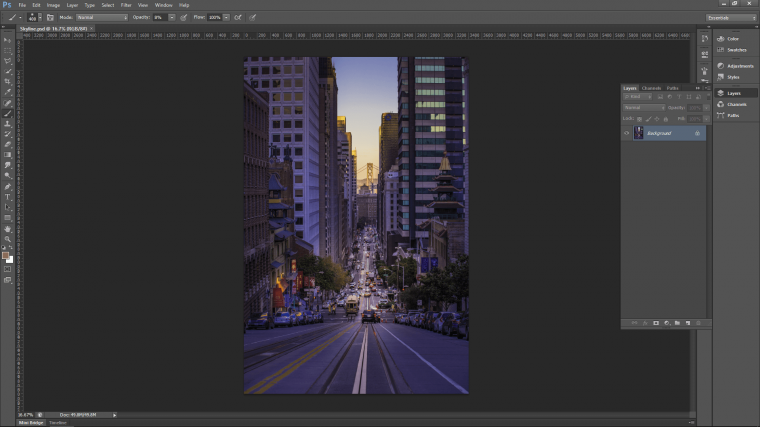
Let’s now click on the layer below that, the one with the actual main image on it.
What we want to do here is to create a duplicate for it, now I don’t particularly need it for this tutorial.
I want to just make it clear that creating a duplicate of your original image is a good routine to practice.
Even you don’t need it.
Doing professional work you never know what you could be called back to do in the future.
If you are making a lot of edits as well things can get very messy.
So it’s better to be safe than sorry.
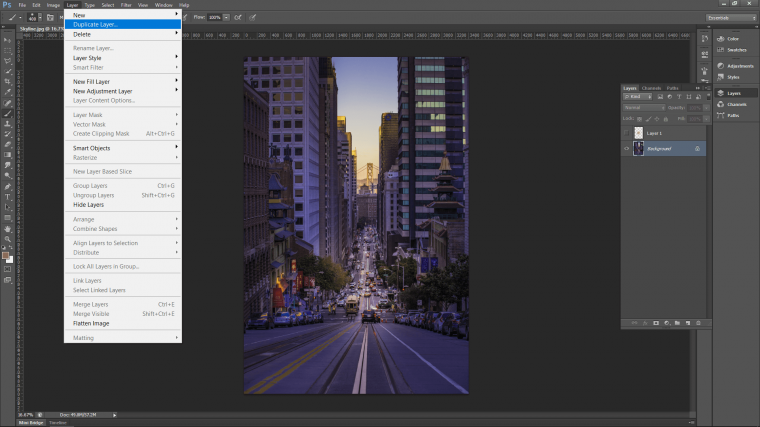
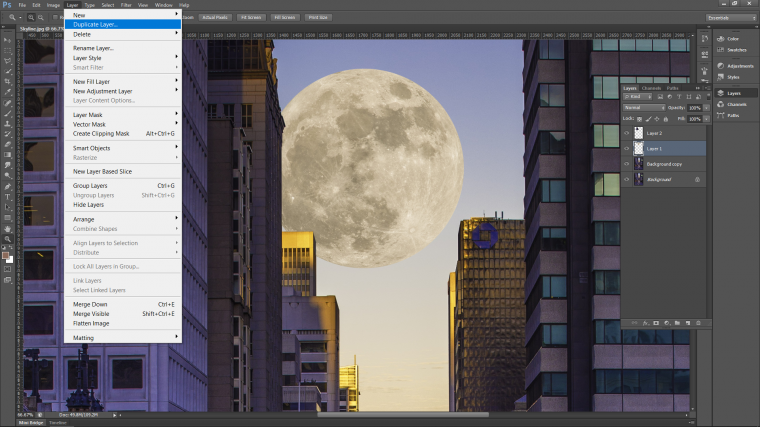
Go to ‘Layer’ in your top menu and click on ‘Duplicate Layer’ this will create a copy that will be placed above the main image that you started with.
Click that layer if it is not already activated.
What we are going to do now is to cut a section of the buildings out so we can jam the moon in behind it.
You don’t need to do the whole thing, just a section!
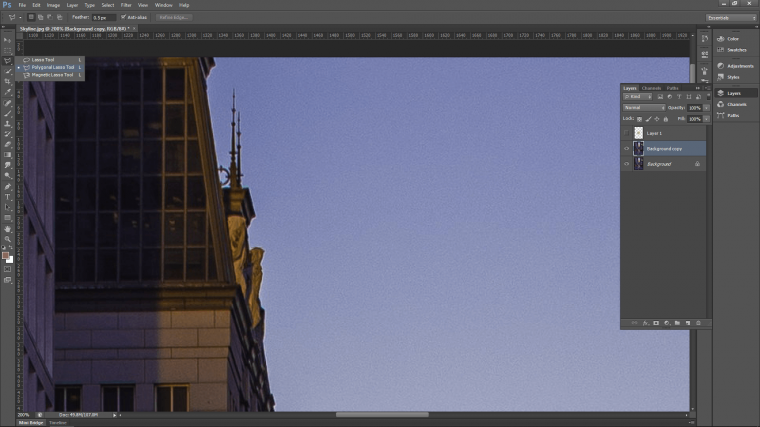
Let’s grab our Polygonal Tool as shown below on the left-hand side at the top.
As we talked about before, let’s make the Feather 0.5, you will see that at the top left as well just under ‘Type’ and ‘Select’
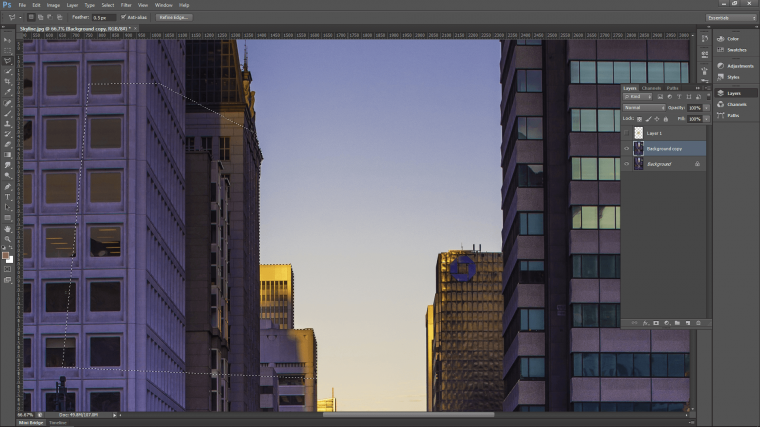
Now that we’re set, choose an area that you want to crop out.
For my image, I decided to go a little lower on the buildings to where it wasn’t so complicated.
As you can see from the image above there were a few little spikes there that would have made things a bit annoying to work with.
So why to bother, you have a full artistic license unless you are dealing with a client that wants specifics.
Or the other is if the composition is not friendly with your ideas.
Somethings it’s unfortunate but the image itself can be your worst enemy so to speak.
Note: to click and drag around your image without interrupting your workflow hold the space bar on your keyboard.
Then you can click and drag freely until you let go.
Also, you can use the plus and minus keys on your keyboard to zoom in and out.
I use this 90 % of the time.
To create the section that I have below all you have to do is click on a point to get started.
From there you just keep clicking tracing around the image in small increments.
If you make a mistake just hit Ctrl+Z on your keyboard to go back a notch.
This takes time to totally master but you should be getting the hang of it very soon.
Once you have traced around the area that you want you can get a little bit more careless just to close it up.
To close up you just click the point where you began.
No, it is just a matter of going to ‘Edit’ in the top menu ‘Copy’ and then ‘Paste’
Now the crop will be on its own layer that you can move around both on the image and in your layers panel on the right.
So, what do we need to do now?
Well, we have to place the moon behind the buildings.
To do this, click on the moon layer that is on the top in the layers panel.
Drag it down until it is below the new building layer that we just cropped out.
Then release the mouse button and it will drop right in there!
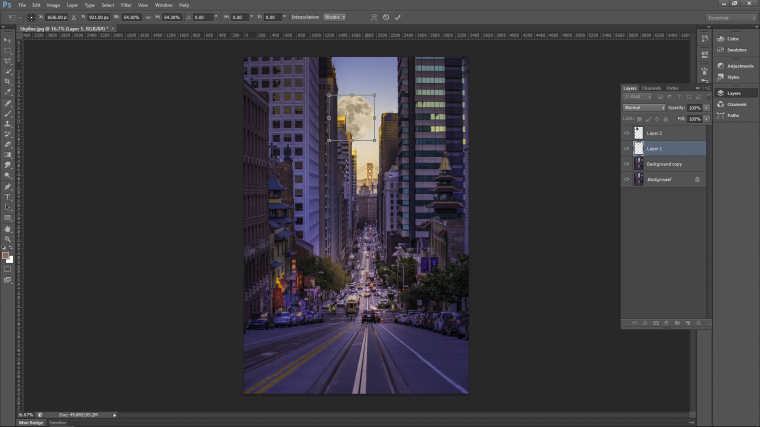
Ok let’s position our moon, you may find that it is a little bit too big, ok no worries.
Key in on your keyboard Ctrl+T.
That activates the Free Transform tool.
This will allow you to shape and move any cropped out element as well as an image in your layers panel apart from one.
The bottom background layer, you will notice that there is a little padlock on that one.
Well if you want to remove it which you may need to do in the future for whatever project, all you have to do is double click on it.
That will remove the padlock and that layer will now be fully editable.
But I usually just create the duplicate, but at least you know.
Ok so after you click on Ctrl+T you can now shift the moon to where you want it, then resize, so shift first, resize after.
When you resize if you don’t want your image to distort hold shift on your keyboard while you do this.
This is called constraining your image.
So minus all the technical jargon it just means it will stay the same shape no matter how big or small you make it in the end.
If needs be you can also click the corners to rotate the image as well.
We don’t need to do it here, or at least I don’t, you’re moon may need a little more moving around than mine does.
To position, I just zoomed in a little to see better using my plus and minus keys.
I wouldn’t want to have any weird mistakes around the edges of the building that I didn’t notice.
Always remember to zoom in and out as we talked about and drag your image around using that space bar, these two tips are invaluable and should be part of your default daily repertoire.
I use these ALL the time constantly and consistently.
Let’s add a little bit of distance to our moon, the way I’m going to do this is to first create a duplicate of it just like we did before with the main image.
Then I’m going to click on the bottom moon so that the layer is activated.
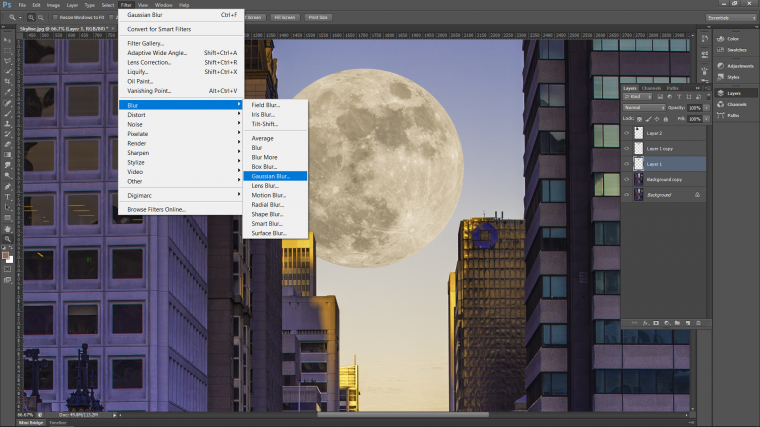
Go to ‘Filter’ on the top menu.
Click on it and scan down until you see ‘Blur’
Click that and you will then see my old friend ‘Gaussian Blur’
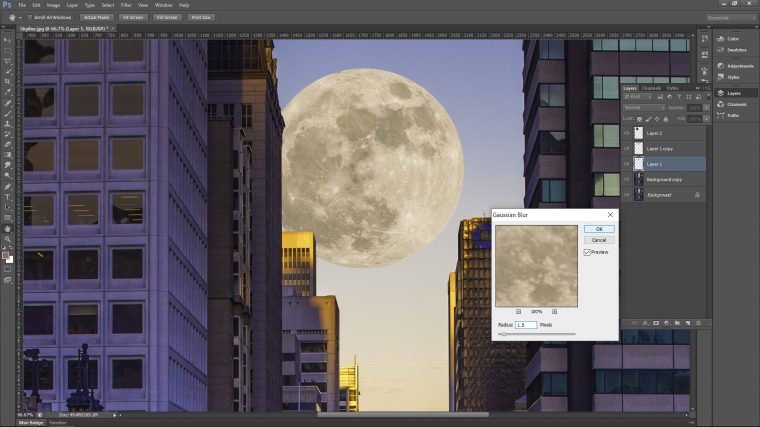
A little panel will appear with a slide bar at the bottom which will let you change the blur of your image.
We don’t have to go crazy here, 1.5 will do just fine for mine.
If your image in the little preview box doesn’t blur up much just move the slide bar on a little until you get a slight blur.
Something like what I have will be perfect for it.
Hit OK when you’re done.
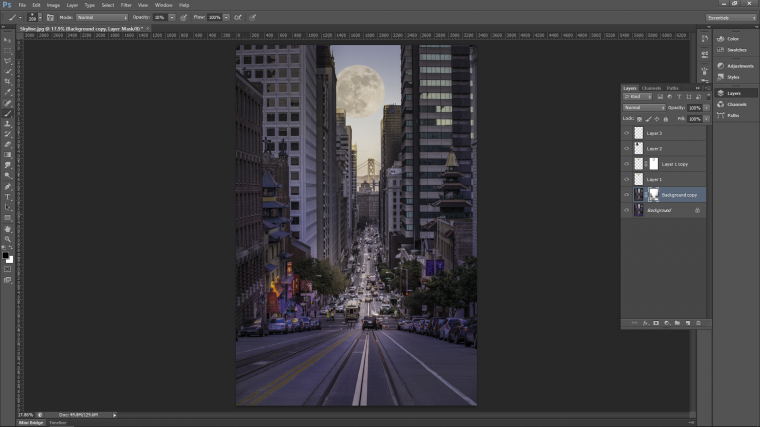
Now click on the top moon again which is the copy.
We are going to add a mask to it.
Go to ‘Layer’ – ‘Layer Mask’ and click on ‘Reveal All’
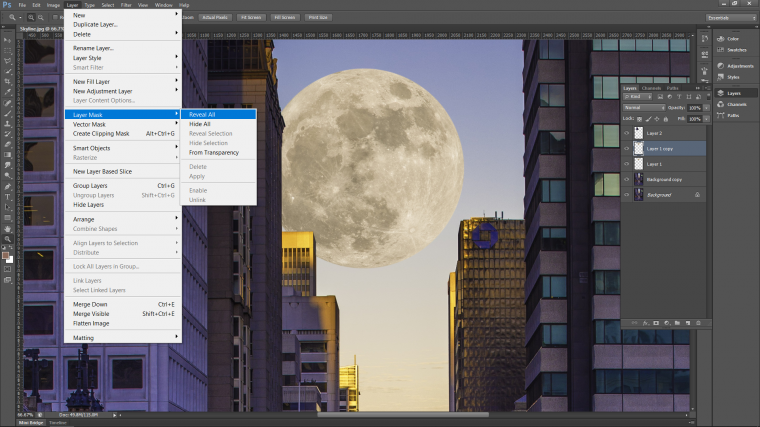
You will now notice a little white box appear beside the layer.
This means you can now click on that box, then activate your Brush Tool.
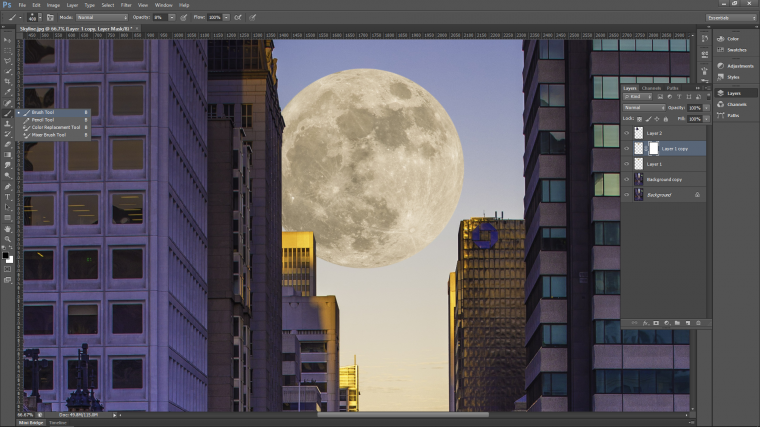
Make sure to choose the first brush in the options (just below ‘Edit’ in the top menu)
also, change your opacity to 25% (just under ‘Window’)
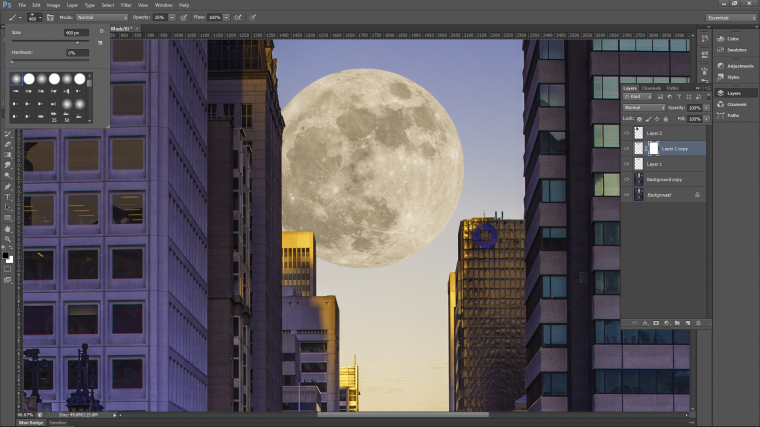
Now using Black you can paint directly on to your image to hide the edges.
Don’t go too deep into the image, just give it a quick go around on the outside to blend it in with the blur nicely.
I just don’t want a hard edge.
If you run into trouble change your brush to white and it will undo the hidden areas.
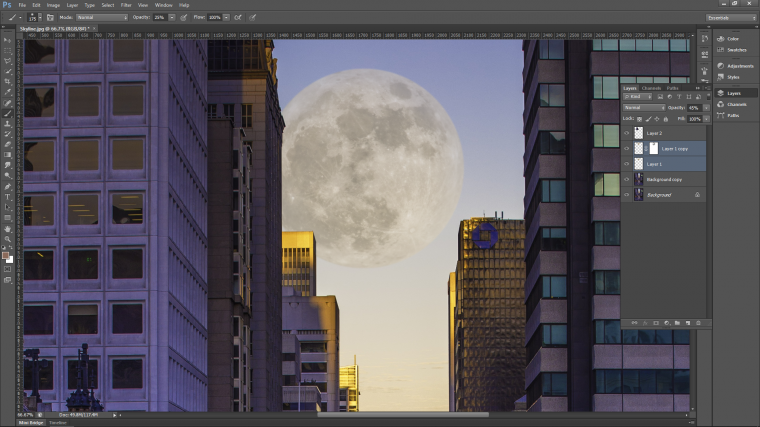
The next thing I did was to change both the layer’s opacity.
You find this option for the layers in the panel just above the layers.
Change both to 45% to give it a nice blend in with the sky so it seems off in the distance.

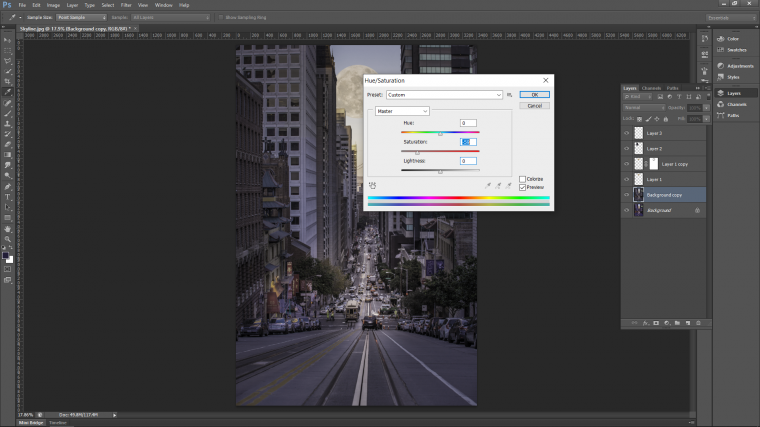
The last thing I want to do, that isn’t necessary but I think it will go well with my image is to De-saturate the layer.
Click on the main background layer.
Key in on your keyboard Ctrl+U to open this option up.
The middle slider is the one you want, so slide it to the left so your image starts to look a little bit more grey and washed out.
Remember to match the building layer covering the moon with the same amount.
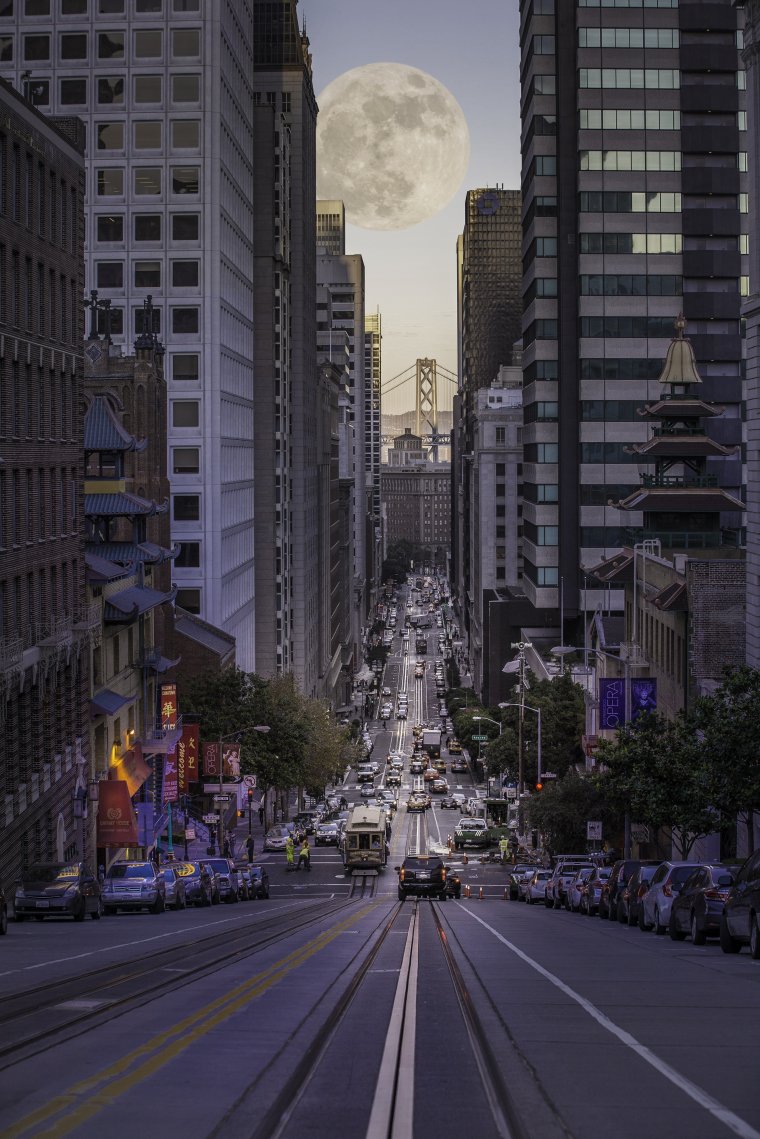
Then with a mask, as we did just now we can hide parts over lights and signs so they come out at us.
Hope you enjoined and learned a lot.


Please verify your software version before proceeding.
 I’ve verified my software version


 Facebook
 Google +
Comments (0)
There are no comments yet.