How to Turn a Photo into a Sketch Effect in Photoshopwww.sleeklens.com
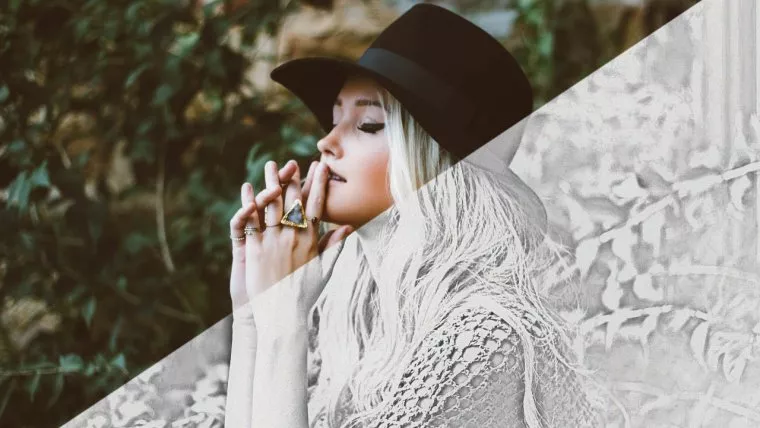
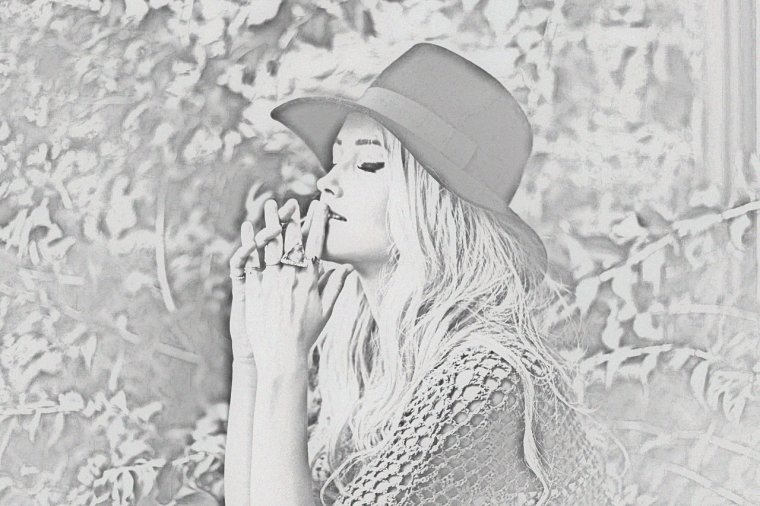
Hi, there everyone and welcome to another exciting Photoshop tutorial. Today let’s look at how I can create a pencil sketch effect in Photoshop by using my images and some quick settings. It’s a cool effect and can be used for composites etc. Who knows what use you will find for it in the future.
For me, I found it useful for a friend that does tattoos. She was finding it hard to find the time to sketch out portraits with her workload. A few people were interviewed to see if they could draw an accurate portrait for the tattoo transfers. Unfortunately, she was unable to, so I said have you ever tried using a sketch effect in Photoshop.
She was like: “is that even possible” – I said hold my beer!
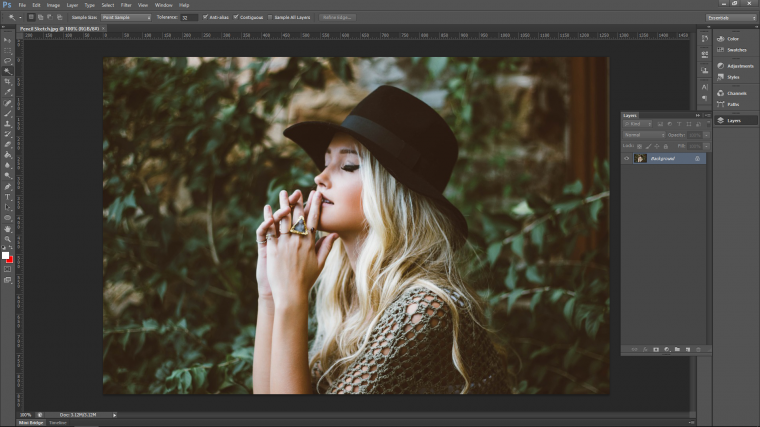
Ok so let’s find ourselves an image that we would like to use. Do you have one of your images that you would like to use? Then definitely use it.
If you can get work done while learning at the same time that would be perfect and would make me happy.
So here the image that I will be using today I got from Pixabay.
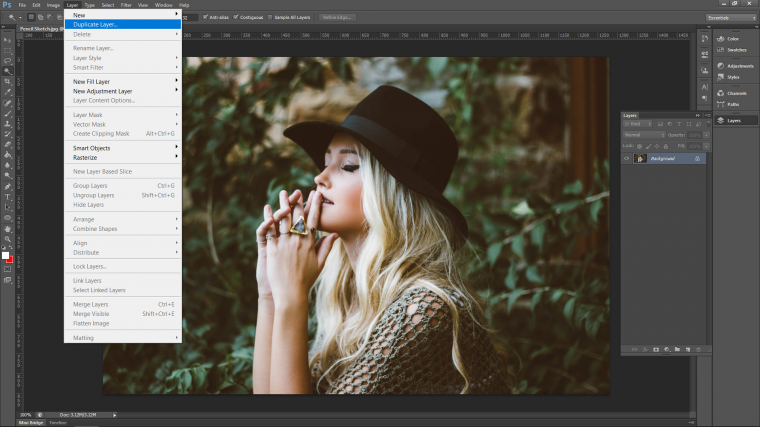
Cool so let’s start by creating a Duplicate of the layer as this is always a good practice, but I will be needing it.
I definitely don’t want to be editing my original in case I run into a spot of trouble later.
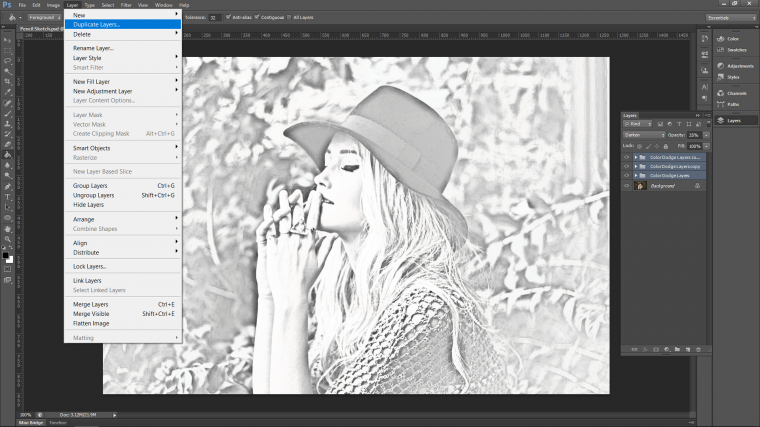
To create your ‘Duplicate Layer’
Go to the top menu and there you will see ‘Layer’
Click on that and in there you will see second down ‘Duplicate Layer’
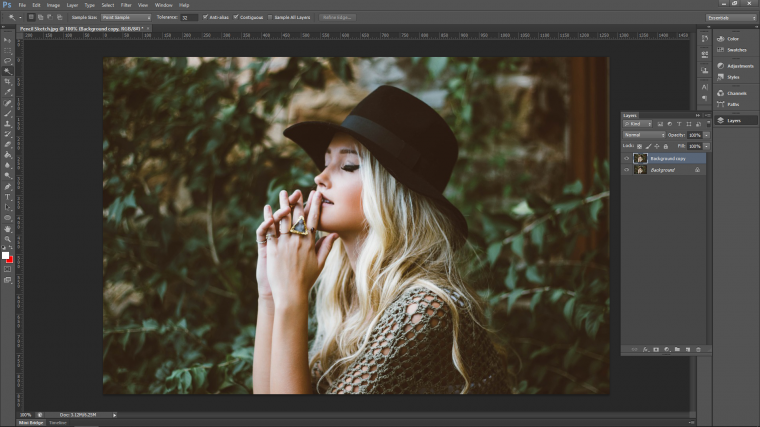
Now look to the right-hand side to see it appear in your layers panel.
If your Layers panel is not visible then go to the same menu at the top and look for ‘Window’
In there you’ll see the option to open it.
Alternatively, you can also key in on your keyboard F7 for the keyboard shortcut.
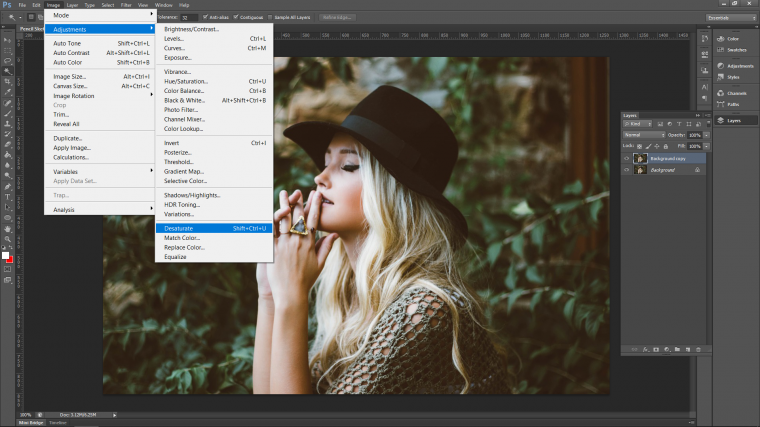
Next, we have to turn our image black and white.
An easy way to do this is to go to ‘Image’
Click into ‘Adjustments’
Then scan down towards the bottom until you see the word ‘Desaturate’
To saturate means to increase the strength of the colors so when you Desaturate you start to drain the colors out.
You can control this option in ‘Hue and Saturation’ so just a quick heads up on that.
For now, we just need to Desaturate.
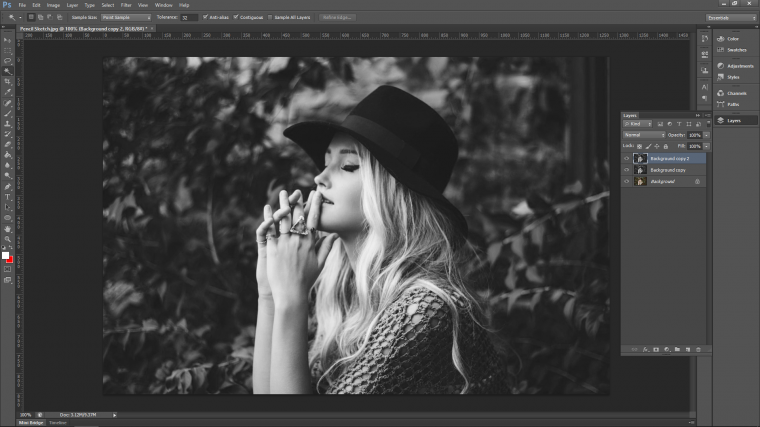
You’ll now have your top layer that is completely black and white.
Now just like we did previous, let’s create another duplicate layer.
Only this time use the Desaturated image.
You will now see the 3rd layer in your layers panel.
Now make sure that you have clicked on the 3rd layer so it’s activated.
It should be already but just in case.
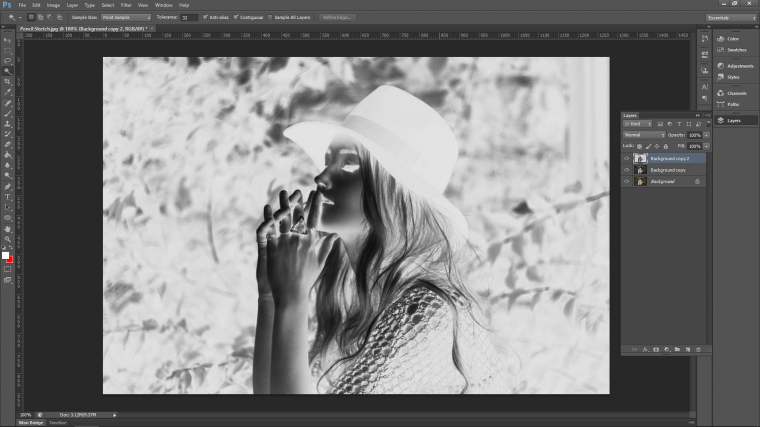
Now hold Ctrl and key in (I) on your keyboard.
You will now have a crazy inverted version of your image!
It will be the complete opposite of what you had.
Blacks will now be whites and white will turn to blacks.
Next up we are going to be using a little called ‘Blend Modes’
So what and where are blend modes…well if you don’t know already.
Basically without going into too much detail.
Blend modes are pretty much effects that can be applied to layers.
They can merge images together and they can be found in the layers panel.
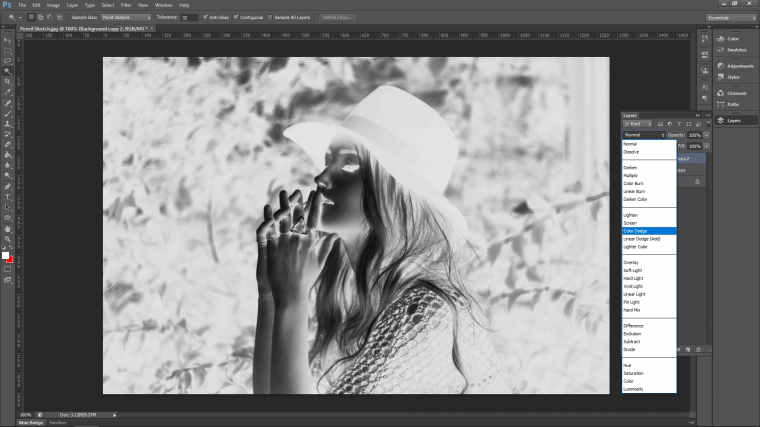
Look in there and you will see the word ‘Normal’
When you click on this a drop down box will appear full of blend mode options.
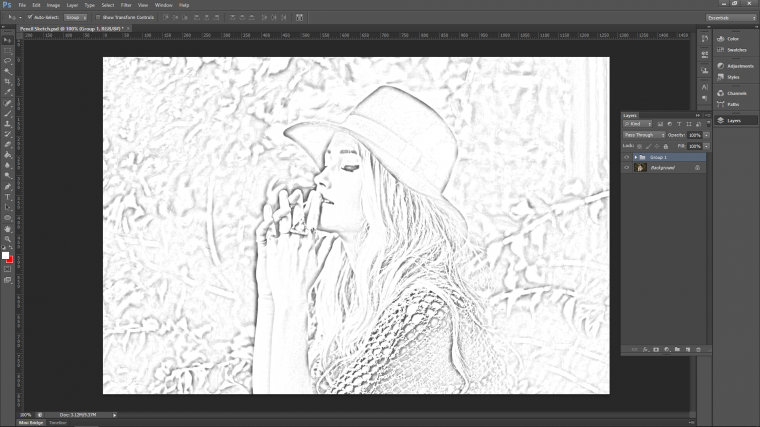
scan down until you see the ‘Color Dodge’ option.
This ‘Color Dodge’ option will blend the two black and white layers together and cancel each other out.
You will now have a white screen so don’t worry, nothing will have been deleted or anything like that.
Ok so now it’s time to create the actual effect.
So in Filter, there is already a gallery in there of preset effects.
These have various types of effects that could be used as pencil effects.
But I found that they are somewhat lacking over the years.
I found that there are better ways to recreate a few of them over the years.
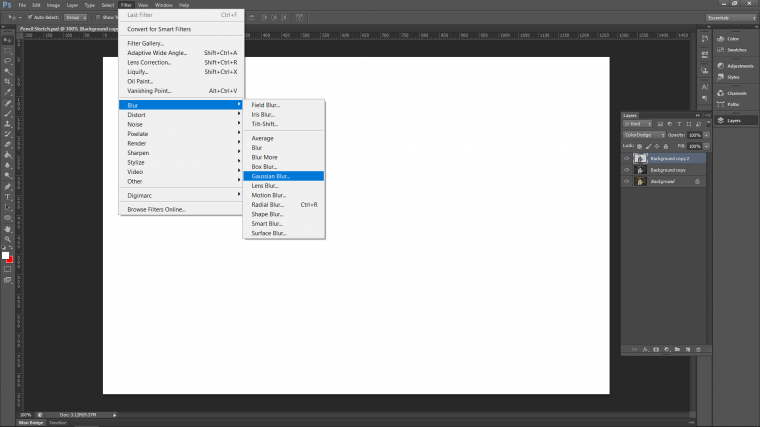
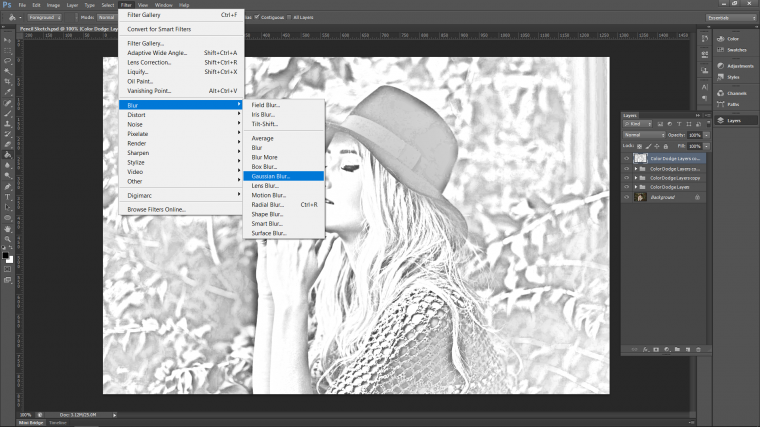
Let’s go to ‘Filter’ on the top menu.
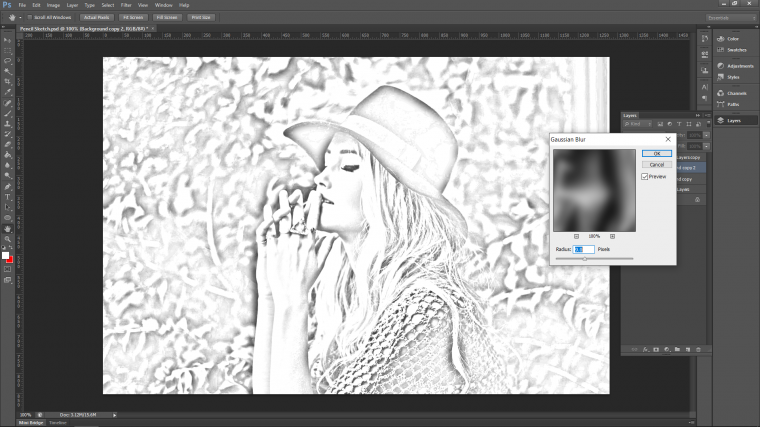
Now go to ‘Blur’ and then ‘Gaussian Blur’
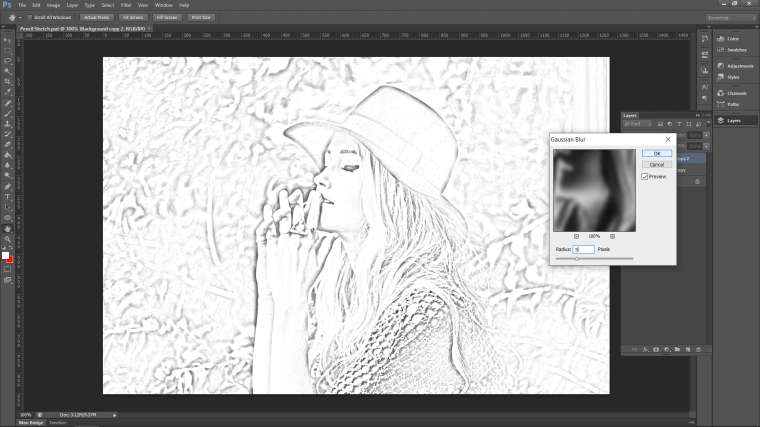
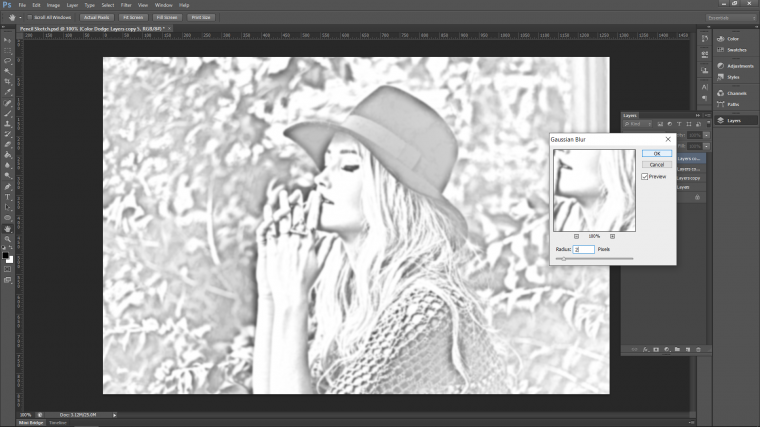
When the panel appears to use the slider to get the image to a point where you think it looks pretty good.
Now take note here that there is more to do after this action so you don’t have to get it ‘Perfectly’ looking exactly like a drawing.
So for me, the best setting was about 5 Pixels.
When you are happy with yours hit Ok and we’ll be ready to move to the next part.
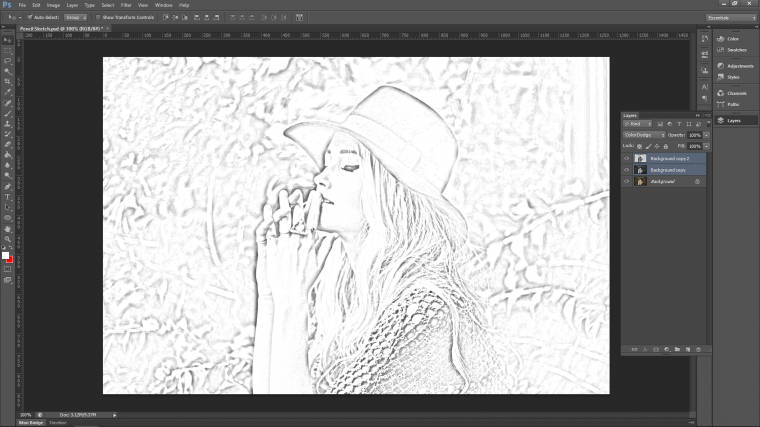
Now lets at these two layers to a Group.
The way to do this is to first click on the bottom one, then hold shift and click on the top one.
Just a side note, if there were any other layers between the top and the bottom one this would select them all.
To select just individual multiples you hold Ctrl and then click on the ones you want.
To Group the key in Ctrl + G.
You will now see that your layers are grouped inside a folder.
For more complex work I would advice labeling the folders but do it now just for exercise.
Also, create a duplicate as we did before of that folder…
Remember ‘Layer – Duplicate Layer’
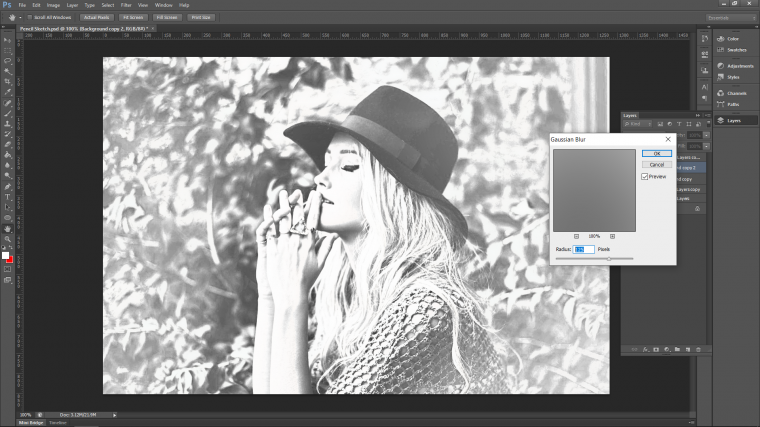
Now we are going to repeat the process only this time we are going to add a little bit more Gaussian Blur to the image.
This will help fill the image out a little bit more.
When you are happy and have clicked on Ok.
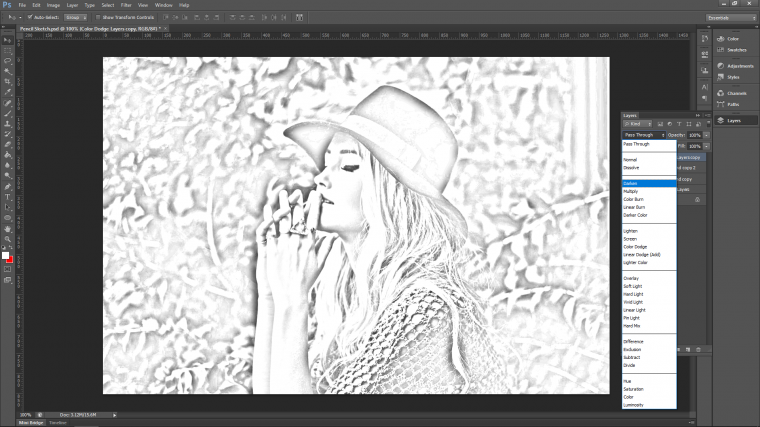
The next thing to do is to change the Blend Mode of the folder.
So not only can we do this with individual layers but we can also do it with folders.
In fact and layers in your layers panel at all can be changed in this fashion with the blend modes.
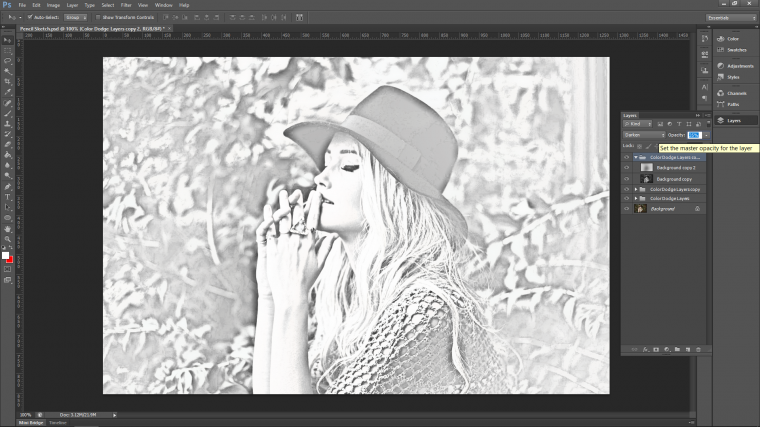
The Blend Mode that I’m going to choose this time is going to be ‘Darken’ as I feel it fills in my image a bit more.
But in saying that, have a scan your self and see what else the Blend Modes have to offer.
If something else in there looks better and more like a sketch then, by all means, use it.
Edits choices will tend to relevant to the image so it’s good to develop an eye for what works on your side.
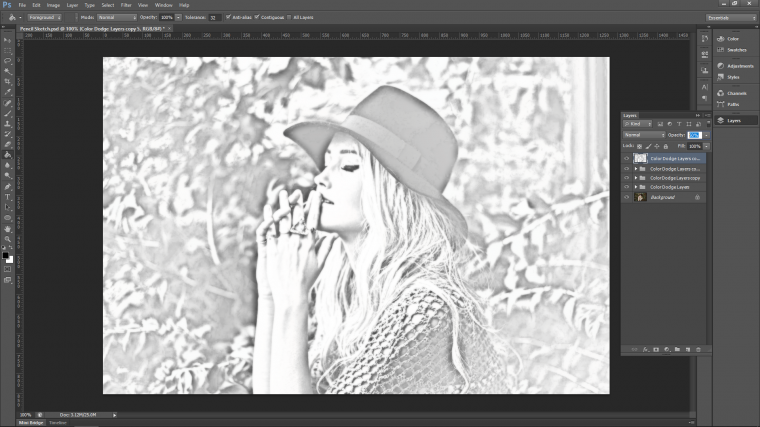
Another little side option I want you to have a look at also is the ‘Opacity’ option.
When you look inside your Layers Panel you will see the word ‘Opacity’
Click on that and change the slider about to see what it does for your image.
Does it make it better?
Try it on both groups to see if it gives you any sort of improved result.
If not no worries it’s just to see…
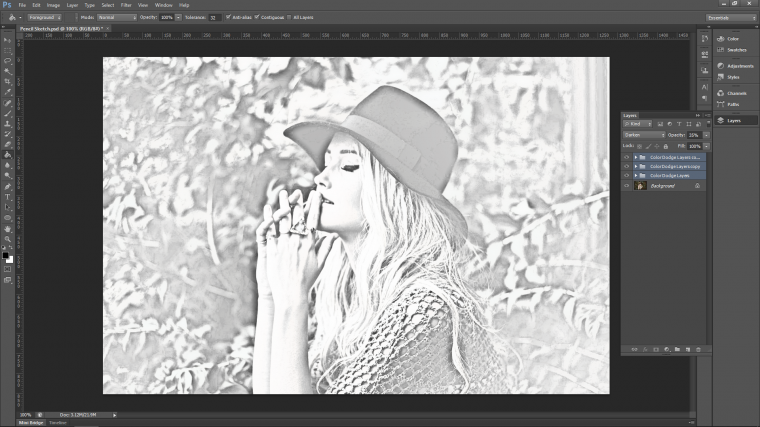
Then repeat the process again only this time we are going to give our layer a big Gaussian blur this time.
This will fill in a lot of the blank areas.
You may experience as I did the image becoming a little too strong, well drop the folders opacity as we talked about.
Make it a little bit more palatable.
So those three steps should be enough for that part.
Now let’s take it a little further again.
Select all those folders.
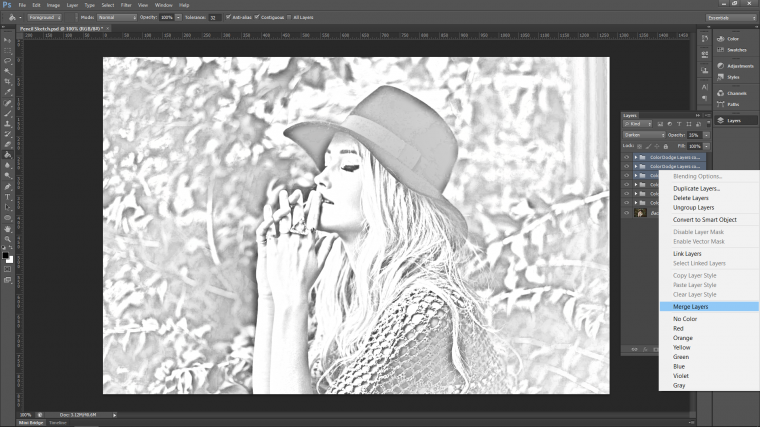
Then make a Duplicate as we did previously.
Next, while they are still highlighted click the right button on the mouse.
When the options panel appears to click on ‘Merge Layers’
Now go to Gaussian Blur and give it a slight blur or about 2 or 3.
The bigger your image the higher the number you will have to choose but I wouldn’t go over four.
Now drop the layer’s opacity to 50%
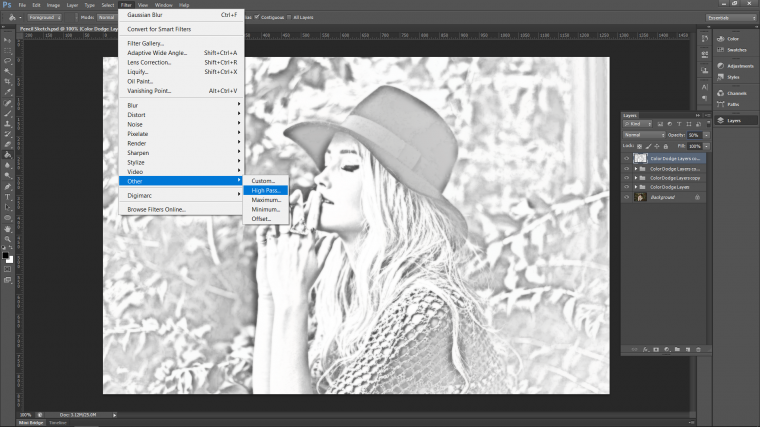
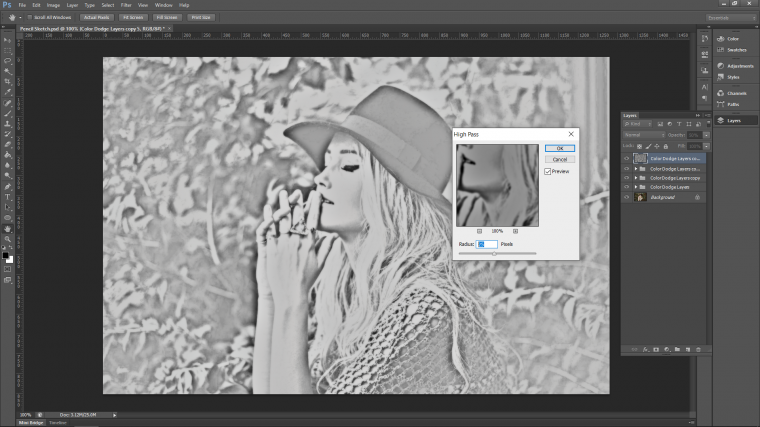
Next, we are going to use High Pass.
High Pass is a way to use Blend Modes to sharpen.
By duplicating high pass layers combined with adjusting opacity you can get really fine detail into your sharpening.
You are also able to erase areas too if you want elements more forward to appear sharper.
Give your high pass a radius of around 25.
You may need to drop the layer’s opacity further.
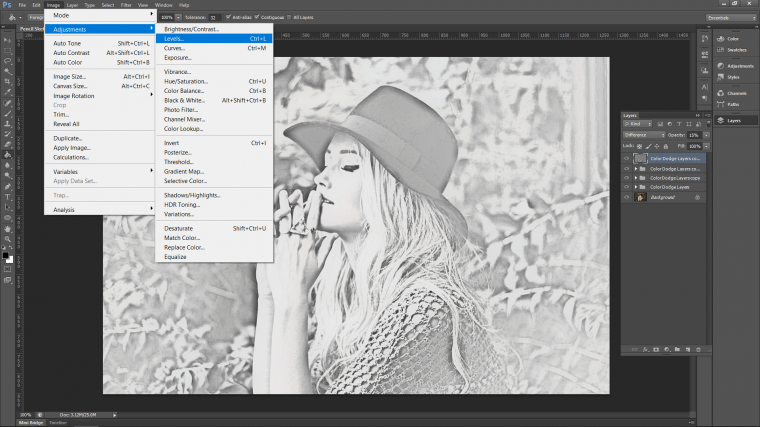
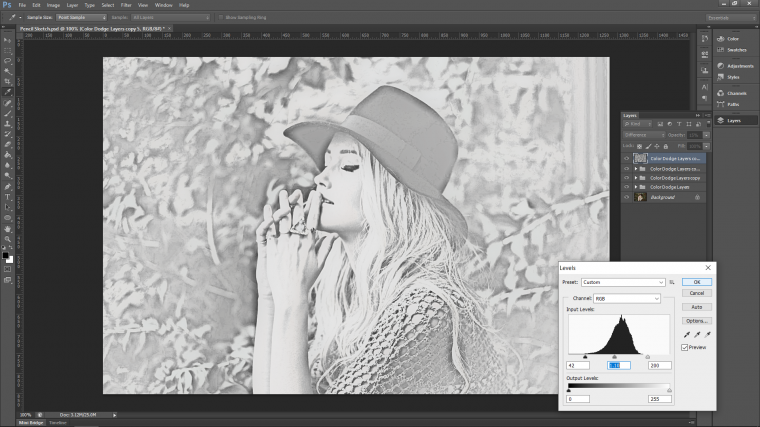
When happy go to ‘Image’ and choose ‘Levels’
Bring all the sliders in towards the center so that everything is touching the edges of the histogram.
Then you can adjust the center slider a little if it’s too dark or light.
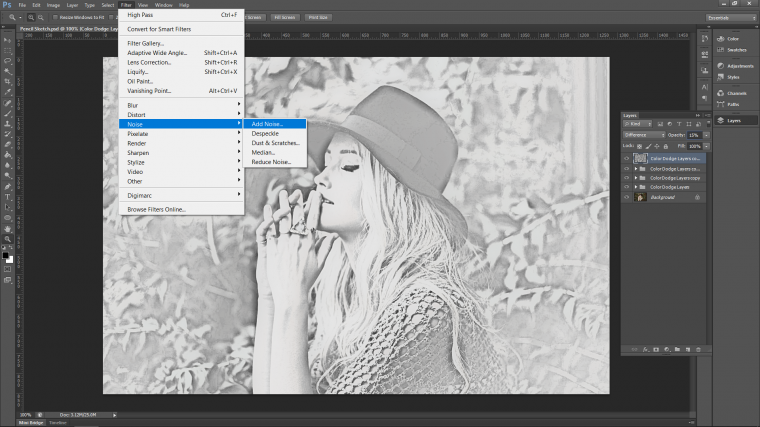
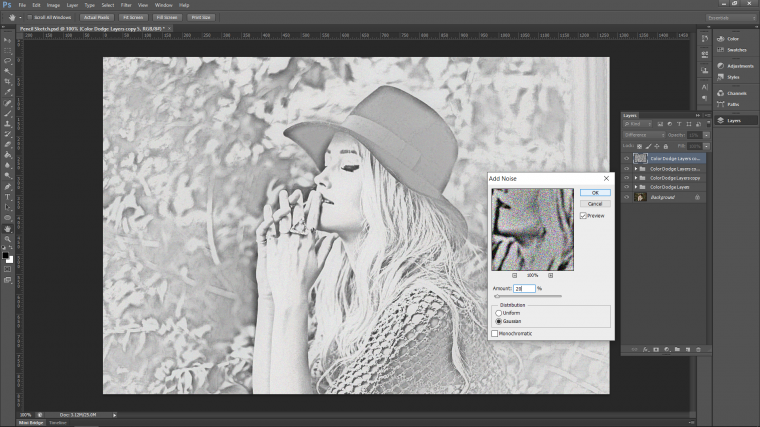
The last thing that we are going to do now is to add a little bit of grain.
I do this using ‘Noise’ in the filter option.
Give it enough grain so that it still looks natural, 20 was fine for me.
Graduated from college in 2002 with a degree in Art & Design, I started exploring my way in Graphic Design and Professional Post Production. Full-time freelancer since 2011.


 Facebook
 Google +
Comments (1)
Your content is very impressive and thanks for sharing this article. its very useful.