Hello everyone, for this exciting tutorial I’m going to show you how to swap a person out for another in Photoshop.
This isn’t too hard, actually it’s quite easy and you should be able to get the hang of it very quickly, so when you move on to more complex versions of this you will be able to go off and make your own educated decisions on what you need to do.
So this happens a lot to Photographers, especially in Wedding Photography, people like the shot but someone’s not happy, they’re like “I look good in this, but not in that”, so you’re solution is, “well I can take you out of this photo and add you to that one and just combine the two you like”.
This is actually a super common request, especially for Freelancers. If I remember correctly, I think my first or second Freelance job was to swap out two sisters for different photos of them as they were not wearing the correct clothes they wanted to wear at the time so they got photos taken at a later date and asked me to add them in.
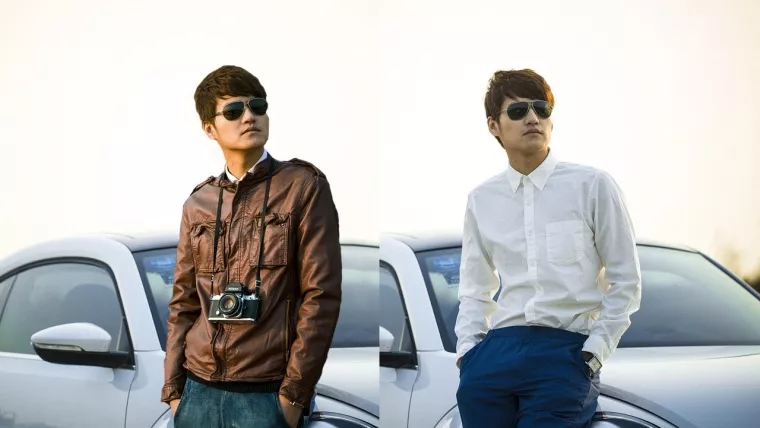
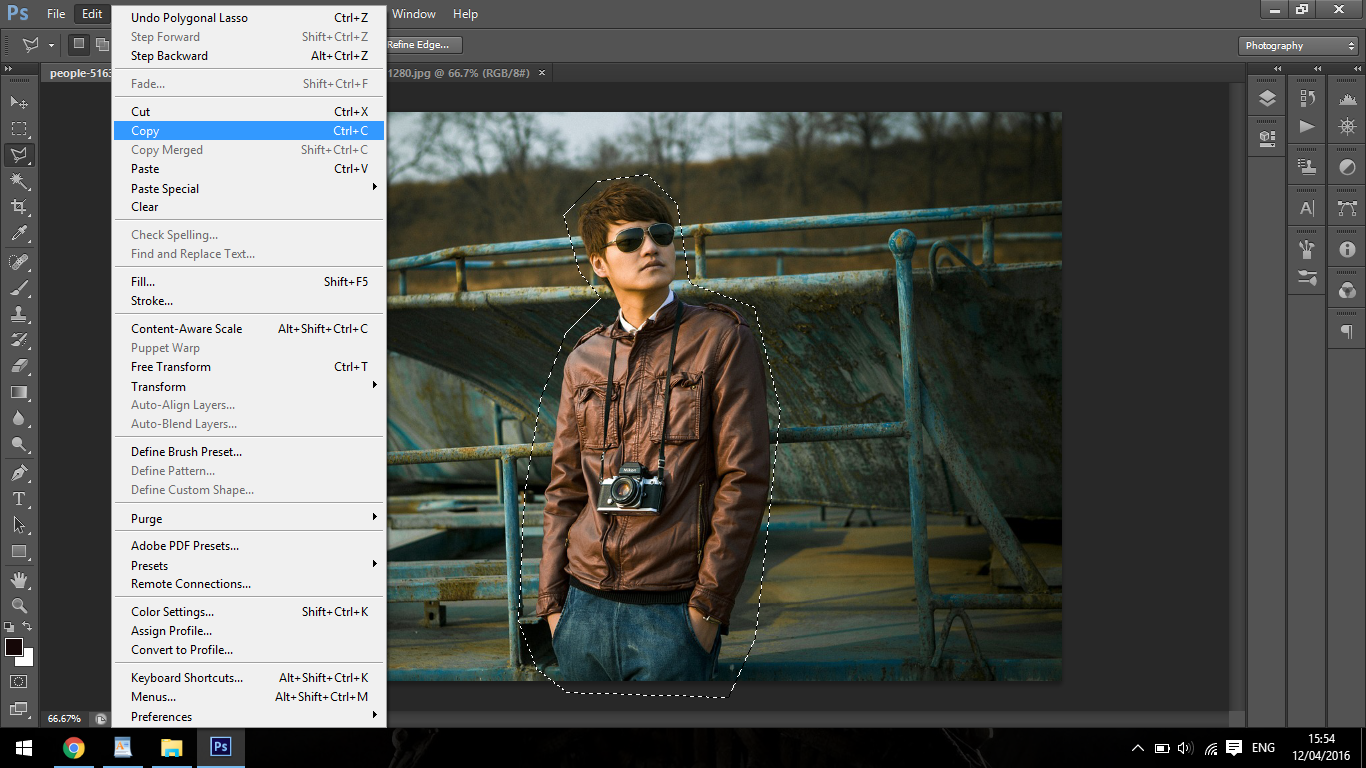
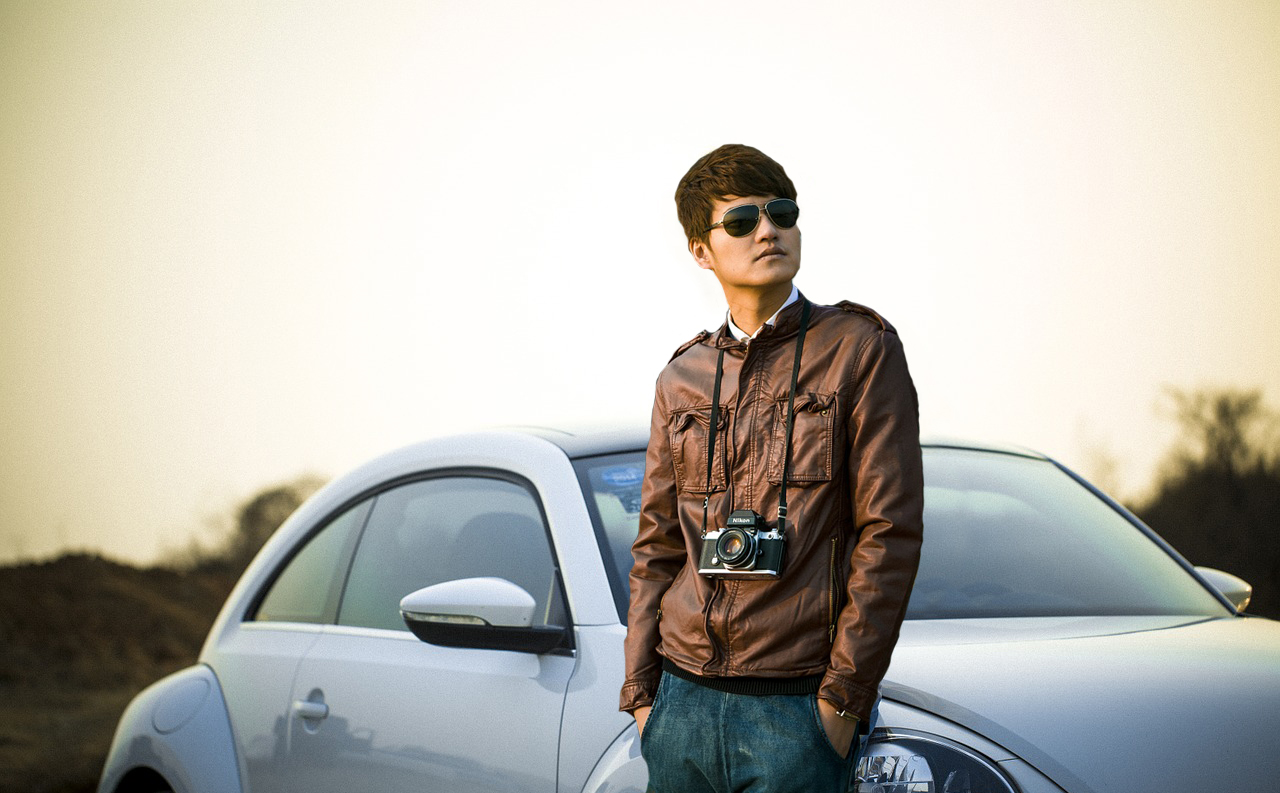
These are the two images I want to work with today, the advantage here is that the two images are very similar, which helps a lot.

So my hypothetical client here wants me to replace the bottom image of him with the image of him in the leather jacket and the camera because he thinks it looks a bit more like he’s on the road, James Dean-esque or whatever.
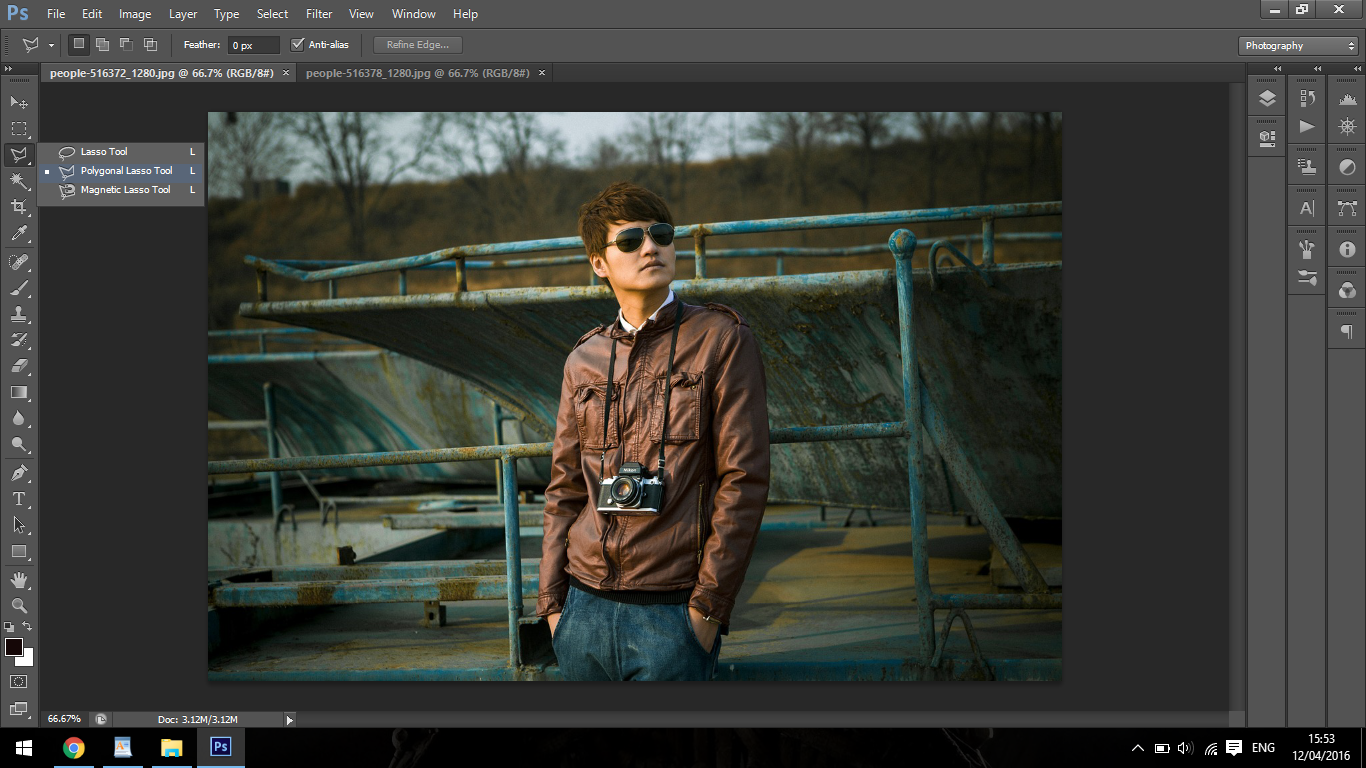
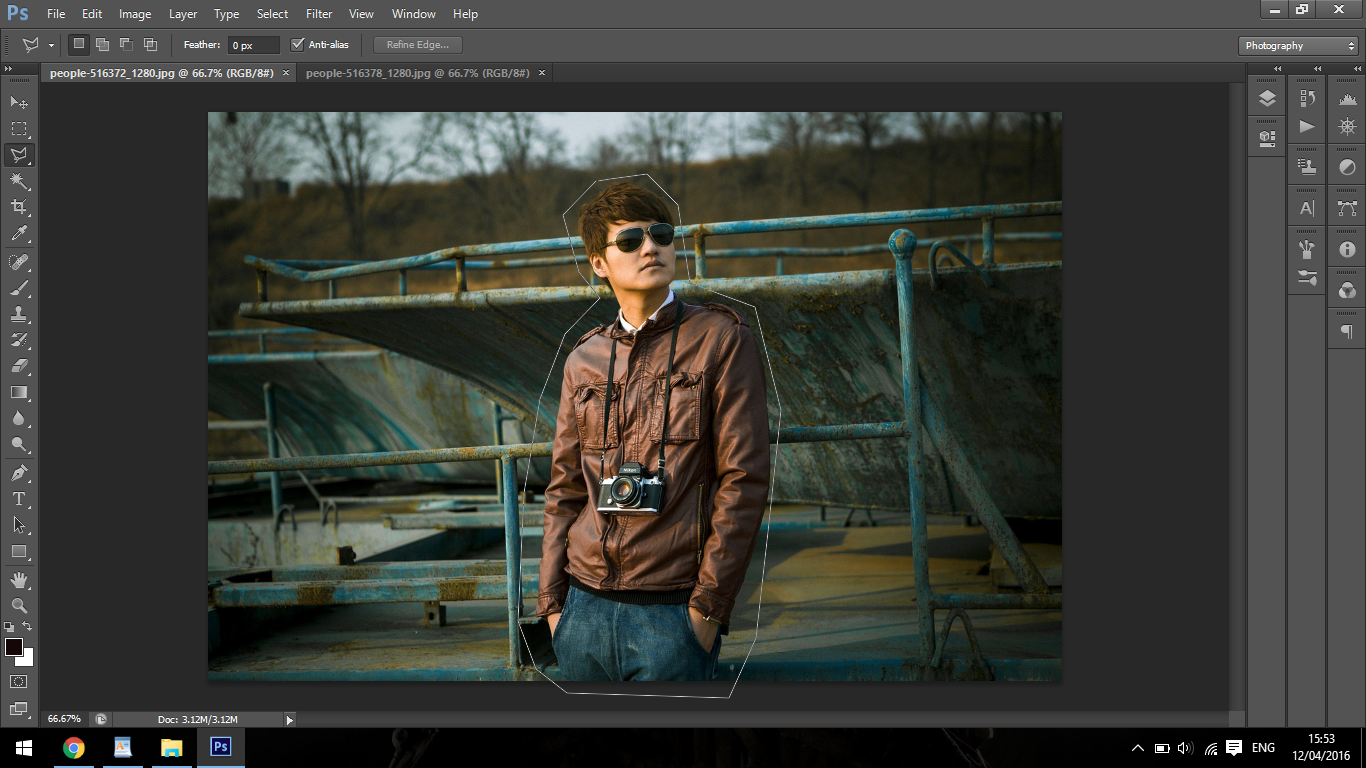
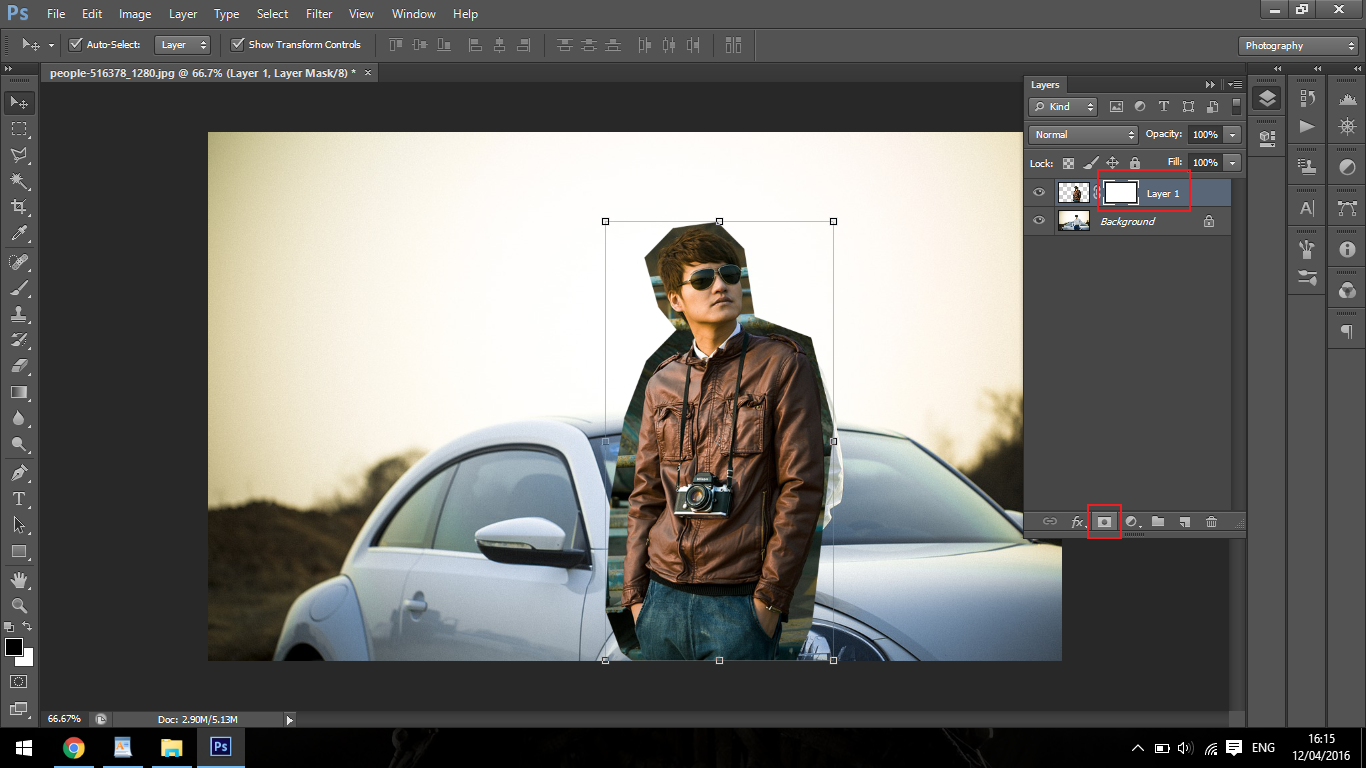
The first thing I will do here is click on my polygonal tool (Shortcut L), draw a quick selection around him, then copy and paste him into my new image.

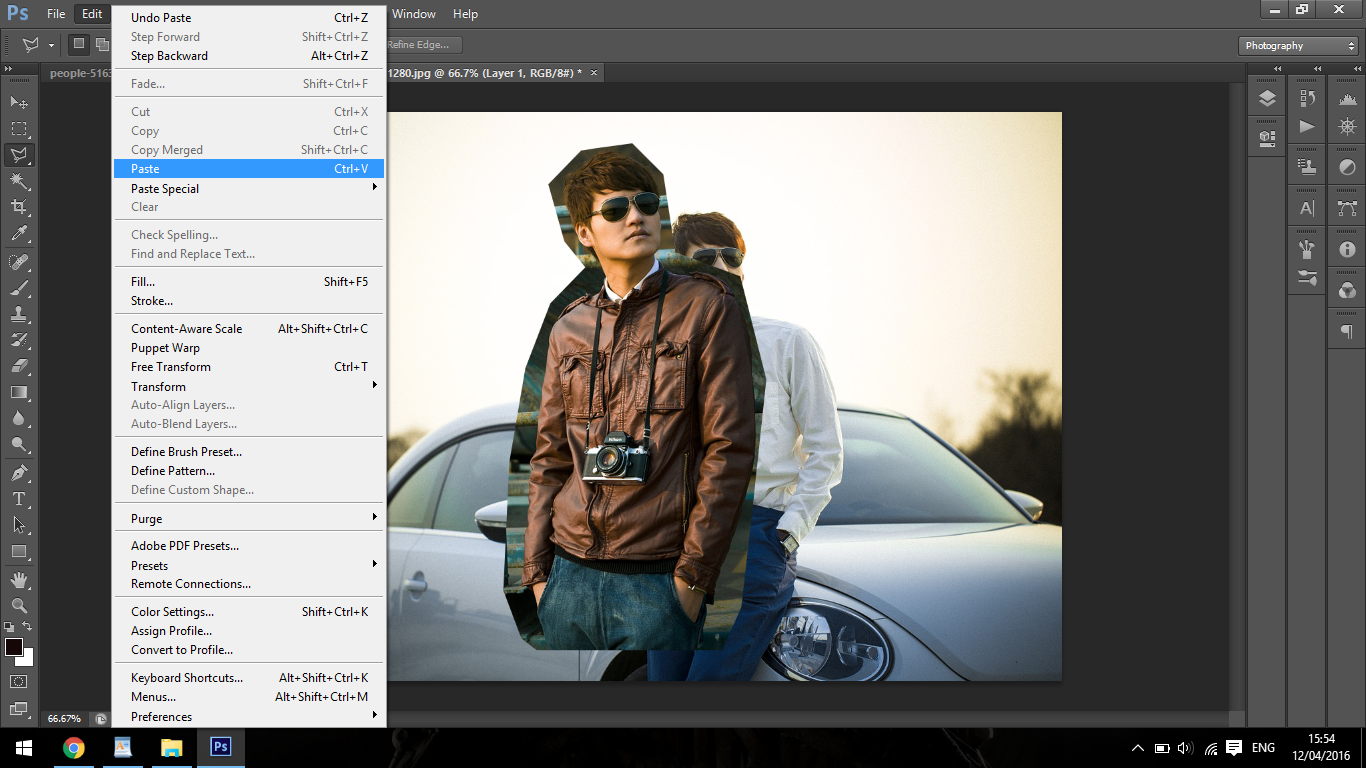
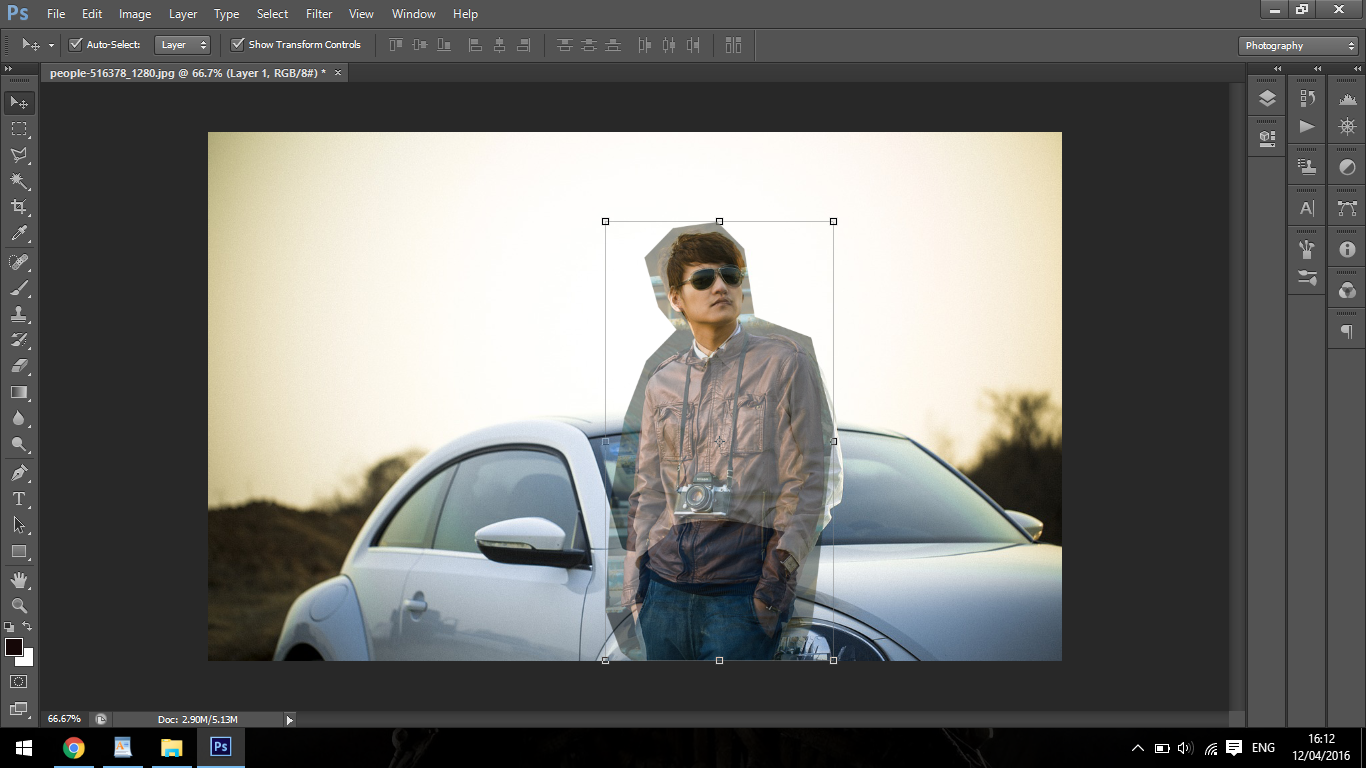
Our next step is to match our model up and try to get the size accurate.
We do this by first lowering the opacity, click on your layer and you will see Opacity.
Click on that and then move the slider down to about half way. doesn’t matter, just as long as you can still see the image behind it.
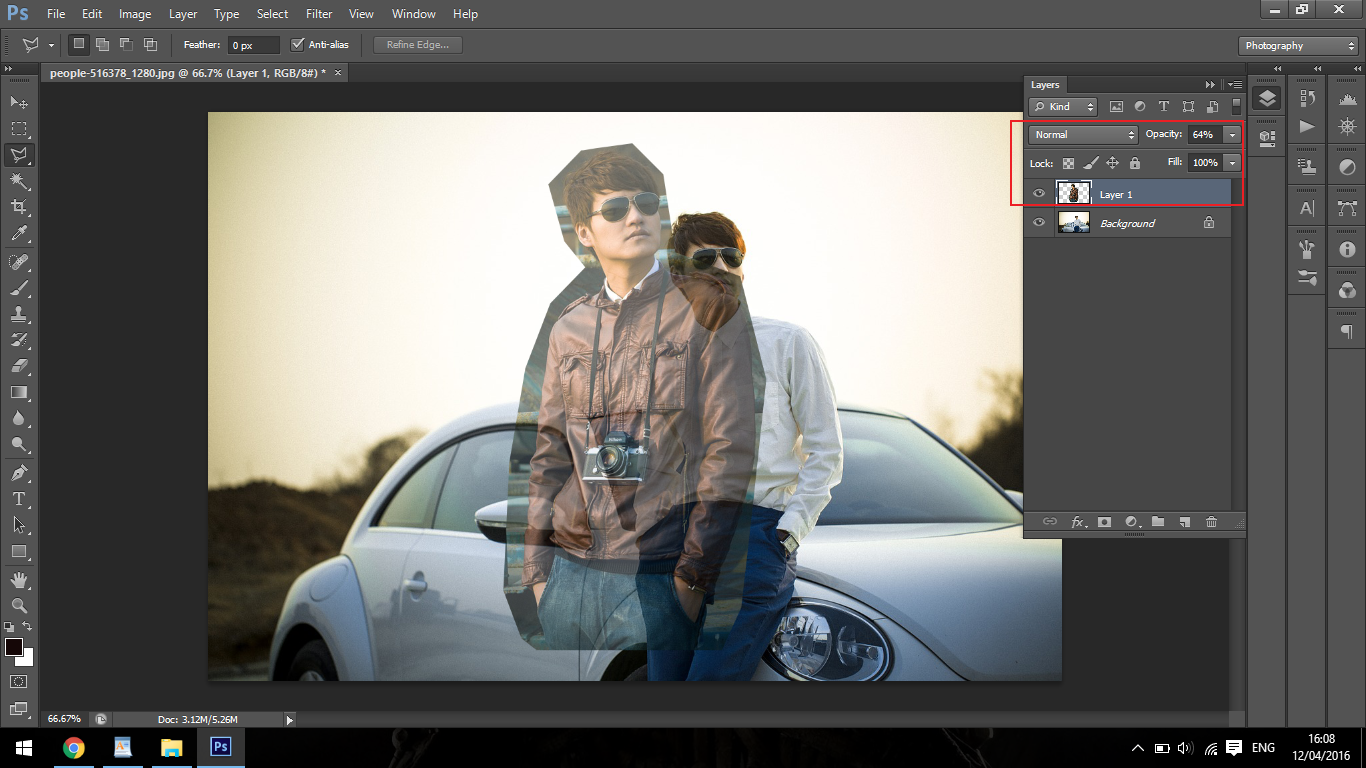
Then, Press V and you will be able to resize the image and move it around. When re sizing, hold Shift so it will constrain the image, not allowing it to warp.
Now it’s time to swap this guy in, we will do this by creating a layer mask as shown below. Click on the icon at the bottom of the layer and you will see the white layer mask appear beside your image layer.
To use a layer mask, you use the Paint brush. As you can see from the mask it is white, well if you paint black over that using the brush, it will temporarily erase whatever is below the black.
When you paint white back over that area, the image will reappear.
While using the brush you can change it’s size back and forth using the bracket keys on your keyboard.
In the brush options you have the choice between a soft or hard brush, I would advise you use Hard brush.
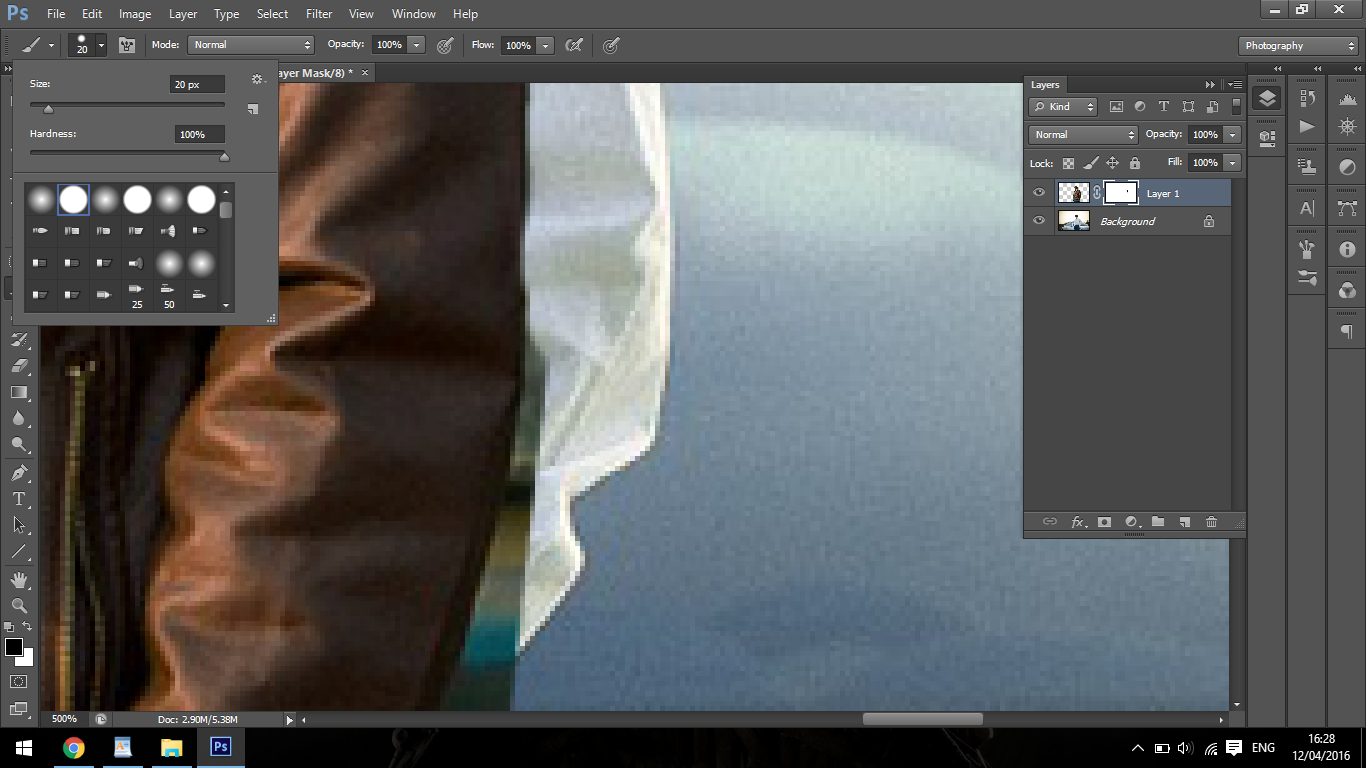
Zoom in and start to paint black over the background from the other photo that came with the image that you cut out and pasted.

Take a little bit of time with this, don’t be afraid to go between black and white, fixing as you go along until you get a clean figure.
You can zoom in but holding Ctrl and using the plus and minus keys on your keyboard. (+ or -) and another tip is you can hold the space bar down, allowing you to click and move around your image freely.

The next and final step is to use our clone stamp tool to fix the back ground so you can not see the original figure behind our new one.
You do this by hitting (S) to activate the clone stamp tool.
Then, hold Alt and click on the area behind the one you want to use to cover up the figure. Make sure that the area you choose will match perfectly.
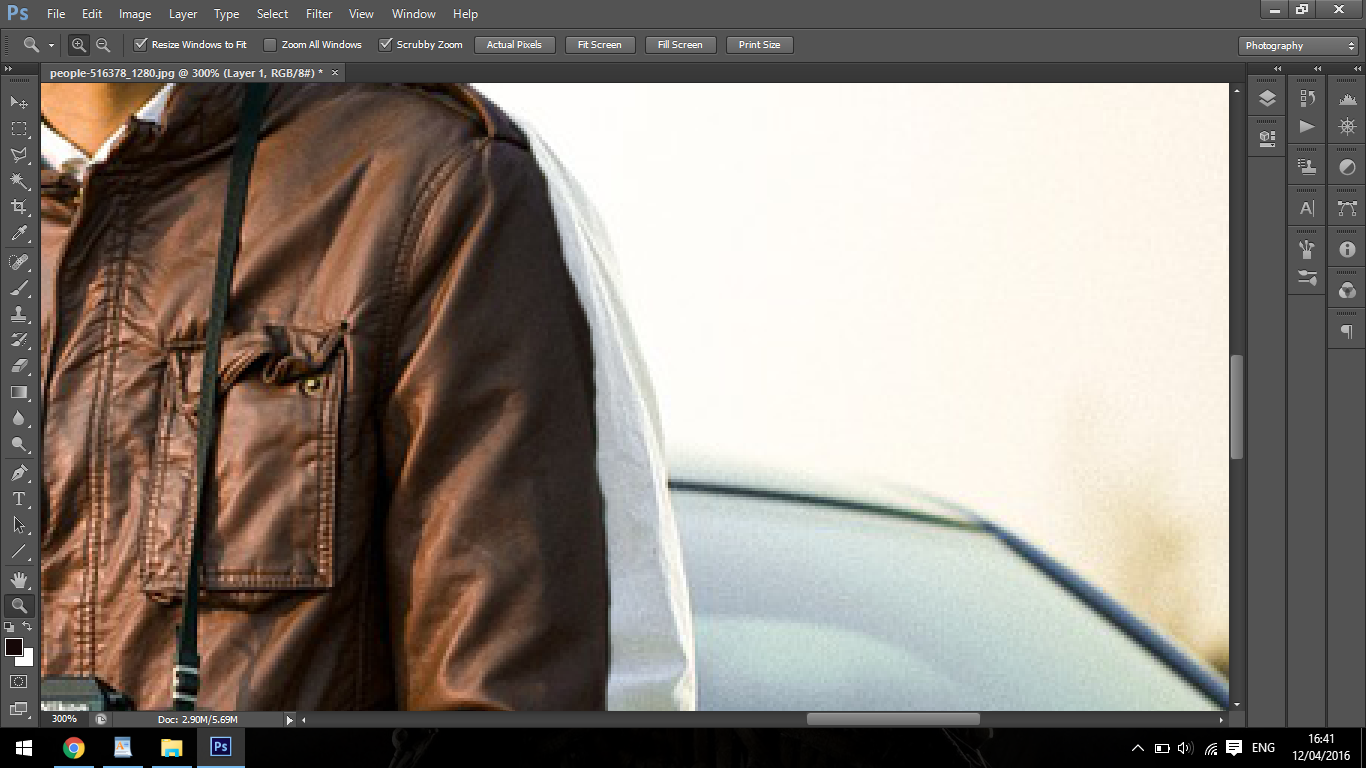
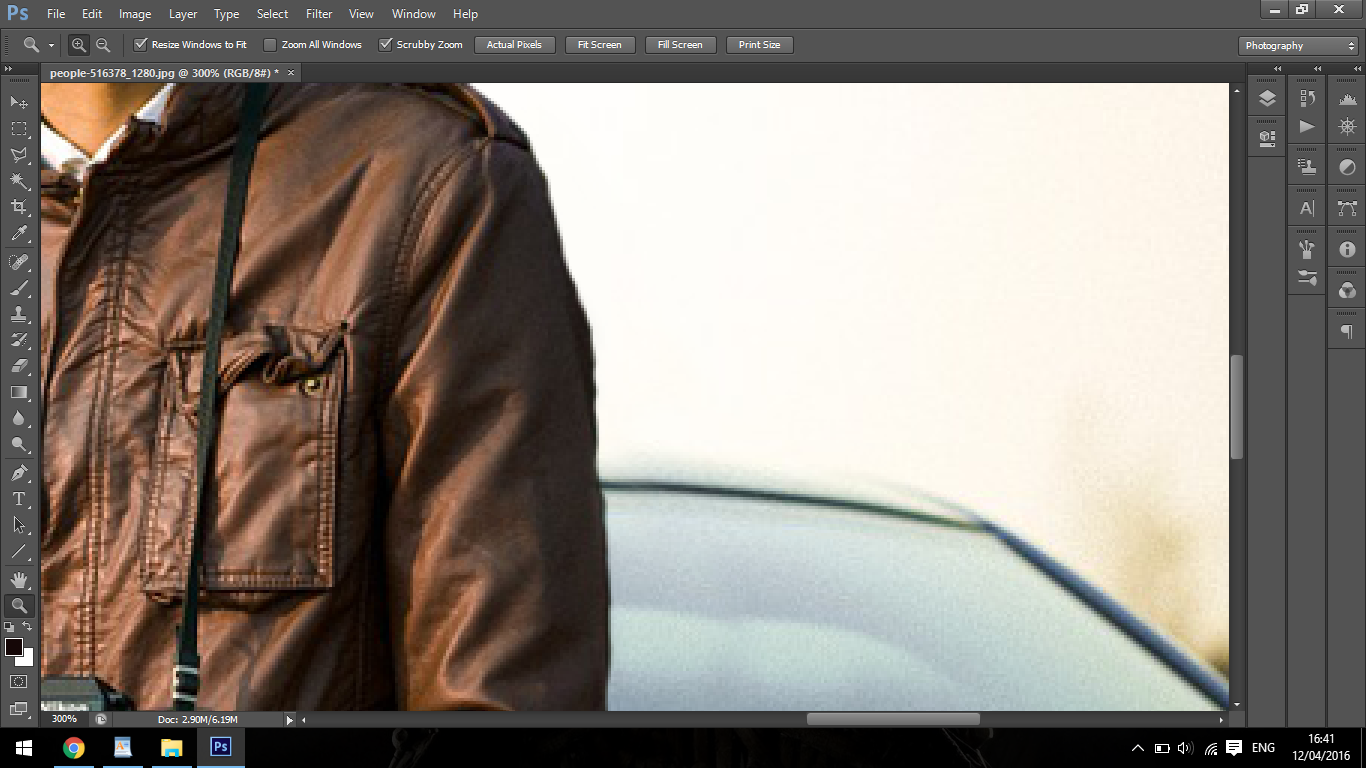
Once you have done this, you will have a convincing back ground and the original figure will have been replaced.
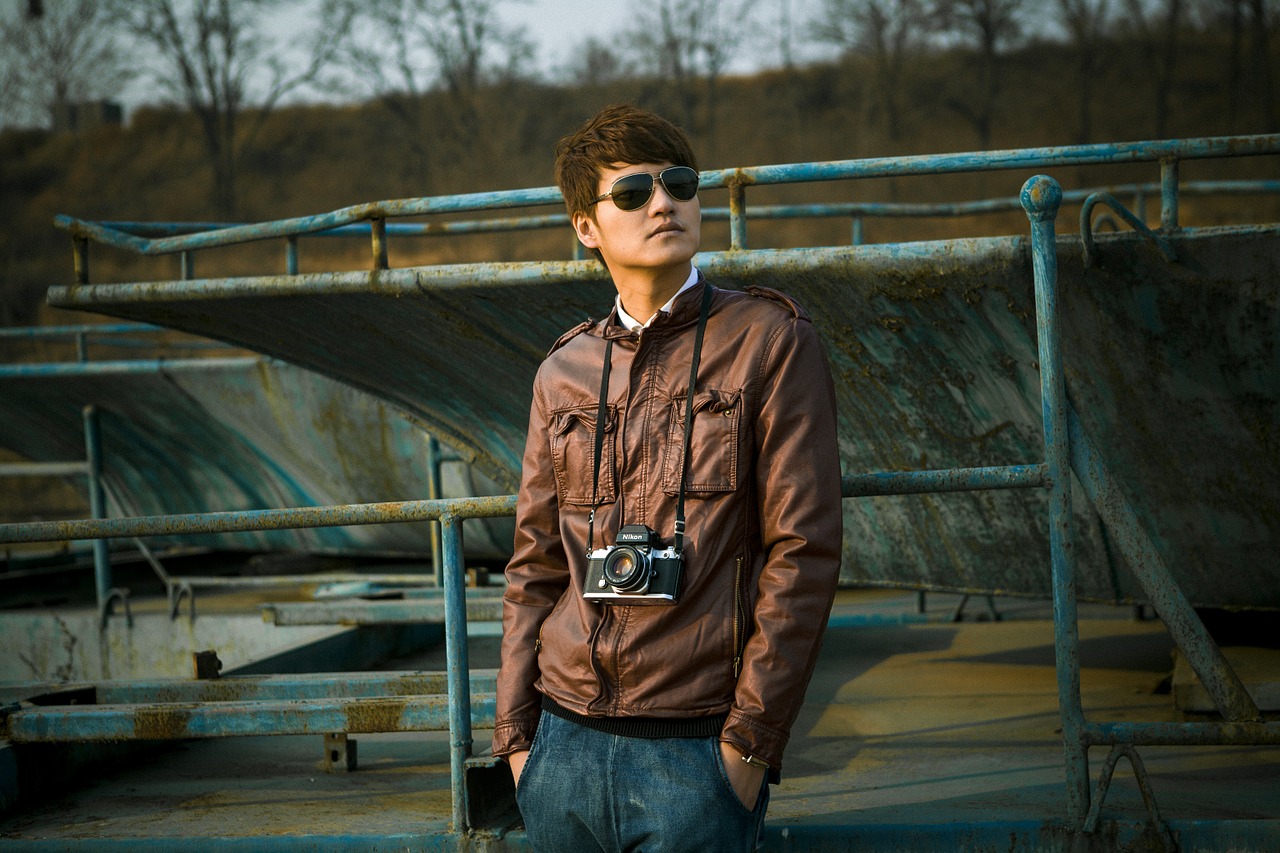
You should end up with something that looks similar to my image below.
Be sure to check out some of my other Photoshop tutorials on the Sleeklens blog.


Please verify your software version before proceeding.
 I’ve verified my software version


 Facebook
 Google +
Comments (0)
There are no comments yet.