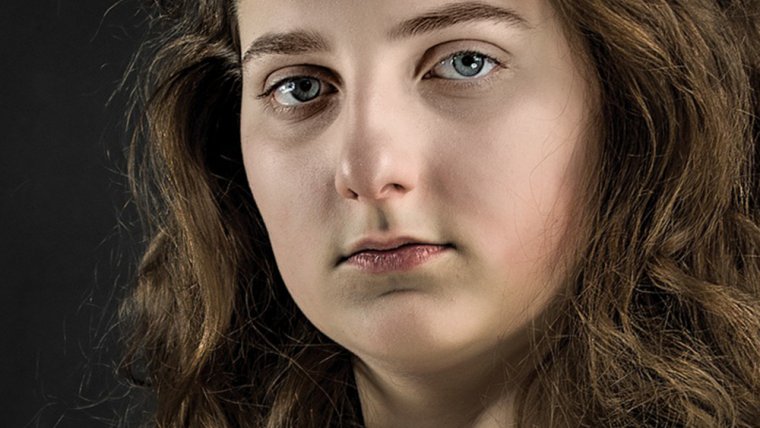
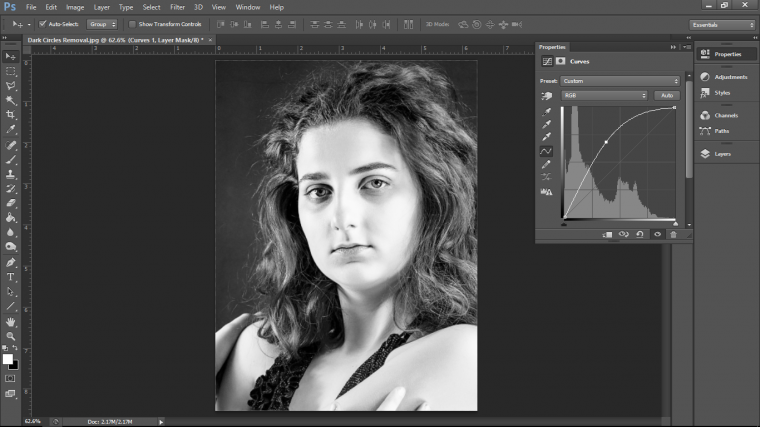
Hello one and all and welcome to this Photoshop Tutorial, and in this Tutorial we’re going to be taking a look at how to remove those troublesome dark circles under eyes.
So say you’ve been getting bad sleep of late or works been full on at the minute or you’ve ever been out late and you’ve ended up with some dark circle under your eyes.
Well for whatever reason this has happened you’ve gotten your Image taken and when you have seen them horror mode activated “oh no, I look really tired in these photos with those big dark circles whatever can I do!”
Well! I have the solution right here for you.
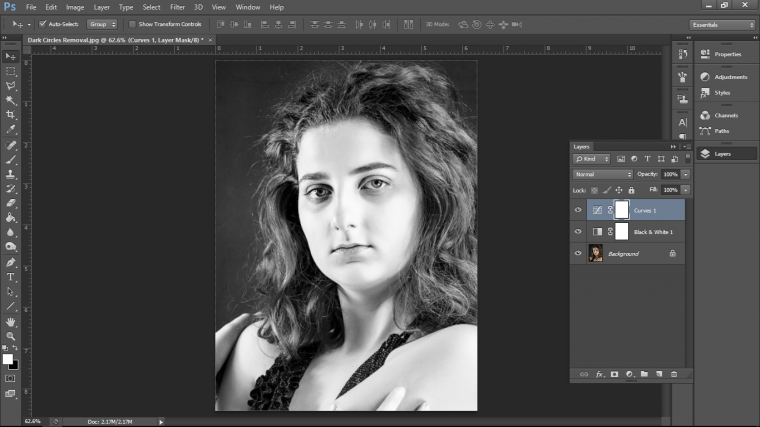
The first thing that I’m going to do here is to create a new adjustment layer and I’m going to choose Black and White Action for this.

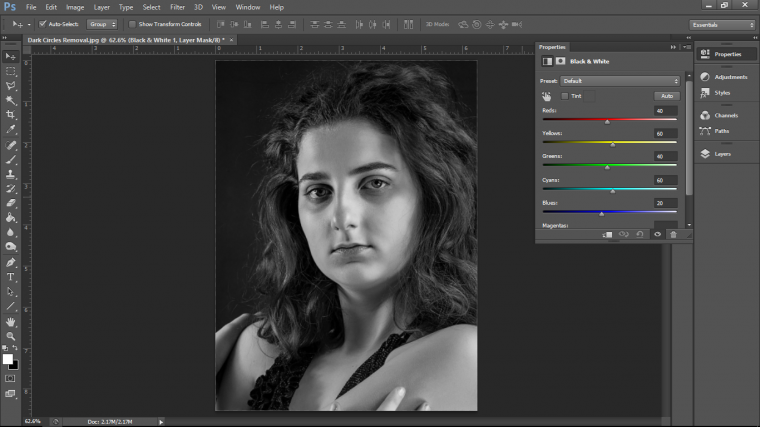
So with this layer now up we will be able to see easy the dark areas of the light, and as you can see from the image above you can see those dark circles are pretty prominent.
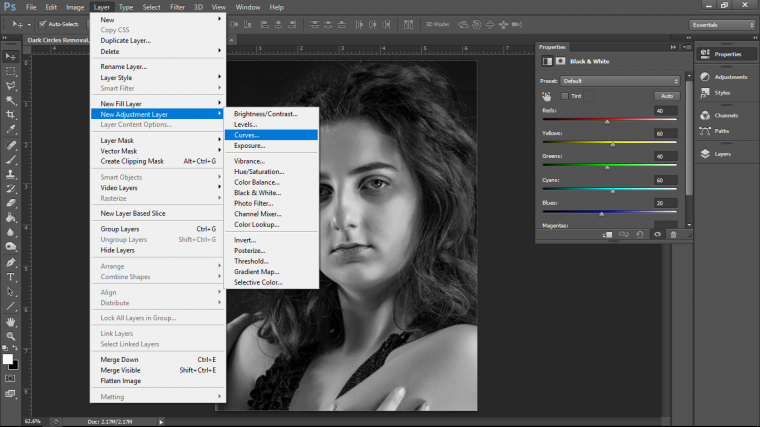
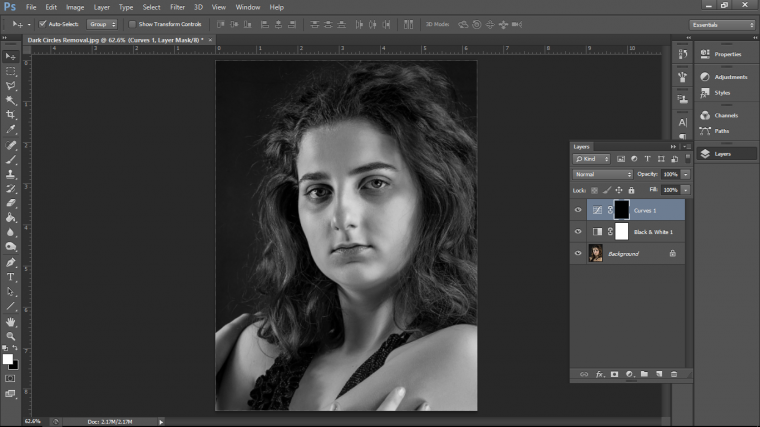
Next on the list of tasks is we have to do is to add a curve adjustment layer, so we go through the same process as we just did before only this time choose curves of course.
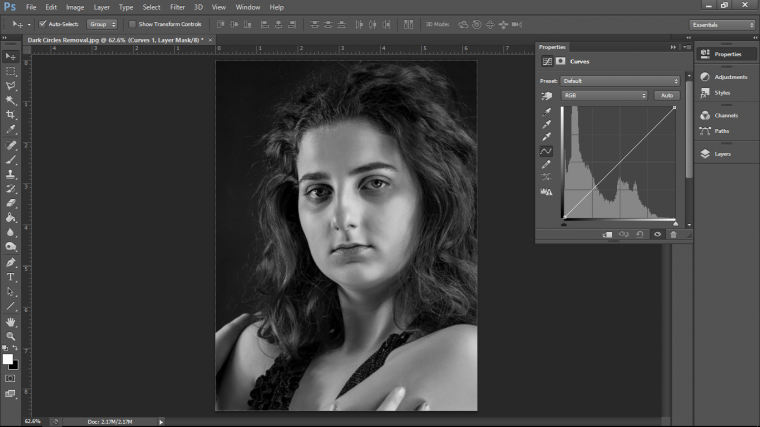
Now we’re going to click in the middle of that diagonal line and drag up to roughly where I have it in the image below, don’t worry too much about this, for now, we can change it as we need it after.
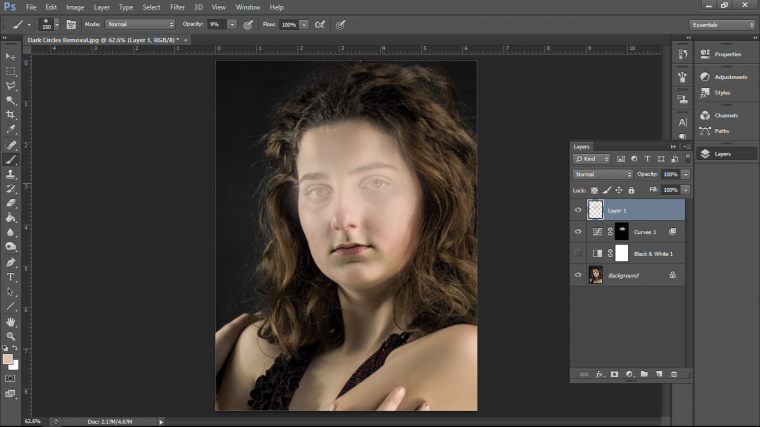
Now go to your layers panel, if you don’t know what this is going up to where it says windows and click on layers.
Now you’ll see the panel pop up on the right-hand side, in there you’ll see the layers and they will be labeled relevant to what they are.
So you will see a little white box on the right-hand side of your curves layer…click that.
Now key in on your keyboard Ctrl + I and it will turn Black.
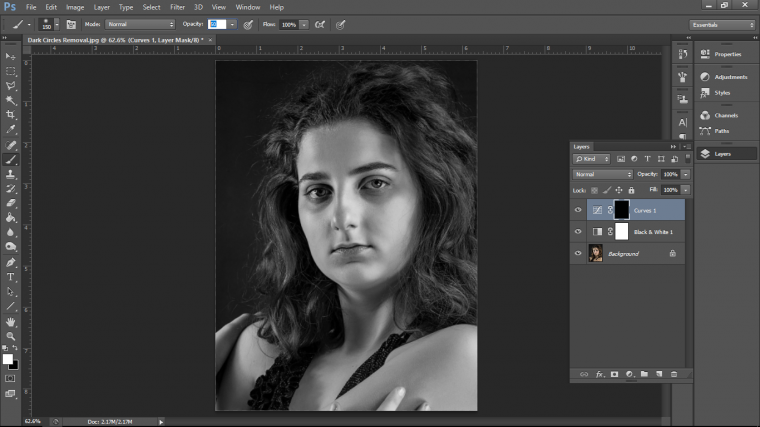
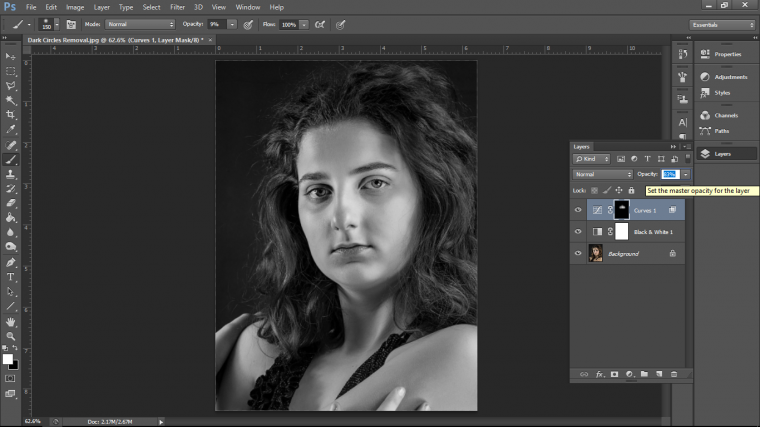
Now you will have to grab your brush tool.
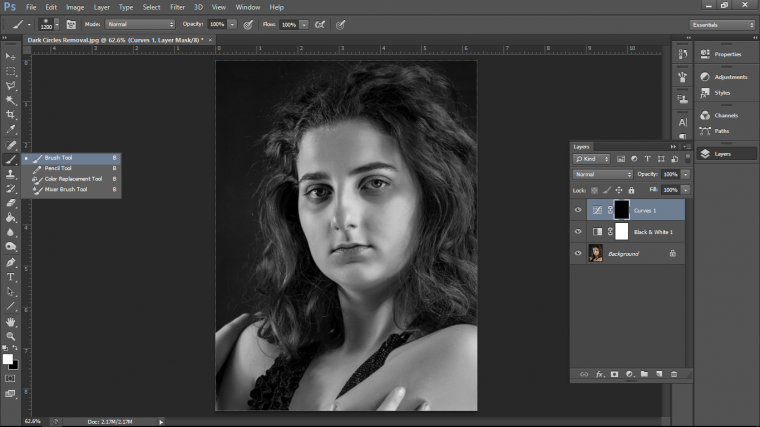
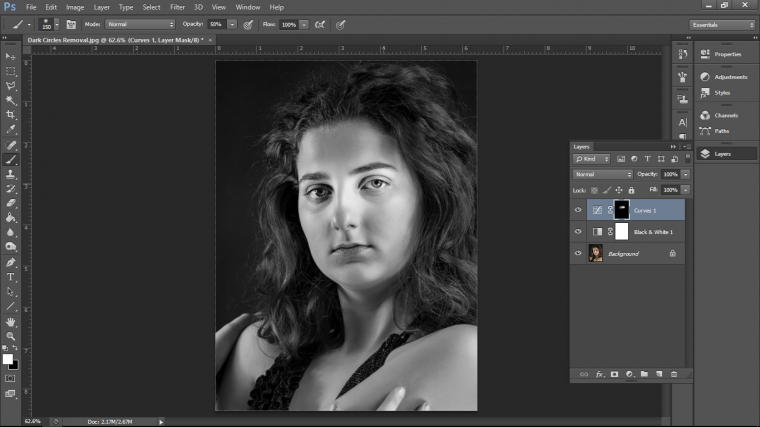
Drop the opacity to about 50%.
Then paint over the eyes on your image and you will see it lighten up, you don’t have to be super precise with this, just give it a once over and all good you will be ready to move to the next step.
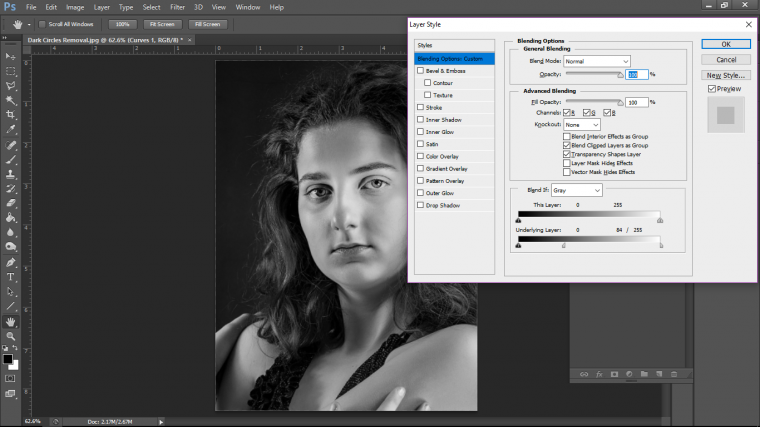
The next step is to double click on your curves layer and you will see the layer style panel appear.
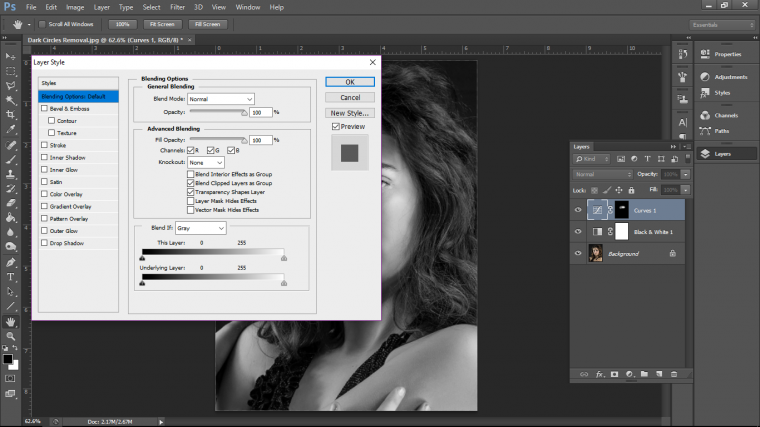
Ok at the bottom you will see ‘Blend If’
There you will see two sliders, look at the bottom one which is called Underlying Layer, on the tab at the right-hand side of this click on it holding Alt and slide it to the left-hand side until you start to see the lightened area blend in with the natural skin tone.
Ok so cool, we’re starting to look good, you can do this a few times if you wish just to really pick out specific areas but I think I’m looking good.
What you can do is go back to your layer and click back into the thumbnail that we painted the white on before, you can lower the opacity further and blend more, so I think that my image needs that.
I will also lower the opacity of the layer slightly after just to see if it blends it that one little bit further, I can be very subtle with that though.
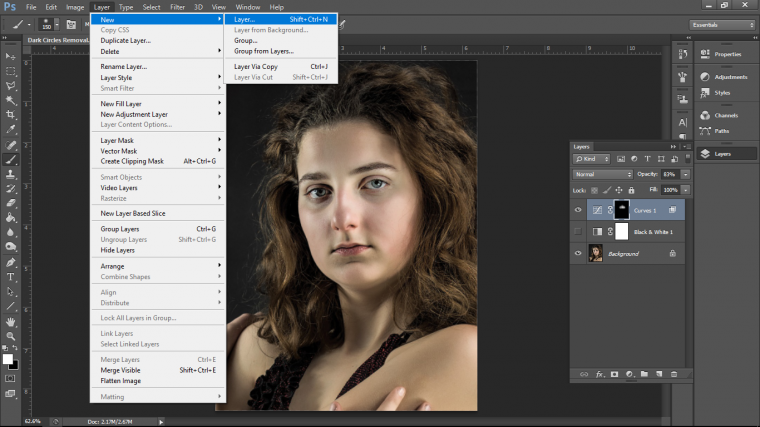
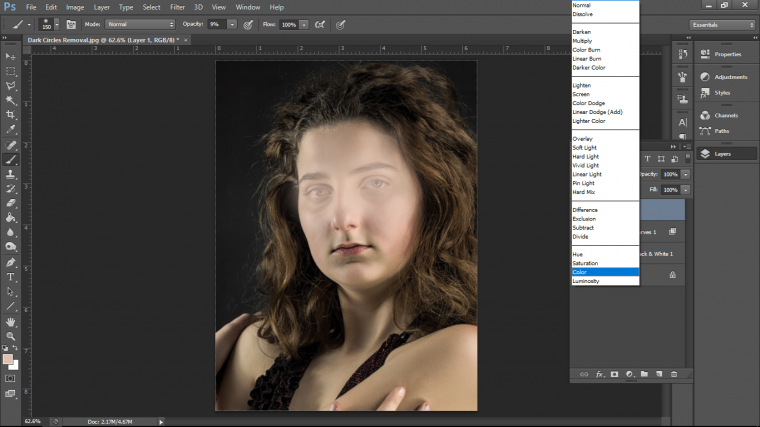
So let’s now bring back some color to our image, so to do that go to where you have the black and white adjustment layer and click the eye to the left of it, you will now have your colored image back again.

Now lets create a new layer.
And on this new layer, we’re going to paint directly on to it with her skin tone.
The way to do this is to hold Alt and click on a nice pink part of her flesh.
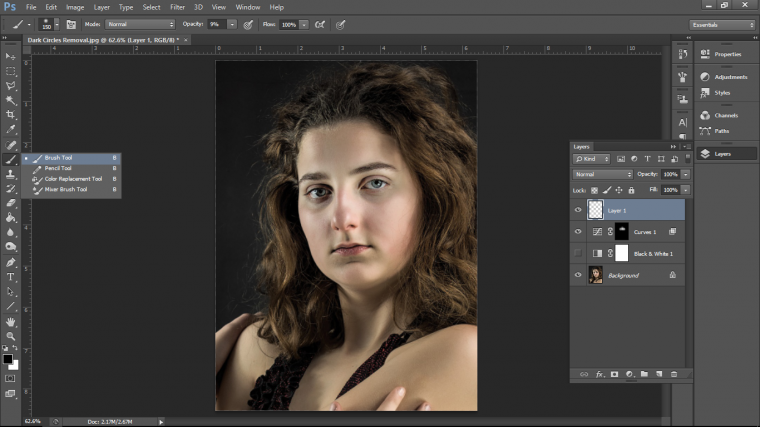
Paint over the eye area just as I have below, you can either drop the opacity of your brush now or just drop the opacity of the layer later, either way is fine.
Now in your layers panel, you should see a drop down box with the word ‘Normal’ in it.
Click on that and look down the list until you see ‘Color’
Now you will have to erase with the eraser tool areas over the hair and eyeballs.
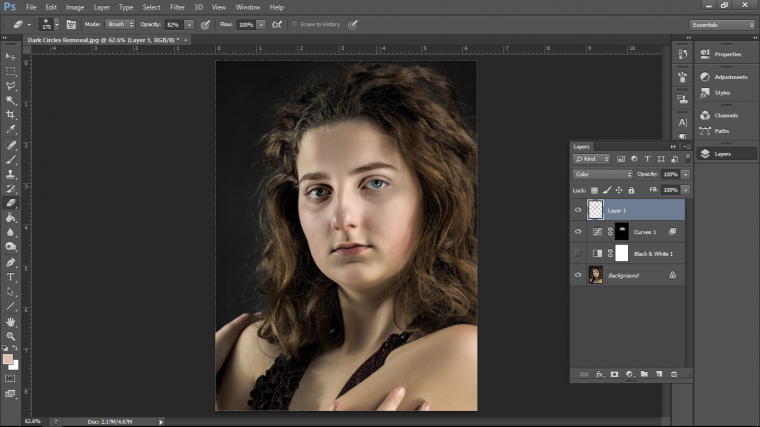
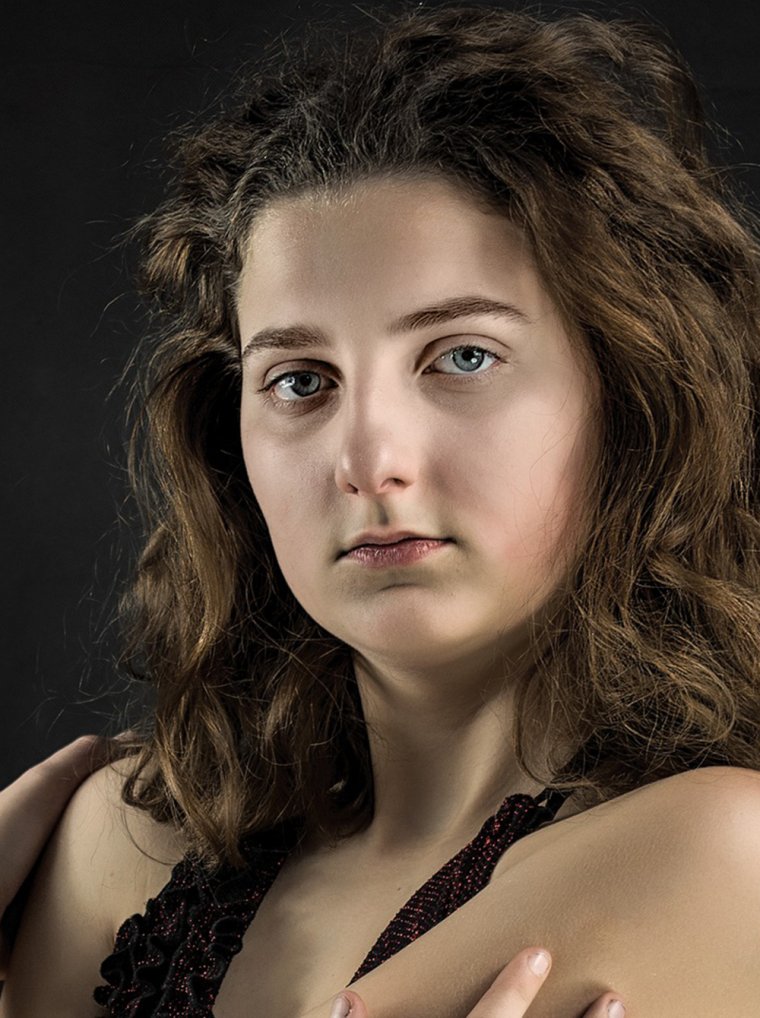
And we’re done!

Click here and learn to make an animated GIF in Photoshop.


Please verify your software version before proceeding.
 I’ve verified my software version


 Facebook
 Google +
Comments (3)
Thanks for sharing your talent. I love your works. Great blog as always.
Glad you enjoyed Carlos 🙂
Loved this tutorial!