How to Remove Braces in Photoshopwww.sleeklens.com
Hi all, welcome to another Sleeklens Photoshop Tutorial.
In this Photoshop Tutorial I’m going to be showing you an easy way (well it will be easy by the time we’re done and it’s been uploaded into your mind) but yeah an easy way to remove Braces using Photoshop.
For this sort of tutorial usually, we would be using Tools such as the Clone Stamp Tool or the Spot Healing Brush Tool but in this case the area has too much going on which can lead to some very muddled looking out comes unfortunately.
So for this we’re going to be keeping it very very simple and employing the old standard Brush Tool to sort out our Imagery woes.
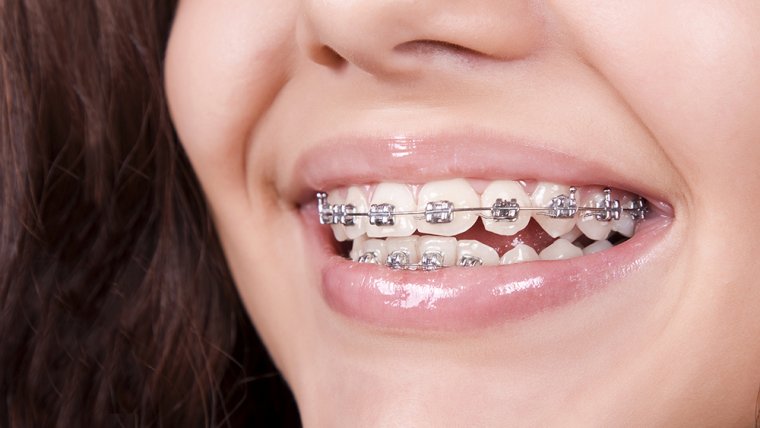
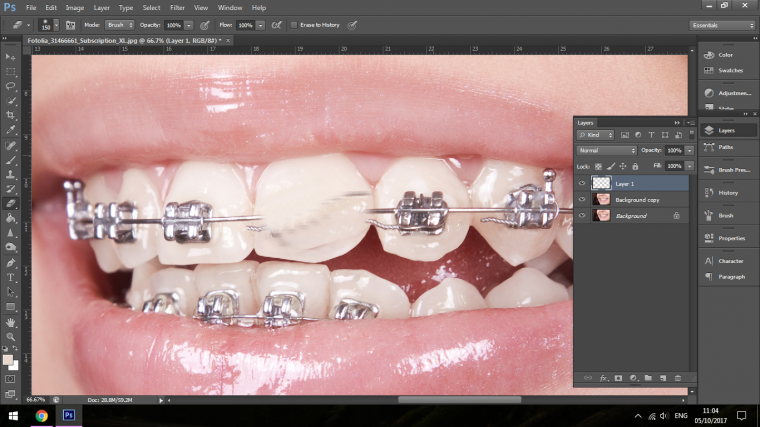
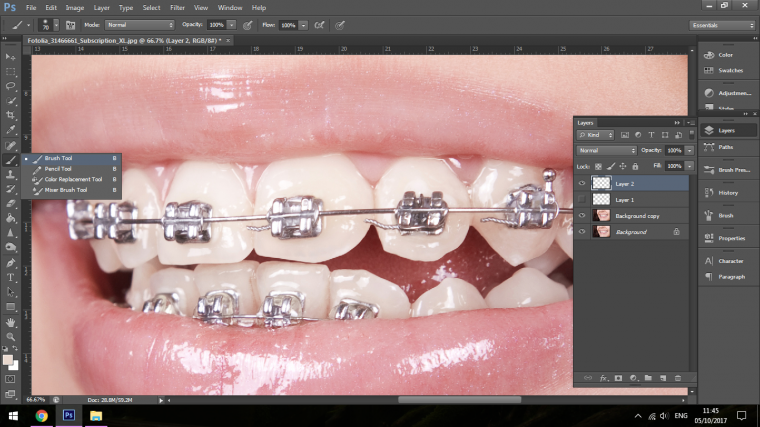
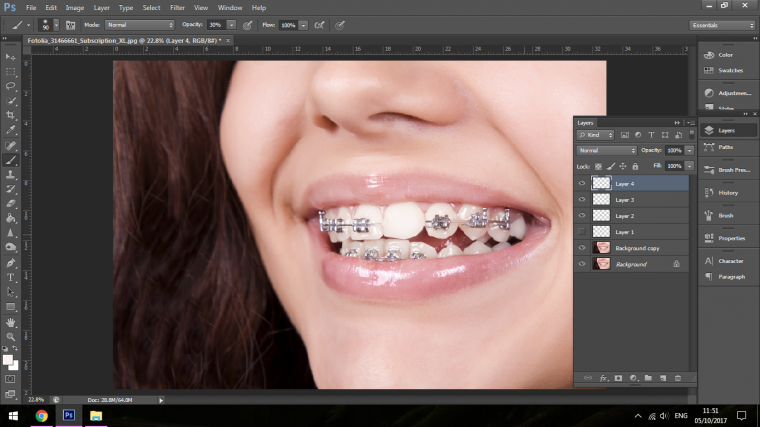
The image I’ll be using today is this image below.
So key words I used to find this image was simply Braces, but I’m sure others such as Retainers should probably work so, I guess it just depends what they are called in your fine part of the world.
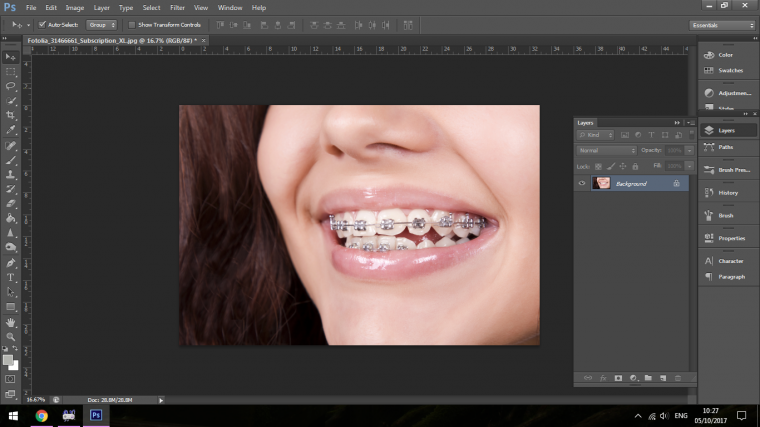
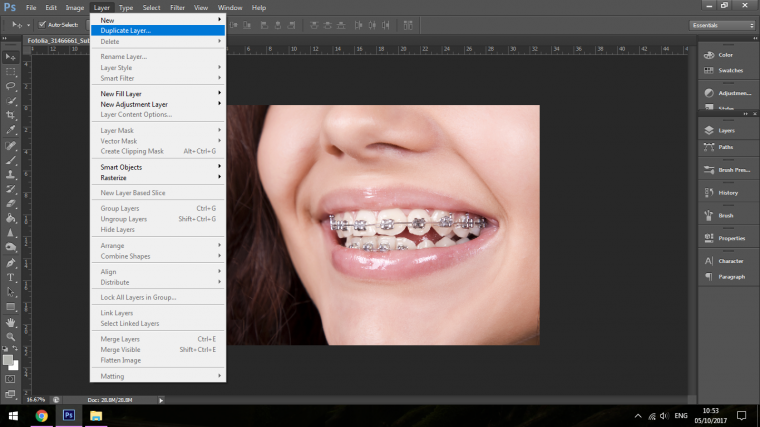
So the first thing that I’m going to do her is to duplicate my original layer so that we always have a back up.
Then I’m going to create a new layer so I can show you as examples what would happen if we used the Clone Stamp Tool and the Spot Healing Brush Tool.
So with these two tools I’m sure if you took your time you could do a good job but I feel that the Brush Tool is the best fit for the job here in this situation.
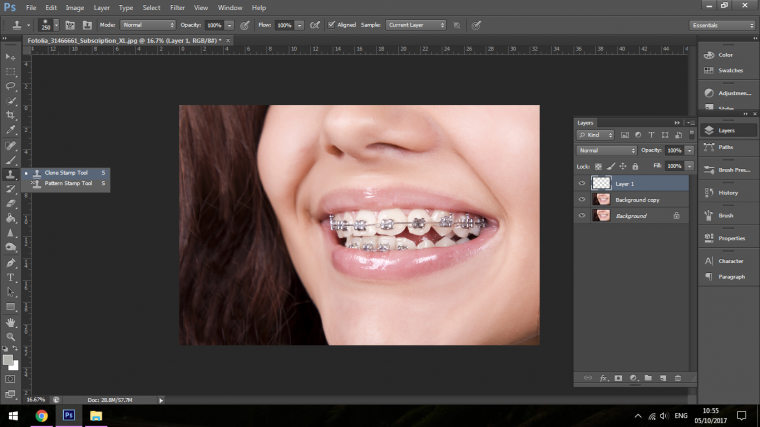
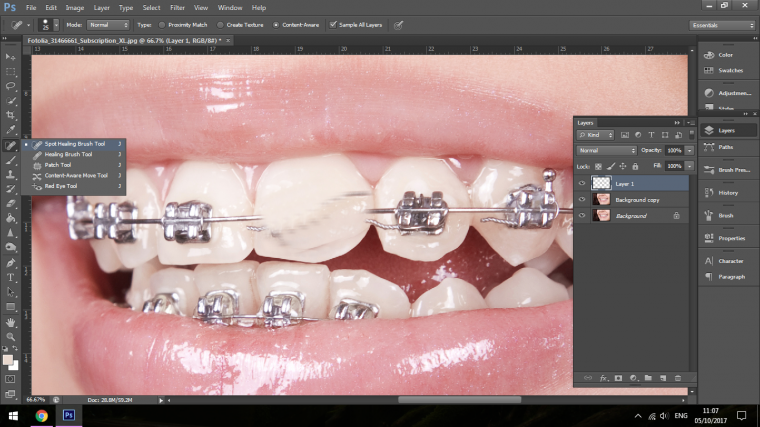
I choose my clone stamp tool as shown below.
Then I zoom in using the plus and minus keys on my keyboard holding Ctrl.
Another quick tip is if you hold your space bar you will activate a little grab hand which will enable you to move around the canvas when you click and drag using your mouse.
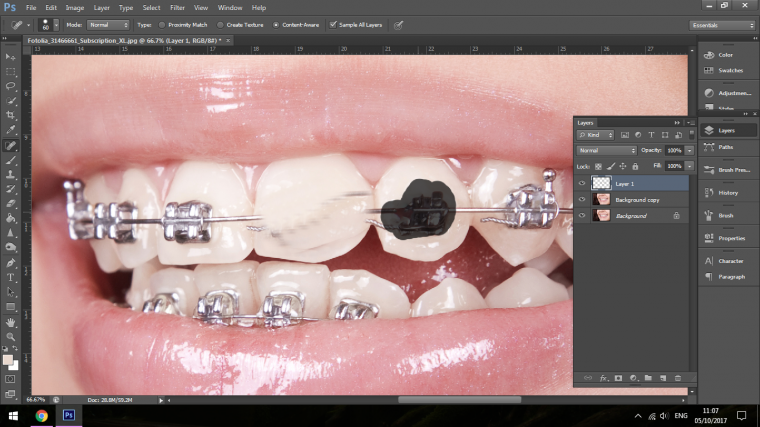
To use your Clone Stamp Tool hold Alt-click on an area that you want to copy and then paint over the area that you want to cover, so essentially you are using another part of your image to cover up an area.
As you can see from below with areas that has a lot going on things can get a little bit messy fast.
Now with the Spot Healing Brush, you just click and paint over the area that you wish to cover and the computer will sample from another area automatically.
As you can see from below the results again are not great for such a busy area.
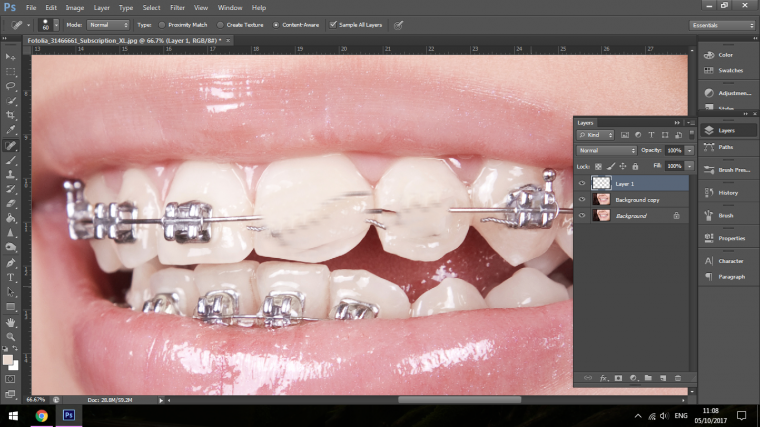
Ok so now we’ll take a look at what the Brush can do.
So bare in mind that this will take a little bit of trial and error and you’ll see how I would do my work flow as I go along.
Create a new layer and click the eye icon in the layers panel for the example Clone and Spot Healing demonstrations.
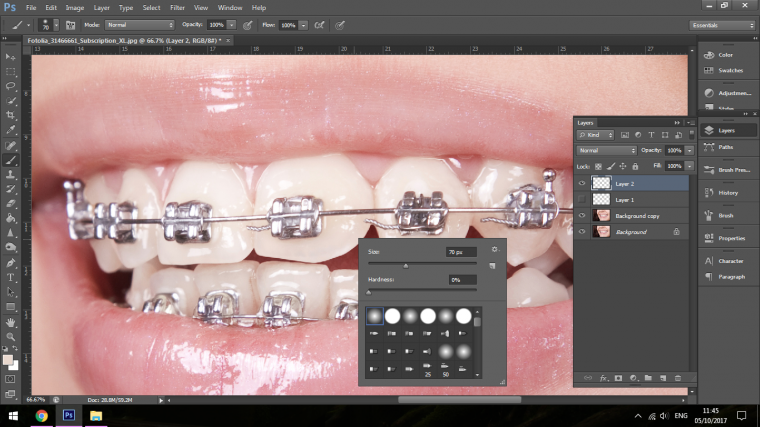
Now, activate your Brush Tool as shown below.
Now right click on the screen and a brush options panel will appear, choose the first brush on the list, this is your soft brush which is good for blending.
Create yourself a new layer.
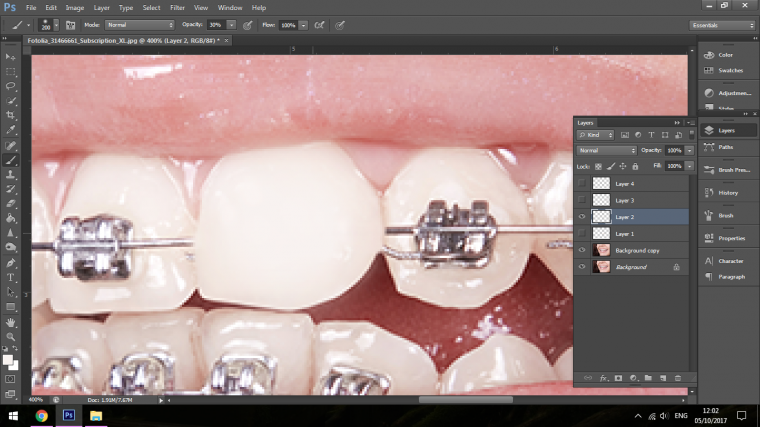
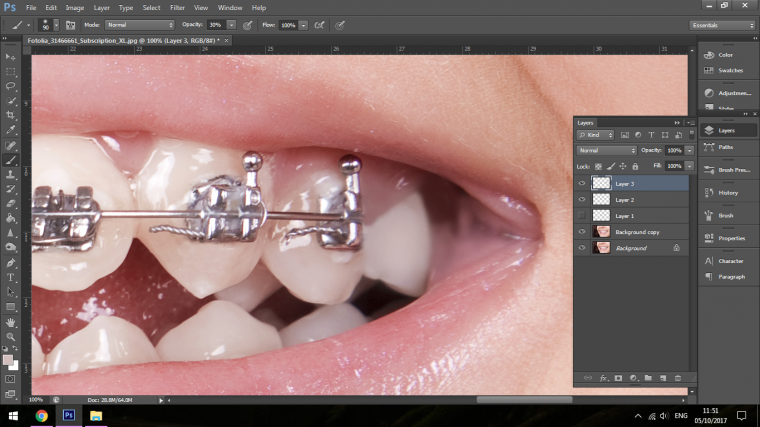
Now what you have to do is to zoom in using the Ctrl Plus or Minus on your keyboard, then you hold Alt on the keyboard and click on your screen to sample the colour.
You want to sample right beside the area you are about to colour because the colours and shades will be relevant to the area you want to cover.
While I do this I never really use 100% opacity on my brush, now that’s not saying that I never use it but I like to build up layers with multiple clicking as I feel it gives me a better blend.
I also change the size of my brush as for what the situation calls for.
Some areas will be more difficult than others so just try your best as you may have to have a few goes, any areas you don’t like you can simply erase them and start again.
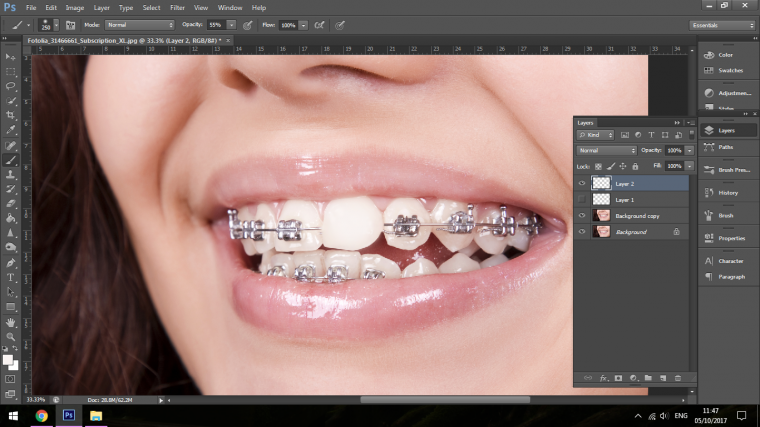
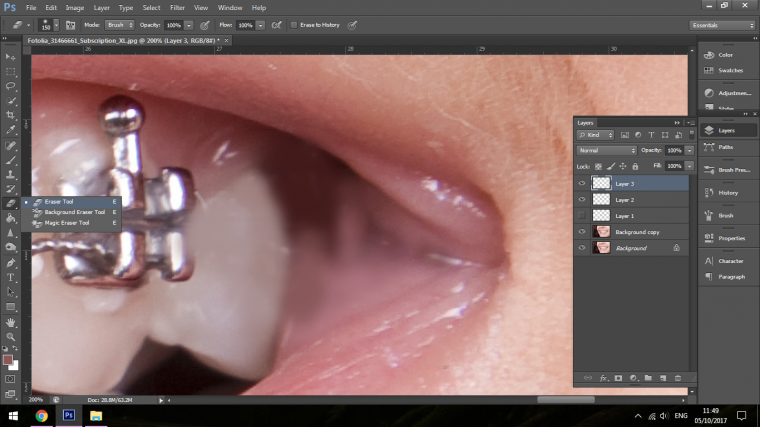
The last thing I do is I create a new layer over, then I usually give a click of bright white in the centre of the tooth, my brush would be about the size of the tooth.
Then I drop the opacity of the layer till it looks natural then I’ll erase using multiple clicks with my eraser tool set on about 60%.
I’ll end here as each tooth is the exact same process, so take your time and best of luck.
Graduated from college in 2002 with a degree in Art & Design, I started exploring my way in Graphic Design and Professional Post Production. Full-time freelancer since 2011.


 Facebook
 Google +
Comments (0)
There are no comments yet.