Hi everyone today for my Photoshop Tutorial I’m going to be taking a look at how to make anyone bald using Photoshop, I was inspired to do this by recently watching superman again with Lex Luther, and I was thinking that for an actor, wouldn’t it be great to have a portfolio of Images of yourself in different costumes etc, so that if you were to use it to try to get a job the employer could see you in different looks…So then I thought! ah! haircuts as well would be great, and as you well know, unless you’re going to take a few years or buy some expensive wigs to achieve a portfolio with all these different haircuts such as the one I’m thinking of, then why don’t we just use the power of Photoshop to do it for us, and if we do it in a realistic way, which is how I’m going to show you then that would be great. Who knows they may even ask how they got so many different haircuts, and the person with the portfolio could say I got this awesome photoshopper to do it for me you should hire them if you need some Photoshop work done.Ok so for this one, of course, we’ll be making someone bald as the title says.(Check Out Our Photoshop Actions)
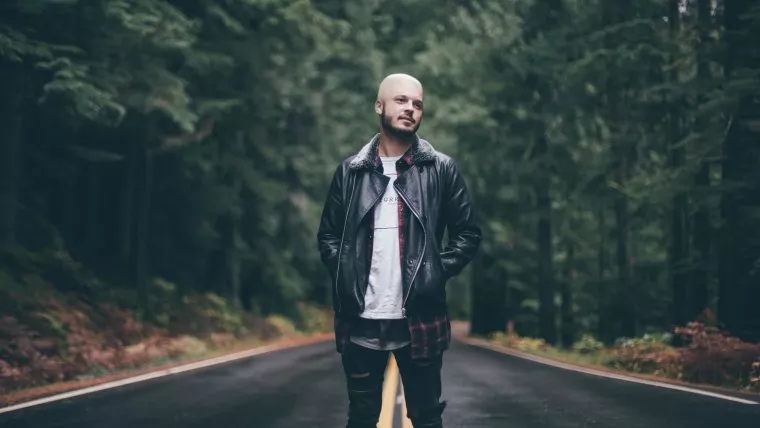
So let’s get ourselves a suitable image.
Here is mine.
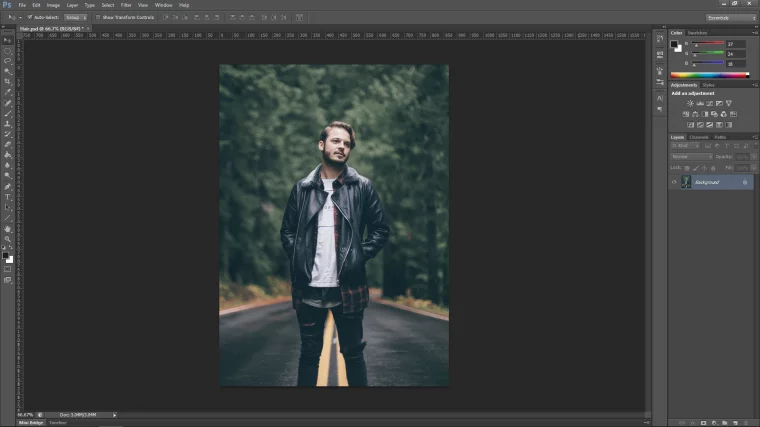
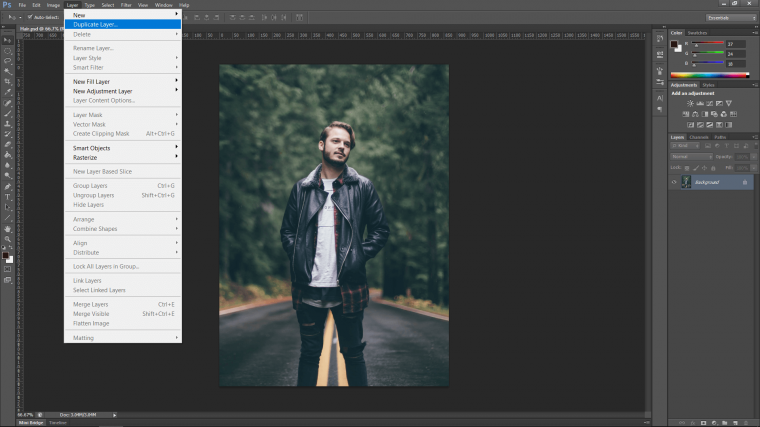
So the first thing that I’m going to do is to make a Duplicate Layer.
Go to Layer – Duplicate Layer
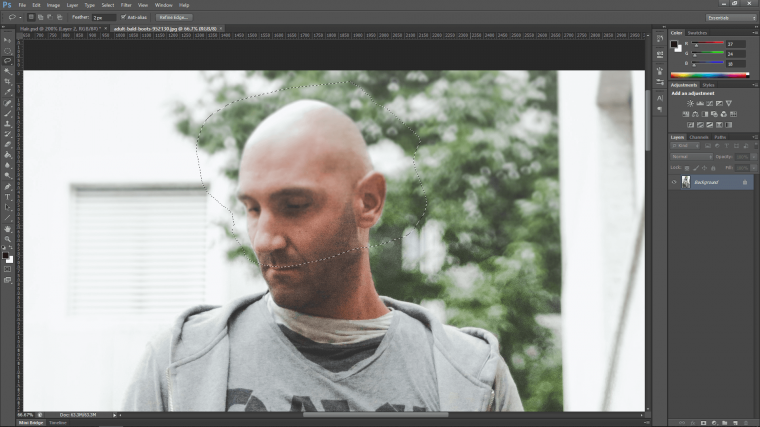
Then grab yourself the Lasso Tool so that we can make a loose selection around the head, nothing crazy, just a quick one.
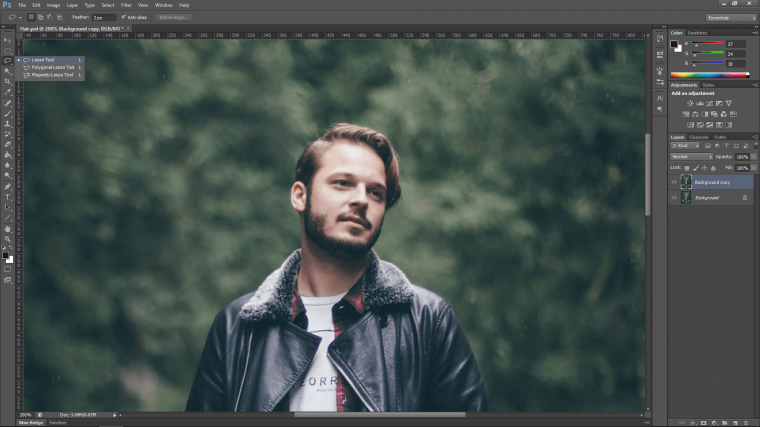
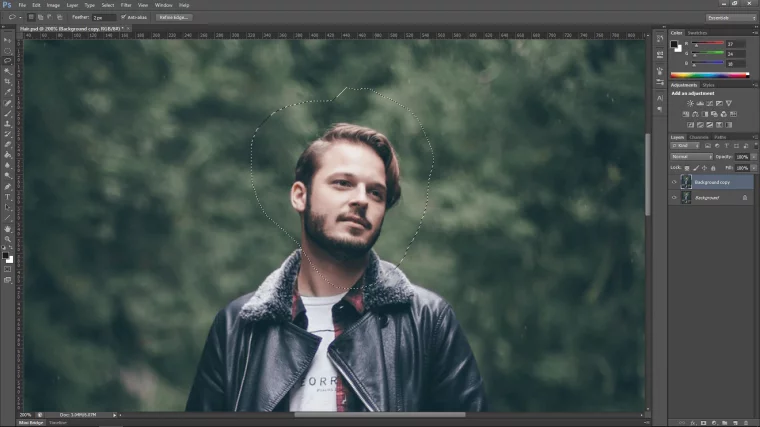
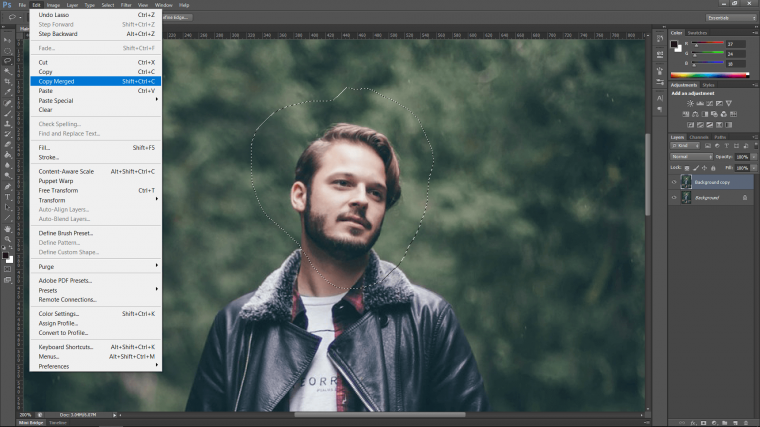
Once you do that, copy it and paste it.
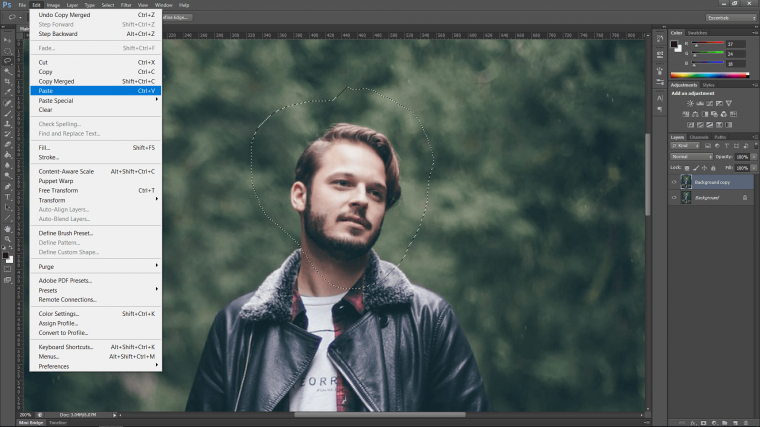
It should be on top but if not you can simply click on the layer over on the right hand side there and drag it to the top, easy.
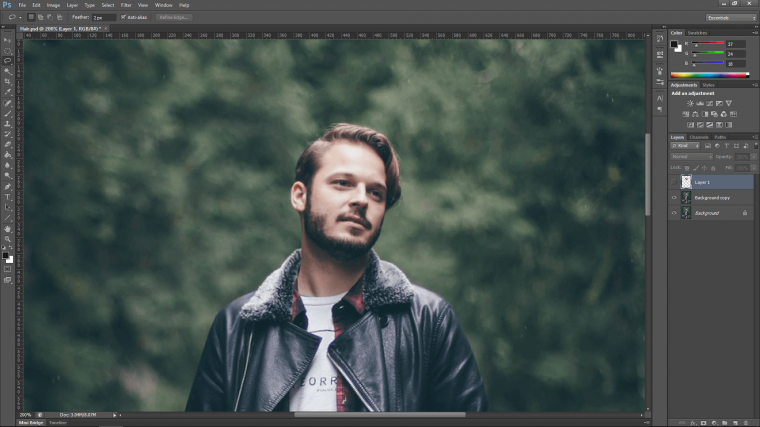
Ok, now click on the duplicate layer so that it’s activated on your layers panel, so that’s the same place I was talking about for moving the copy and pasted layer.
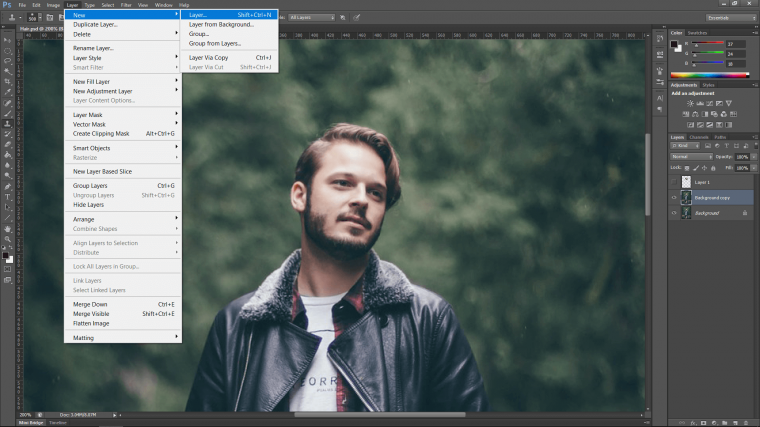
Go to Layer – New – Layer
Cool, now select your Clone Tool and then we’ll talk about how to use it and what all it does.
So you can either press S on your keyboard or have a look below on the left to see where it is.
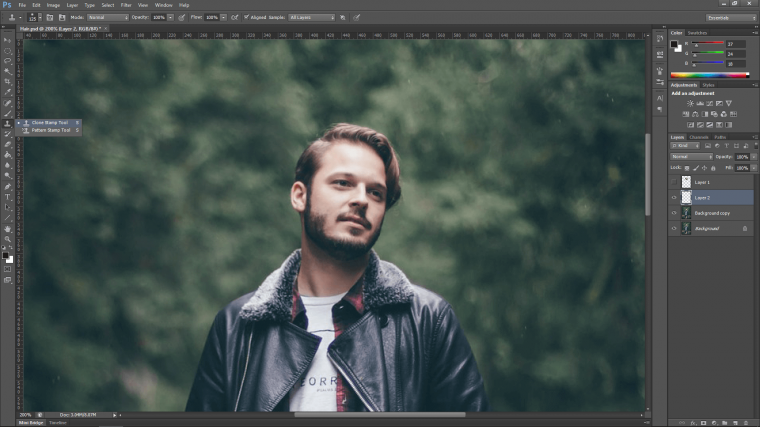
At the top bar roughly in the middle there will be a little drop box there that you can click on to change up a few options if you wish, we do, change it to ‘All Layers’

When you do this turn your attention back to the layers on the right-hand side, you’ll see there are these curious little eye icons beside the layers, well by click these on and off by just clicking on the eye or the box when it’s away you will either hide and bring back the layers visibility.
So for now, click the top layer off, then make sure to click onto the second layer down as shown below.
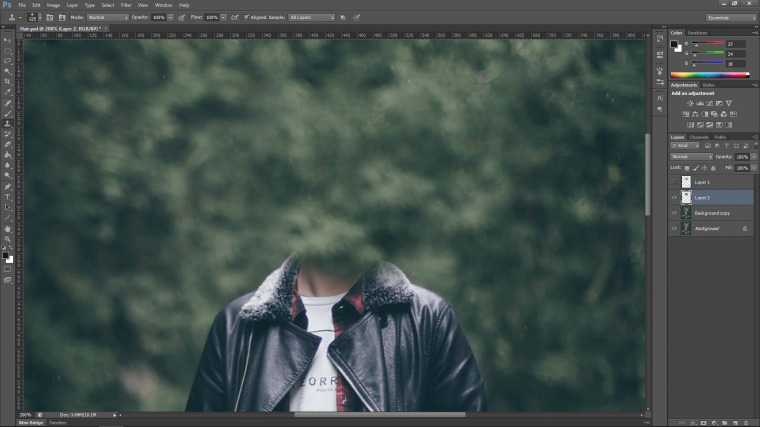
Then with this tool, you press and hold Alt on your keyboard and choose an area that would look good as a replacement over the head, you can do this with several areas to mix and match as I have done below.
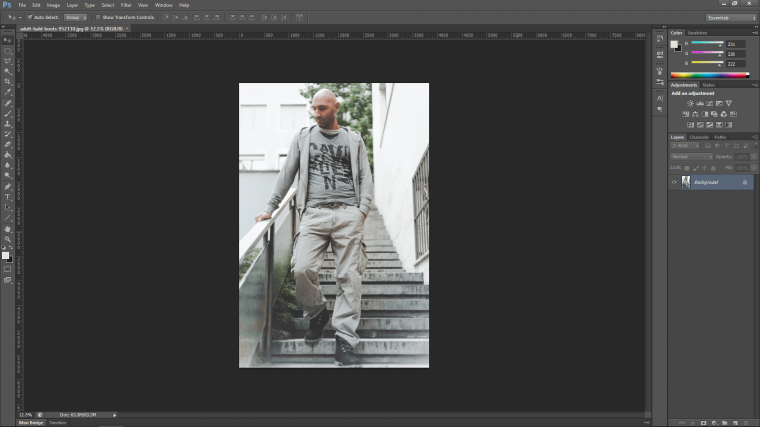
Next, you’ll have to find an image that we can use to replace the hair with.
So now you’ll be looking for an image of a person with no hair that you could use to match your image, this may take you several times for finding this image, keep in mind you need to find the same angle and lighting if possible, angle over lighting mostly, we can fix the lighting if we have to!
It’s not exactly going to fit perfectly right away but I’m going to show you a little trick [aka standard Photoshop technique] to get the heads to match.
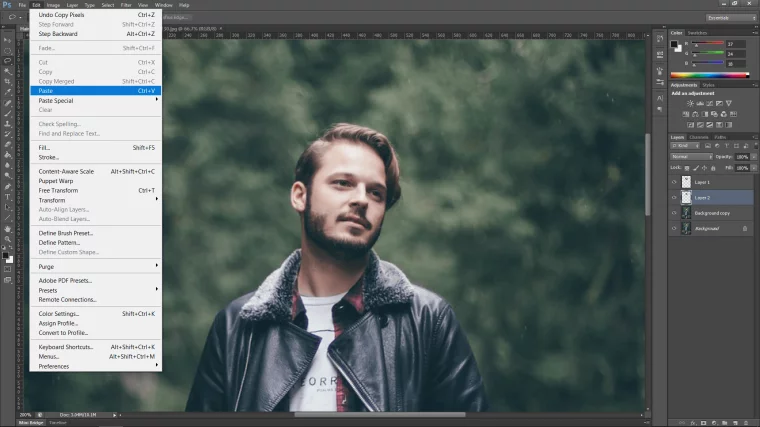
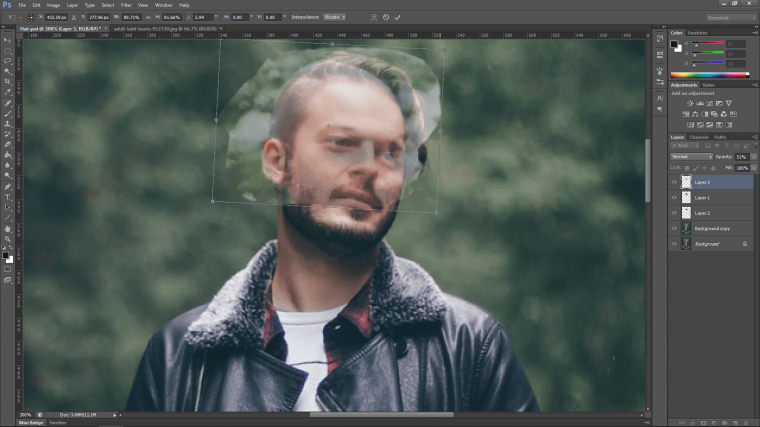
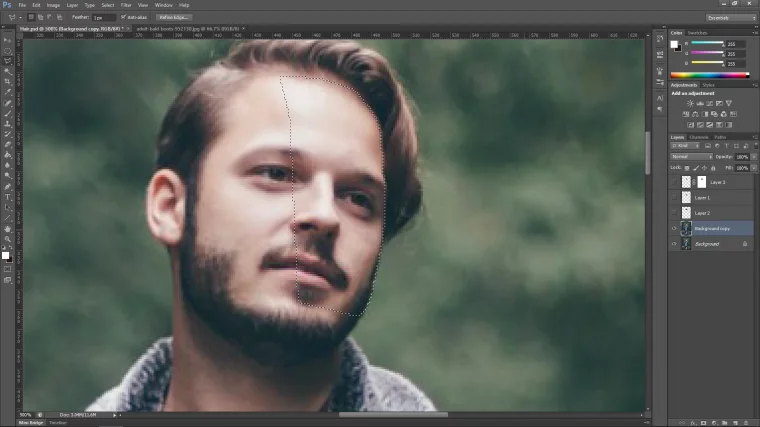
Now we have our Image, which I’m sure you have to take a few minutes to find as we have to have something that at least 80% fits the lighting and position of the head, so first I have to create a selection again, so remember to create a selection around the head exactly like we did before, grab your Lasso Tool, make your quick selection around the head that you are going to be using to replace the hair, and copy and paste just like before only this time paste it into your main image.
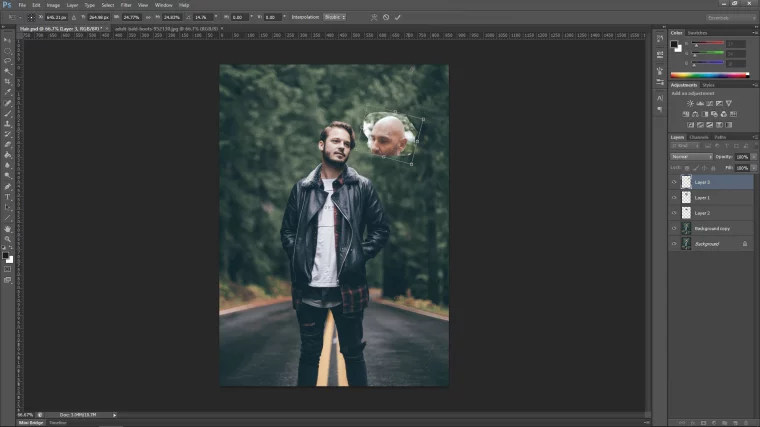
Now we have to start to adjust the new image.
So key in on your keyboard Ctrl T to activate Free Transform, when you do this you will notice marking appear around the image, this will let you adjust the size of the image, don’t bother with the markings on the edge of the image, use the ones on the top and side middle.
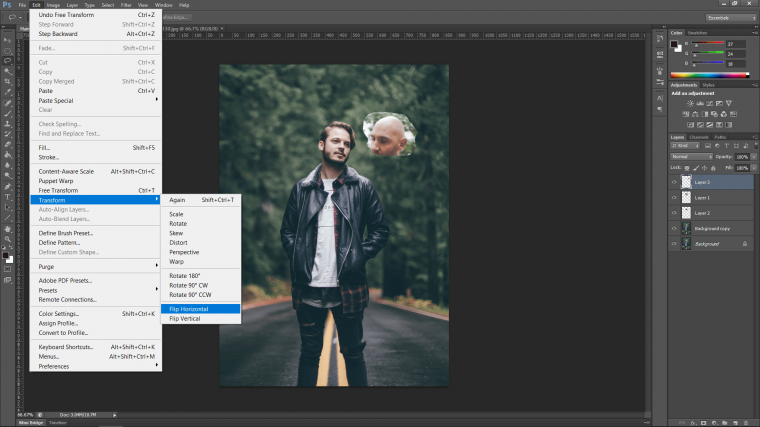
If you have to you can go to Edit – Transform – Flip Horizontal
Next, you’ll probably find it hard to see of course because your image is at full capacity, well to sort this out you have to drop the opacity of the layer, so what’s that mean? well in case you don’t know opacity just means how see through the image is, so when you click on the layer over on the right-hand side there just above it in the layers panel you will see the word ‘Opacity’ with 100% beside it, so click on that and you will be able to lower the opacity to something more manageable to place your image.
When you’re done and you’ve almost got it lined up you can return the opacity to 100%
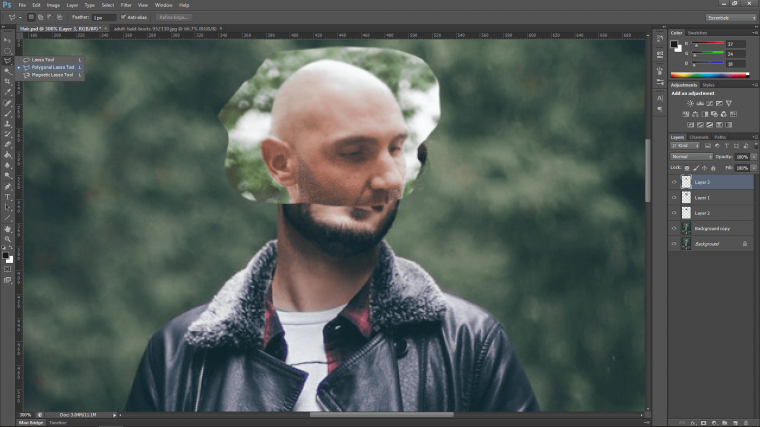
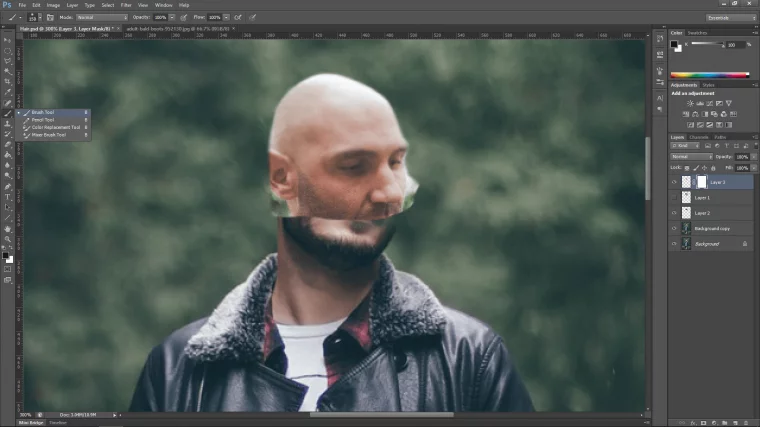
So take note, you want to match up at least the bottom of the forehead with the eyebrow, a little higher is fine too, you also want to match up the bit at the back of the head that contacts the top of the ear too, the res we can play within a little bit, but for now we’re going to get rid of the background on that layer with the bald head.
So instead of using the Lasso, we’re going to use the Polygonal Tool instead.
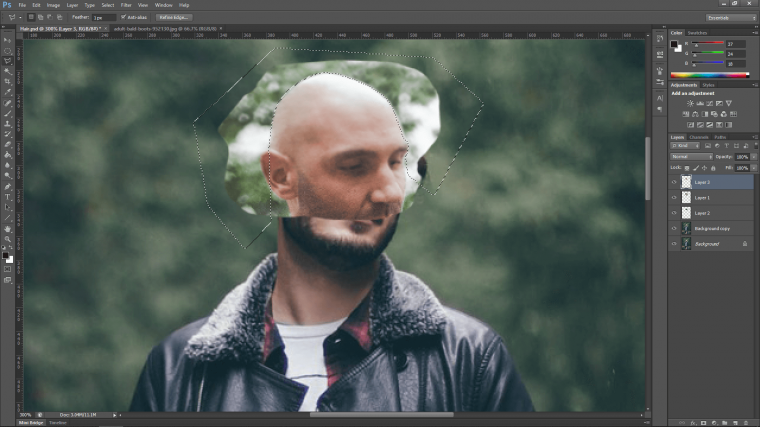
The way to use this tool is to just to continue to click drawing a selection around the head following it, then at the end, you click where you started to create the selection.
Make sure to create your selection on the outside of the head so you are selecting the background.
When you’re happy then go to Layer – Layer Mask – Reveal All
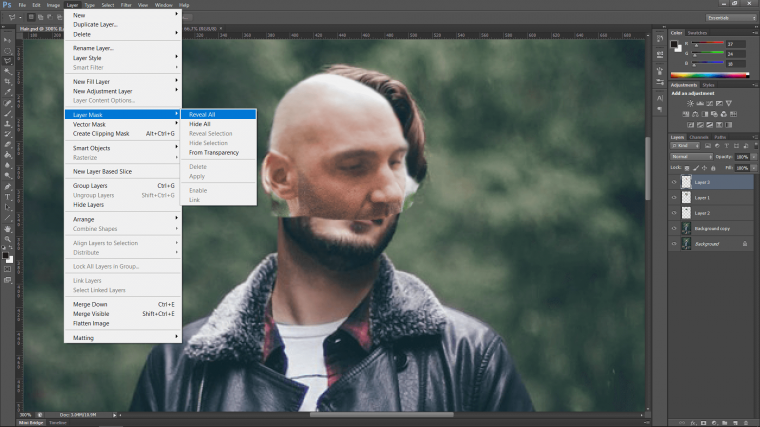
when you do this you will see a little thumbnail or a white rectangle appear next to your images layer on the right.
Click on the white rectangle, then click on the brush tool with black selected and paint the background out. [note that if you change to white on your brush tool doing the same action your will ‘paint’ the image back in, so black hides, white reveals.
Cool, now we’re getting close, by now your image should be looking just like my image below does with the replacement head over the top of the original.
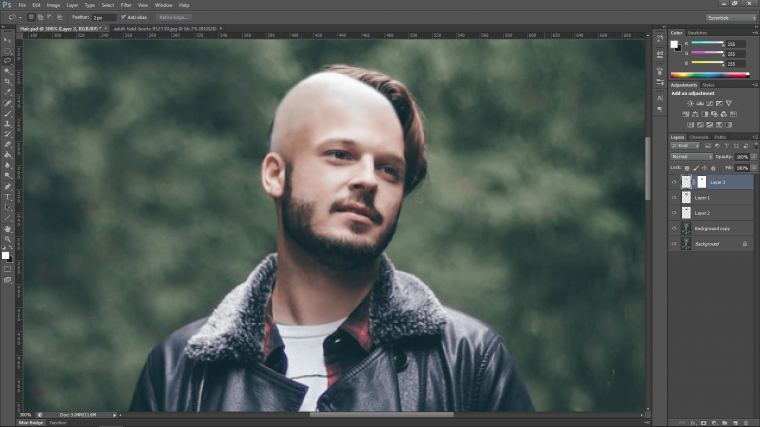
Now we have to make a selection of the original face, because we are going to paste this on top of everything, so this will be the very top layer, if you have to click and drag it to the top then all good, but just make sure it’s the top layer.
Then hide the layer that had the original head copy we made at the start so that the only layers you see if the face, and top of the head layer above the cloned layer of the background, you may need to use the reveal all technique on the cloned background part in case we have parts of the head missing.
Then I’m going to hold Shift, Ctrl and Alt on my keyboard and press E to create a stamp of the full image.
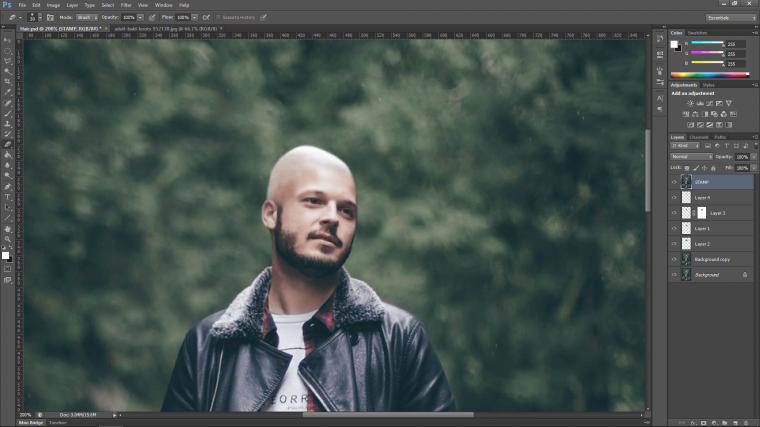
When I do that I’m going to fix up the last little shape issues using the liquefy tool.
Go to Filter – Liquify
Zoom in using the magnifying glass, you’ll see it’s an icon on the right.
Then above that, there is a little icon of a finger that looks like it’s smudging something, click it, and adjust it to similar size brush to head ratio that I have below, you can do this using the bracket keys on your keyboard.
The just subtlety click and drag the areas out, practice a little first to get a feel for it, then just hit Restore all on the right to reset and start again.
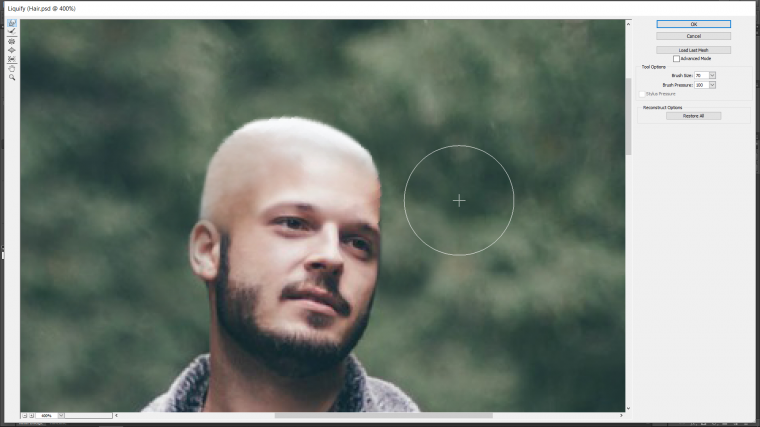
Click OK when you’re done 🙂 and you’re complete.
So my image was simple enough, as you get better you can apply this to more challenging ones if needs be.
Don’t forget to see this quick tutorial on how to Create a Photo Mosaic in Photoshop.


Please verify your software version before proceeding.
 I’ve verified my software version


 Facebook
 Google +
Comments (0)
There are no comments yet.