How to Crop out Models with Curly Hair in Photoshopwww.sleeklens.com
Today, I’m going to be introducing a whole new range of Tutorials as Sleeklens has started to branch out from only selling Lightroom Products, to bringing in a whole other section of Photoshop Products. So if you’re interested in those, definitely have a scan and check it out on your path to improvement.
For this tutorial, I’m going to be looking at how to crop people out of photos with difficult hair (in terms of Photoshop editing), so I’ll be showing you exactly how I go about this.
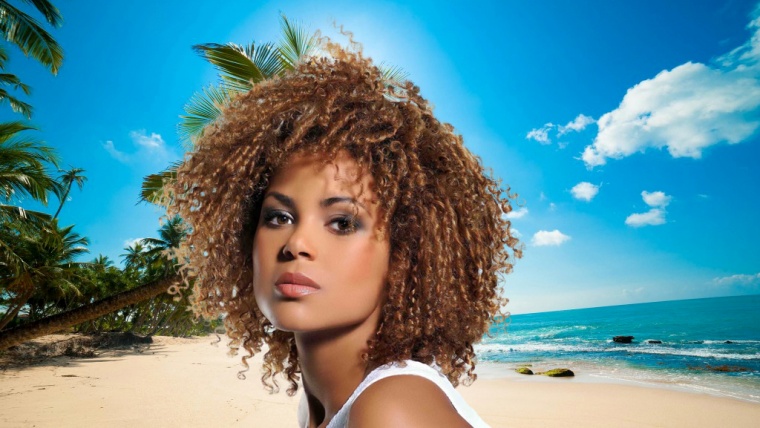
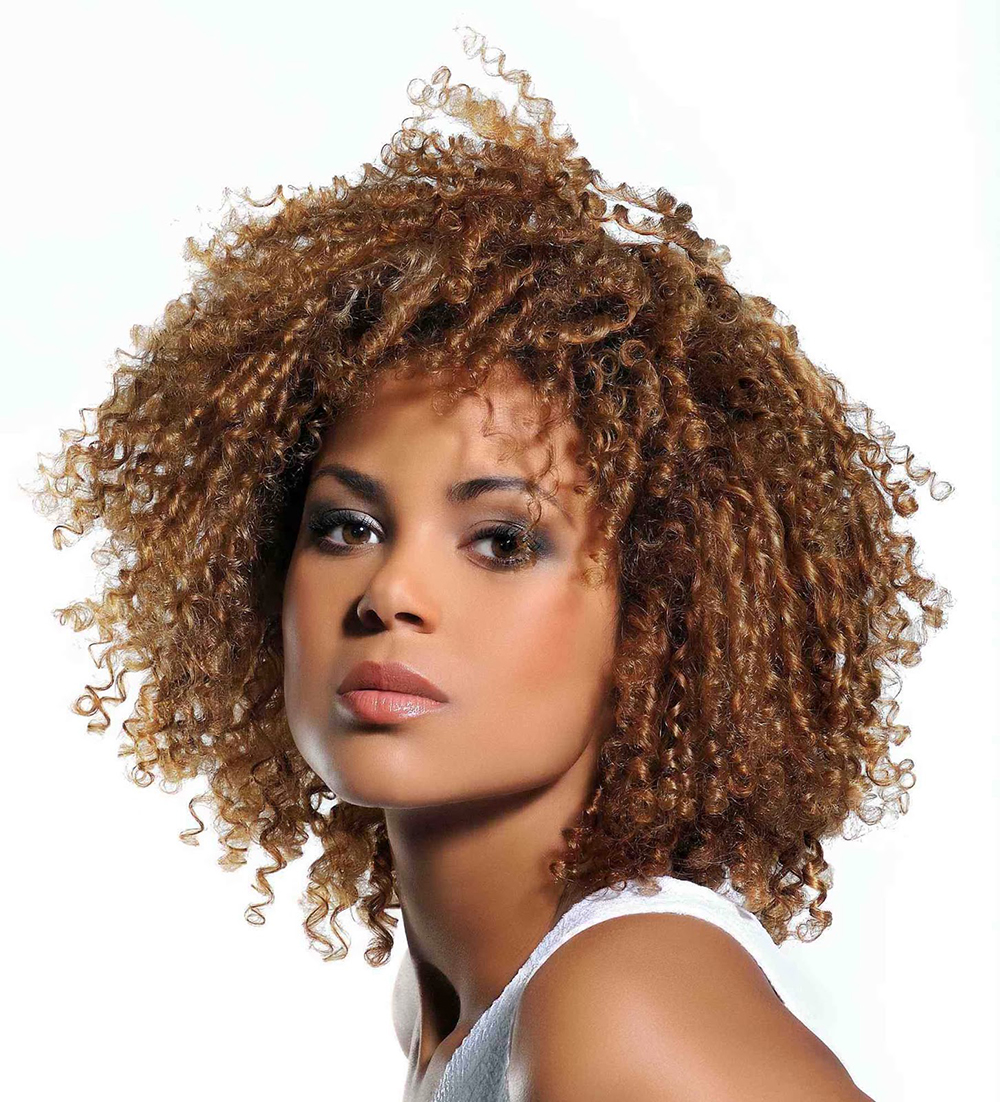
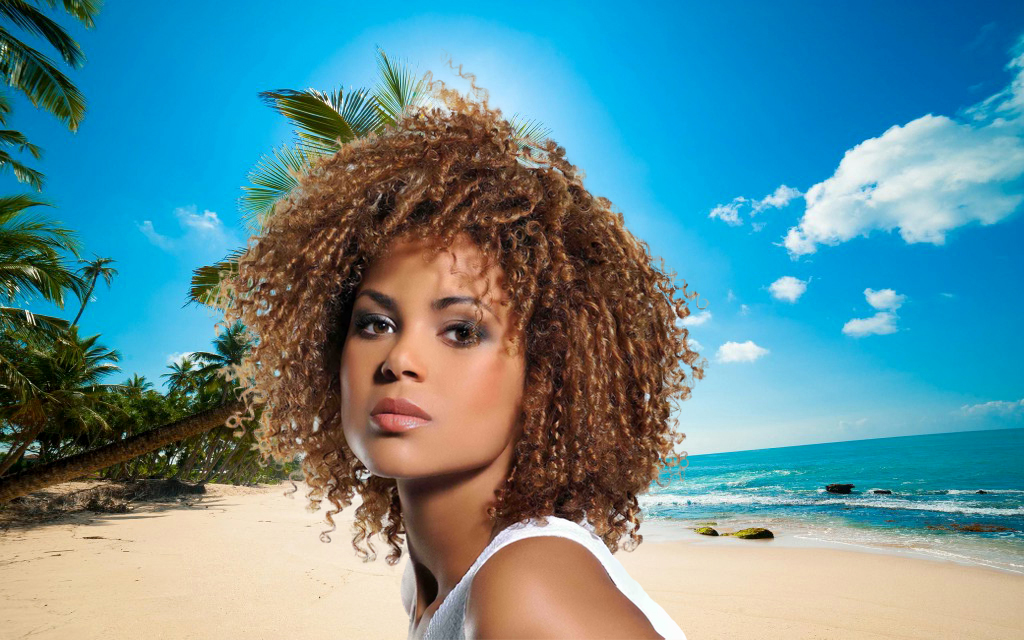
What I’m going to do is crop the Model out from the white background, as models are usually shot on a plain background. Then, add her to the Beach Scene below that’s imitating an advertisement.
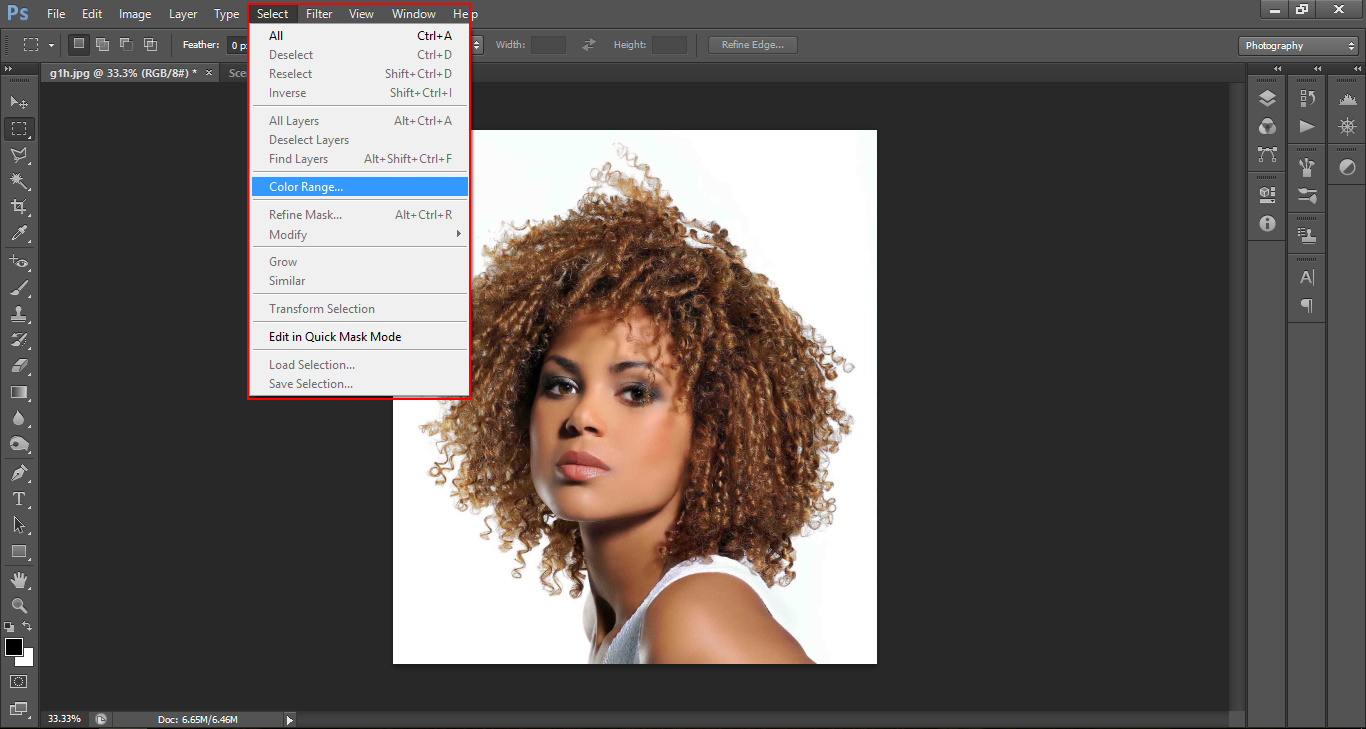
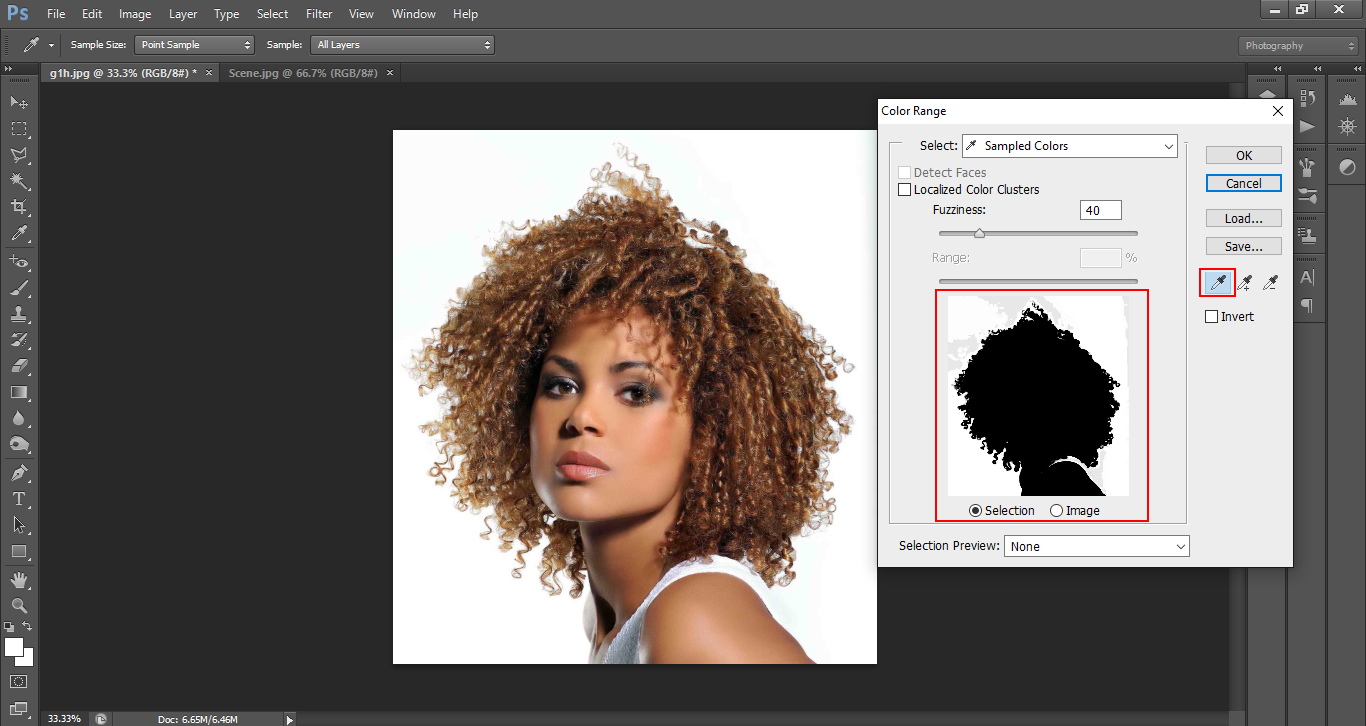
First, open Select in the top selection panel and click on Color Range.
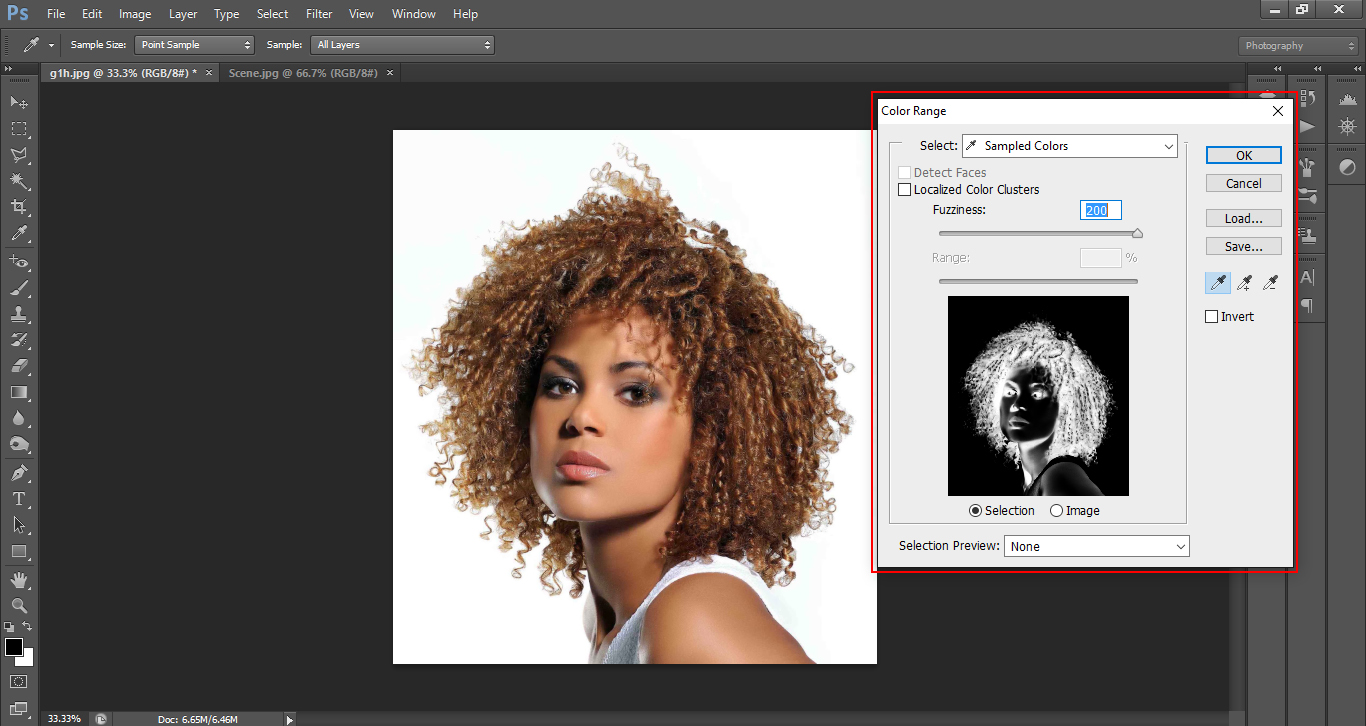
Once you have those panels on the screen, your arrow key will now be represented with an Eye Dropper Tool.
You can select the background of your model in 1 of two ways, 1 – you can select the background on the screen or 2 – you can use the black and white picture in the selection panel.
As in my picture, you may need to add to your selection if you haven’t quite got the full background right away. To do that, you can either hold down Shift or click on the Eye Dropper icon indicating + and keep adding to get as much of the background as possible.
For models with curly hair I’ve found that keeping the Fuzziness and Range around 100 usually works out pretty good for me, but you may have to do a little trial and error for this, as I may have to do myself with this very picture.
Now we want to select the model, which is easy, click on Invertand that will reverse the selection and you’ll now have the model selected.
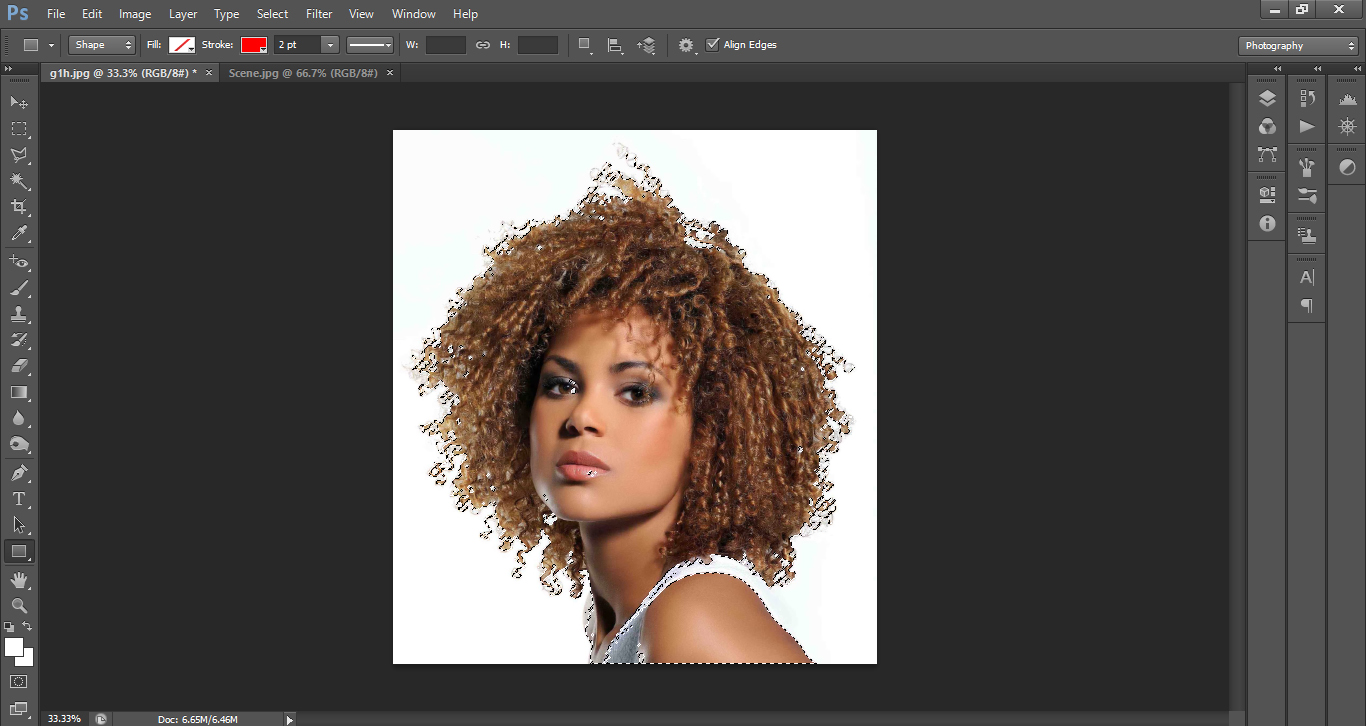
Click ok.
All good so far, if you see parts of the model that have not yet been selected, don’t worry about it right now, we’ll sort all that out shortly.
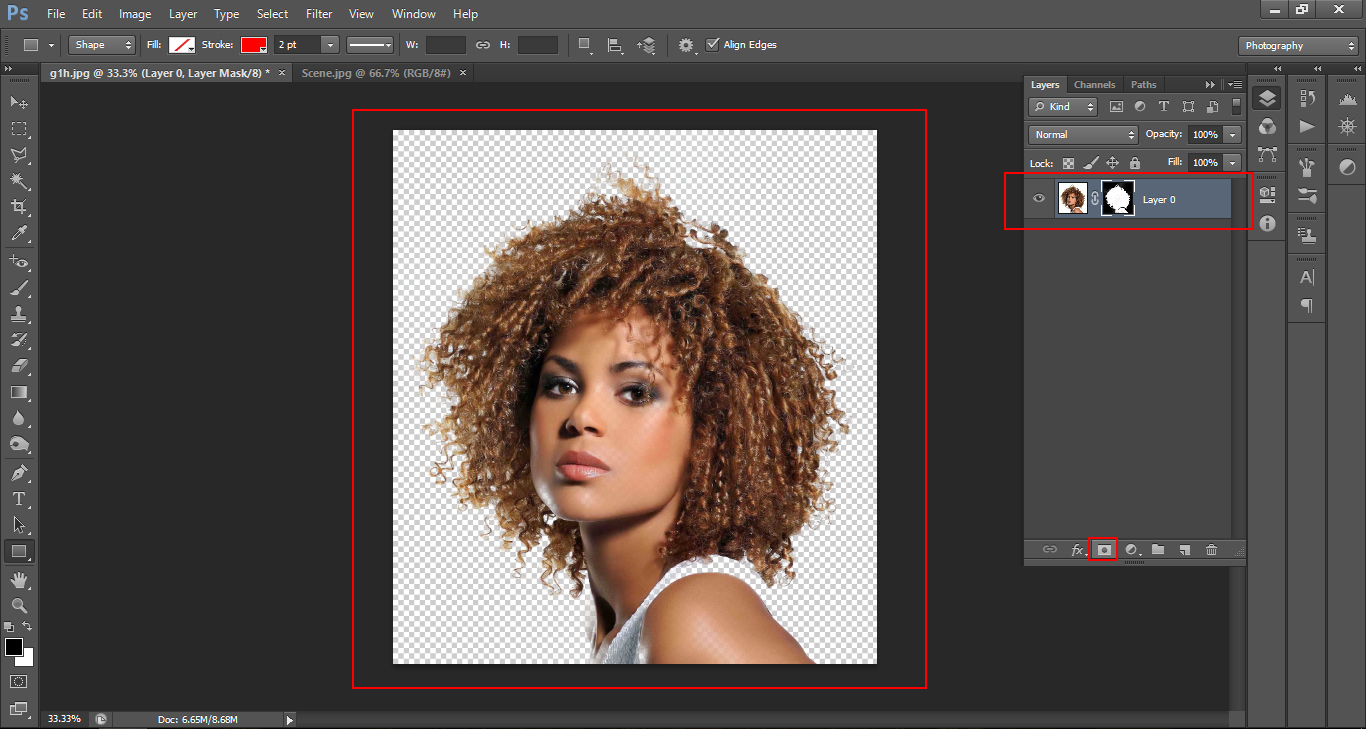
Open up your Layers Panel at the bottom and click on Layer Mask indicated in the Picture below.
With the selection you may notice that there are parts missing, like in my image around the shoulders, the white straps are gone. There are two ways to fix this, 1. is you can cut that area out using the Polygonal Lasso Tool which I’m not going to use for this, but will pop up in future tutorials.
2. is using the mask.
This sounds complicated, but really it is not.
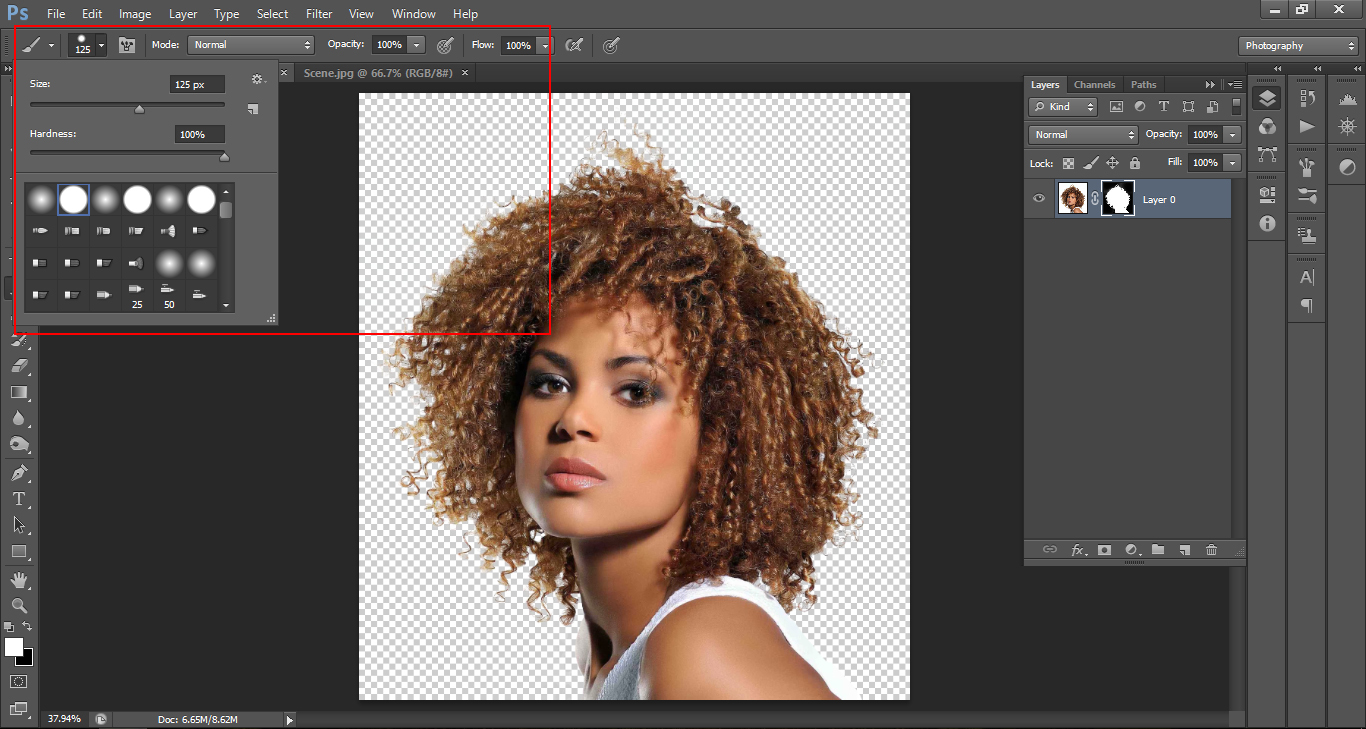
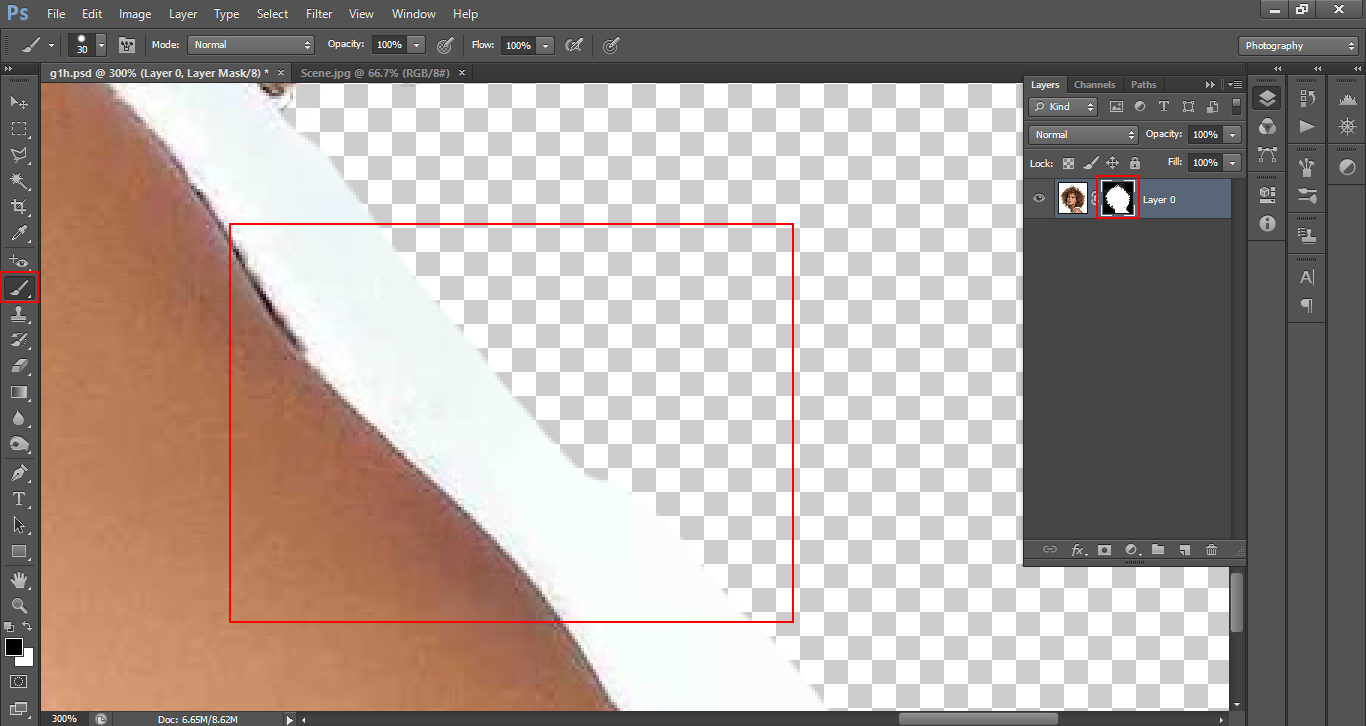
When you click on the Black and White image in the Layer Panel you have activated the mask, using the Paint Brush Tool (B to select) and painting Black onto that will erase the areas, and painting white on will bring them back.
I suggest taking a little bit of time and care over this to really iron out the kinks.
Areas I’m going to be painting White on will be the inner face, being careful not to go too far into the hair, as to bring back the background.
I’ll be reforming the shoulders and bringing back the strap of her top, I’ll also be looking for any other areas to fix as I go along.
I would also suggest keeping the opacity on your Brush up 100% and keep it on a Sharp Brush.
To further refine my mask, I’m going to hold Alt and Click on it, changing to Black and white on my Screen and paint further into it using White on the Model and Black on the Background.
Once you are happy with that, it doesn’t have to be insanely accurate, but close enough, though this is down to how refined you want it to be and as I said previously, this is a learning process so you may need to try several as you go along.
Once that’s done, hold Alt and click on the mask again to bring back your photographic image.
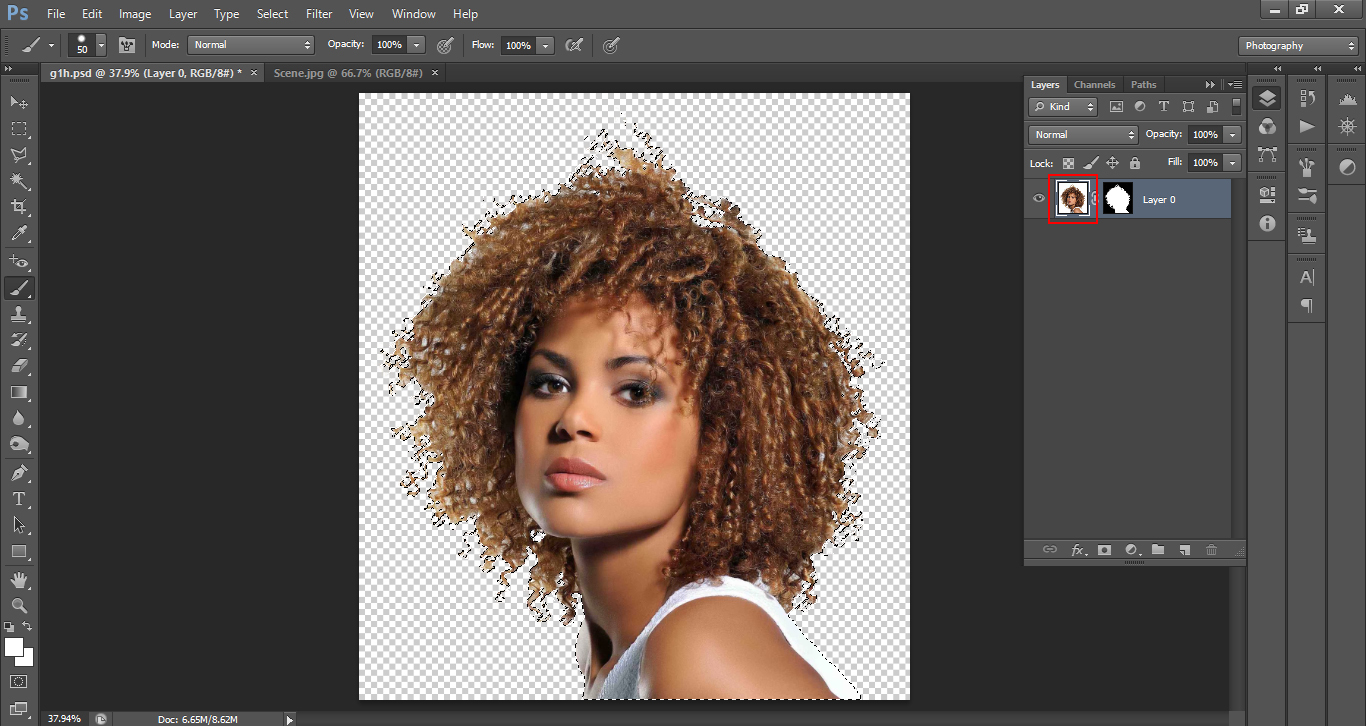
Then, Hold the Ctrl Key (Command on Mac) and click on the mask again to select your image again.
Then click on the image of the Model.
Then Key in Ctrl J (Command J on the Mac) and that will duplicate the layer of the model with no background.
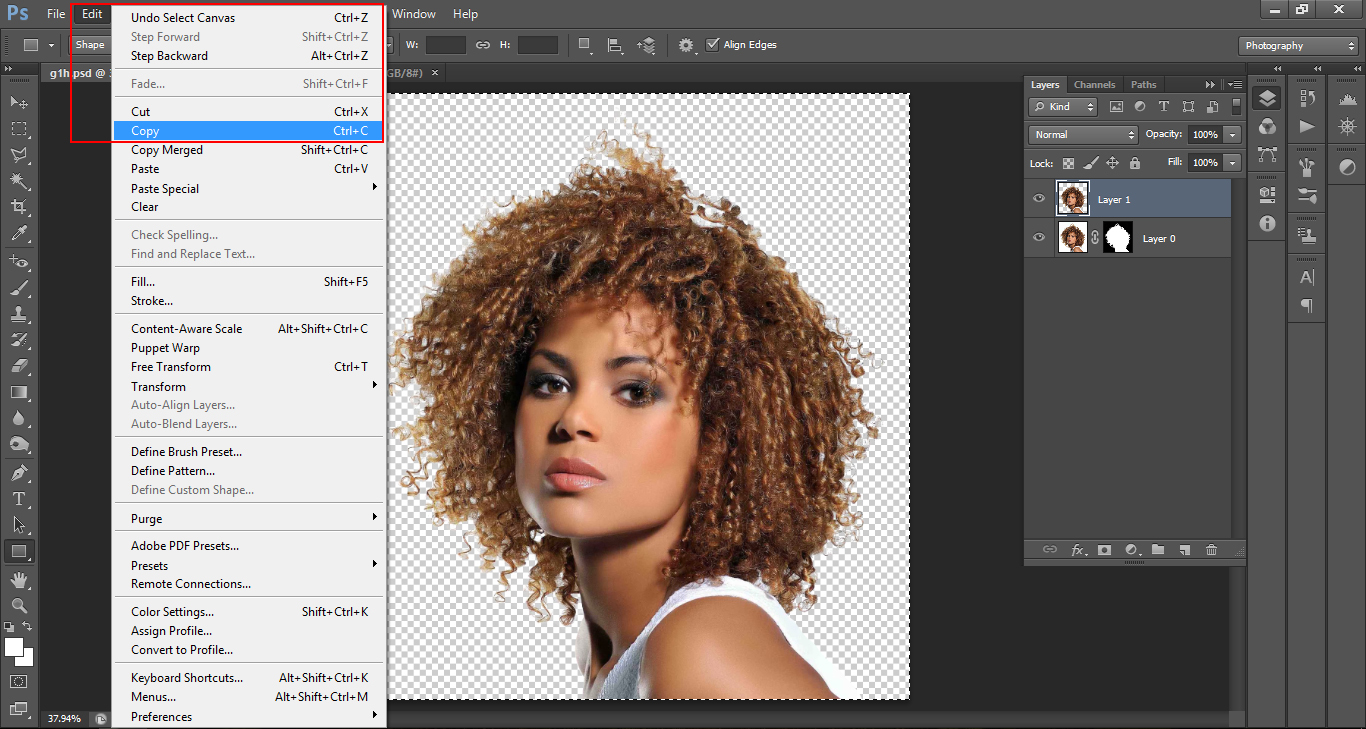
Go to Select – All.
Edit – Copy.
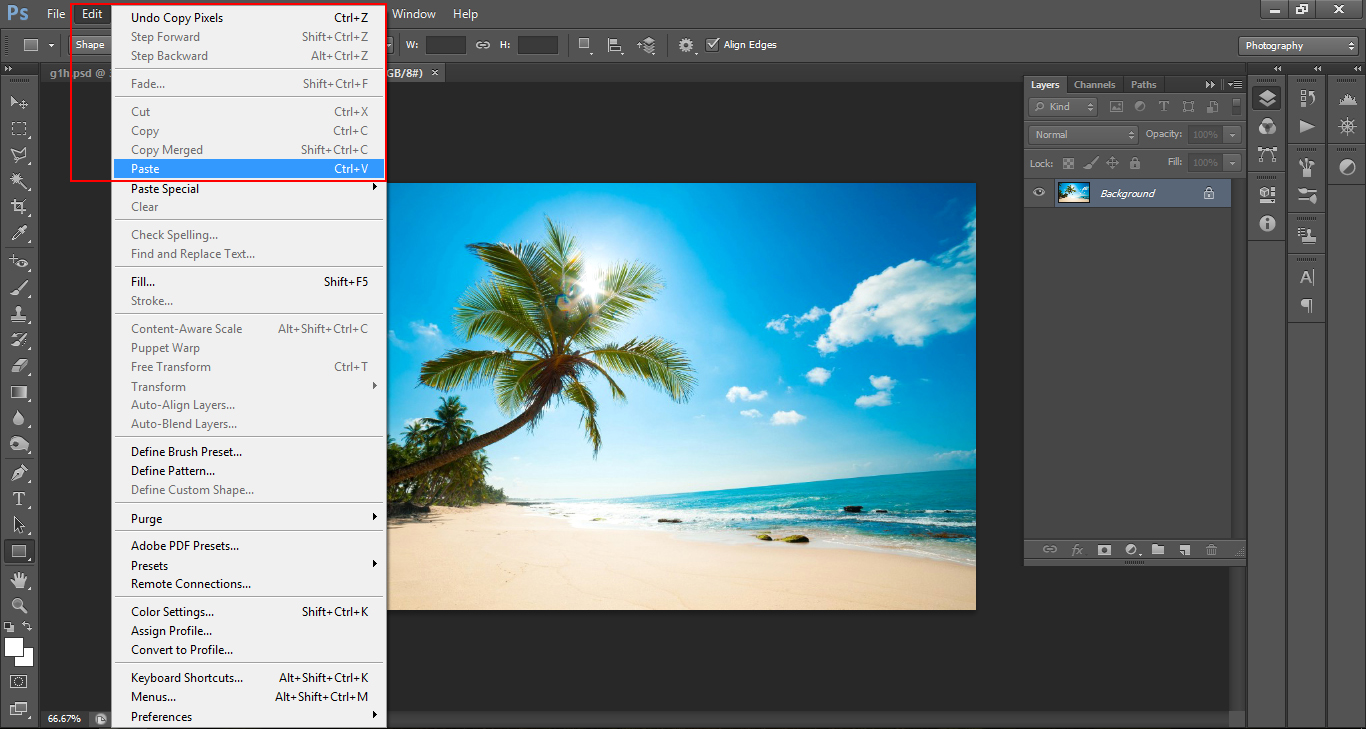
Then go to your other image and click on Edit – Paste.
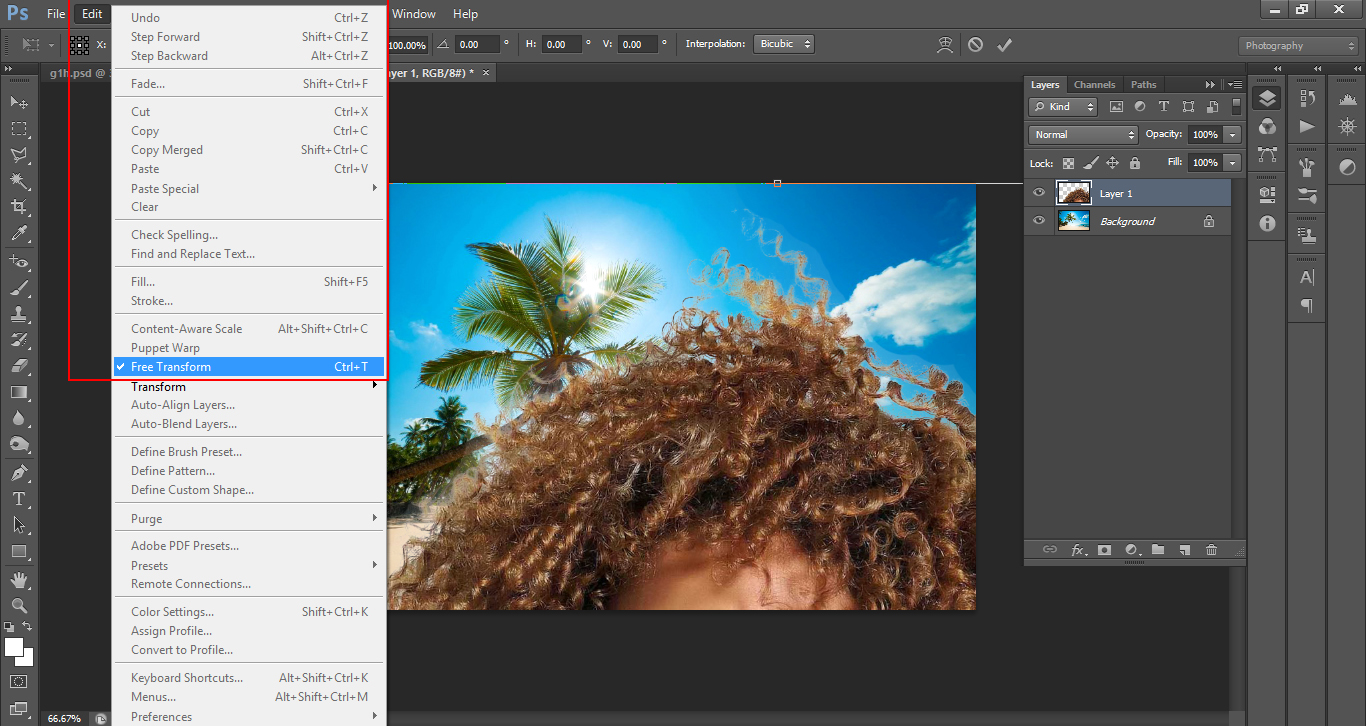
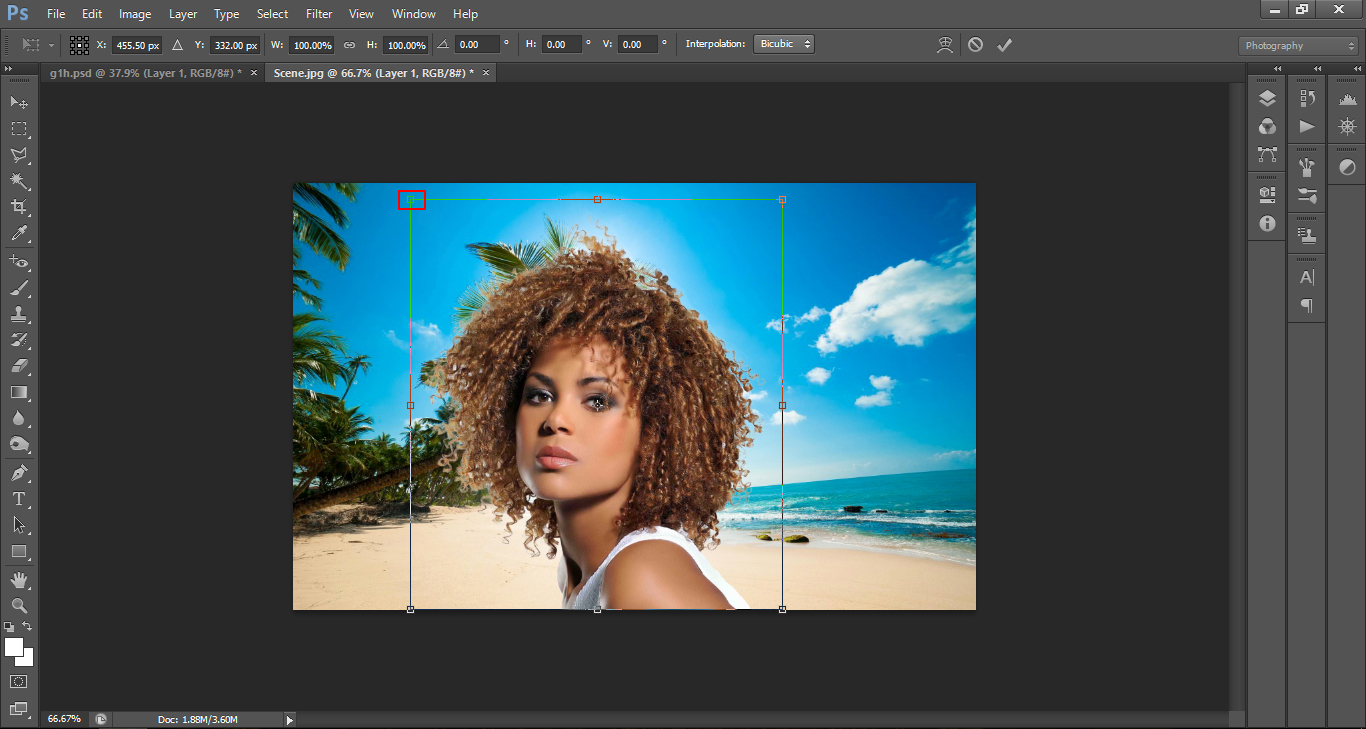
And once your image has been pasted go to Edit Free transform to re size.
To re size, click on the box indicated, hold Shift and move your cursor to change the size, repositioning the image where ever you see fit and press Return to Ok it.
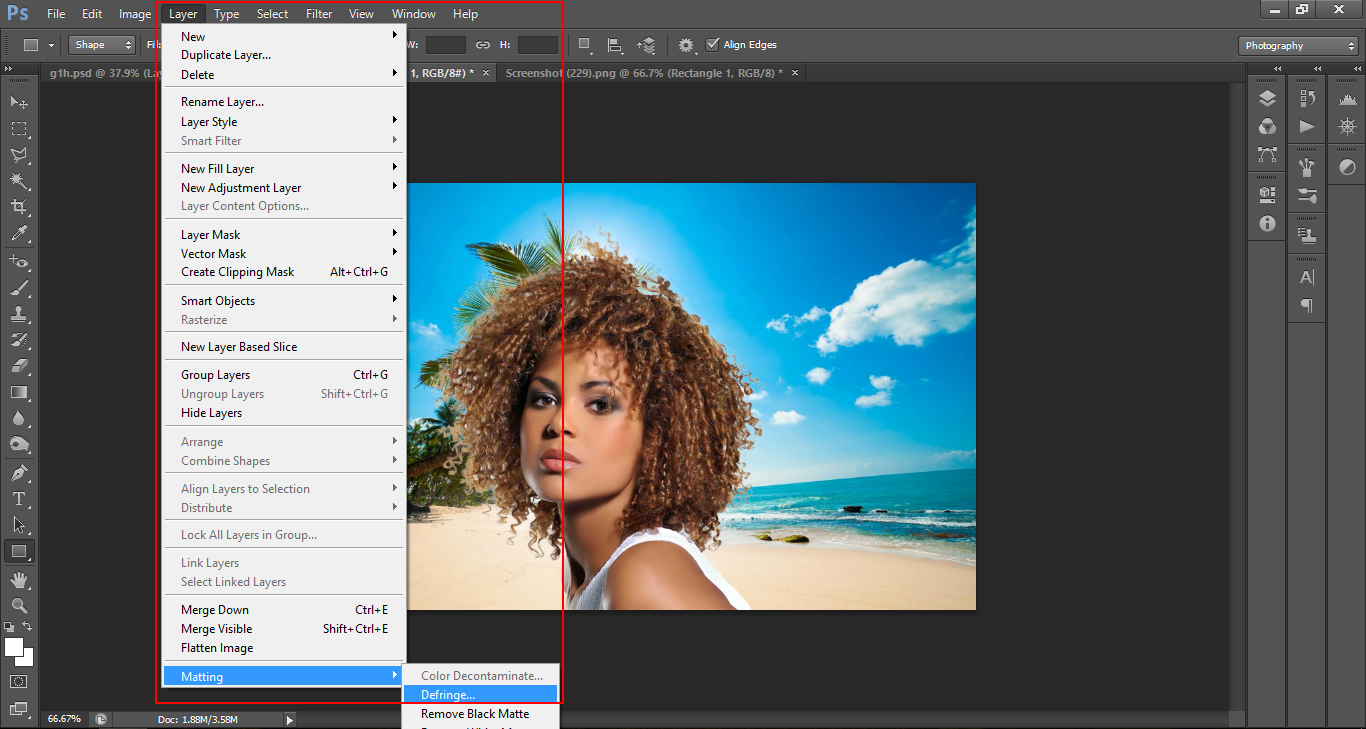
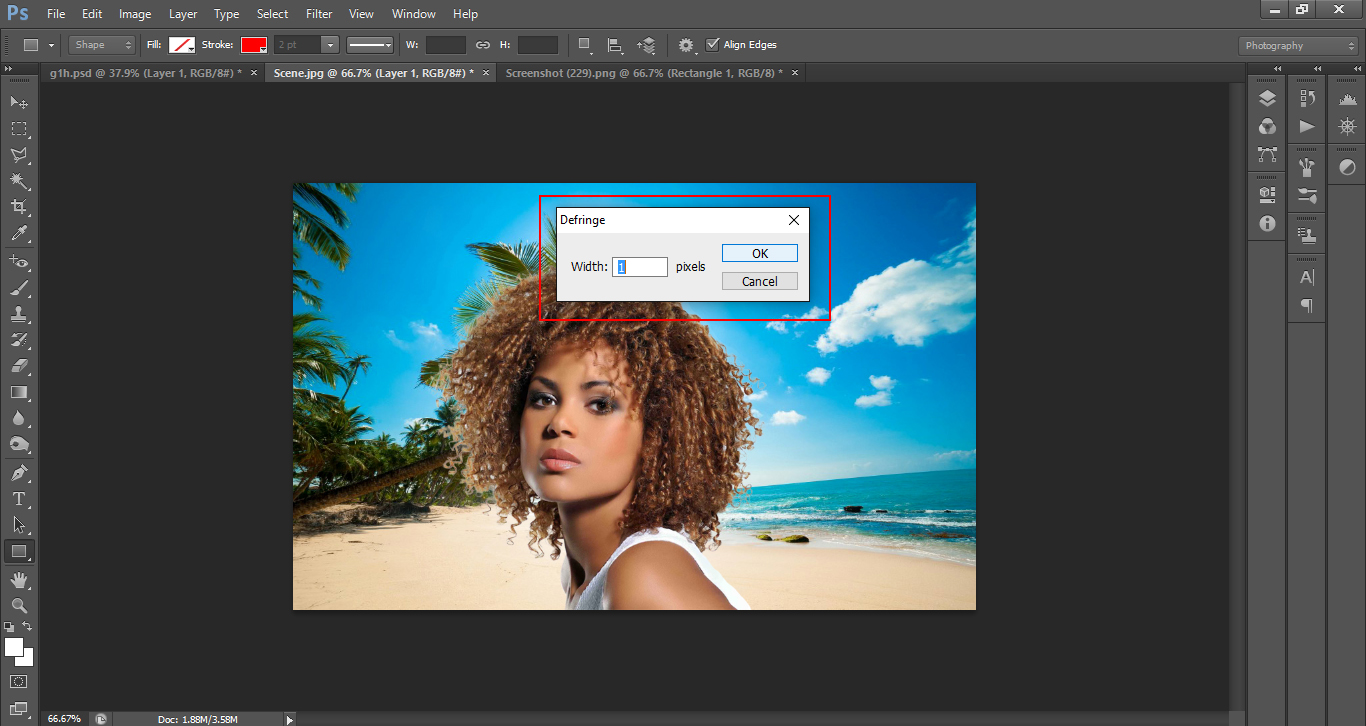
The last little touch I do to improve the image is to go to Layer – Mating – Defringe
1 Pixel should be fine and click ok.
You will now notice a little bit more volume has been added to the hair.
Graduated from college in 2002 with a degree in Art & Design, I started exploring my way in Graphic Design and Professional Post Production. Full-time freelancer since 2011.


 Facebook
 Google +
Comments (0)
There are no comments yet.