Hello there and welcome to my Photoshop Tutorial on how to make Brushes in Photoshop the practical way.
So to begin with I want to do a little intro for this, so if you don’t know how to create brush tools then this will be a very very good start for you, if you already do know how to create brush tools then maybe this will be of use to you as you may not have ever done things this way, so at the start when I didn’t really know how to use all the ‘advanced’ techniques in Photoshop I’d apply the practical thinking that I had developed doing Art, so I’d see images in Art and when I was trying to copy these images or whatever, not knowing the technical way to do it I would just make it up, so I just applied this thinking to my Photoshop work.
It started with doing hair, I tried all the different ways I was taught on how to fix up hair the technical way and I found that a lot of these were a waste of time for the work that I did, it maybe worked for one image and the very next image it wouldn’t work at all.
I started thinking surely there is a more practical way to do this, and that’s when I applied what I was talking about.
So the way I would do hair if I had to crop an image out is I would crop the easy bits as normal then I’d crop around the hair fitting it all in.
Then I’d quickly mask out the background with the mask biting into the hair to completely remove the background.
With that being done I’d then rebuild the hair using my Brush combined with the Clone Stamp Tool, I wouldn’t have just one Brush either, sometimes I’d use several, just whatever it took to get the job done even it was through a good bit of Trial and error but of course over time I got better and better to where now I’m very quick at this seemingly impossible task that originally I thought it was when I started out.
Ok so with all that being said let’s see how I would go about this.
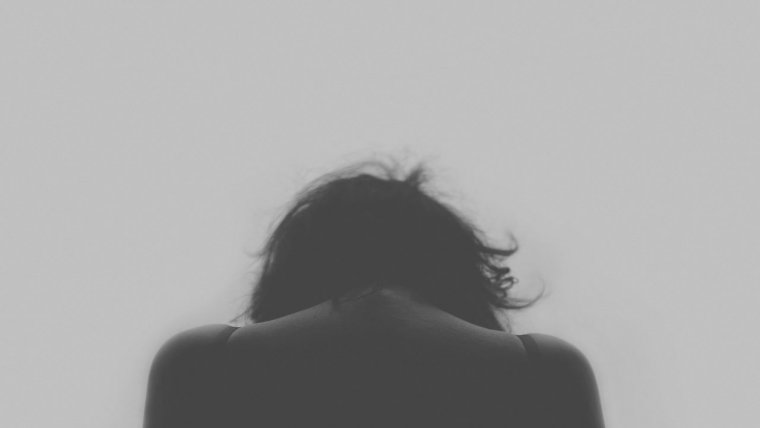
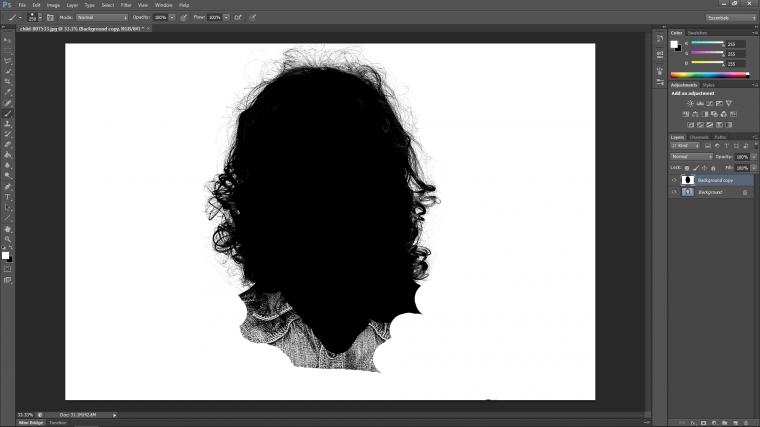
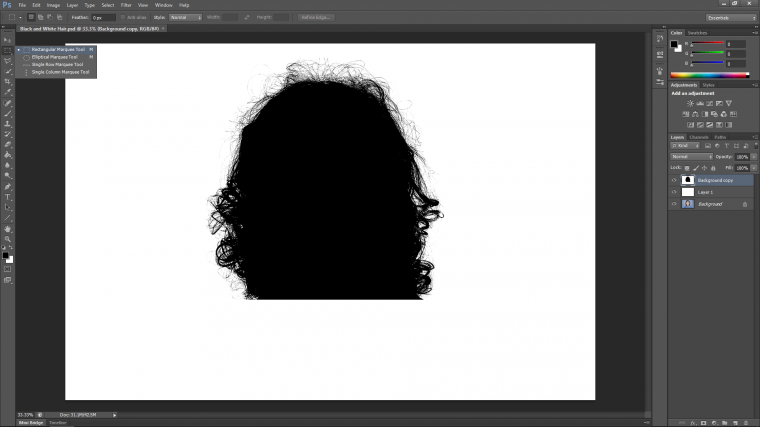
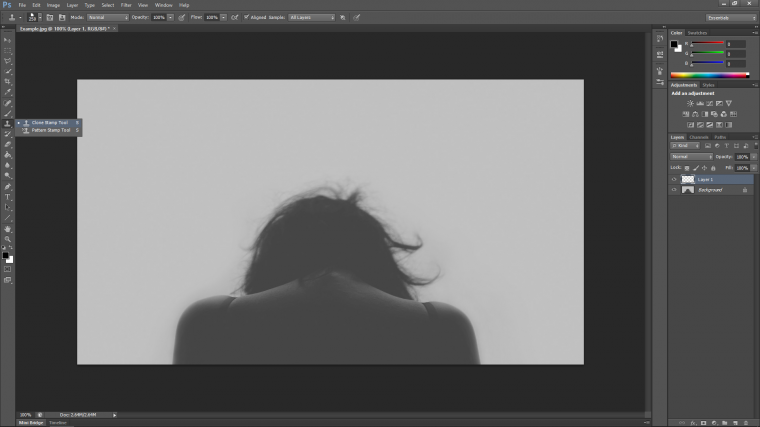
First imagine we have a job to do, which is to cut a person out from the background just as we talked about above.
![]()
So as you can see from this image there is a lot of stray hairs and it looks like it would be impossible.
Now I’m not going to show you how to do this here as this is about creating the Brush so check out the link below to get the idea.
My Solution to Cropping Long Hair in Photoshop
With that Tutorial, I used a Preset Brush and built the hair up a bit by bit but there are ways to do it using larger Brushes.
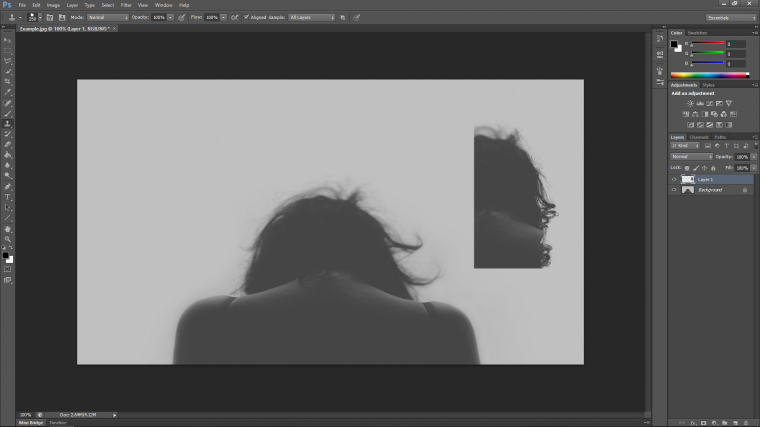
Ok so what I’m going to be looking for here is an image that is similar to the image above in regards to the hair shapes, you don’t have to do whole huge areas you can take a little bit at a time, like that hair fold on the right-hand side of the models head.
[Take Note: you will not be able to get close to those stray hairs when you make your final image, the idea is to get close and to have it looking presentable and realistic, we’re not trying to copy, but more give out best impression]
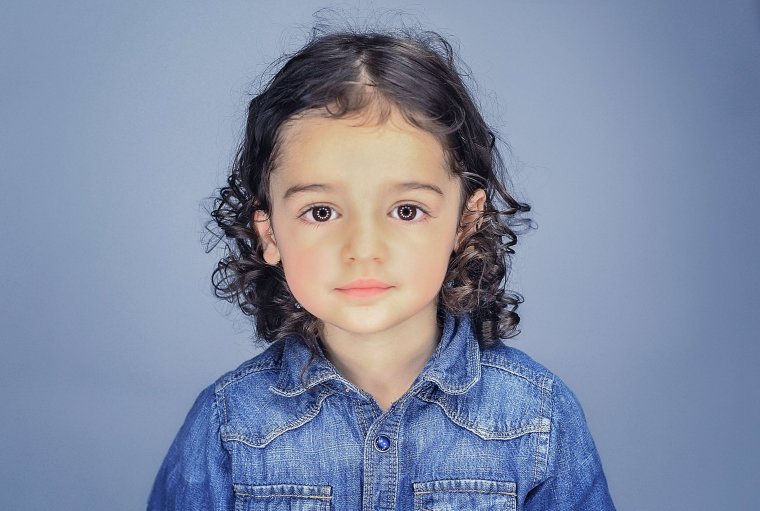
So using whatever stock source you use, I use Pixabay look for a stock image of a model with similar hair on a White to Grey background and you don’t have to get one with the same hair color, in fact, the darker the better.
At the start, this may take a little bit of time but over time you’ll end up with a whole bunch of these saved.
Also, try to get some sort of studio shot and not a stylized one.
I would also advise you to get the image as large as you can so that you get as much detail as possible.
Like this one below.
Next, we’ll look at how I create the Brush exactly.
Right, so now we have our Image and we’re happy with the quality and size etc. etc. we can now start to play around with it and try to get the best Black & White image we can.
Now when I say Black and White I don’t mean in the traditional sense of the Photographic phrase, I mean I want a complete Black to White contrast between the hair and the background with no color or weird Pixelization around it, that’s why you don’t have to just settle on the first image you come across you can try out many different images and as said eventually when doing this kind of work you will end up with a load of customized Brushes.
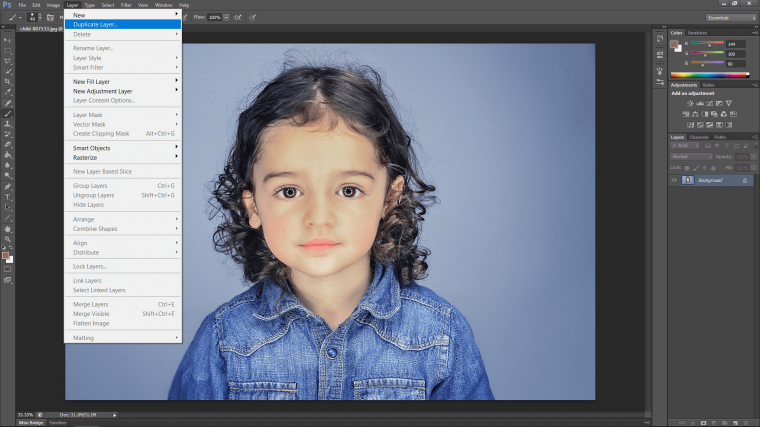
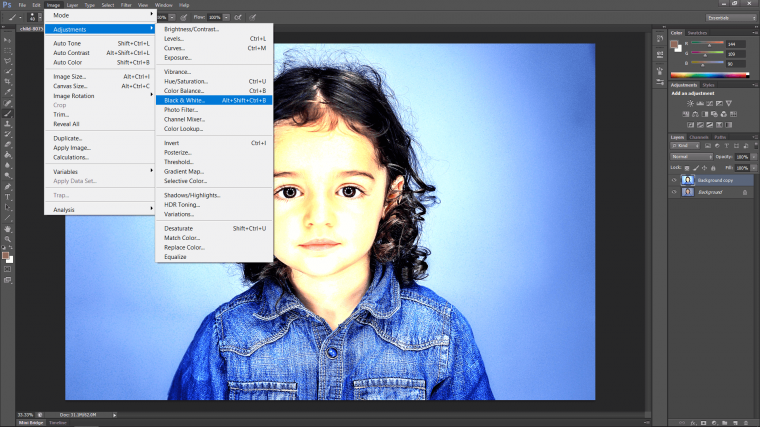
So the first step that we have to take is to make a duplicate layer by going to Layer – Duplicate Layer as shown below.
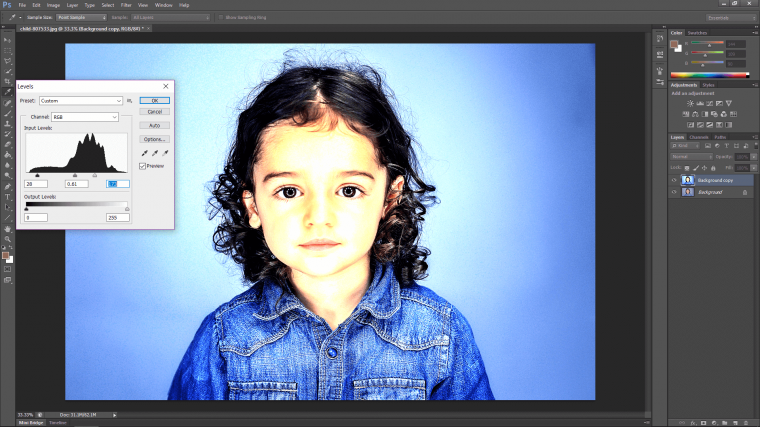
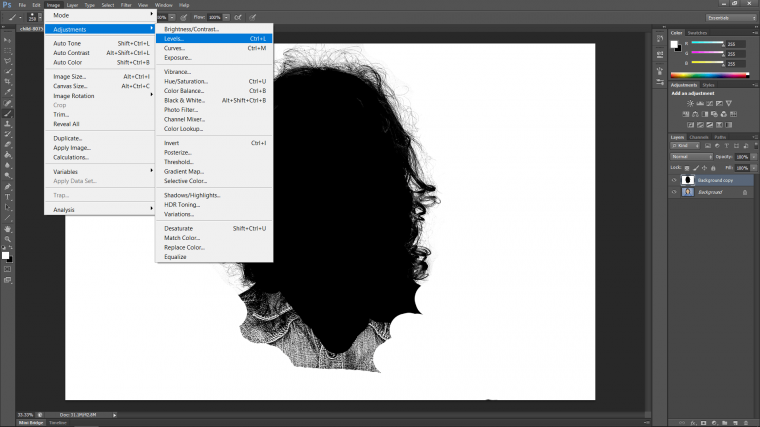
Next, we’re going to have to start preparing our image by using Levels, you find Levels in Image – Adjustments – Levels
Now if you haven’t used Levels before, when you look at it you will see the graph in the middle, that’s the one that looks like a lot of little mountains, under that Graph there’s the three little slider indicating Dark which is the left one, Mid-tones is the middle one of course and the third is Lights.
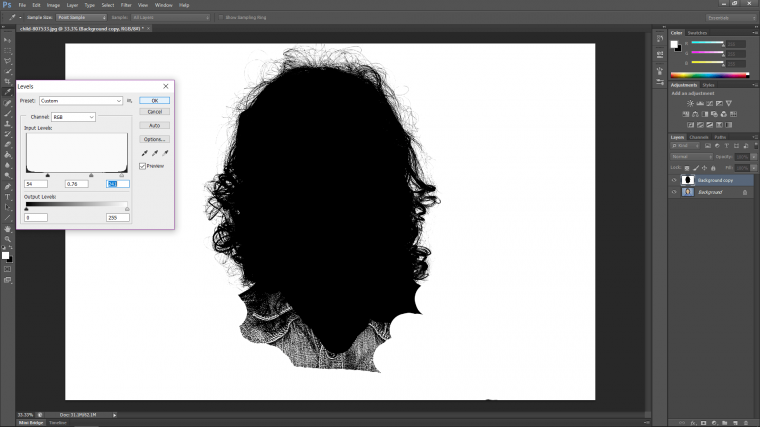
So what you do is you start to pull the Darks and the Lights towards the center.
You do this for a little bit to you get to the point where the background is either starting to get very light, if you started off with a white background then this will be very easy but say like with my image it’s got a blue tint to it, I’ll have to bring it to the point were I just about retain the detail in the hair, I don’t want to go further!
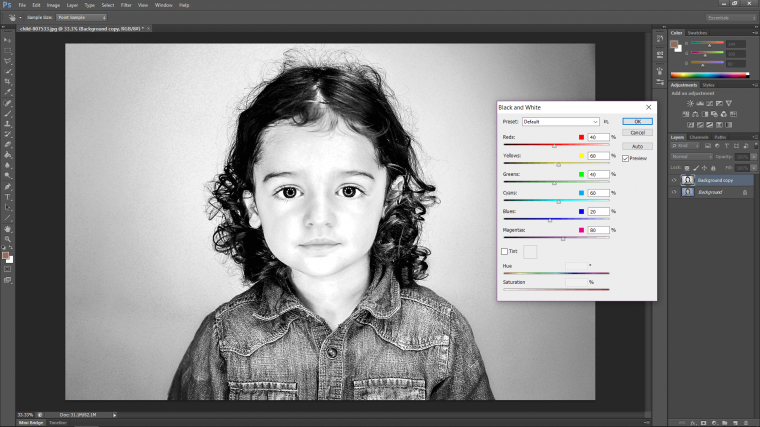
Once there then we’re going to turn our image actual Black and White
Image – Adjustments – Black and White
Now you’ll see a panel appear with color sliders.
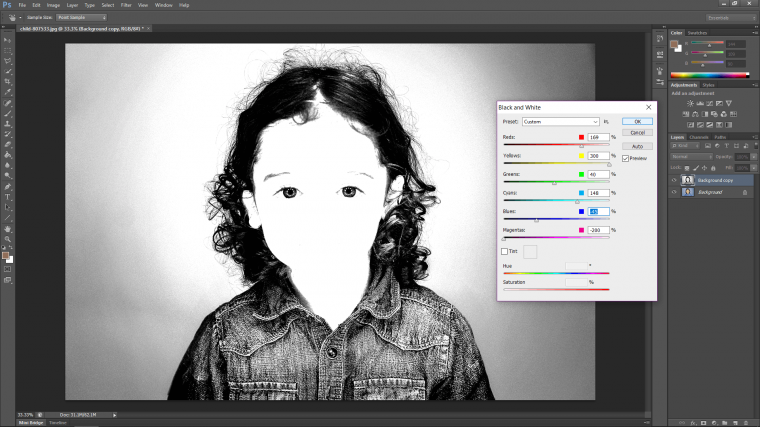
Work with these for a little bit keeping in mind the end goal, which is, white background black hair.
So try to make the hair as dark as possible and everything else as light as possible but retaining detail which is the most important part, everything else can be done in little increments so don’t worry about getting it in the first go, generally, we won’t.
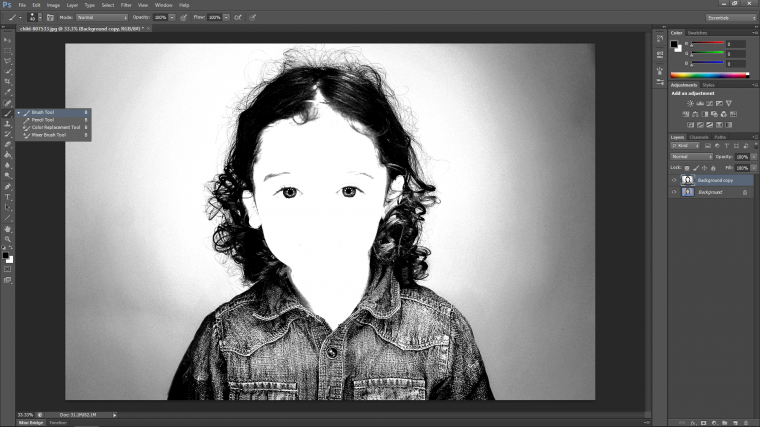
When you’re happy enough it’s time to grab the Brush Tool and using Black then White or whatever you get first, I’m going to start filling in areas like the face with Black and the background with White as best I can.
Once that’s done, you might need to give it another go with the Levels.

When that is all done then it’s time to create the Brush!
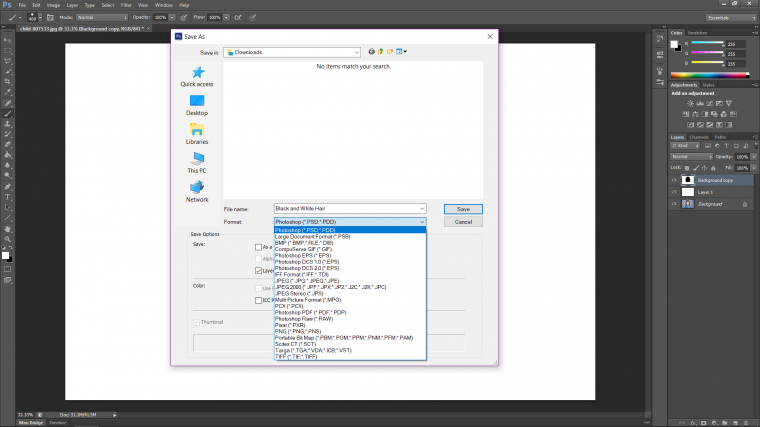
Before that, though maybe save your image to PSD format just in case you lose any work, it’s always good to save as you go along just in case something unexpected goes down with your Computer.
Go to File – Save As

Then save the Format to PSD and choose whatever location on your computer that works for you.
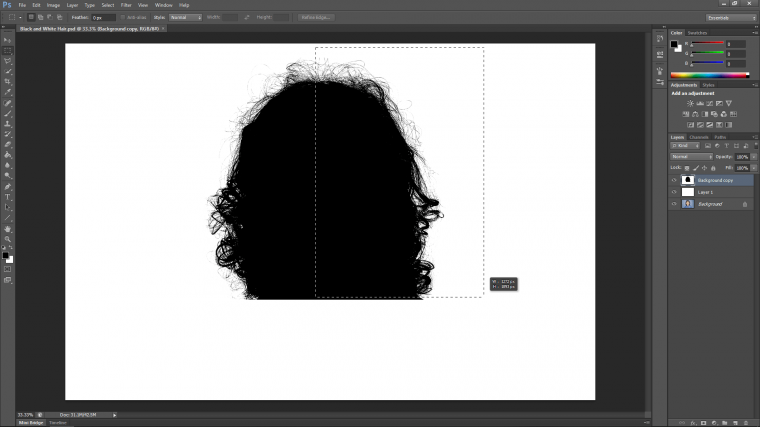
So to make the Brush Tool you first have to select the area that you wish to use for the Brush, the way to do this is to select your Rectangular Marquee Tool.
Then click and drag over the area that you want to use for the Brush Tool.
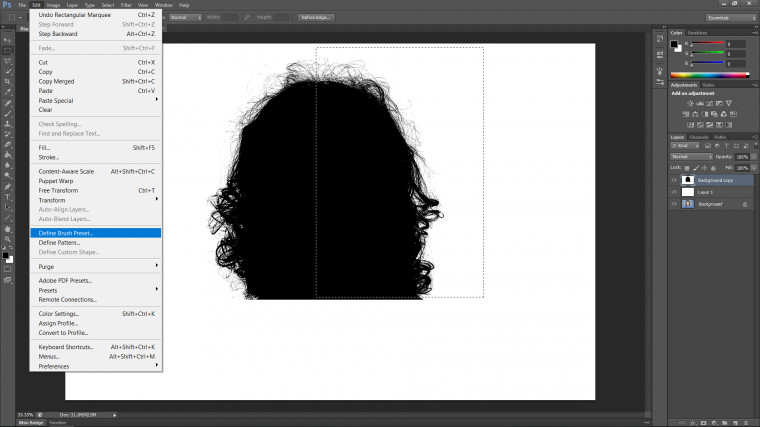
Once you have that sorted and you’re happy with the selection to go to Edit – Define Brush Preset
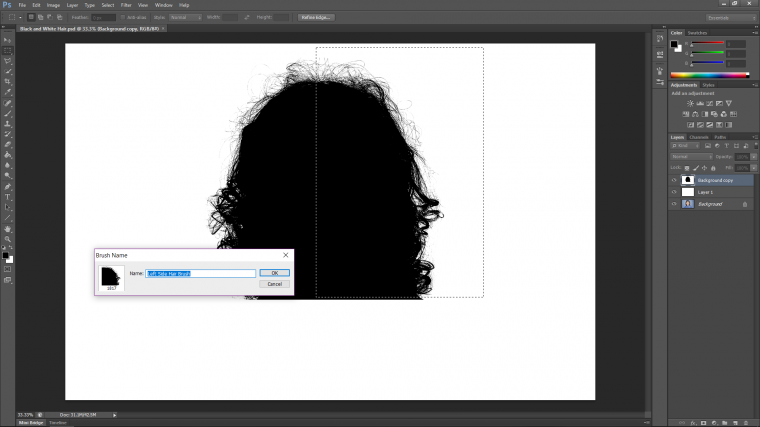
Just name the Brush whatever you want to call it, I would suggest giving it some sort of description that relates to the image, mine was “Left Side Hair Brush”
Then hit OK! and you have your Brush, that easy.
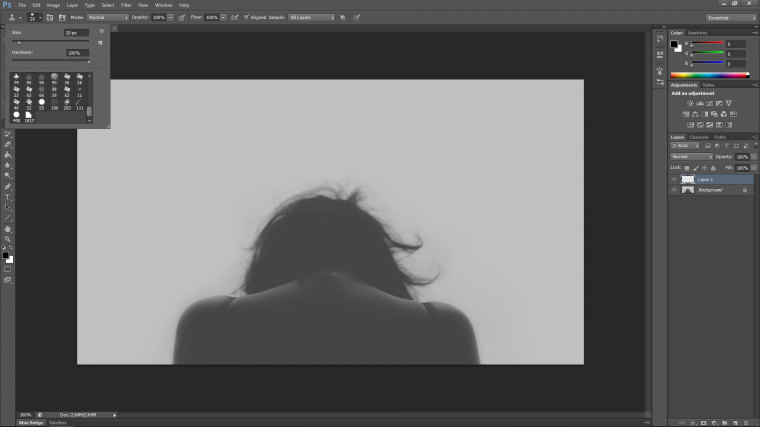
Now I just select my Clone Tool to use for this imaginary job I was talking about.
Then at the top left-hand side you will see File and Edit and all those, just below that you’ll see your Clone Stamp options, click into the Brush Heads portion and scroll the whole way done to the bottom until you see the number or the thumbnail of the Brush that you just Created.
Then you just take a sample.
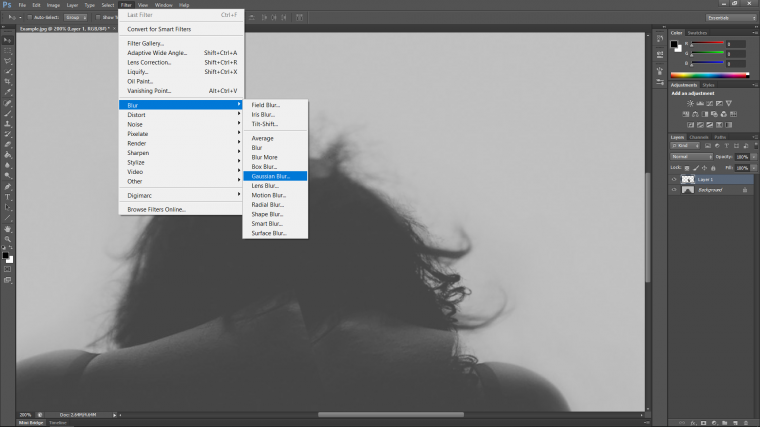
Do whatever edits you need to do, blur, blending using masking whatever…
And there you have it! Hope you get a lot of use out of what you just learned, and remember that it doesn’t have to be just Hair, you can apply this technique to A LOT of different areas!


Please verify your software version before proceeding.
 I’ve verified my software version


 Facebook
 Google +
Comments (0)
There are no comments yet.