How to Create a Cool Text Portrait in Adobe Photoshopwww.sleeklens.com
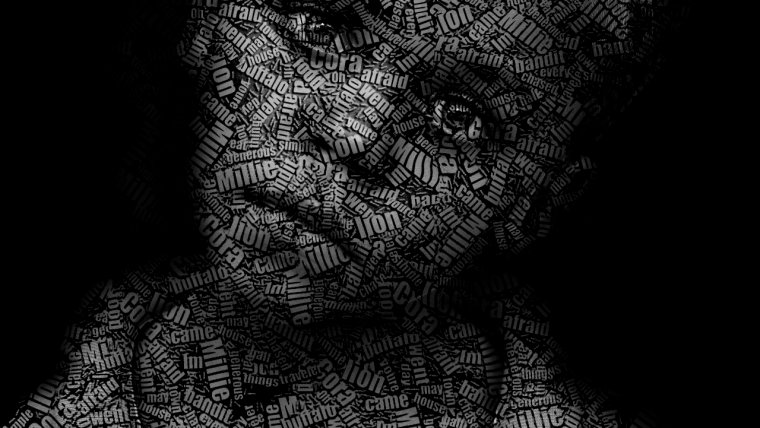
Today we’ll be looking at how to turn a Portrait into Text using a very cool technique that’s going to be easy for you to learn, so hang tight and let’s begin.
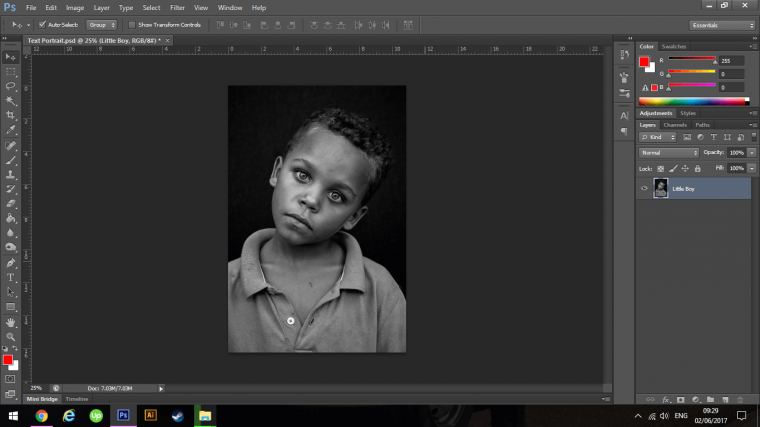
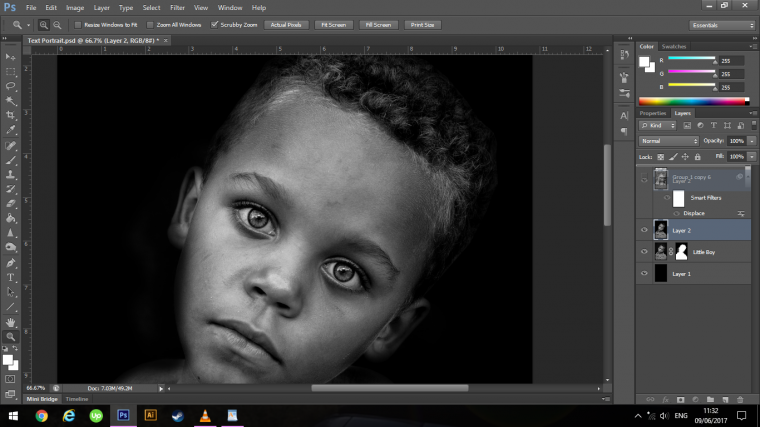
The first step, find a Photo that you’d like to use, it can be anyone, Colour or Black and White, Person or Pet.
The Image I’ll be using today is this Image I found on Pixabay of a young boy if you check that site and use the Keyword ‘Portrait’ you will be able to find something similar.
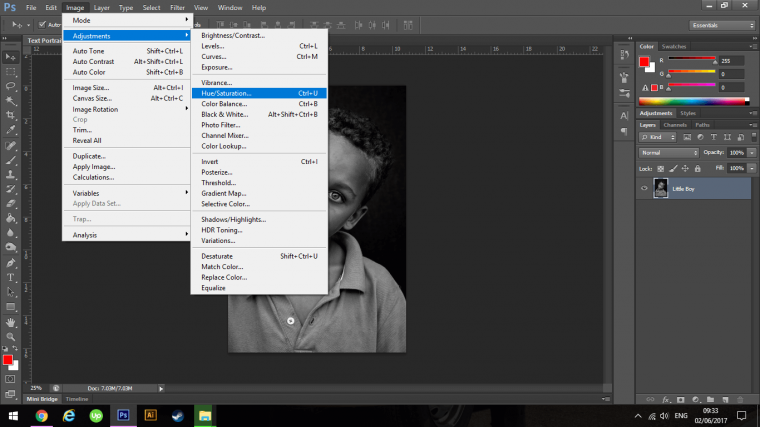
If your Image is in Colour then all you have to do is to Desaturate it, you do this by going to Image – Adjustments – Hue and Saturation.
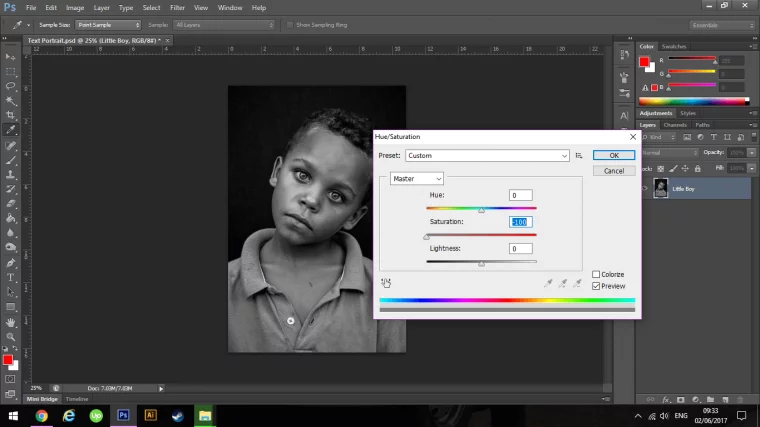
Then click on the Saturation Bar (the middle one) and slide it all the way to the left by clicking and holding your mouse button then move your mouse to the left.
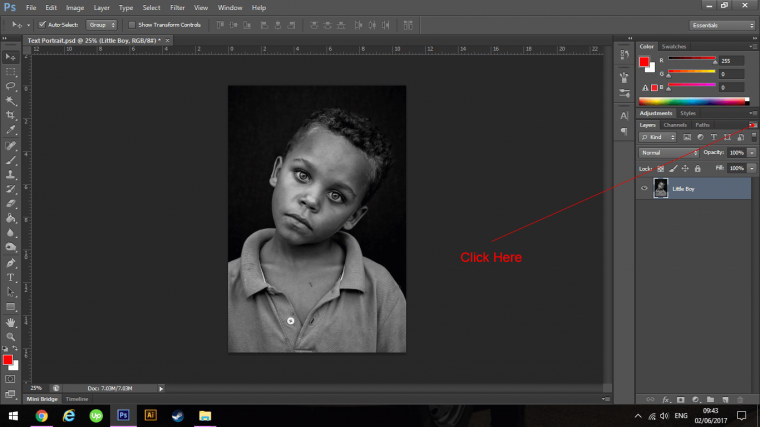
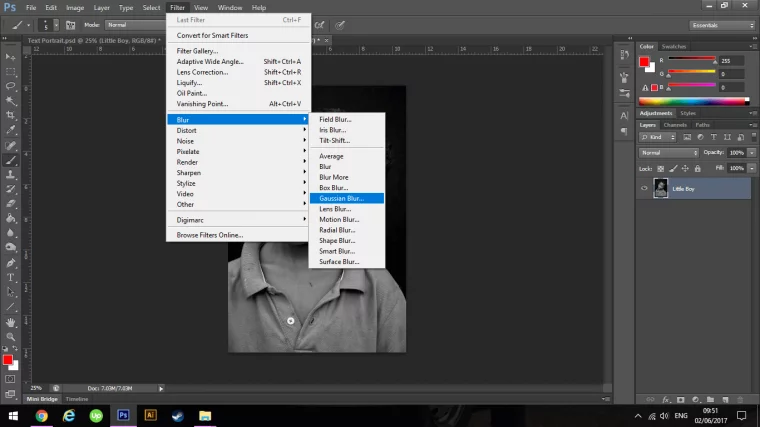
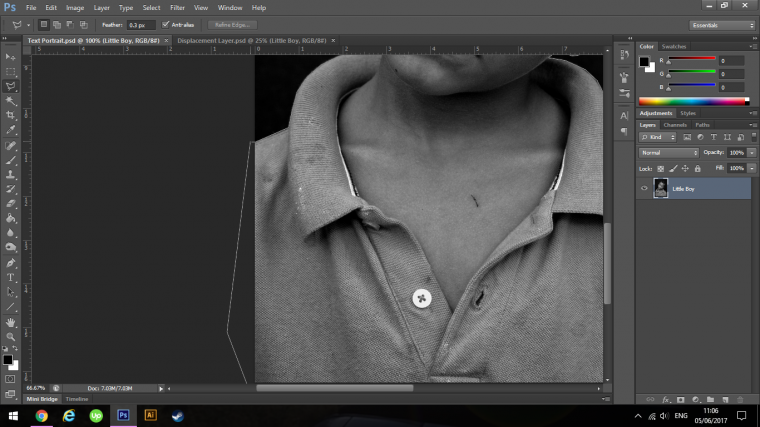
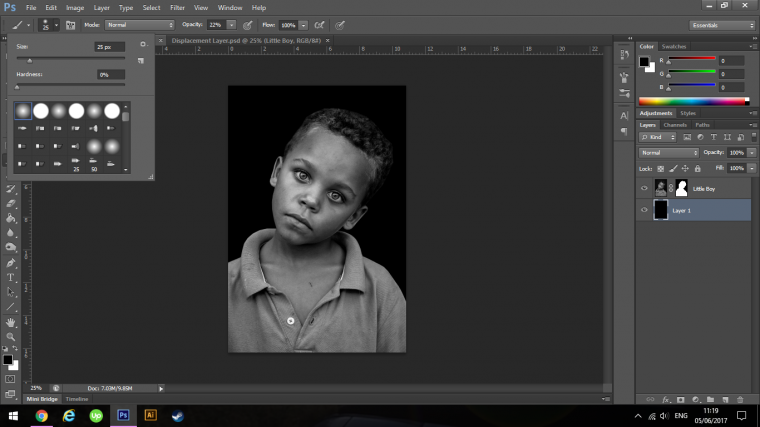
Next, we are going to make a Displacement Map.
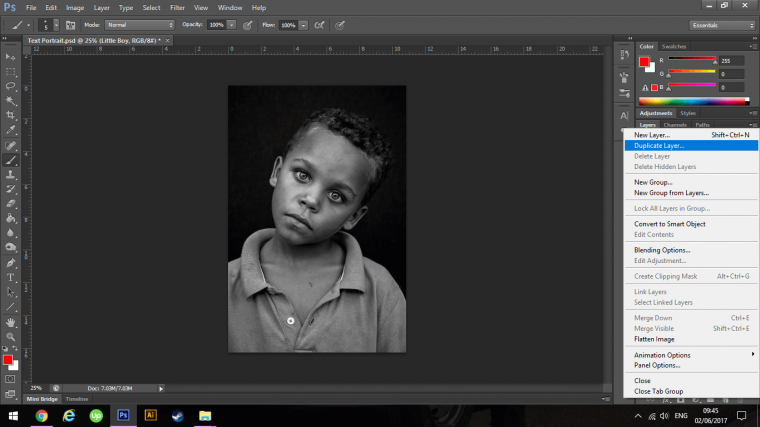
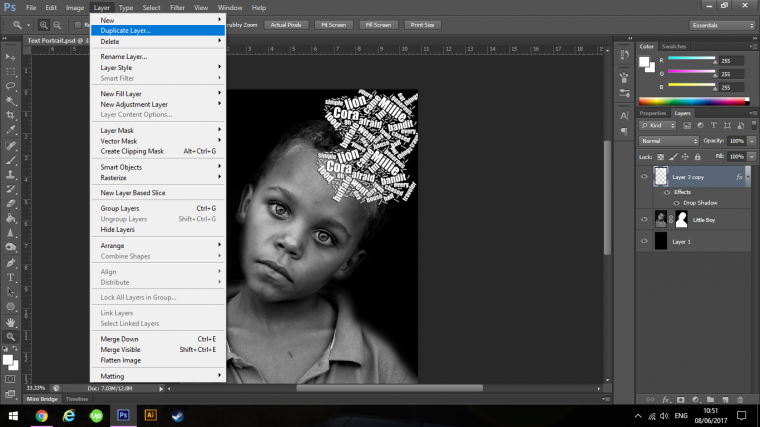
You do this by first clicking on the little box at the top right-hand corner of your layer.
Next Click on Duplicate Layer, literally the second one down.
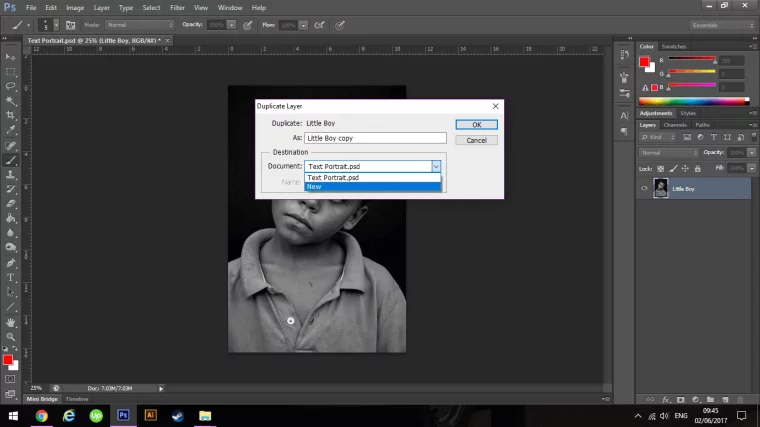
When you do this a pop-up box will appear, at the bottom you will see a drop box, beside it, will say Document, click on that drop down box and click on New.
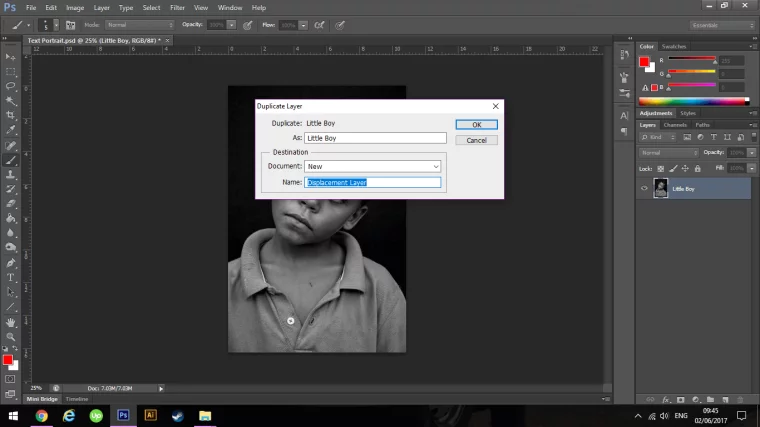
When you do this you will be able to give that New Layer a Name, for this time name is Displacement Layer.
Then hit Ok.
A new window will open up entitled Displacement Layer.
You will be Prompted with a Pop-up Box asking the amount, I keyed in 6 but you might be slightly different depending on the size of your image so make it similar to my image below.
So something like thing, if you get anywhere near this you’re good so don’t stress, we can be loose.
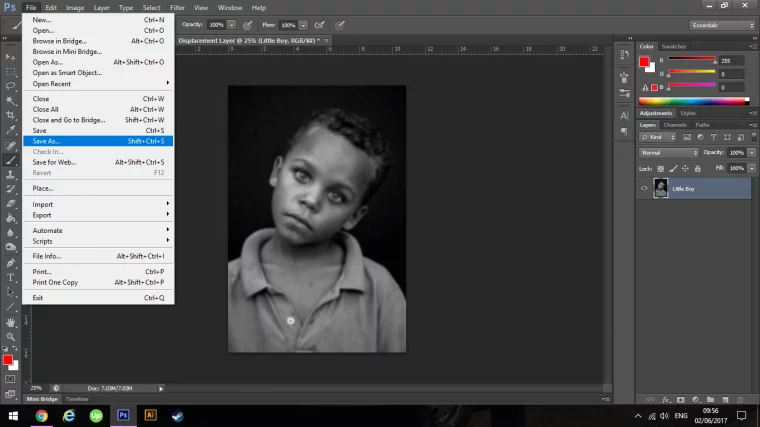
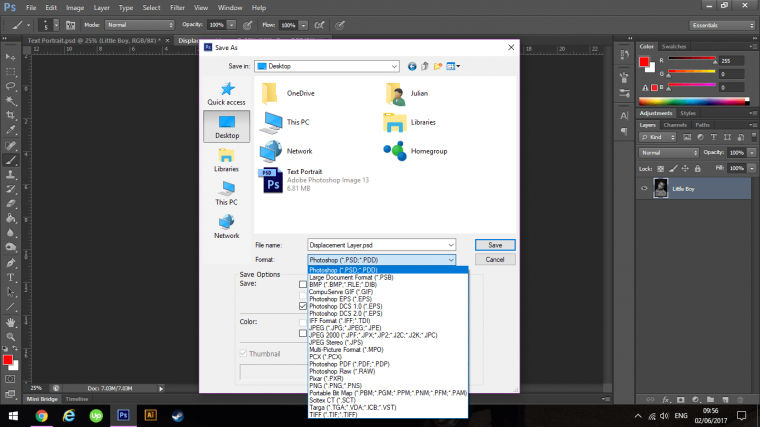
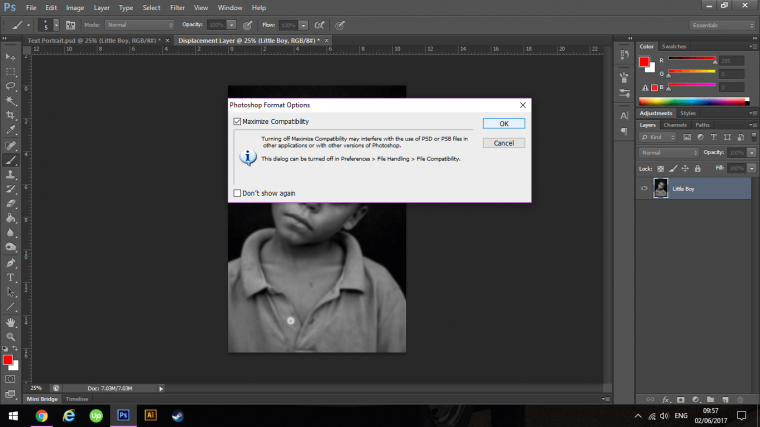
Next, save your file, go to File – Save As
Click on format and save the file as a PSD File which is a Photoshop file.
Click Save and then when the Popup appears to click Ok.
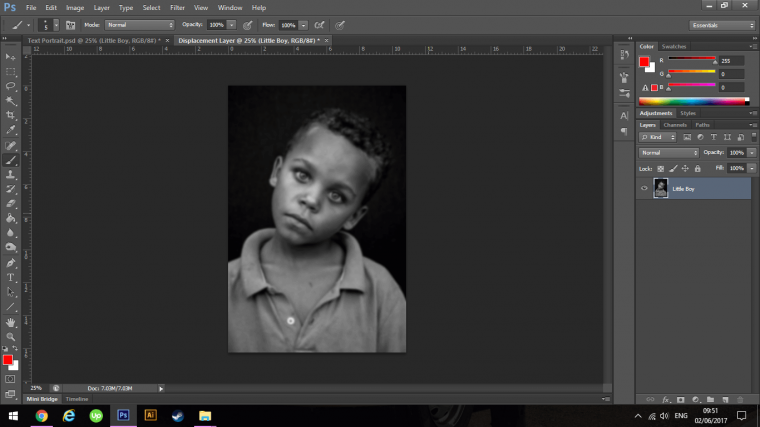
Ok, so you can now close the Displacement File as it has been saved.
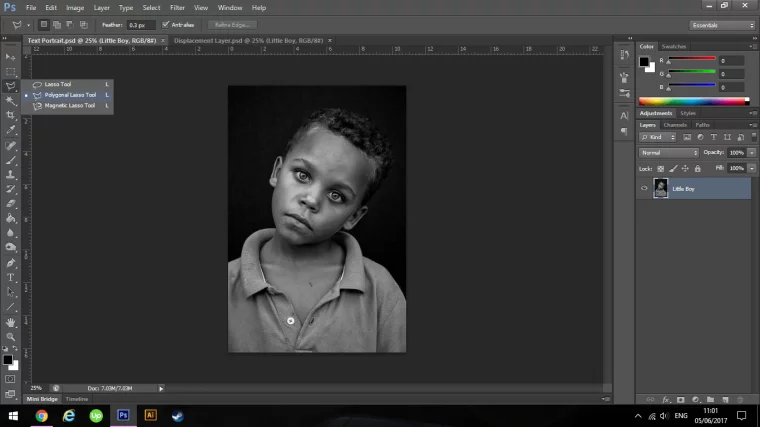
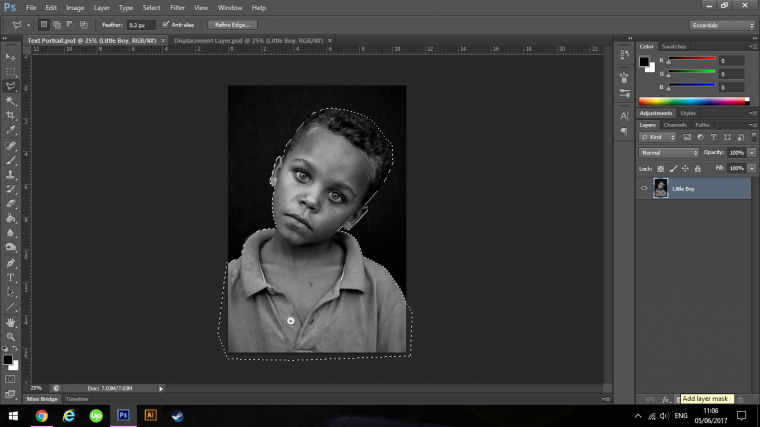
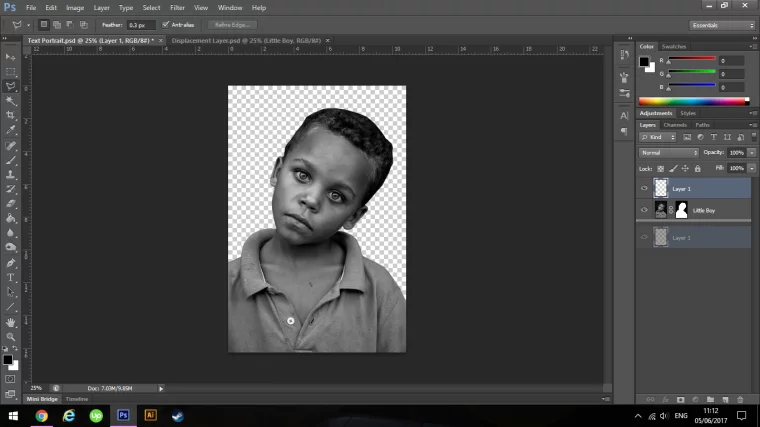
Now we’re going to create a mask around the Little lads head.
We don’t have to be super details here so just give it your best guess so to speak.
For this, I’m going to use my Polygonal Tool.
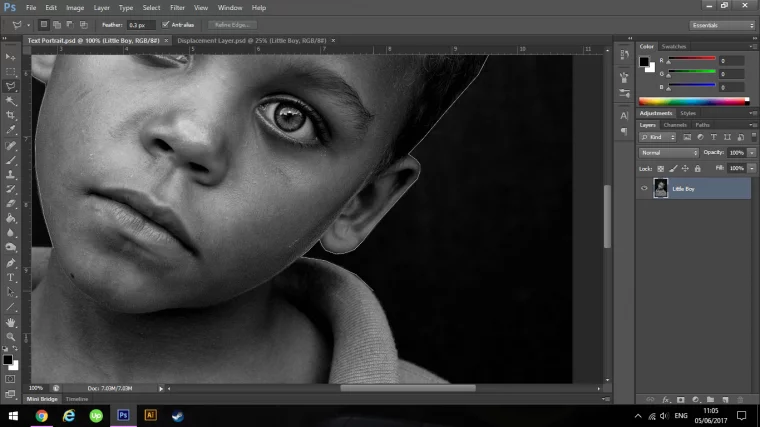
Then I’m going to zoom in by using my Keyboard, you can do this by Holding Ctrl then pressing the Minus and Plus (- &+) Keys on your Keyboard to zoom in or out.
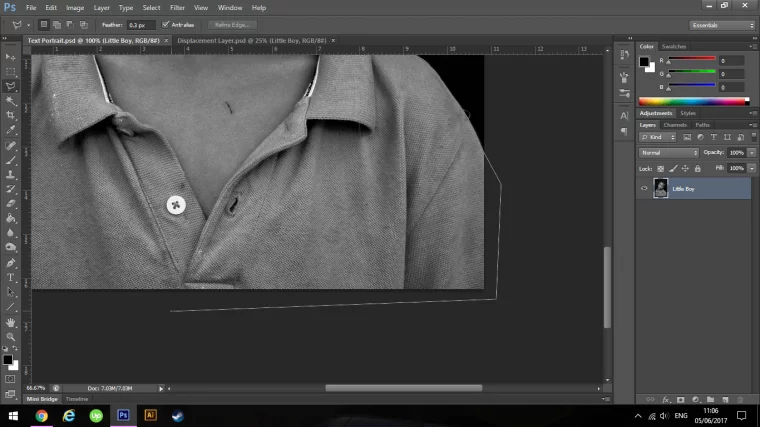
Now you just click along the edge with the Polygonal Tool, giving it your ‘rough best guess’
You can click on the outside so don’t worry when it comes time to join up the selection.
Click right around till you get to the start point then you can click on that to join the full selection.
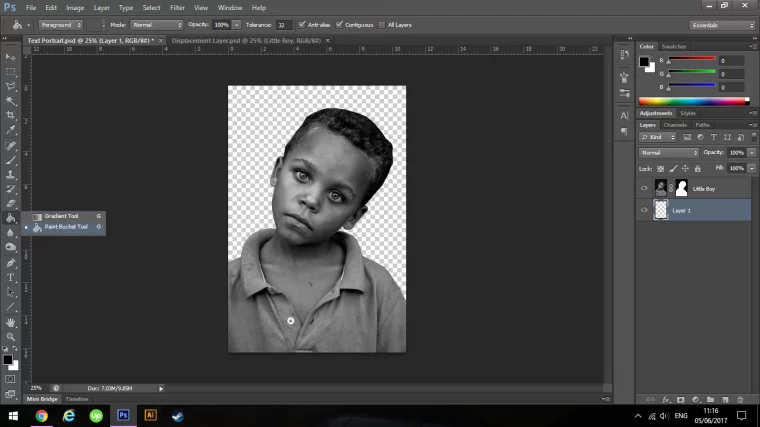
Once complete you can add the layer mask.
You do this by going to Layer – Layer Mask – Reveal all
If you end up that you see the outside of the image instead of the little boys image (or whoever’s photo you are using for this) then key in Ctrl-I to invert he mask.
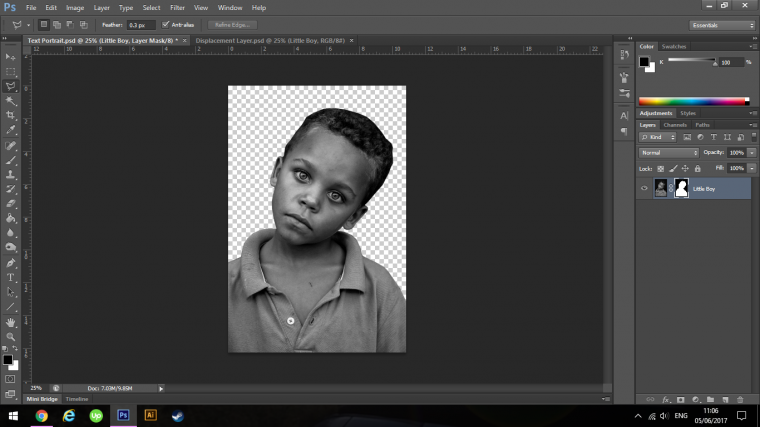
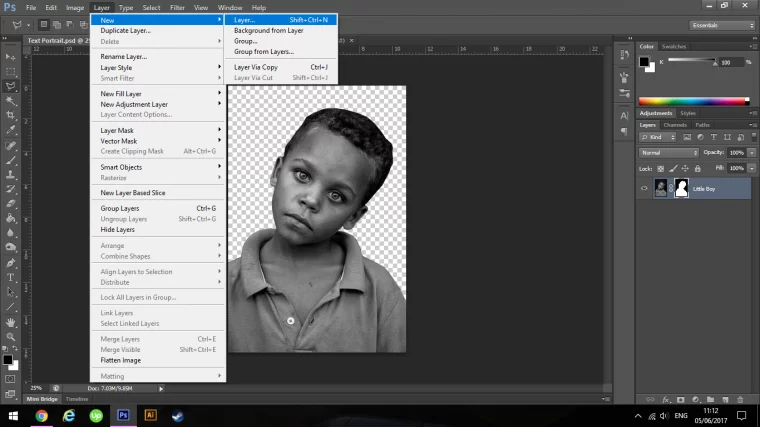
Now create a new layer below the image.
Click and move it to the bottom if you have to.
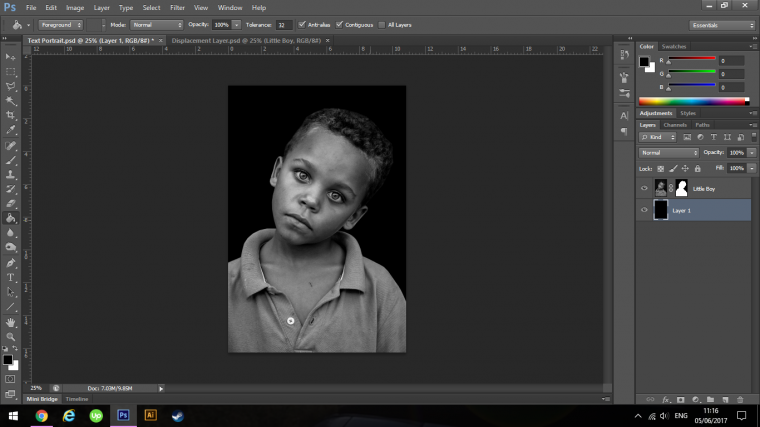
Now fill that layer with Black using the Bucket Tool.
All you do is with your Black Colour Selected is to click on the empty layer and it will fill out.
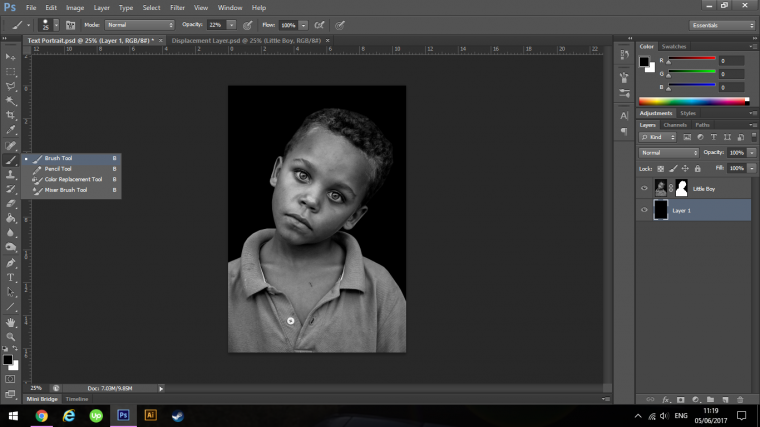
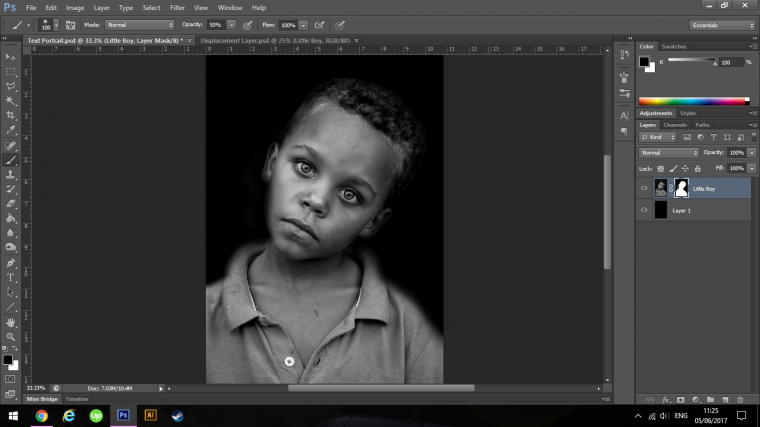
Now we are going to soften the edges of our image.
Click on the Mask, this is the little box beside you Little Boys Image.
Using a Soft Brush Lower the Opacity to around 50% then with the Mask Layer Selected you to paint onto your image going around the shoulders and hair just softening up the edges.
Be more careful around the jaw line, we just want to make that subtle.
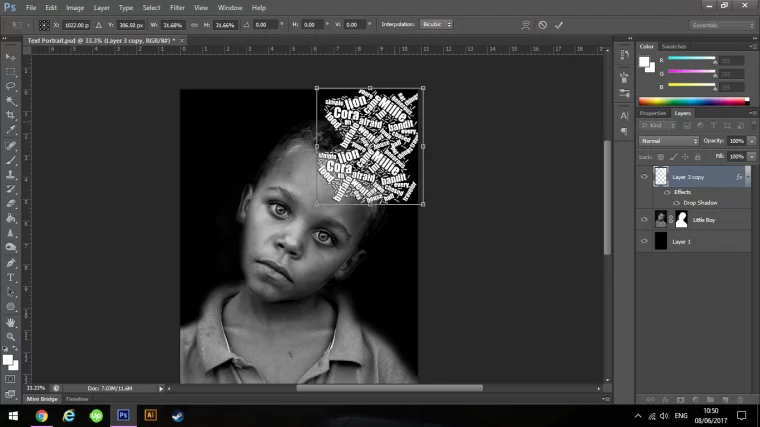
Ok for this if you’d like you can use some specific wording from a song or story, whatever you would like, for this I’m going to get really really creative and look up some random kids story.
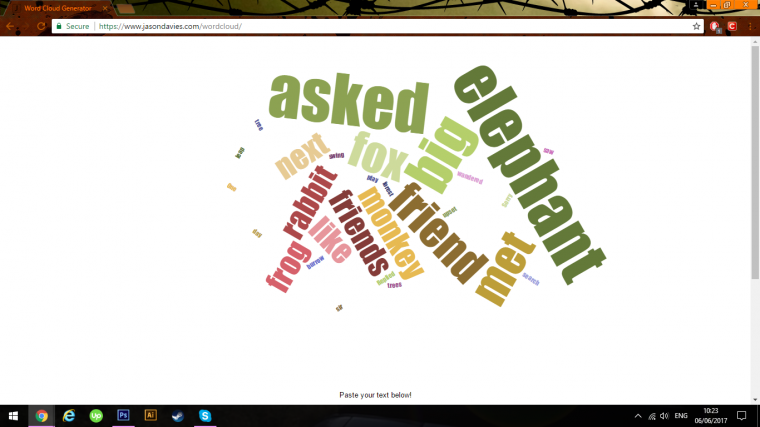
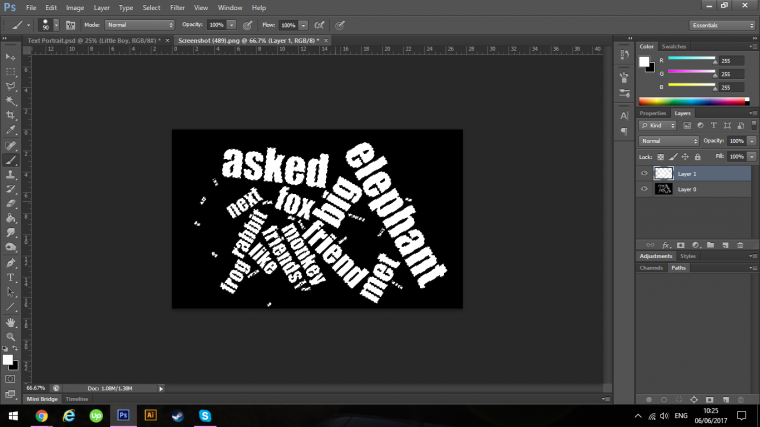
So to do this I’m going to create a Word Cloud, if you type Word Cloud Generator into Google I’m sure you will find plenty to choose from, I just choose the one below at random and it was one of the first ones to appear that I likes, think it was about 3rd down or so, though that will vary I’m sure.
So all I did was I found my Text, then I copied and pasted it into the Text Box then I hit Go.
The site then created my word cloud for me which saves a whole bunch of time.
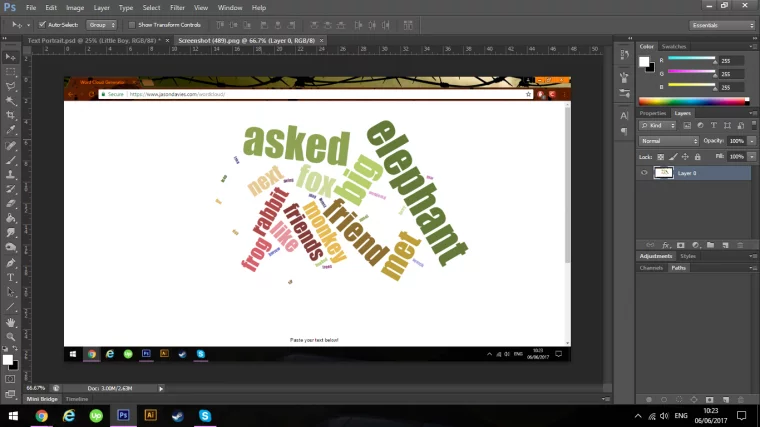
Then I took a screenshot of the page with the text on it, and opened it up in Google and on that subject depending on which computer you’re using you may have to check up on how to take a screen shot for your specific Computer.
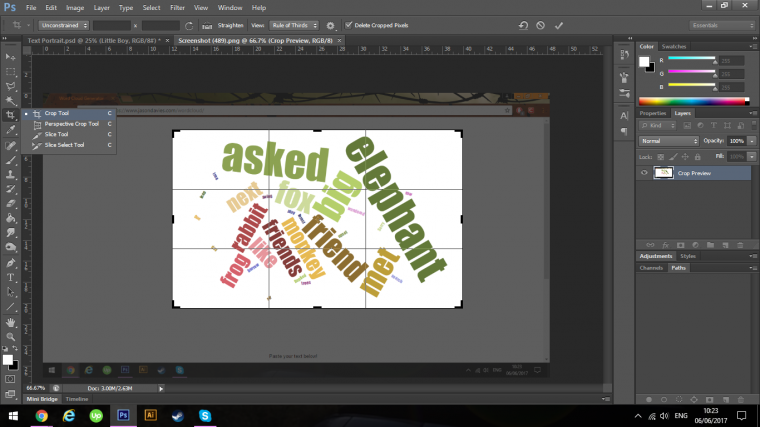
But once you do get it up on to your Photoshop, use the Crop Tool to change the size and get rid of anything we don’t need, so that’s anything that’s not the Text Cloud.
Crop Tool is easy to use, just click and drag.
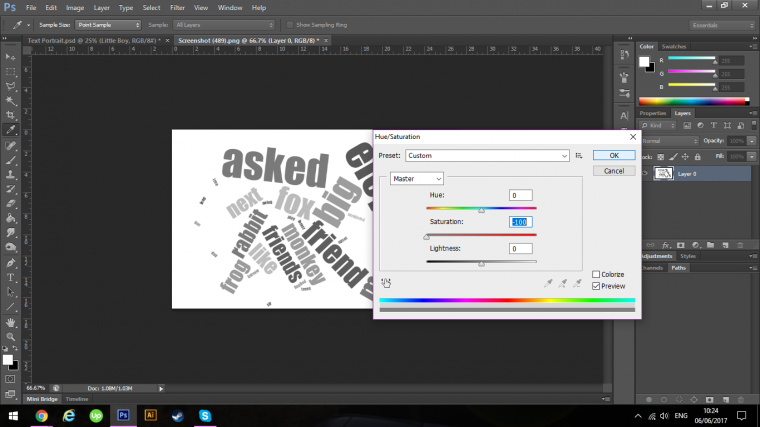
Then we’re going to go to Image – Adjustments – Hue and Saturation, drag the Saturation Bar to the Left to drain all the color out of the image.
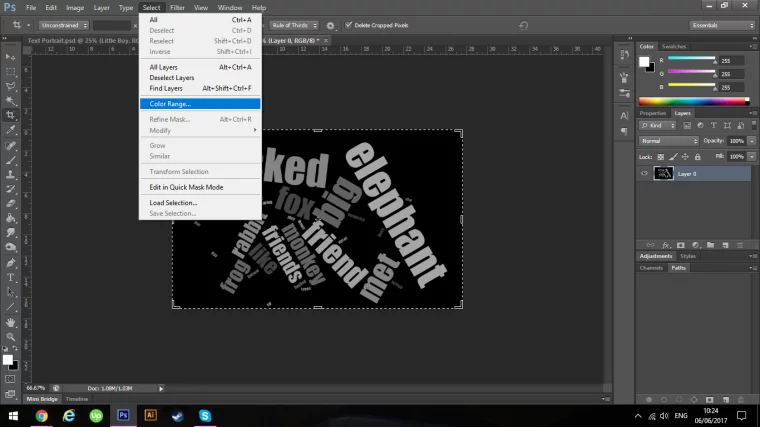
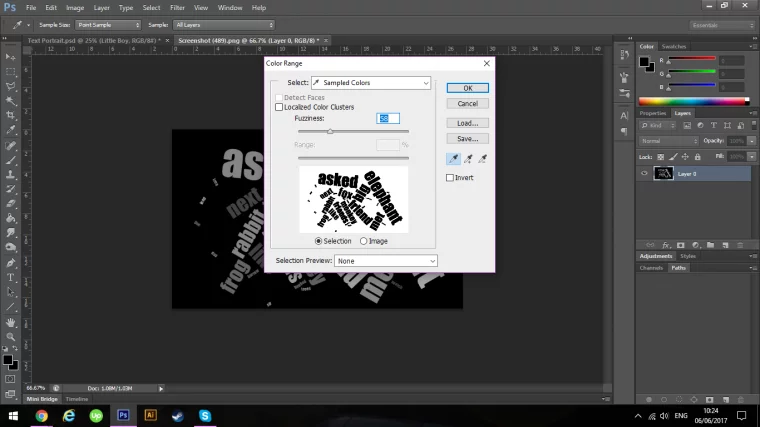
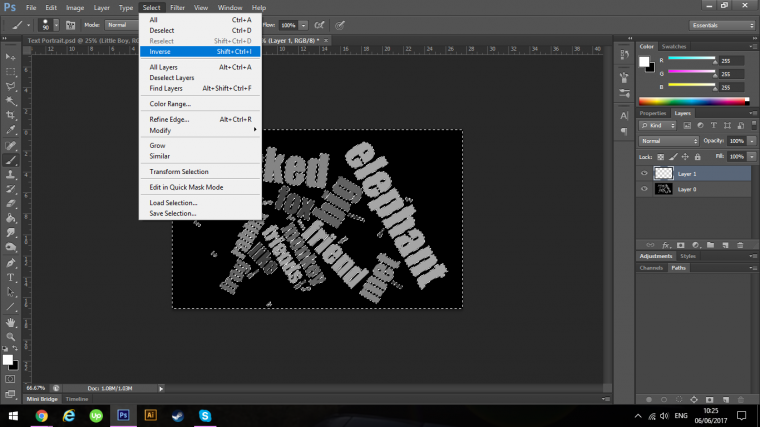
Next, go to Select – Color Range
Click on the outside of the image so it highlights all the text, you may need to play with the Fuzziness bar a little to refine the text.
Click Ok and a selection will appear but it will be the opposite to what you want, so go to Select – Inverse
Now create a new layer (Layer – New Layer)
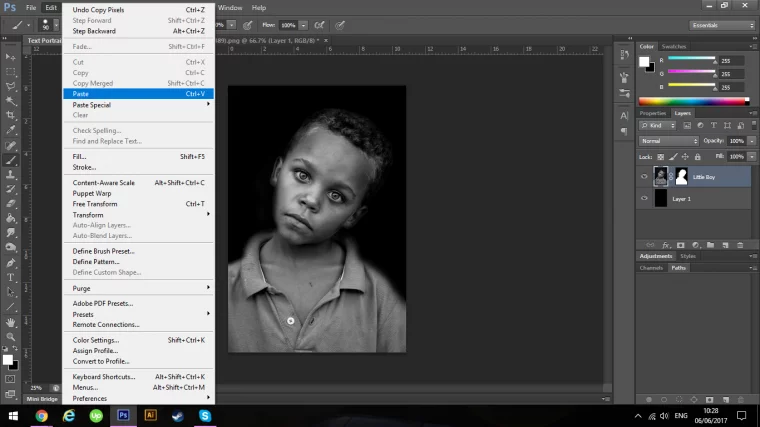
Using a Paint Brush Tool with White Paint over the Selection, when the whole Selection has been filled in Copy it (Edit – Copy)
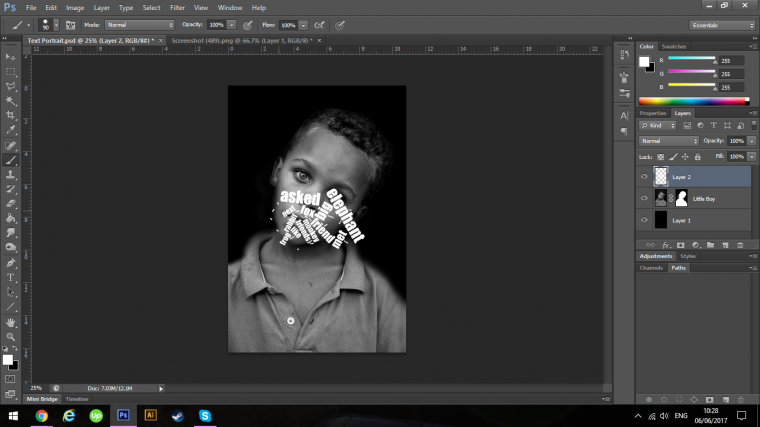
Now simply paste it into your layer with the kid.
It will now appear in the subjects face.
In seeing the size of my text, I’m thinking now that I should probably use a lot more words seeing that the size of it is pretty small.
So if you want to try it out a few times till you get something that will cover the entire image then go for, the screen shot will be the same but the size of the words will matter when we blow it up.
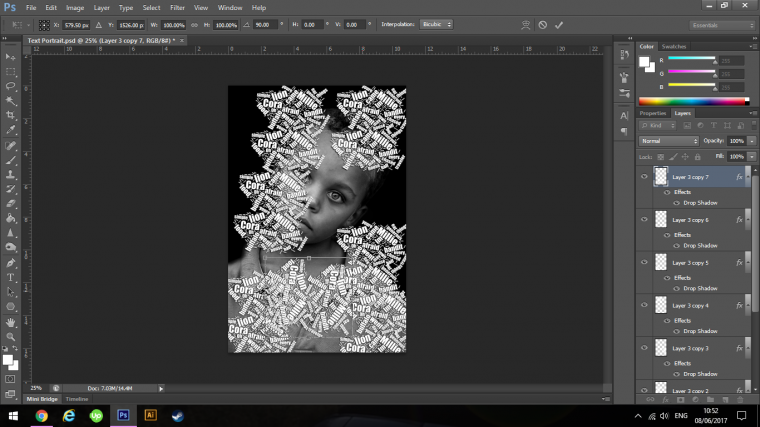
This time I’m going to go for the whole story and see what results that give me.
Ok so just go through the steps again that we just did, you will notice this time after using a lot more words that the cloud will be more crowded.
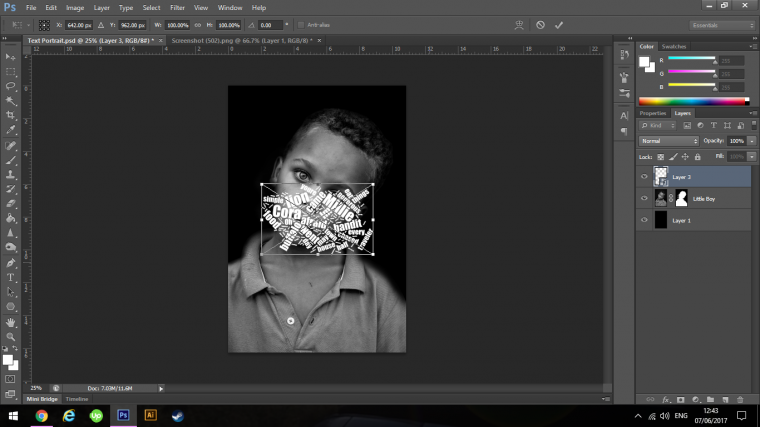
Then we are going to hit Ctrl T on our keyboard and resize it.
With my first try, I will only be able to fill the image half to keep it to a decent standard.
This is all good though because if you hold Alt on your Keyboard once you’ve resized it you will be able to make a duplicate.
Then just move the Duplicate down to the other half of your image and try to join it up so it looks like it’s all the one text cloud.
Oh and don’t worry if it overlaps at the bottom too much it’s not a big deal, just as long as it looks decent we’re all good.
Then hold and click on the other layer, this will highlight them both.
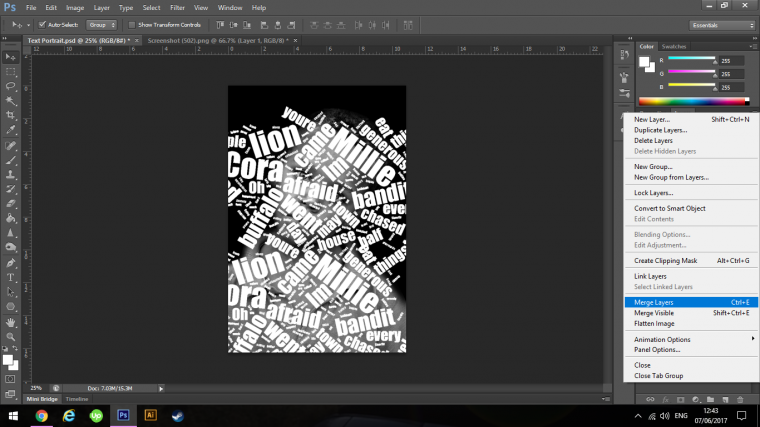
Ctrl E will then join the two if you want to use the shortcut, you can also find it in the layers options, which is the tiny box with a downward arrow in your layers panel on the top right-hand corner, but best use the shortcut, for now, to get used to it.
Now our text is joint.
We now have our text ready to go so let’s move forward.
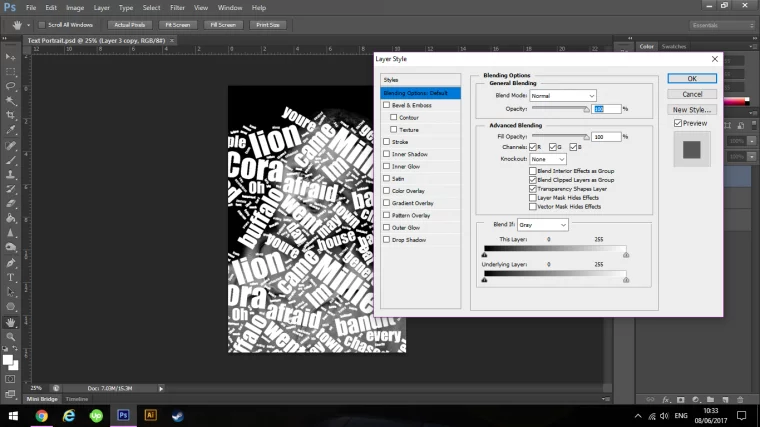
So the first thing that I want to do is to add some Shadow to my text.
This is easy, all you have to do is double click on the text layer and the layer styles panel will appear.
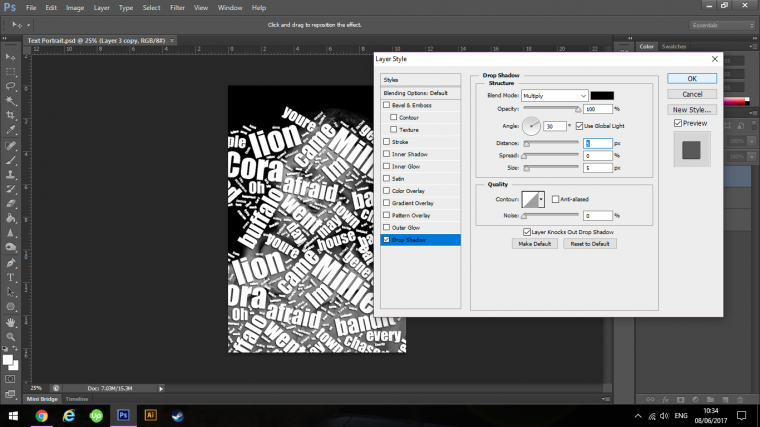
When you see this panel appear to look down the list of options till you see the Drop Shadow option, click on the tab, don’t just click on the box, the reason is because if you just click on the box it will give you an auto Drop Shadow instead of letting you control the options yourself, so if you click on the tab it will open up all the Drop Shadow options available to you.
You will see the Distance and Size sliders.
Move those to around 5 for each, it really depends on the size of your image, but if you can see a little bit of a shadow then we’re good.
You will be able to see from the Image below just how much of a shadow you need, which isn’t that much.
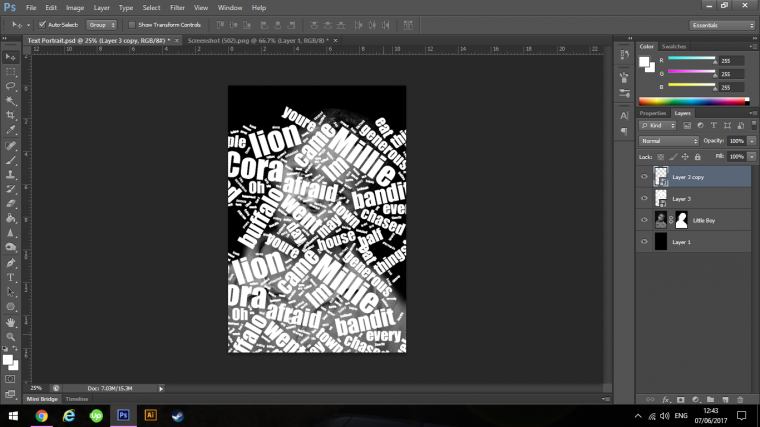
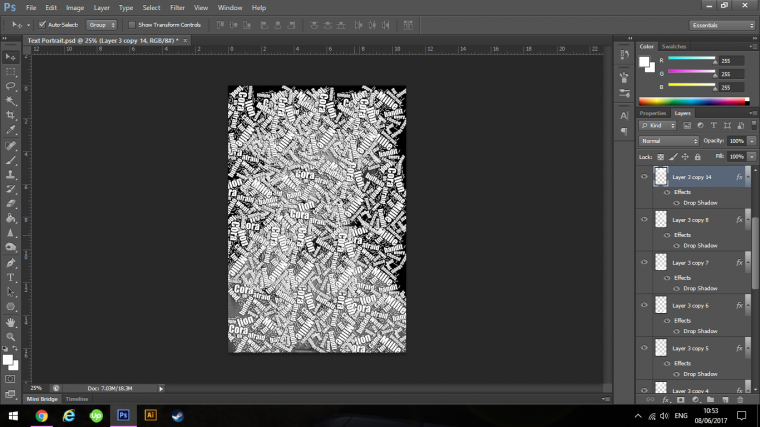
As this is a creative process I have decided to make the text smaller again and increase the amount of text.
I would also like to rotate a few as well to see what type of effect I can get, so I’m going to Free Transform my text again, do you remember how to do this?
Ctrl T
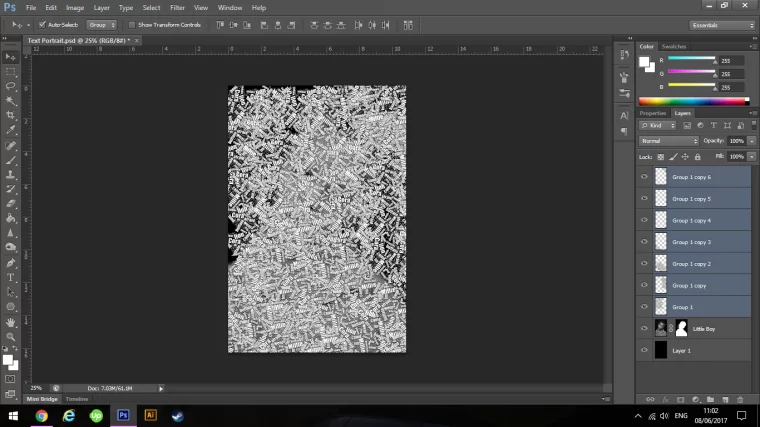
So you want to Duplicate Layers position and Ctrl T rotate till you have completely covered the image.
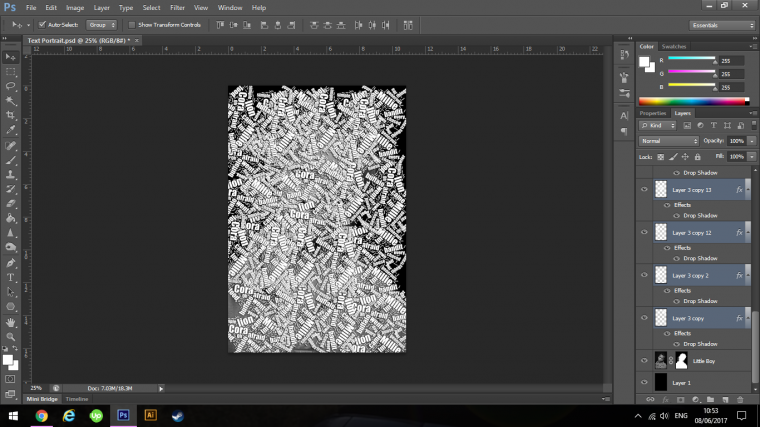
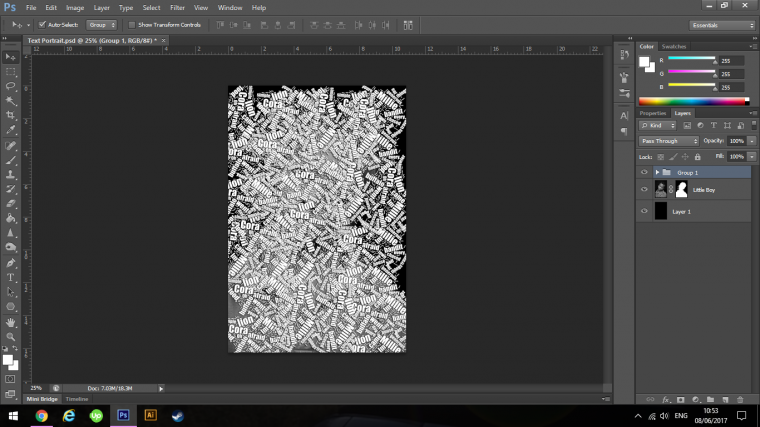
When you have covered using Holding Ctrl click on the bottom and to text Layer and press G to group them all together.
Now we’re going to do this again making the text even smaller.
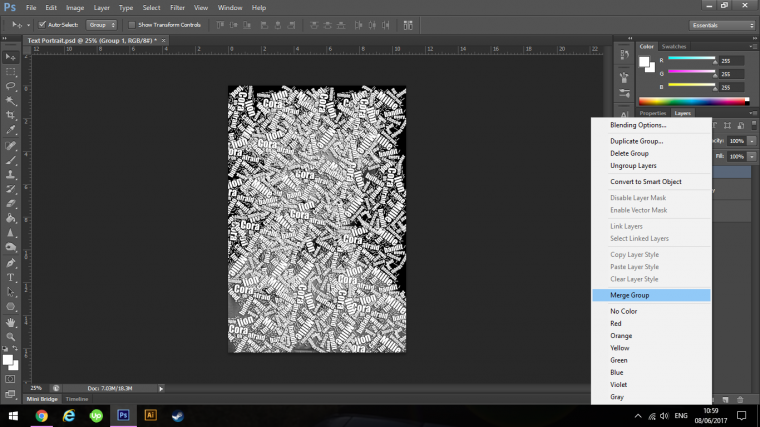
So go to you text folder and right click and merge group.
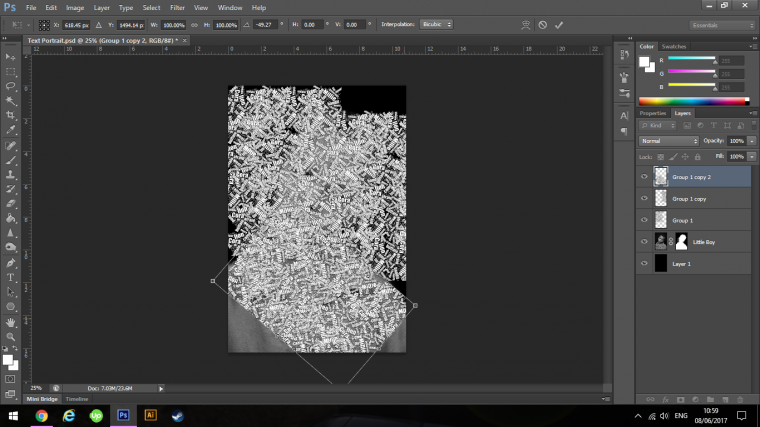
Free Transform and make them smaller.
Position those again in their smaller size to completely cover the image again.
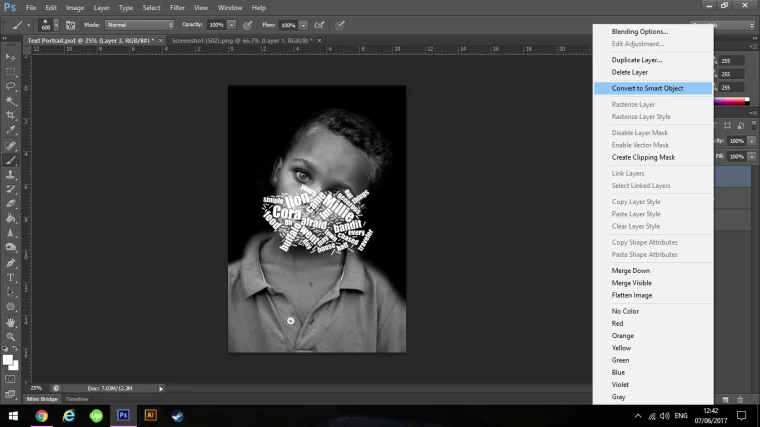
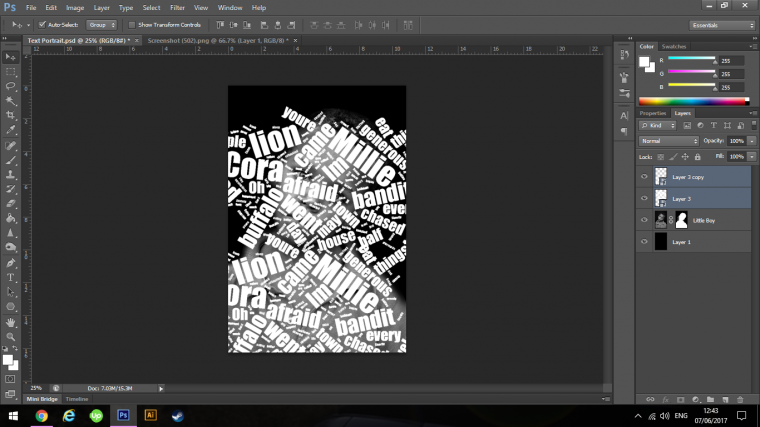
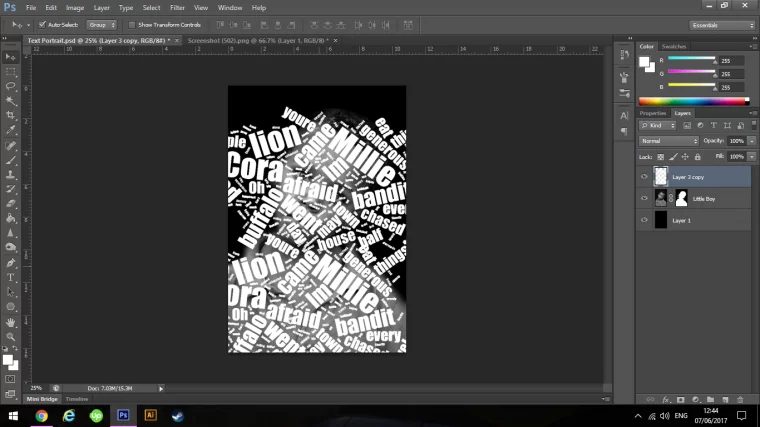
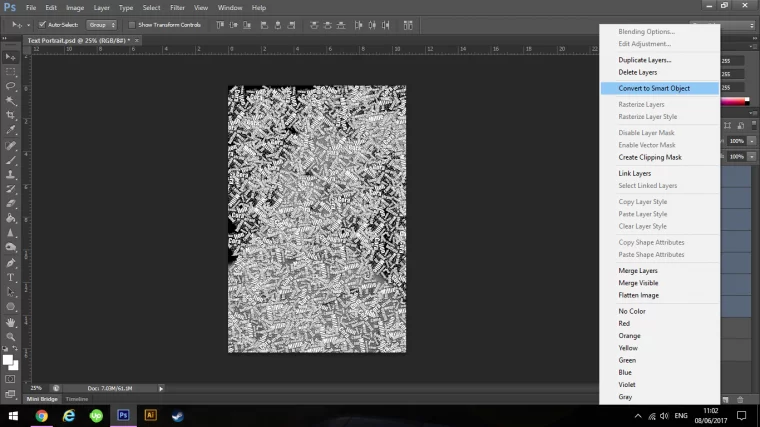
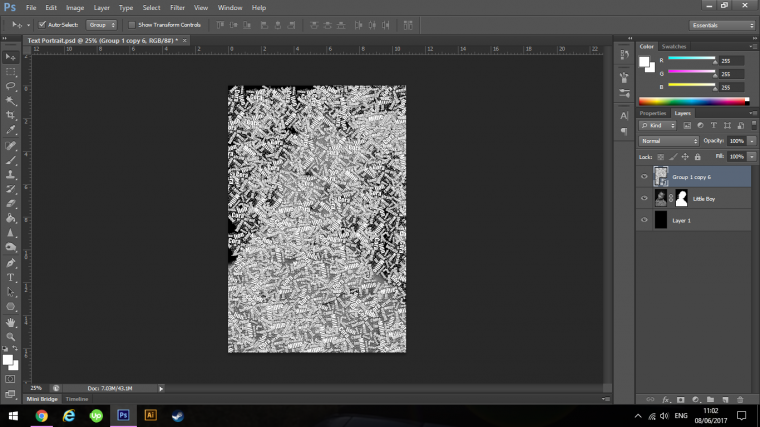
Once this is done holding Ctrl click the bottom and top layer, right click and choose Convert to Smart Object
This will compress everything into one layer.
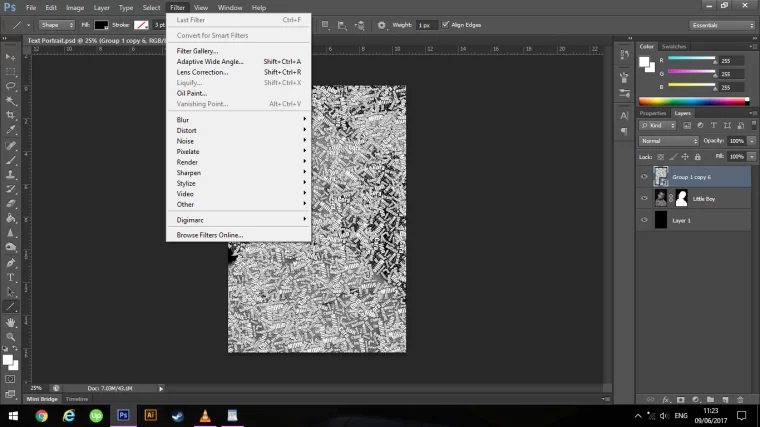
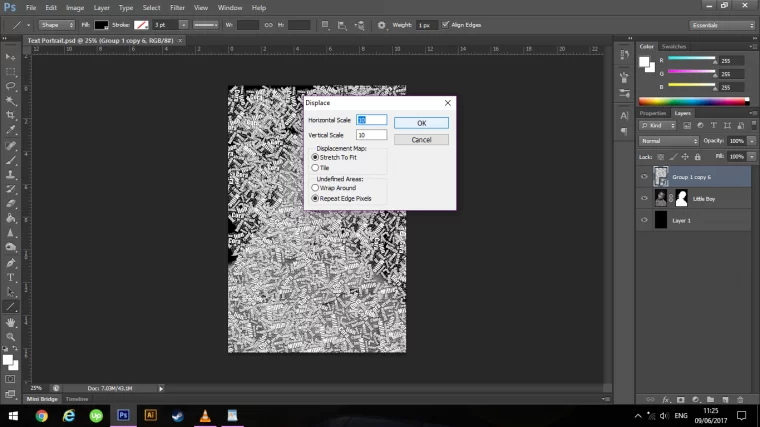
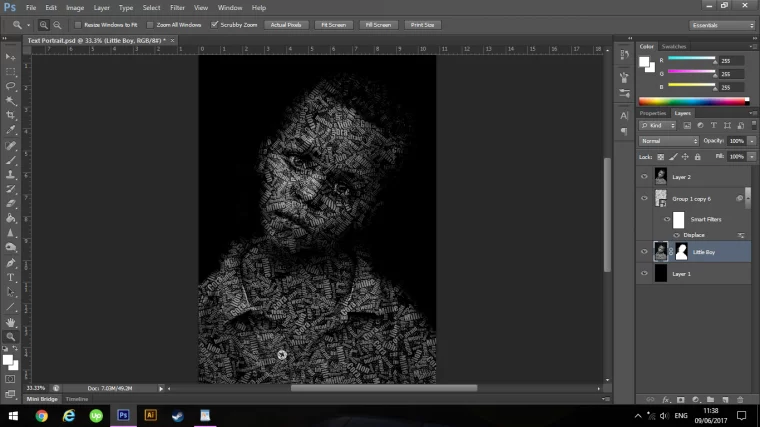
Next, go to Filter – Distort – Displace
So my settings are to 10 for both the Horizontal Scale and Vertical Scale this came up automatically for me and I was happy enough, feel free to play around, if you key in Ctrl + Alt + Z you will be able to undo the steps so you can try again.
Also, make sure that Stretch To Fit is clicked and Repeat Edge Pixels.
Then you can click Ok.
A link to your Folder containing the Displacement File that we did at the start will/should open, when this does double click on it if it doesn’t appear then you will have to find the location where that is.
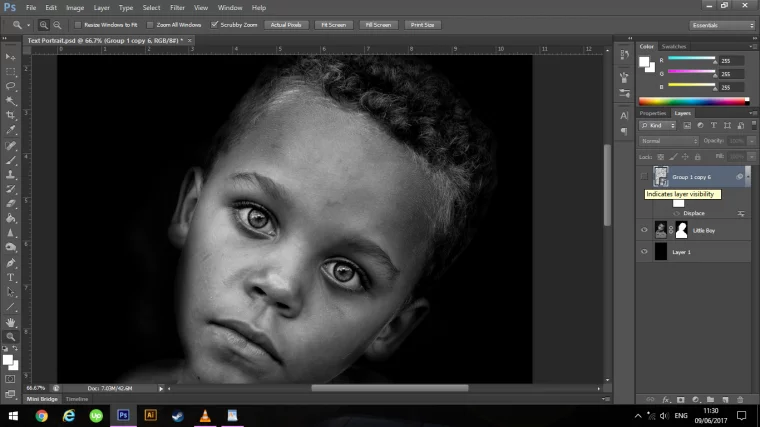
The text will now be subtly changed to match the values and curves of the face.
You won’t notice as much to start with but you will.
Next, click the eye beside the text layer to hide that layer for a second.
Click on the image of the little boy, what we will do here is to create a stamp of the image, a stamp is just a copy of all layers below into one image without destroying the layers, you do that by keying in on your keyboard, Shift + Ctrl + Alt + E
You will now see the new image appear above the layer with the layer mask.
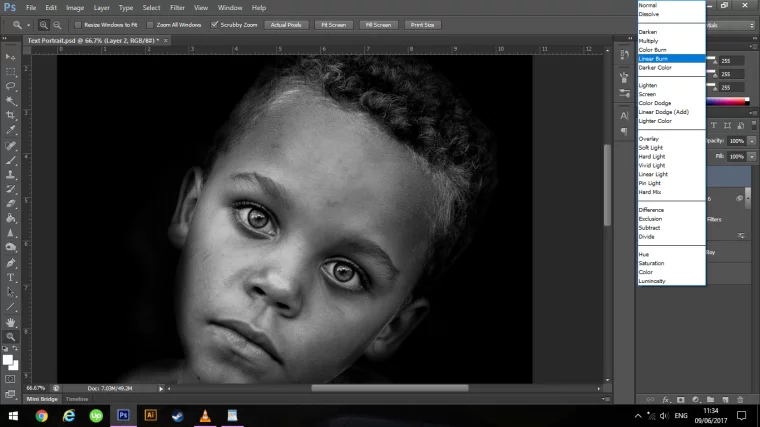
Now click and drag that layer to the top f the layers stacking so it’s above the Text Image.
Change its blend mode to Linear Burn and then click on your Text Eye Icon to make it visible again.
If you can’t find the Blend Mode Option then look at your Layer panel on the right-hand side, the one that holds all the Thumb nails of your edits, about one-third down the screen you will see Opacity.
There is a box to the left of this, usually, it will say Normal.
Click on that and you will see all the Blend Mode Options, Linear Burn is the 6th one down.
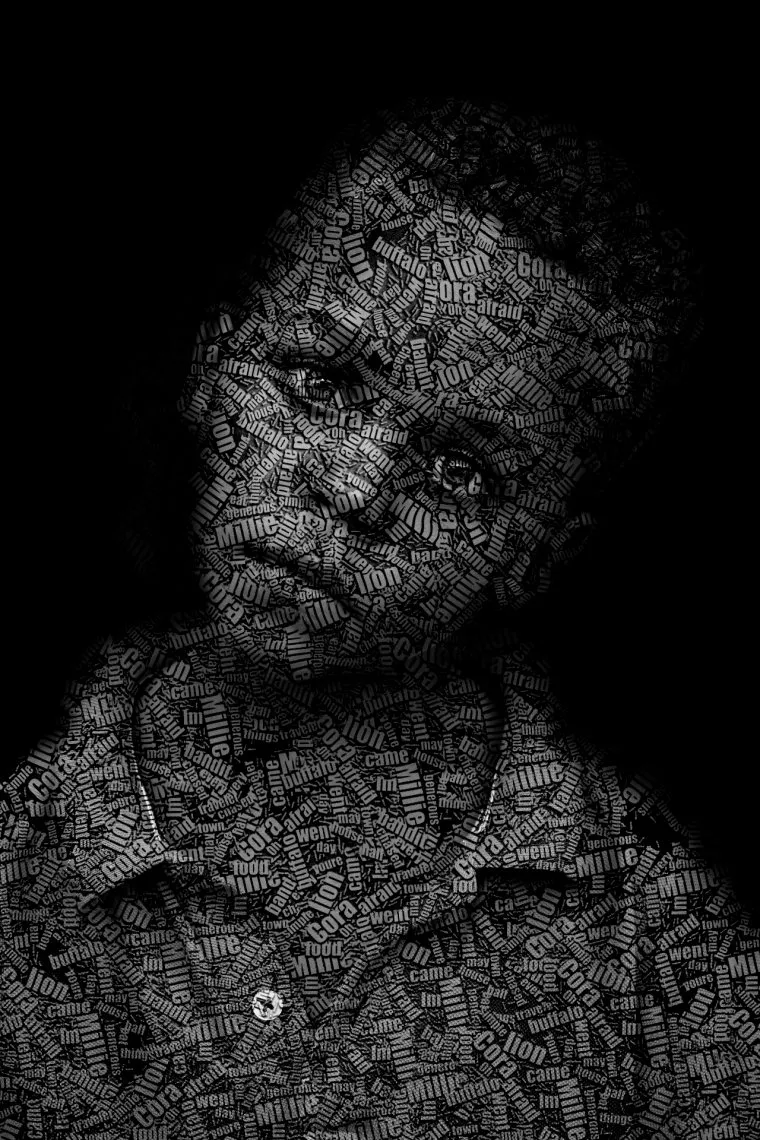
And we’re done hope you enjoyed and created a really cool image.
Next, how to manipulation eye reflection in Photoshop
Graduated from college in 2002 with a degree in Art & Design, I started exploring my way in Graphic Design and Professional Post Production. Full-time freelancer since 2011.


 Facebook
 Google +
Comments (0)
There are no comments yet.