Hi all, today for this Photoshop Tutorial I’m going to be doing something a little different, On my YouTube travels I’ve seen a few Tutorial knocking about recently showing you how to create a Photo Mosaic Image, so I figured I would chime in be give you a very simple, very practical and less technical way to do this.
I think all the technical stuff is great but it can be a little overwhelming sometimes, to be honest trying to remember all this stuff, now when I first started out in Photoshop I used to look at the sheer amount of tutorials and lesson and I was thinking how am I EVER going to learn all this.
But what I did have was a think out of the box mentality and once I started to use the Clone Stamp Tool I figured out I could do a lot of what was being done with all these technical ways with just that one Tool.
We are not here to talk about the Clone Stamp Tool but what I’m trying to convey to you is that you can do a lot of what you see being done out there with just basic knowledge of a few basic Tools etc.
The key to getting good at Photoshop is that there is not 1 specific way to do something, there is a whole bunch! I mean a WHOLE BUNCH!! I could do maybe one task 5 different ways to get the exact same result, some may be quicker or whatever but who cares, as long as the result is good that’s all that matter [and as long as you’re not taking forever to do it haha, we still must be rather fast(ish)]
Anyway, enough of my soapboxing and let’s get to it.
Ok.
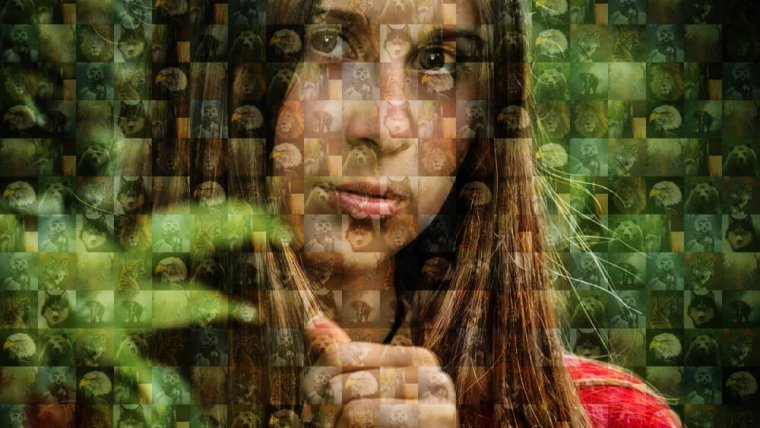
So the result I want to have is an image of a person, and pretend this person is a client or a friend or whatever, and they have asked me to do them a Photo Mosaic of them with lots of animals, because they work with animals and it’s their first love after ice cream and family.
Anyway, so first we must gather up some images of wildlife.
So where can we get these, well Pixabay is what I always use for my Free Images.
Go there or whatever site you use and gather up say 20 images or a variety of animals.
Oh and by the way, if you want to use cars or computers or anything else you can think of then you are more than welcome, maybe you have a load of images you took on holiday you want to use for your own self-portrait then by all means, whatever you are happy with, just as long as the concept stays the same which is, a face, with lots of pictures over it.
Cool!
So do that for whatever amount of time it will take, I’d say it will take me about 10 minutes to get my 20 images, so gather those now, oh and PS remember to get the main portrait image as well, it’s very important! and now I’m thinking about this, you don’t have to just use a portrait either, you could have your favourite new car and have a million images of you as the mosaic lol, um too weird? haha.
……………………………………………………..10 Minutes later…
Hello again! so you have your images yeah? cool, Ok next step is to create the files in Photoshop.
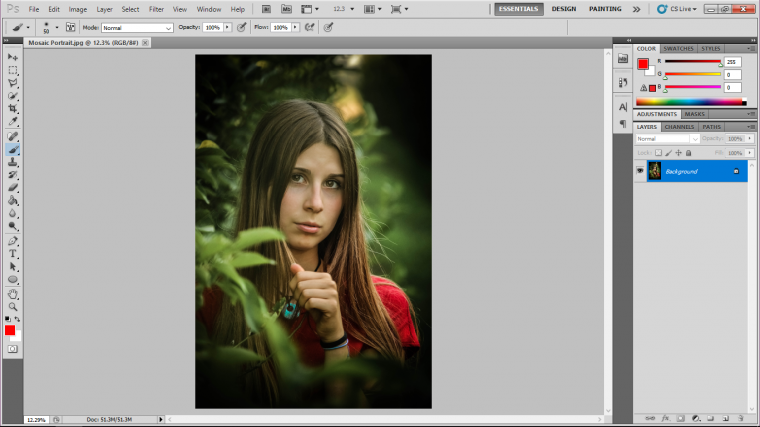
So this is my image below that I’m going to use below.
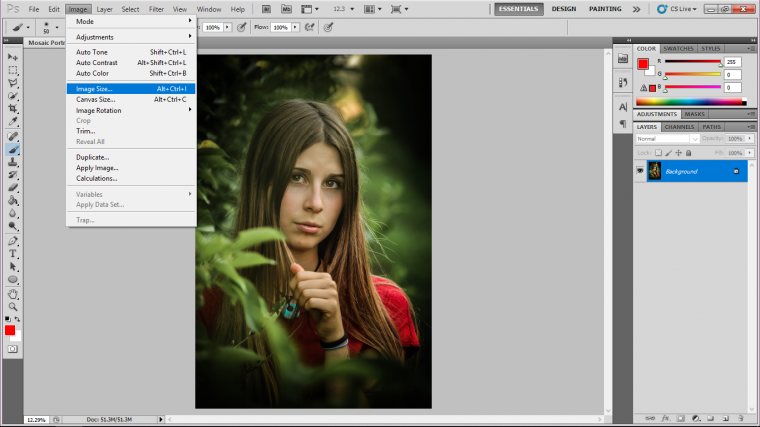
I’m going to go to Image – Image size and change the image to a more mathematically friendly number.
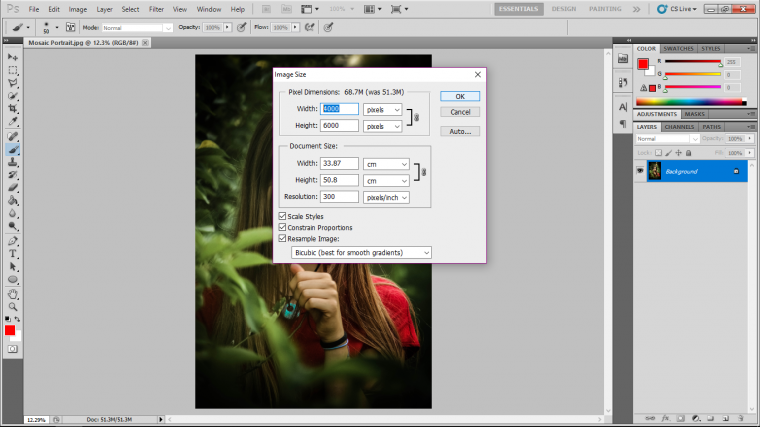
So my original image was about 3985, so I’m going to change it to a nice square 4000.
Make sure that when you have your image it is large!
If you have done have an image that will perfectly square up like this then done worry, go to File New.
There you will be able to change the sizes to suit, then it will just be a matter of copying and pasting your image in and sizing it.

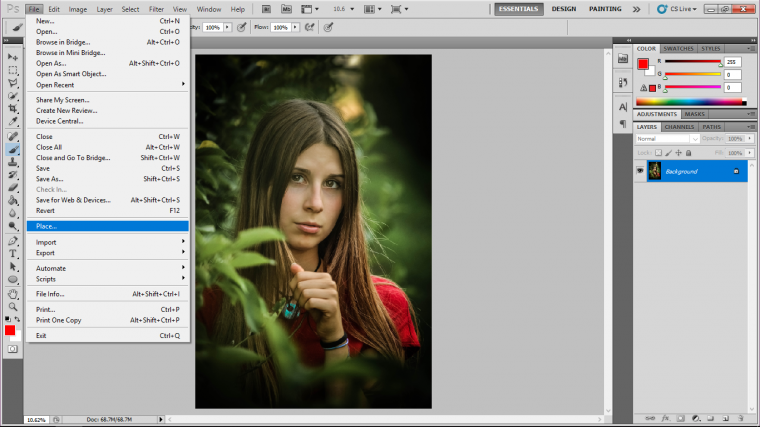
The way I would do this for best results is to go to File – Place, then do your resizing that way.
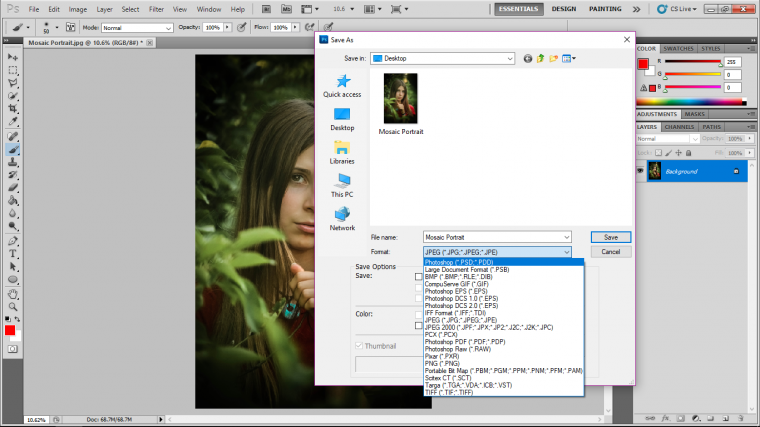
Now go to File Save As and save as a PSD file.
Ok so that’sit for part 1, we have learned all the background stuff we need to know and we have our starter file.
See you in 2.
See this quick way to use Vanishing Point Filter in Photoshop.


Please verify your software version before proceeding.
 I’ve verified my software version


 Facebook
 Google +
Comments (0)
There are no comments yet.