How to Create a Photo Mosaic in Photoshop: Final Toucheswww.sleeklens.com
Hi again, it’s funny we keep bumping into each other like this…so I guess you’re here for the final part of our Photoshop Mosaic Tutorial then, well good because I want to get it done and I’m sure you do too!
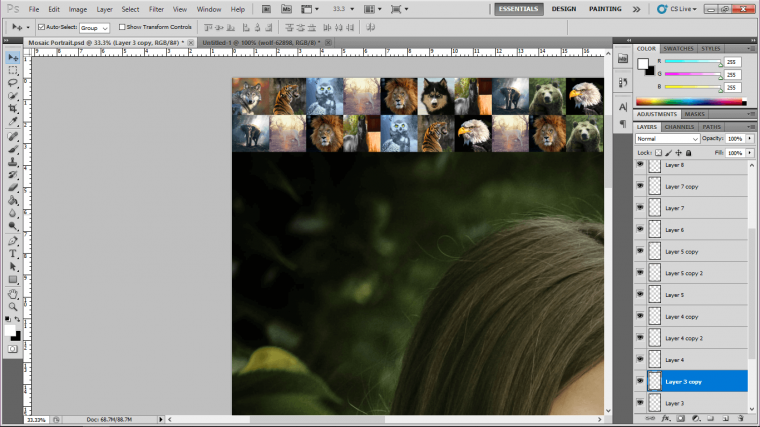
I assume by now you have all of your little 200px by 200px images all transferred over to your main file.
You will notice if you look to the right-hand side that you will have a lot of extra little layers there now, looks kinda messy but don’t worry we’ll soon sort these out and when we’re done it will look nice neat and tidy!
Ok so just to check you have the Auto-Selection checked yeah? just checking in case you may have done some work in between, you’ll see in just a second how important this little action is when we start to duplicate our images.
So there a few ways we can go about duplicating out layers and oh my goodness they would take a long time if you decided to go over to your layers individually and right click to click duplicate layer.
I think this might take you all day, so instead of that, we’re going to do it the fast way.
Here is the reason we have Auto-Select on…
Click on any one of your images and you will see that no matter where it is on the layers stacking order it will be selected so that you can work with it.
Now the quick way to duplicate your image is to hold Alt on your keyboard while you have the arrow key at the top left selected, you will now notice that there are two little arrows, one overlapping the other.
This now enables you to drag out a copy of the image that you have selected.
How cool is that!
So go through each image and do this until you have a new layer (on screen no on the Photoshop layers section just to be clear) of images just below the first one that you see, just like in the example image below.
You will see that I have them all places in different areas to start the mosaic.
When you do this you will notice that when you get really close to the image you want to place your duplicated image beside it will automatically snap the image on to the side of it so there will be a perfect snug fit.
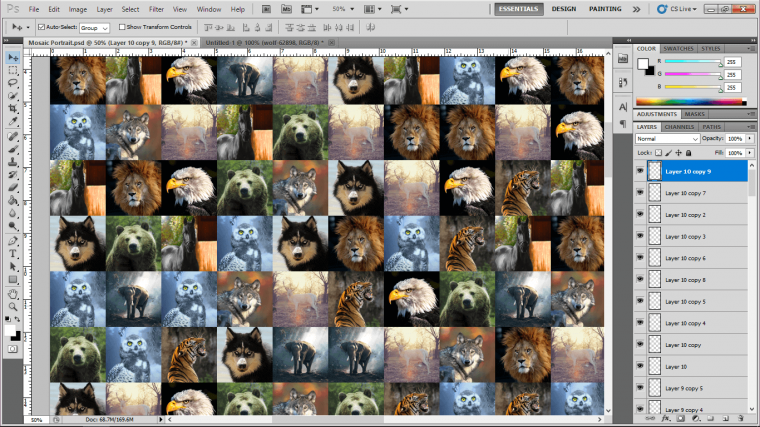
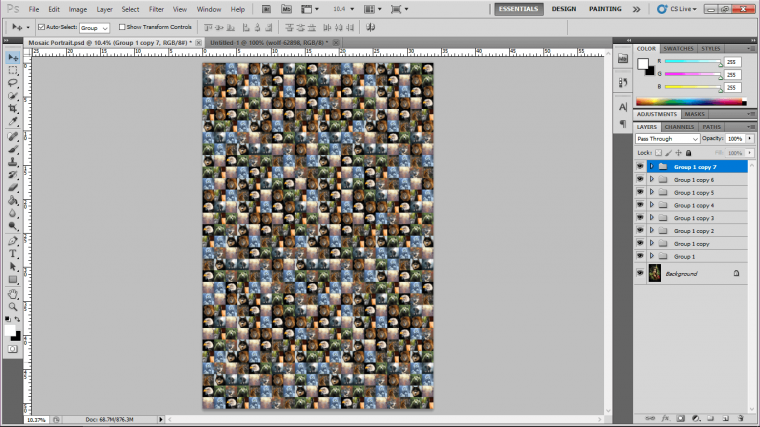
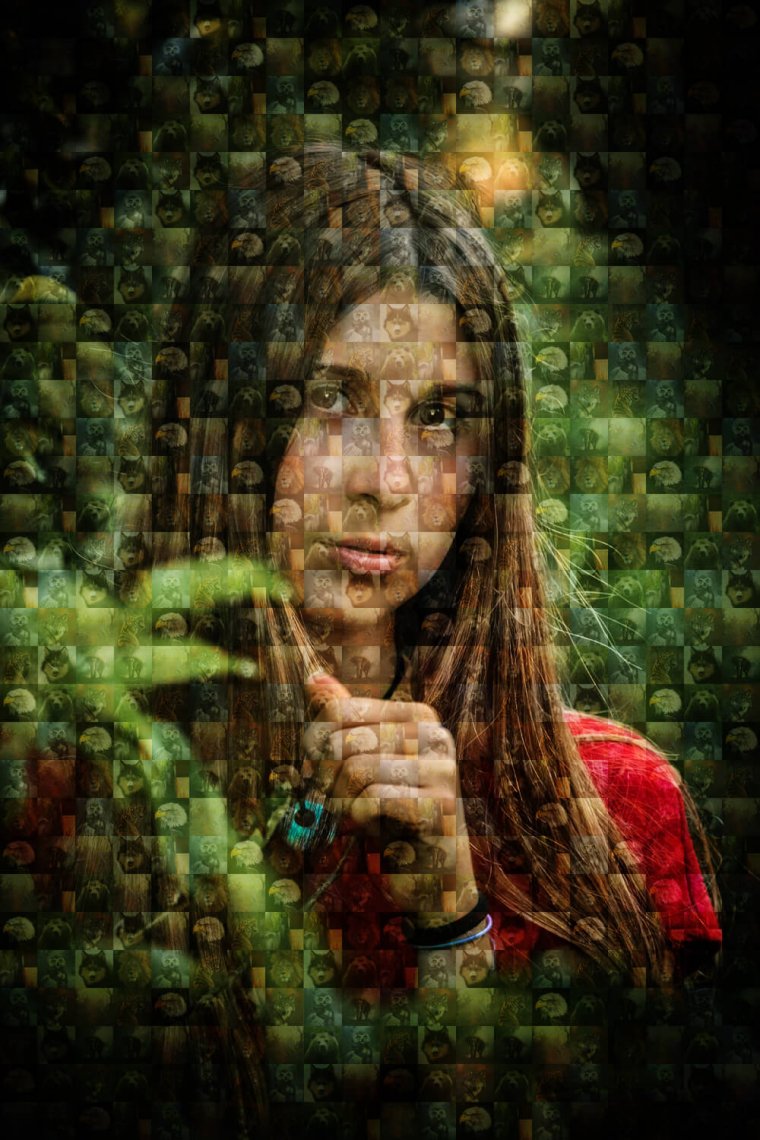
Now do this until I get a solid block on images, 10 across and 10 down, I think that should be enough to give out the image a lot of variety, and don’t worry about using the same image twice beside each other here and there just as long as its significantly randomised.
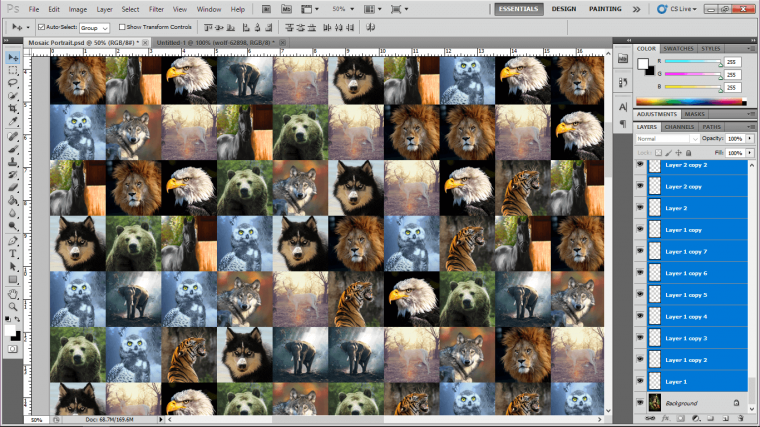
Now we have to group all the layers together, to do you look over to the right hand side where all your layers are stacked, scroll till you are at the very top and click on that layer.
Now scroll right down to the bottom of your stacked layers, now while holding shift click on the bottom animal layer!
You will now notice that they have all been highlighted minus the very bottom layer which is the layer with our model on it, we don’t want that highlighted so make sure it’s not.
If it is just go through the process again.
Now hit Ctrl + G on your keyboard to group everything together
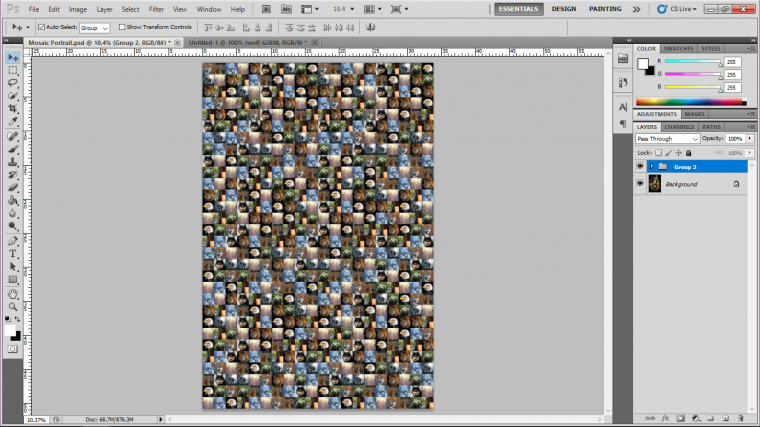
Now treat the 10×10 image group as a single image, that you can copy just like we did with the original 200×200 images.
Place them about randomly until you have filled up the entire image but just make sure if any over lap that they fit snug.
You can do this by zooming in using the plus and minus keys on your keyboard and then clicked on to that group use the arrow keys to nudge them into place.
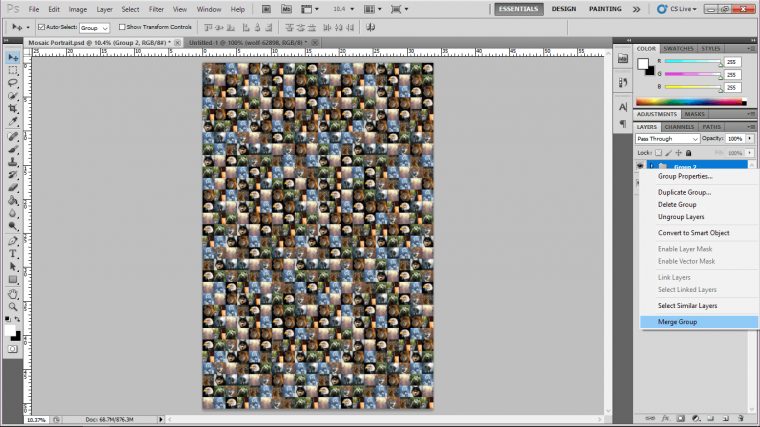
When you’re done select all the groups and hit Ctrl + G again to group them all again leaving the bottom layer with the model alone.
Then right click on the new group and click on Merge Group so it becomes one image.
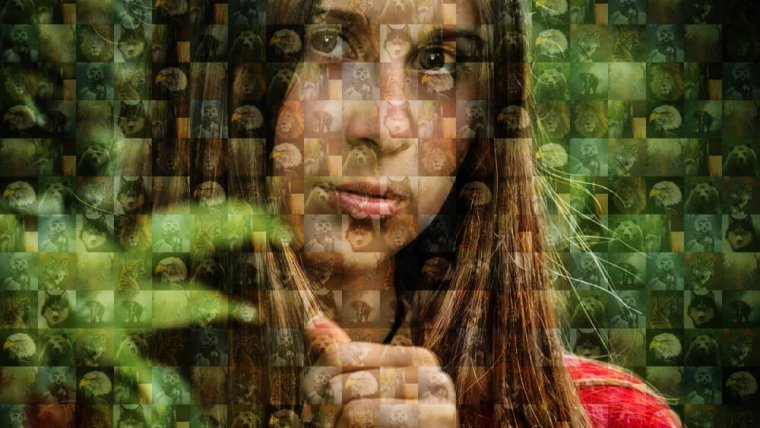
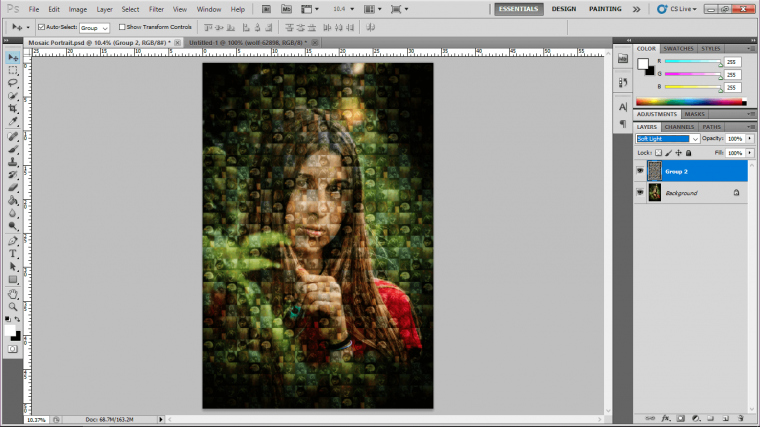
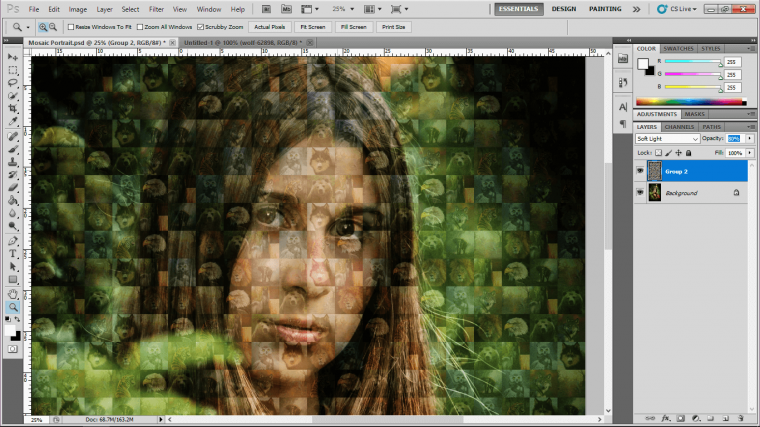
Now we are going to change the blending mode to Soft light.
You will see the little drop down box for this just above your layers on the right hand side, most likely there will be the word ‘Normal’ click on that and find a soft light.
Then the last little touch is to drop the opacity to 80%, you will see this option just beside the Blending mode options in the layers panel.
Graduated from college in 2002 with a degree in Art & Design, I started exploring my way in Graphic Design and Professional Post Production. Full-time freelancer since 2011.


 Facebook
 Google +
Comments (0)
There are no comments yet.