Hi all, so right now where I live it’s summer and kinda nice outside, so I thought for this Photoshop Tutorial I’d take things the other way and show you how to create a Moody Dark Effect for your Images.
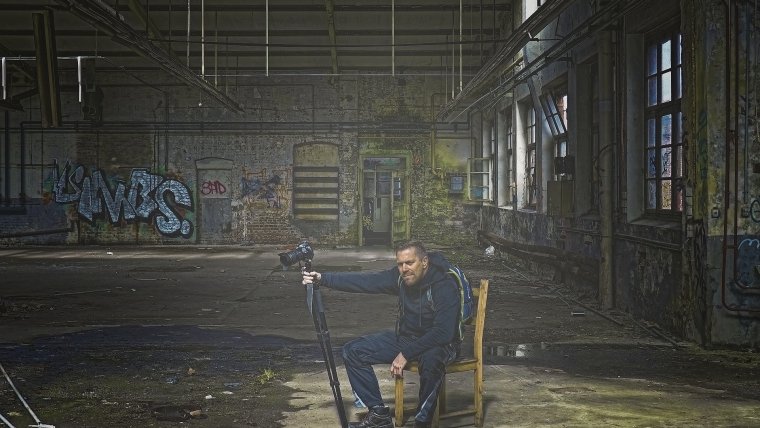
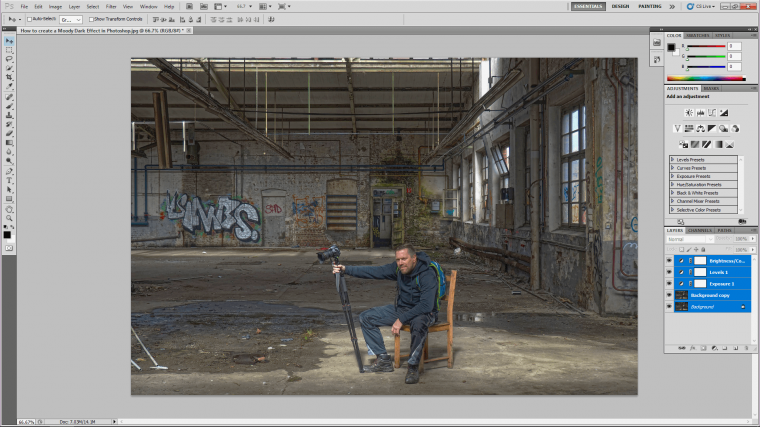
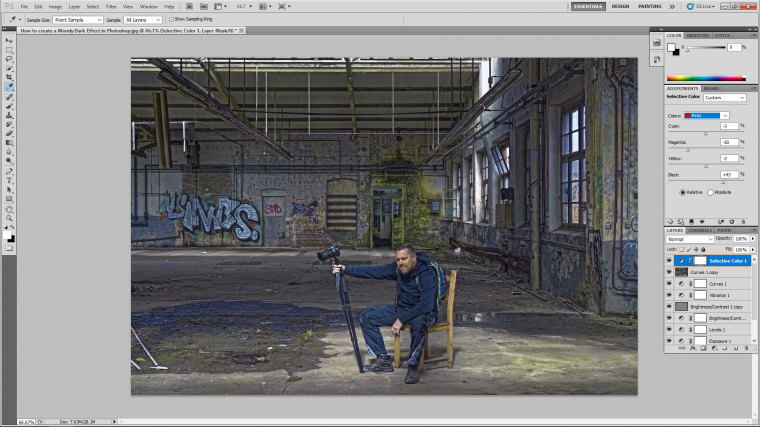
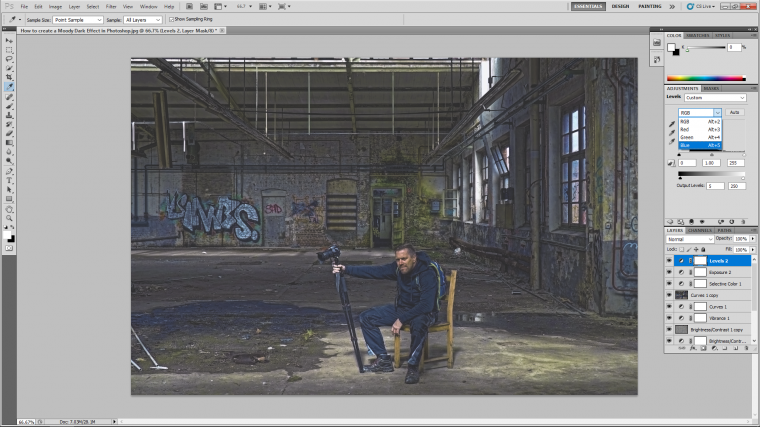
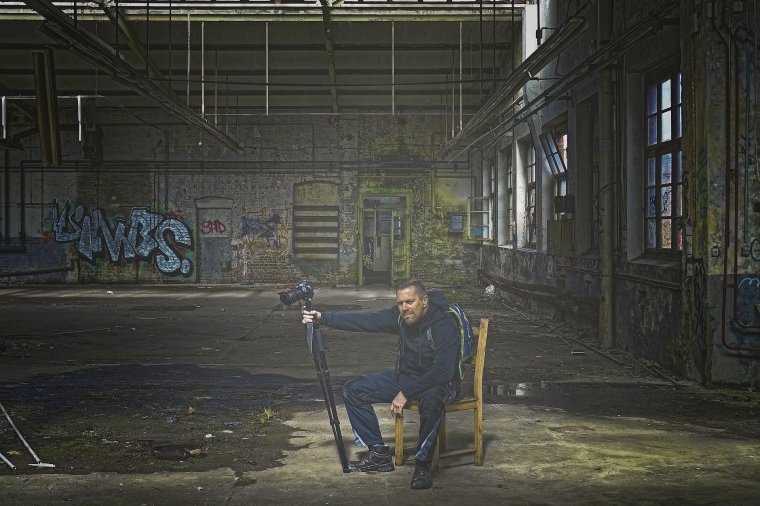
So check out this cool image that I got off of Pixabay.
Already it has a nice mood to it but I’m going to take it to the depths of misery! lol just joking, I’m going to create a nice mood that will really bring out all the little details in the background and set a somewhat sombre yet mellow feel to the entire image.
So keeping in theme with the tutorials I’ve been doing recently I’ve been scanning or Instagram and I see a lot of images that take on the effects that I am about to show you, some I’m not sure of the exact process that the Photographer took, it could be as simple as they just slapped a few filters over their images and with most of the images being viewed on a phone screen it’s going to look good.
They could also have used some presets like the ones on this site, but I’m going to show you my interpretation/process that will work on both small and large images, because you may want to print some of your results…who knows.
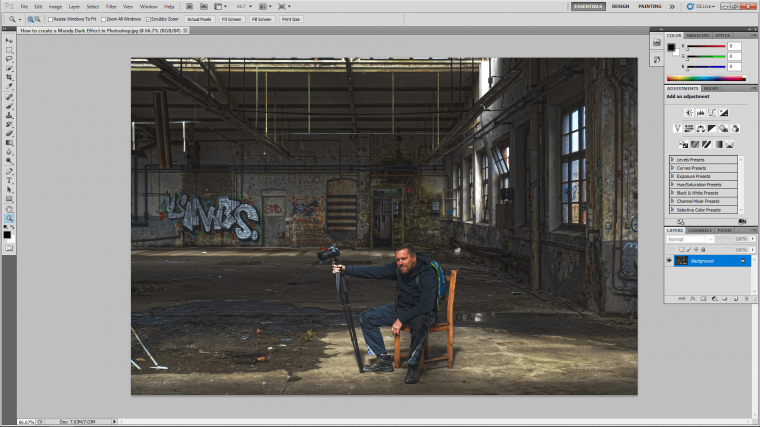
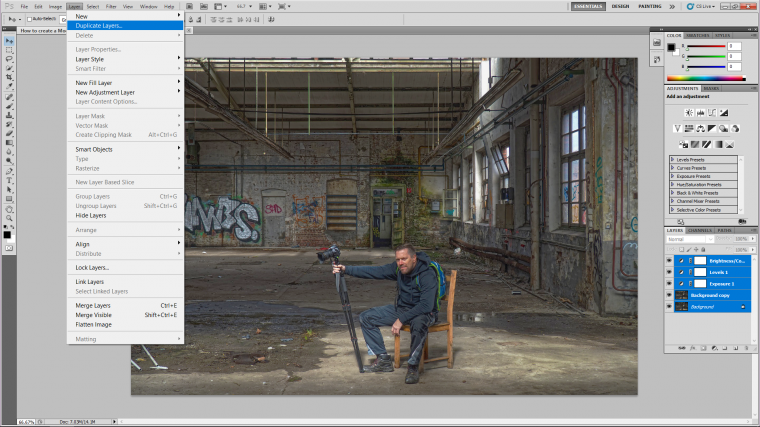
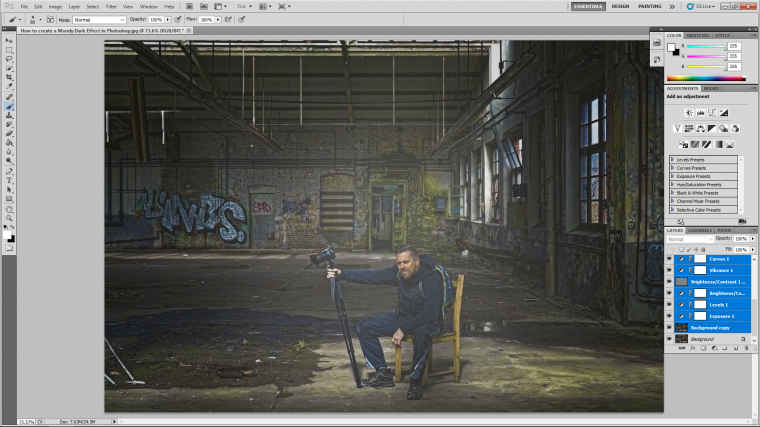
Ok let’s get to it, so first lets make a duplicate layer of our images as it’s always good to have a backup as sometimes you never know were we will go with the editing process further down the line and at least you’ll have a full backup copy of the image there just in case in future you end up losing originals or something.
So click on your layer on the left in the layers panel with the padlock on it and then go to Layer – Duplicate Layer.
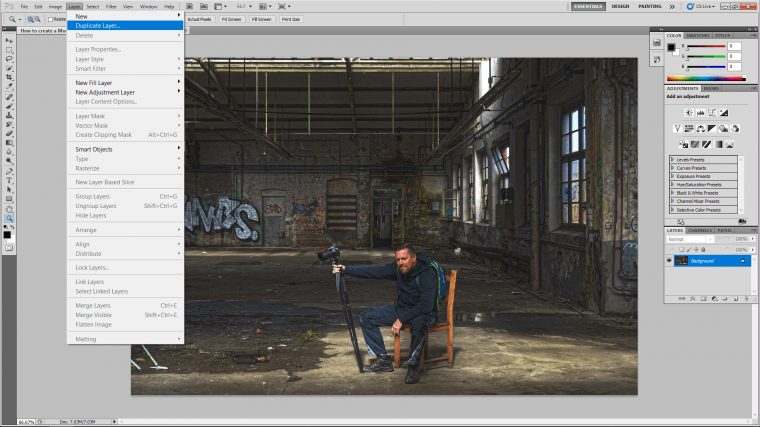
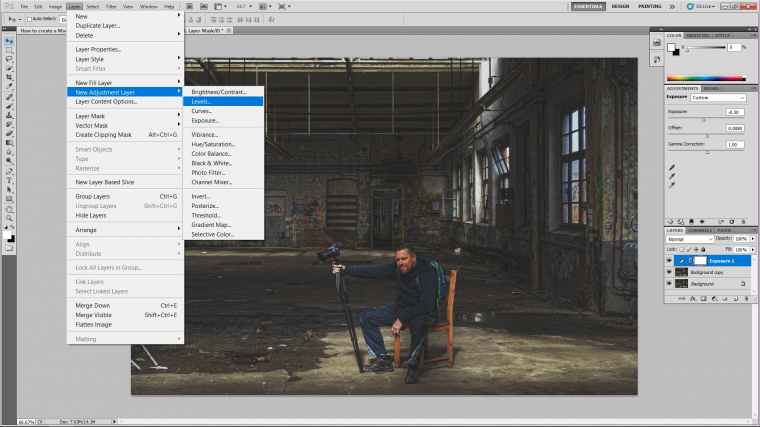
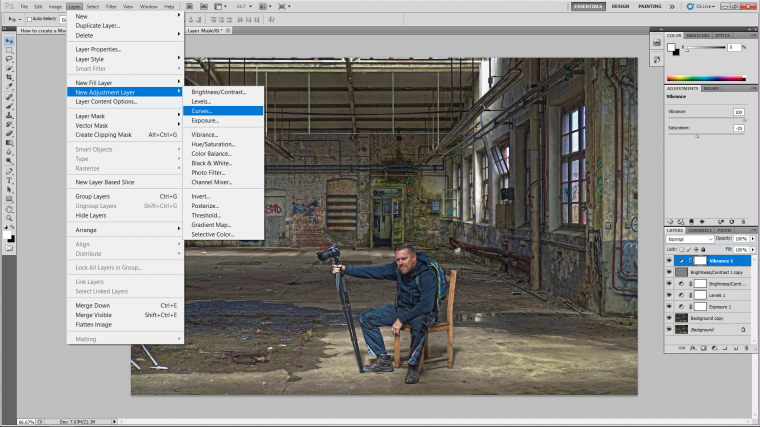
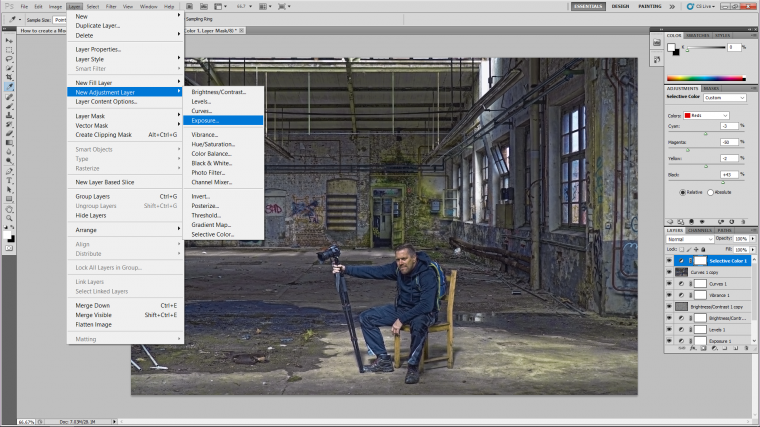
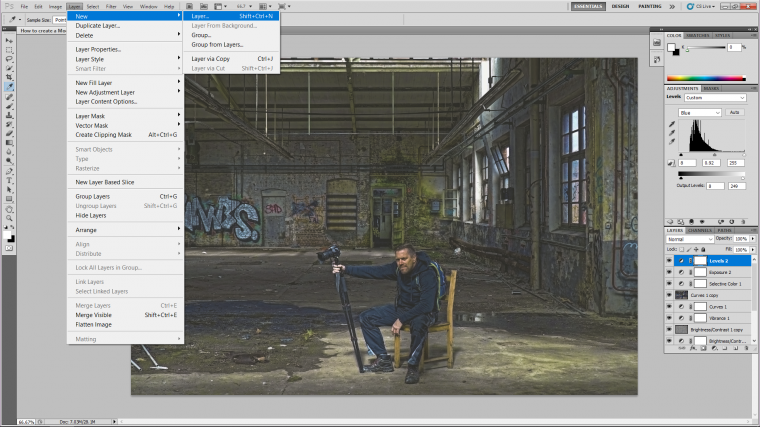
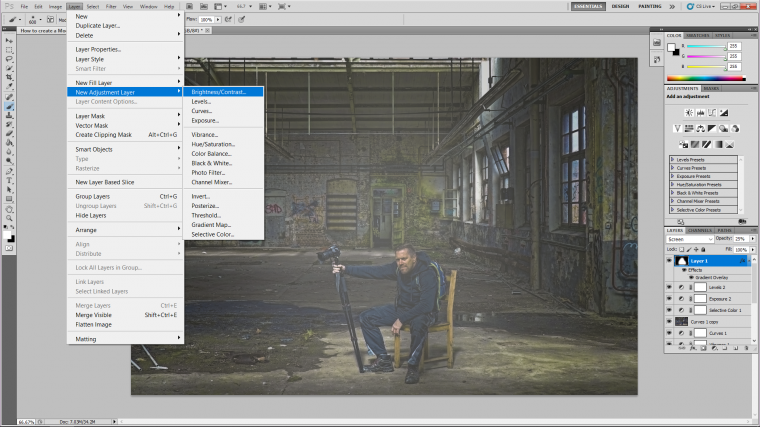
Cool and when you have that done you will have to then create a new Adjustment Layer for Exposure.
So go to the top menu and you will see Layer there, just as shown below.

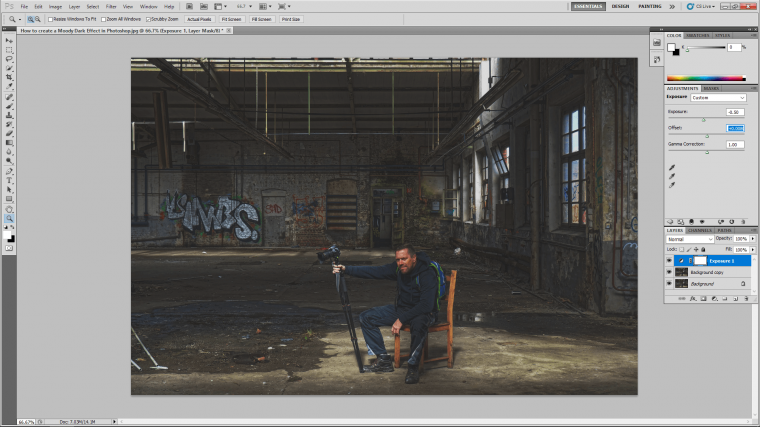
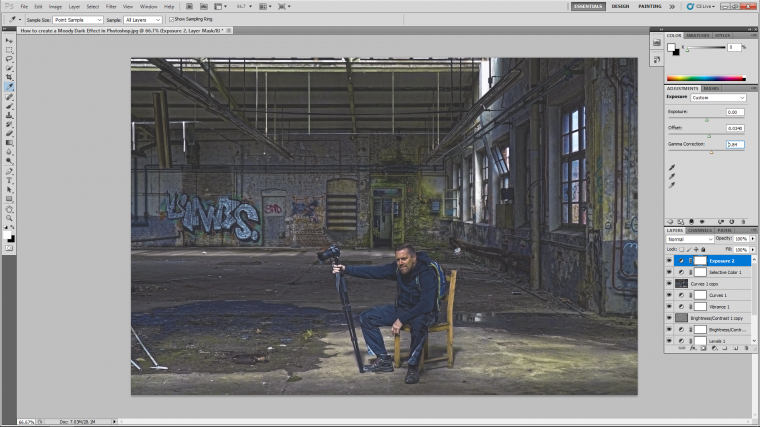
Once you click ok, you will now see that panel appears on the right-hand side above where the layers panel is, for this I’m just going to click and drag Exposure to the left just a little and Offset over to the right a little, Gamma Correction I’ll just leave that as it is for now.
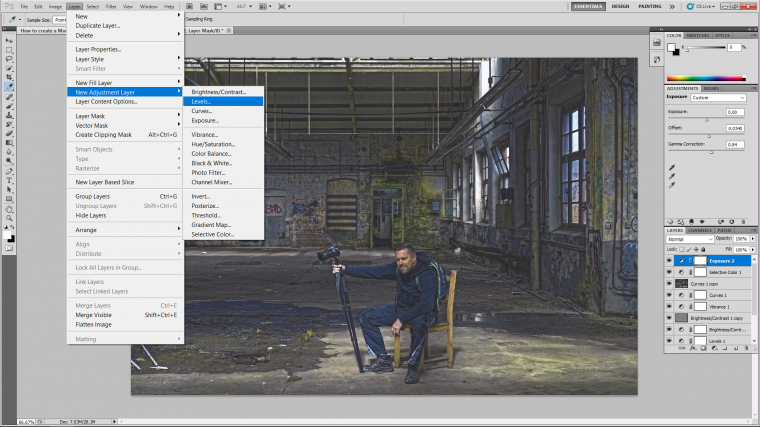
Next let’s take a look at what levels does for us…
[Note: I’m going to be going through a few of these so this is not a set path, but what I want you to see is that you can do many of the same kind of things many different ways, some do create subtle changes though! so take this time now and explore and try to notice what each does to your image]
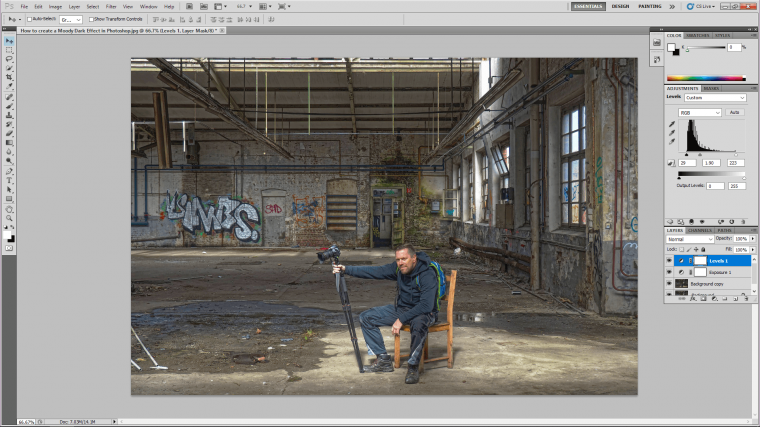
So open your Levels layer up.
You will now see the histogram, so my general rule for this is to take each side of the graph, and move the little slider tabs in on both sides so they meet the graph, then I will take the middle slider tab and move it towards the left a little bit, if you want you can follow my example below.
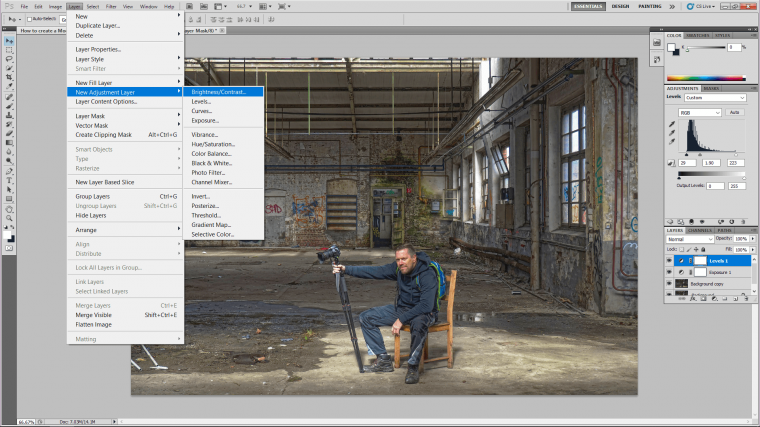
Next let’s do the same and open Brightness and Contrast.
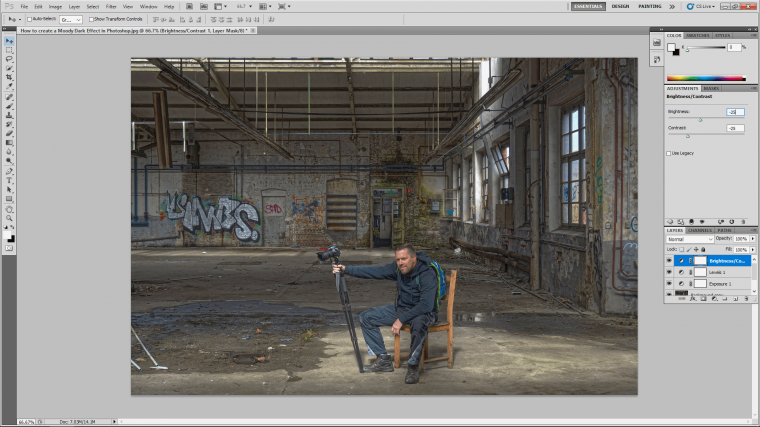
With this adjustment layer, I reduced both to -25 as I wanted to lighten the image up for the future adjustments and have everything stand out and be clear.
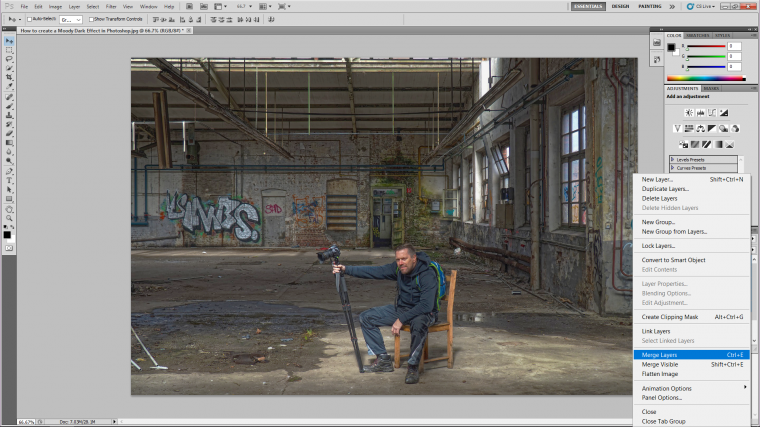
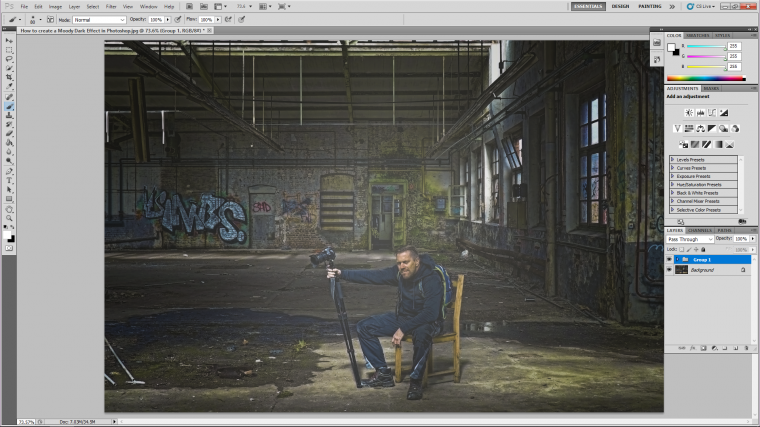
Ok cool so I’m happy with what I have so far, so now I’m going to join all the layers together, the way I do this is to click on the top layer, then hold shift and then click on the bottom one.
You will see that everything is now highlighted.
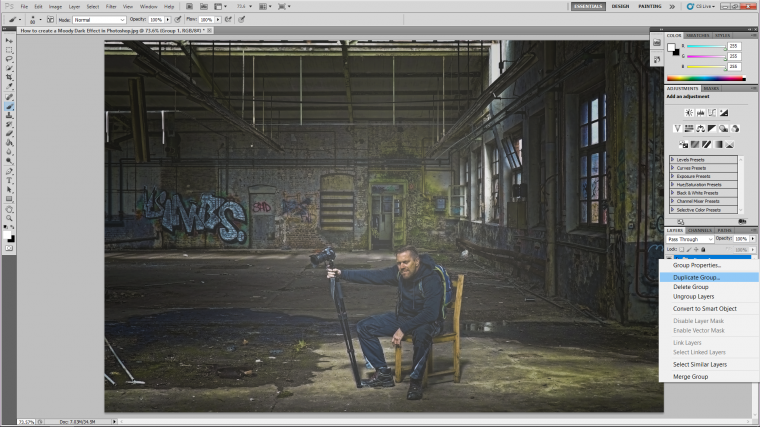
Then go to your layers menu at the top and choose Duplicate Layers.

Then you can right click on them and choose Merge Layers to create the one layer.
Next, we’ll add a little bit of sharpening, the way I do this is to click on the new layer, then go to Filter up where you find the Layers drop-down menu, go to that then Other, then High Pass.
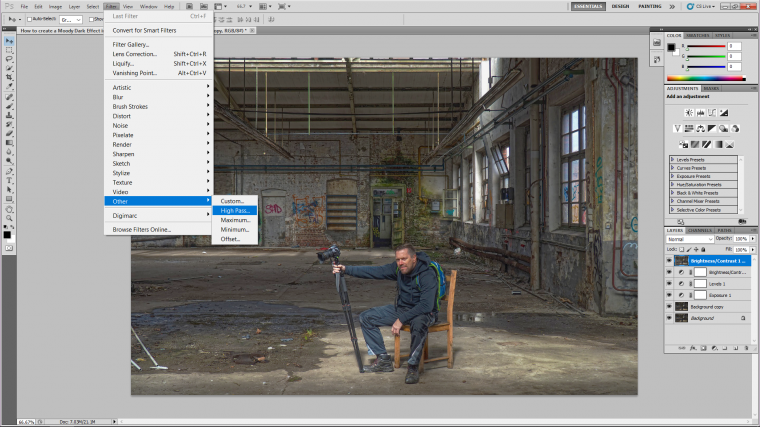
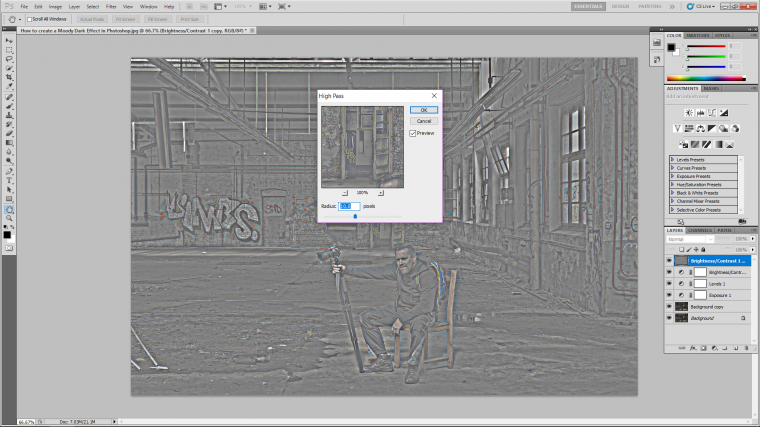
I went with 10 pixels and then I hit OK then save up.
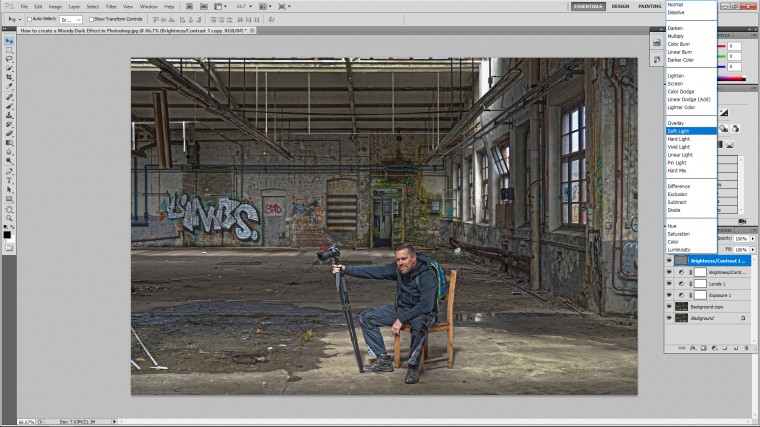
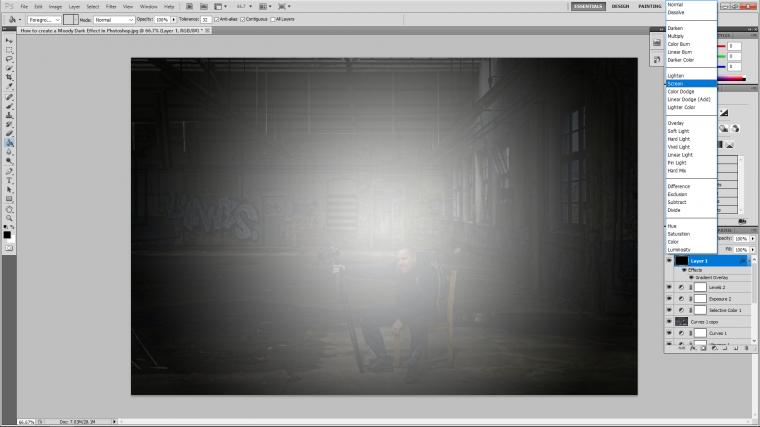
Now you are going to choose a Blend Mode called Soft Light.
If you are a bit stuck as to where Blend Mode takes a look at your Layers Panel on the right-hand side, there you’ll see the likes of Opacity and a drop down with the word ‘Normal’ click on normal and you’ll see the options for the blend modes sprint up right in front of you and you’ll find it there.
When you do that you will see your image again as it was, but the difference is that it will now be a little bit sharper.
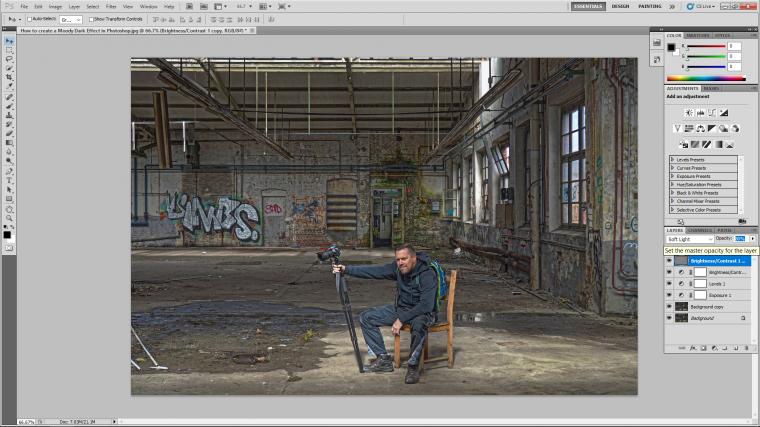
If it’s too strong you can drop the opacity of your layer just like I did below.
80% was good for me.
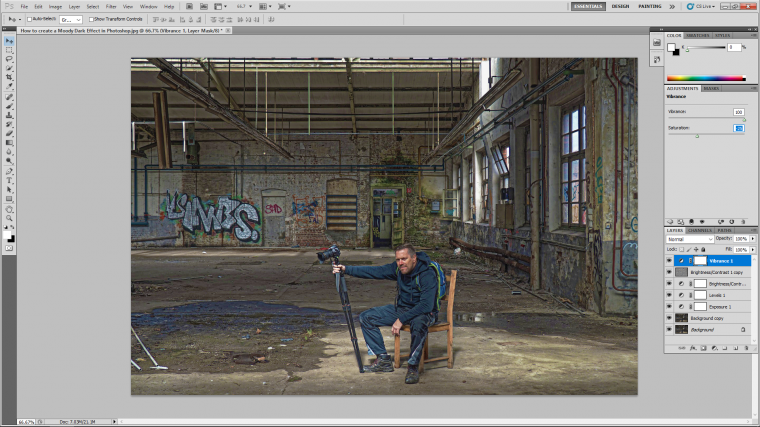
After we’re done there we are going to add a Vibrance Adjustment Layer.
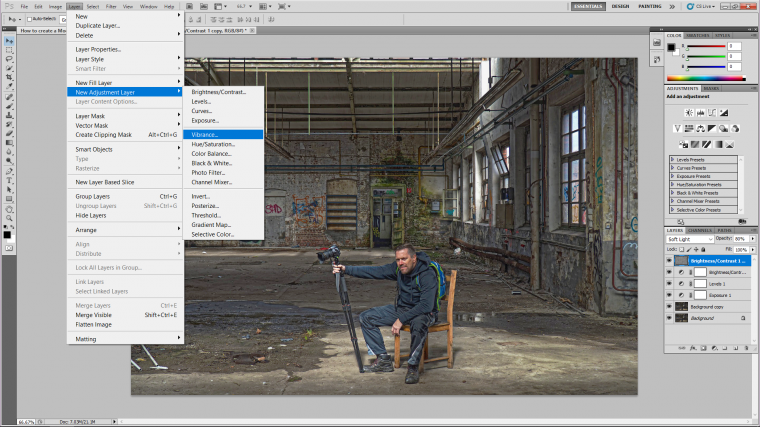
So what I want to do here is pull some of the colours out but have the greys remain grey and bleak.
So I’ll shift my Vibrance slider the whole way to the right, then I’ll pull it back by using the saturation slider at the bottom, I’ll slide it to the left until my image starts to look decent again.
Your colours should now be that little bit stronger with the greys remaining dull.
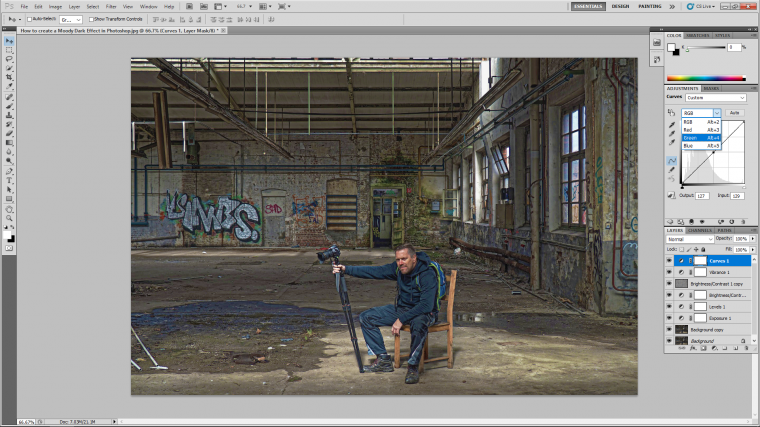
Next, we’ll mess with Curves, so the same process, open up your Adjustment Layer.
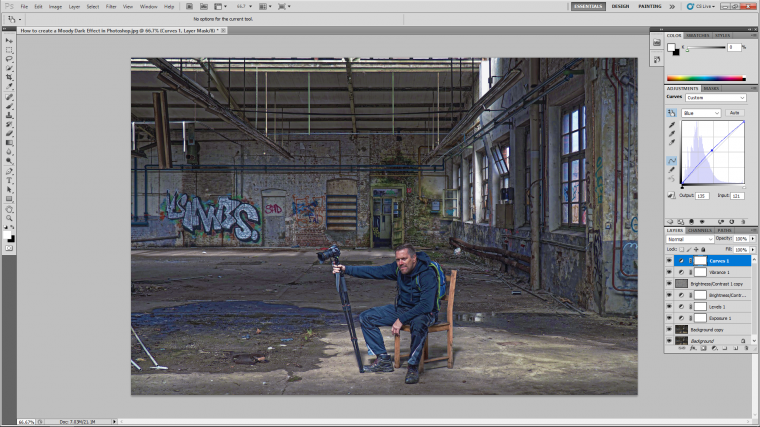
Click where you see RGB and the individual colours will now be available to you.
Take Green and Blue and pull the centre of the horizontal line up a little.
Don’t go crazy with this, just a little will do.
Ok just as we did before, select all the layers and merge them together.
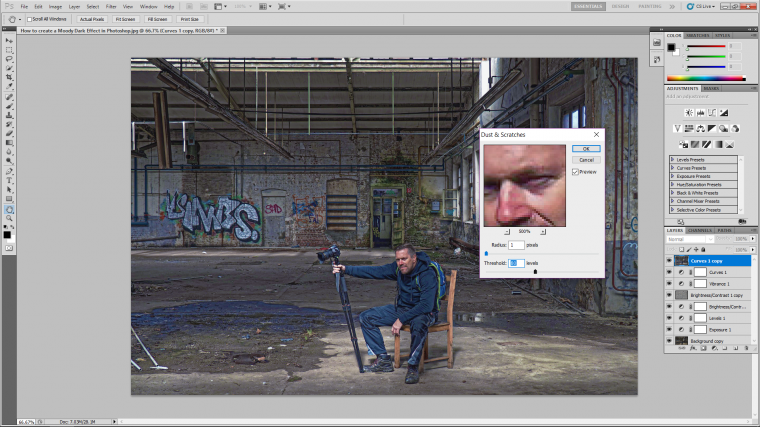
Then go to Filter – Noise (up in the top menu)
In there you’ll find Reduce Noise and Dust and Scratches.
With Dust and Scratches leave radius where it is and shift Threshold to the right, I moved mine up to level 80.
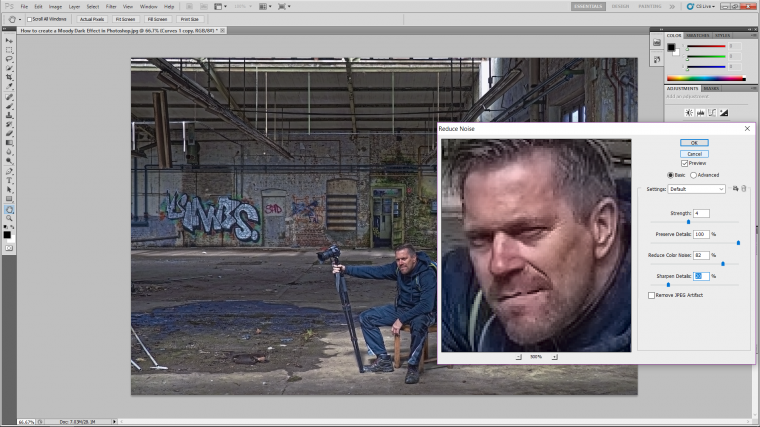
With Reduce Noise I just played around with it until it looked kind of gritty like the image below if you wish you can try out my settings for reference, if those settings are too strong just pull it back a little.
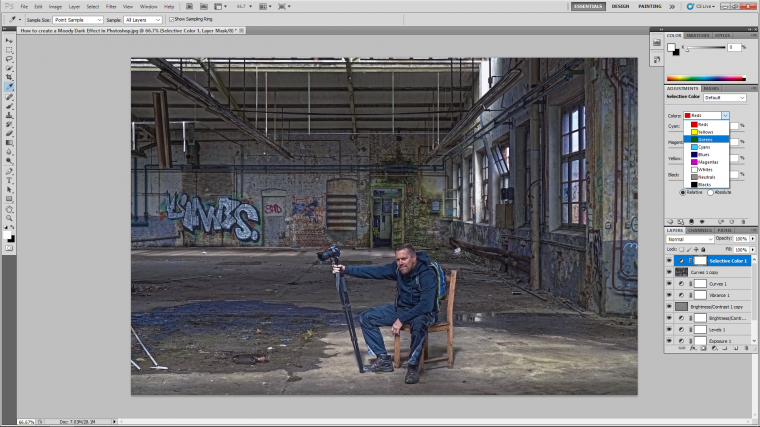
When that’s done it’s time for a bit of selective colour editing, open this up just like all the other adjustment layer.
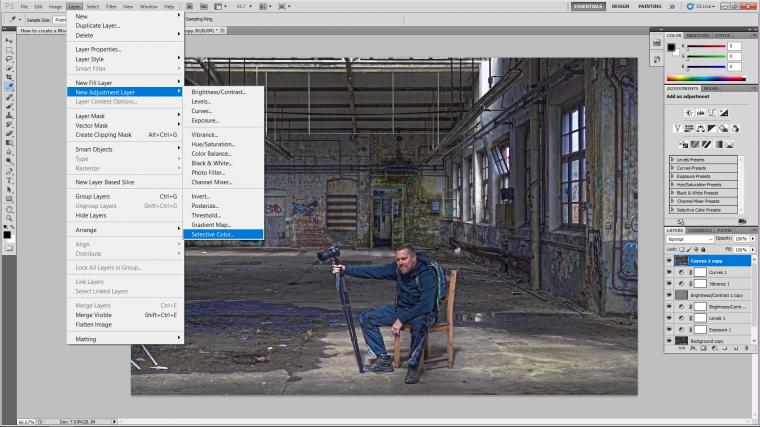
Go through each colour you’d like to strengthen as I did, this will be totally subjective, do what you feel is cool, I paid special attention to the green around the door and the blues again with his clothes and the puddle.
Once more create an exposure Adjustment Layer.
This time leave Exposure but move Offset and Gamma Correction to the right a little until your image gets a little hazy.
Next Levels Adjustment again.
But this time instead of the three little sliders concentrate on the black and white bar below.
Pull the two little tabs in towards the centre just a little bit.

And just as we did before with the RGB in curves we can do the same here, I did what we just did with the black and white tabs for the blue option to mood my image down.
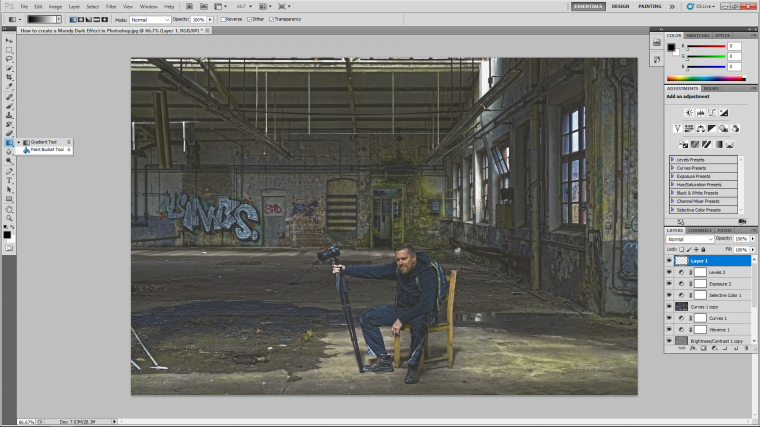
When that’s done it’s time to do a little bit of Gradient work! but first, go to where you created the Duplicate Layers and go to New – Layer.
Choose your Paint Bucket Tool as shown below and fill the screen with Black by clicking on your image.

Go to the layer that you just created and double click on it.
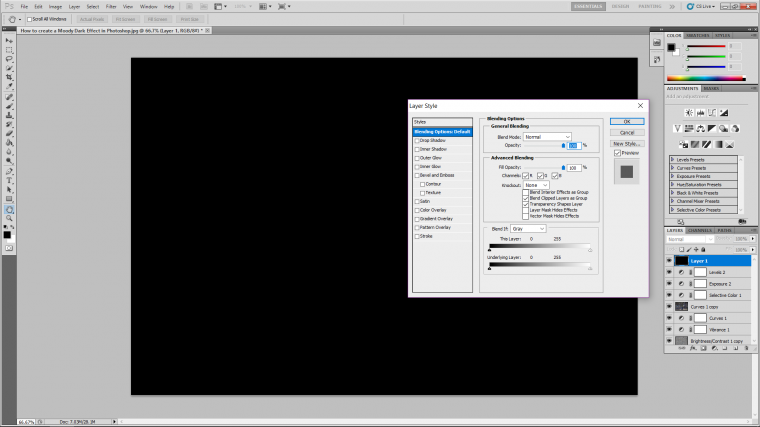
Look for Gradient Overlay and click on it.
In the options look for style and change it to Radial then click OK.
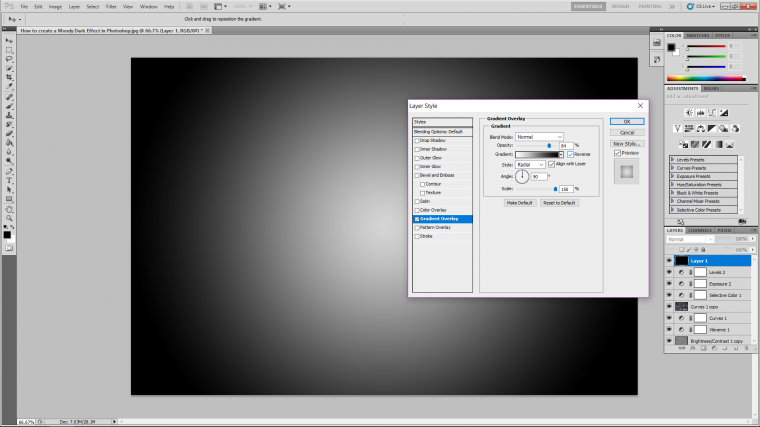
Now change the blend mode just as we did before with High Pass but this time change it to Screen and then drop the layers opacity to about 25%.
Choose a new Brightness and Contrast Adjustment Layer.
Shift Contrast to the right a good bit, probably somewhere similar to mine in the image below.

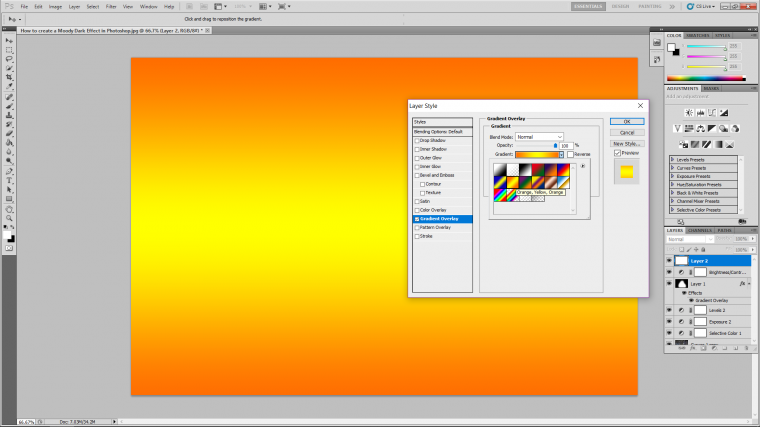
If you wish, and it’s not necessary, but you can create another Gradient Layer as I have done below but try out some colours options and then drop the layers opacity a good bit till it’s barely visible, I used the yellow and orange gradient as I thought it would pull some flesh tones and background graffiti out a little.
Now collect everything together again and hit Ctrl G to group them, then you can merge the group but first right clicking and creating a duplicate of it and then merging.

The last thing we’ll do is to go to Filter – Sharpen – Sharpen just to add that little bit more grit.
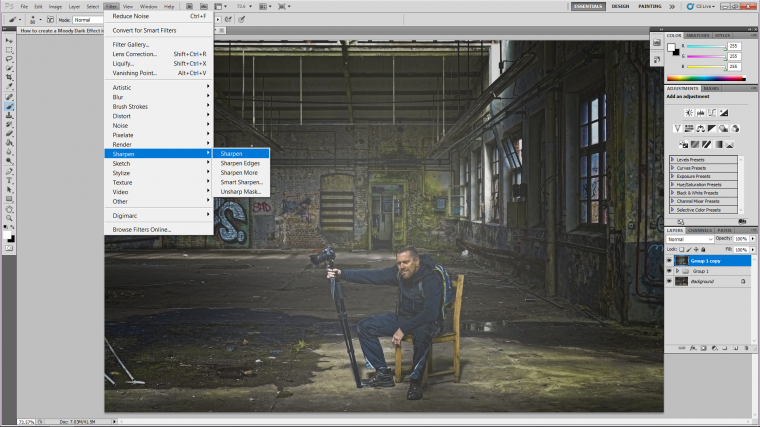
And by now you should have a pretty cool gritty moody dark looking image to depress all your Instagram follower with 🙂


Please verify your software version before proceeding.
 I’ve verified my software version


 Facebook
 Google +
Comments (0)
There are no comments yet.