I’m going to show you a cool Effect in Photoshop that you can use to improve your Images.
So what you’ll learn to do is how to create this awesome technique quickly and it’s called a Luminosity Mask.
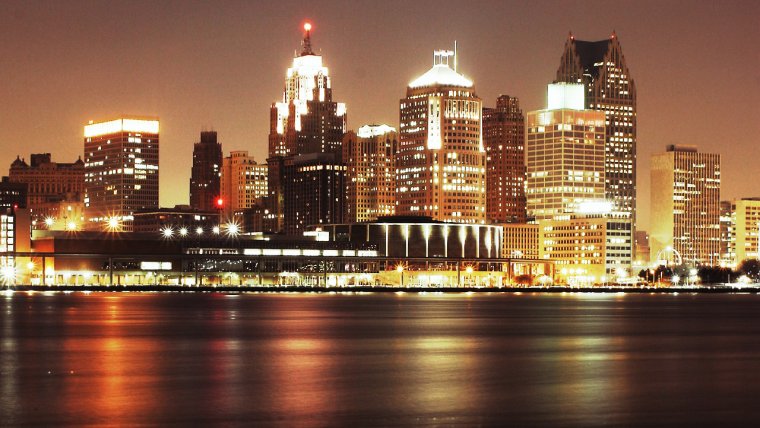
A lot of times when you look at a finished Image you will notice that it is darker than you first imagined.
This is where we can use the Photoshop Luminosity Mask to it’s full effect.
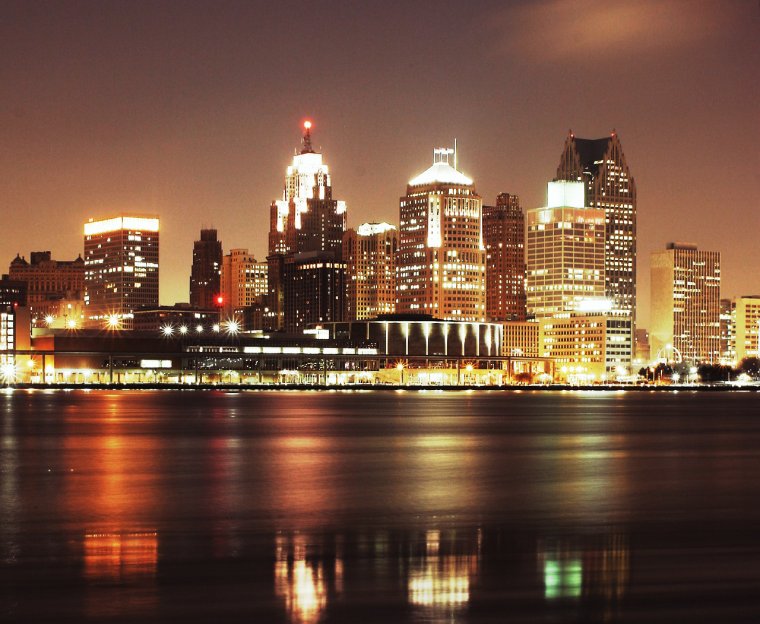
If you look at our image today you will see that it does look very good, the lights are great but it is still quite dark.
A Photoshop Luminosity Mask will enhance all the good parts of this Image.
The way we do this is by blending a lighter version of the image in with the darker image.
So to start we must duplicate our image and brighten it up a little so that we can use it.
To duplicate you go to Layer – Duplicate Layer.
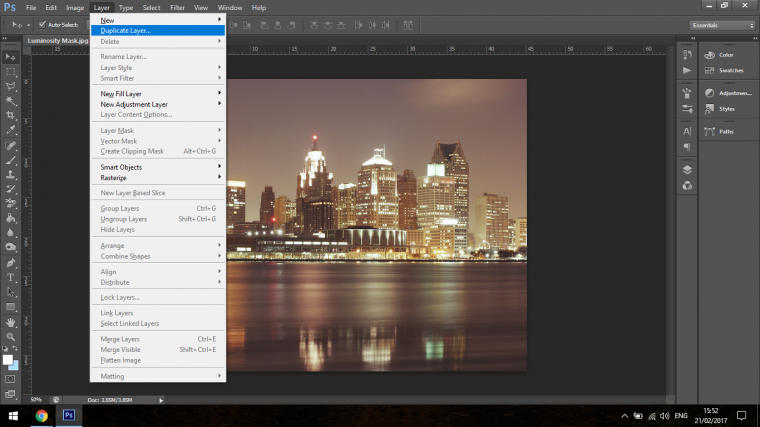
Then you can name your layers according to what we will be doing with that layer, so I’ll name the bottom one Bright Layer and the top as original. Your bottom layer will also have a padlock icon on it to indicate that, that layer is locked, you will have to double-click this to open it up.
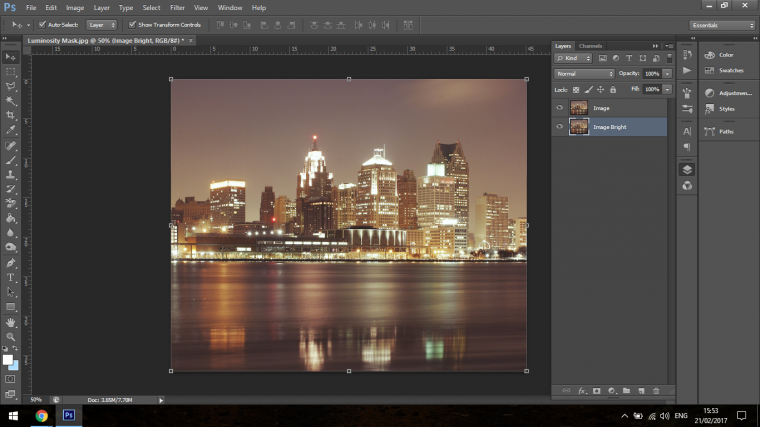
Now we can Brighten our first image by clicking on Image – Adjustments – Levels
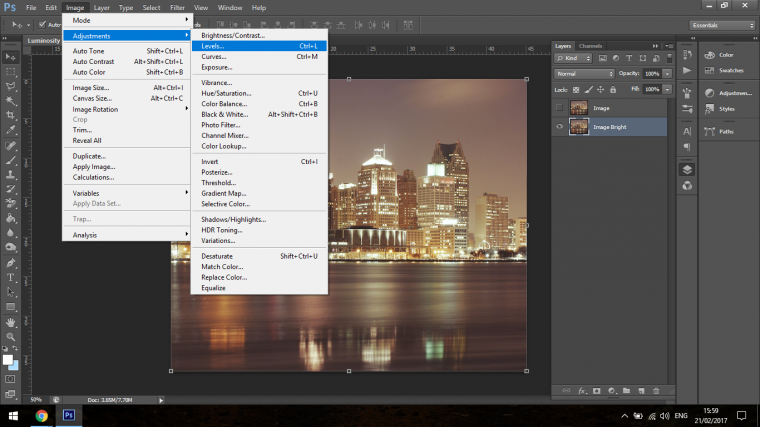
Your level panel will now be available, in that you will see the histogram with 3 slider indicators at the bottom of it.
You will have to click on the one on the far right and drag it toward the center about 1/3 of the way in.
Just enough to increase the image without turning it into this crazy blown out image, so like me you’ll probably have to try a few times as it can be hard to judge.

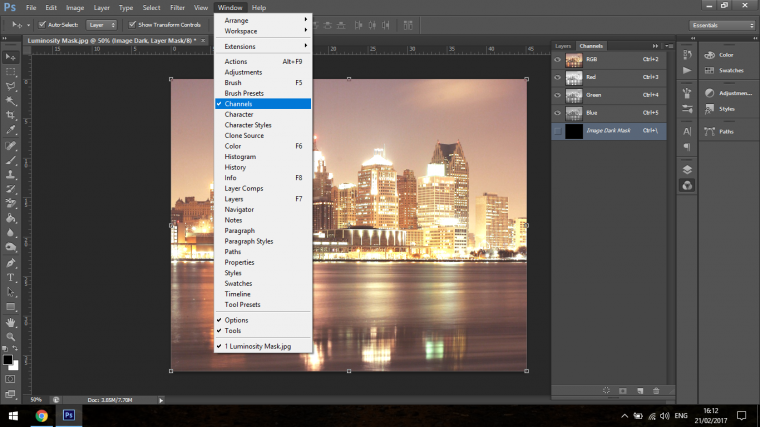
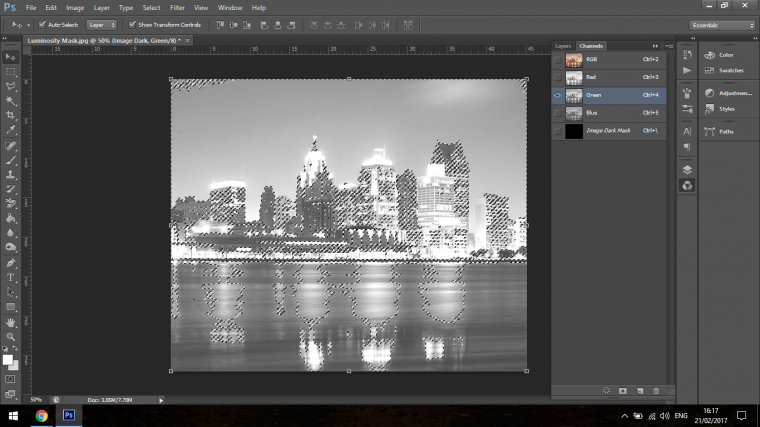
Next, you will have to go to Channels which is the panel beside my layers panel. If you can not find it then you can find it in Window – Channels.
I found that Green was the best channel so what you want to look for is the biggest contrast between light and dark.
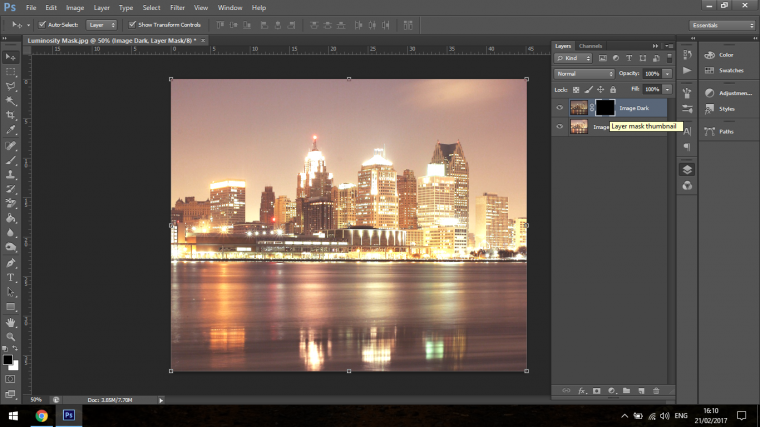
Now you know that you will want to go back to your Dark image and create a Mask.
If you look at the bottom of your layers panel you will see 7 icons, at the end will be a little Recycling Bin.
You will find the mask Icon 4 to the right of that, it looks like a dark circle within a square.
There will now be a little box beside it either in white or black if it is white click on the box and key in Ctrl + I.
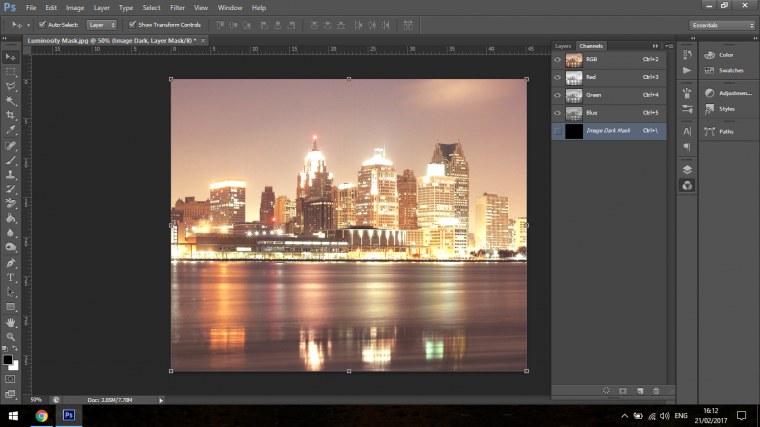
Now go into your Channels and click on the Channel you choose.
Once you do this, click on my Channel, Hold Ctrl and Left click, that way there will be a selection created.
Pro Tip – To remove tan lines using photoshop
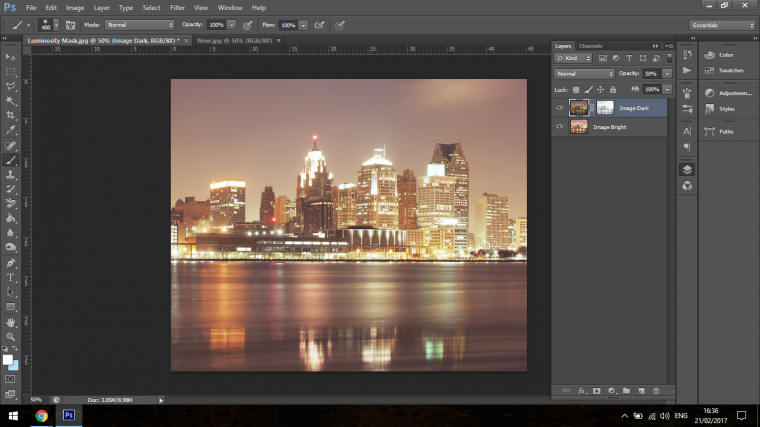
Now I go back to my Layers Panel and click on my Dark Layer, make sure the Eye Icon is clicked on so it’s visible.
When you do this, click on the Black Box (The Mask)
Now you can Key in Ctrl + H to hide the selection.
Press B on your keyboard to activate your Paint Brush Tool and make sure that you have White chosen as the color of your Brush.
Make sure your Opacity is at 100% and paint over, this may not create a strong presence of Luminosity just yet but now our Mask has been created so we will be able to play with that.
What I now do it drop the Opacity of the Layer down to 50%.
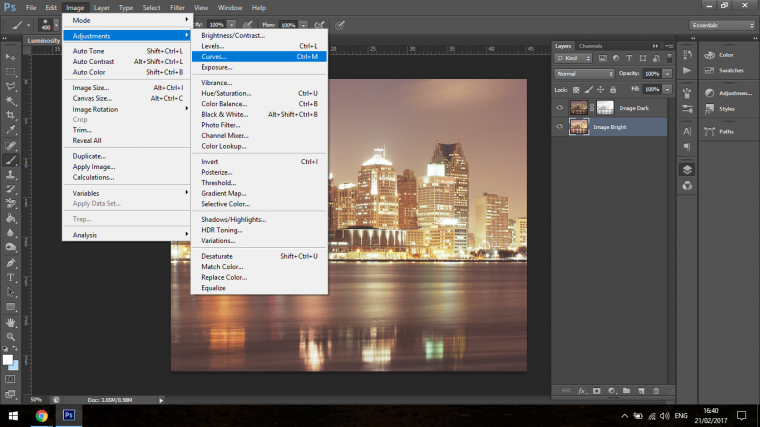
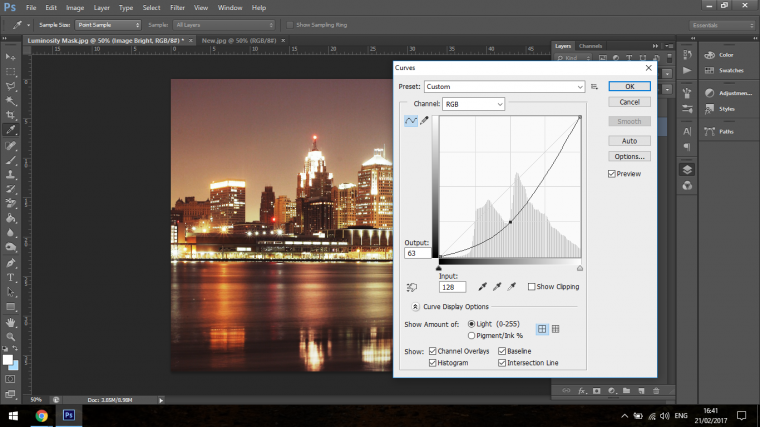
Now the magic happens. What we do is click on the Bright Layer and click on Image – Adjustment – Curves.
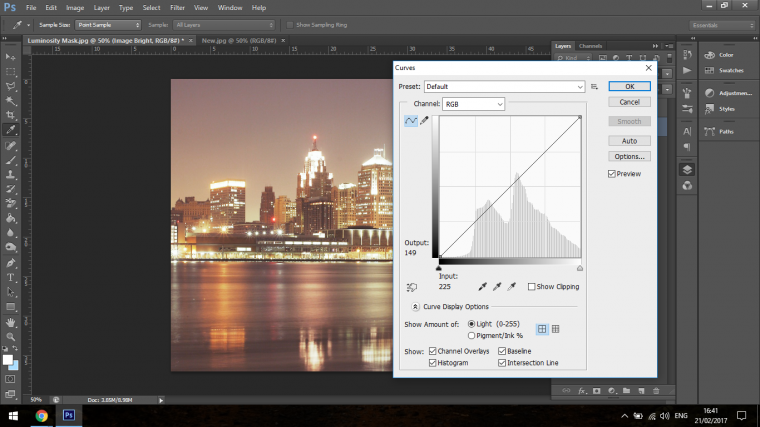
Now you click anywhere in the center of the line that runs diagonal and drag the light directly down, you will see that the image will now be vastly improved.
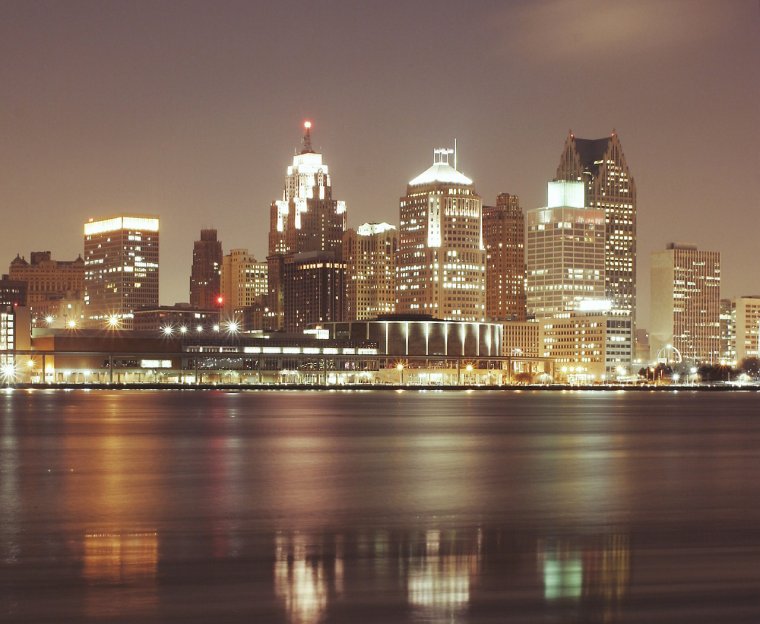
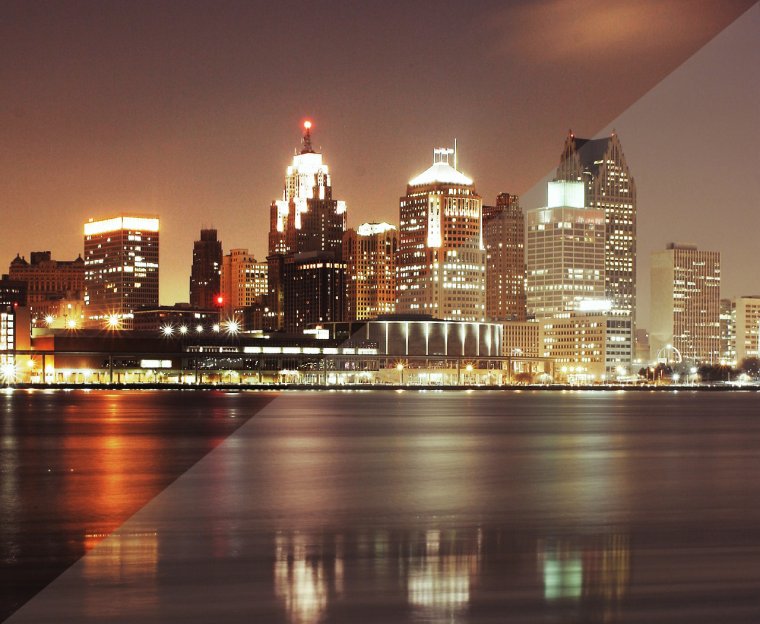
You can see from the image below how great of an effect that the luminosity mask has on the final image, I’m sure you’ll agree it is greatly improved compared to what we had started with.


Please verify your software version before proceeding.
 I’ve verified my software version


 Facebook
 Google +
Comments (2)
Thanks 🙂
well presented & easy to follow.