Hi all, welcome to my brand new Photoshop Tutorial.
For this tutorial, we’re going to be creating a Cool Lomo Effect.
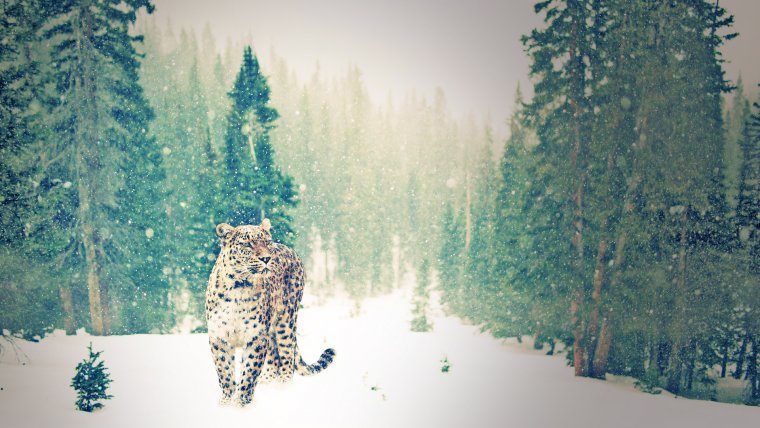
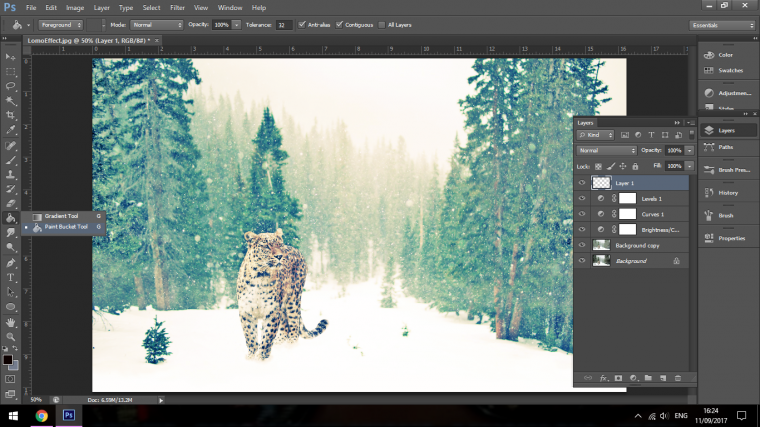
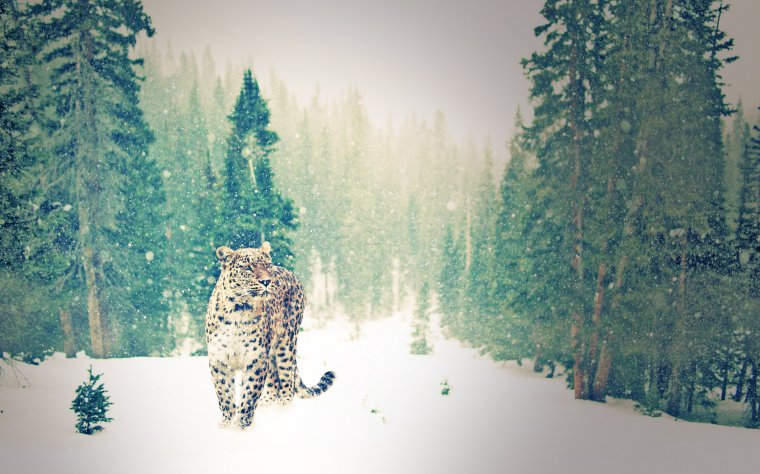
The Image I’m going to be using for this is my awesome image below of this Leopard in the snow.
So just a little bit of history on what the Lomo effect actually is, I believe it was an unintentional effect created if I’m not wrong by an old-school camera from Russia.
Basically, in modern photography, they have tried to and very successfully have eradicated this effect.
So I find it pretty funny that this is a very popular effect especially in places like Instagram you will see it in millions of photos as it is one of the filters.
You won’t be able to go onto Instagram without finding a few images with this exact effect.
I think the effect looks awesome!
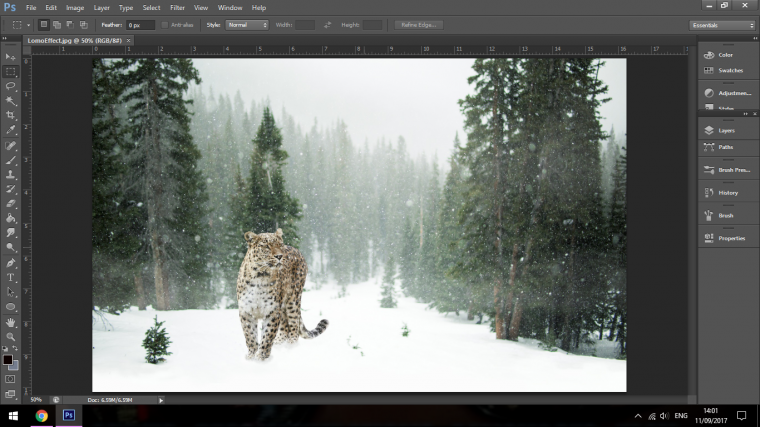
So to do it first create a duplicate of your image.
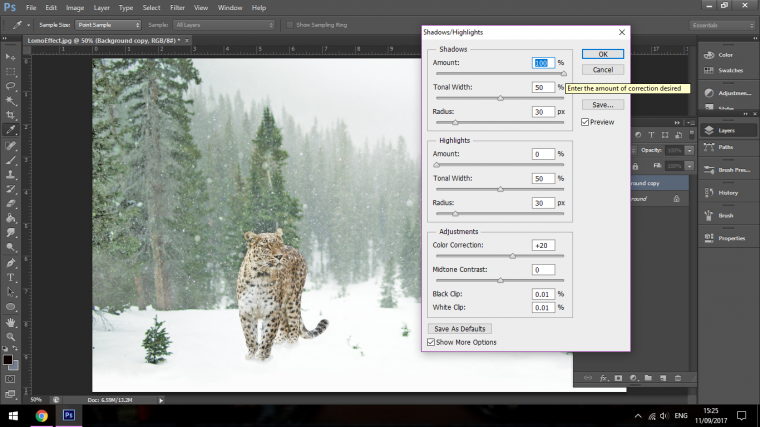
Now I want you to go up to Adjustments then down to Shadows and Highlights.
Usually, with this, I would create an Adjustment layer but I don’t need to in this case for Shadows and Highlights.
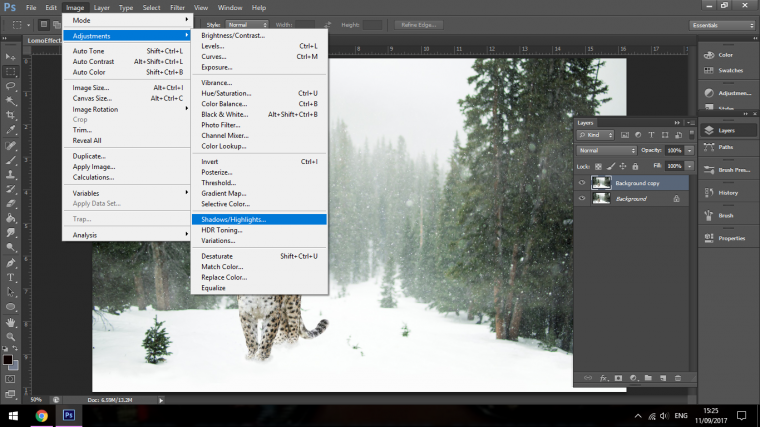
Under Shadows which is the first panel, you want to slide the slider up to 100% just as I have below.
Then press OK and we’re good there.
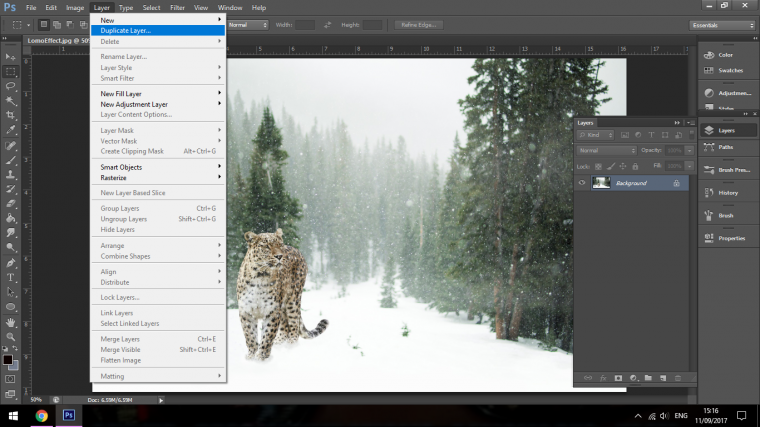
Next, I’m going to create an Adjustment Layer.
So just before I do I’ll tell you the difference between a normal Adjustment compared to an Adjustment Layer.
A normal Adjustment is an Adjustment that is-editable, so once it’s done to your layer it’s for good, were as an Adjustment Layer gives you the flexibility to go go back and forth at anytime and change it up, you can attach Adjustment Layers to individual layers by clicking right on the Layer and choosing Create Clipping Mask and after if you want you can Choose Release Clipping Mask, but that last part isn’t important for this tutorial so don’t worry about it.
Now we are going to create an Adjustment Layer.
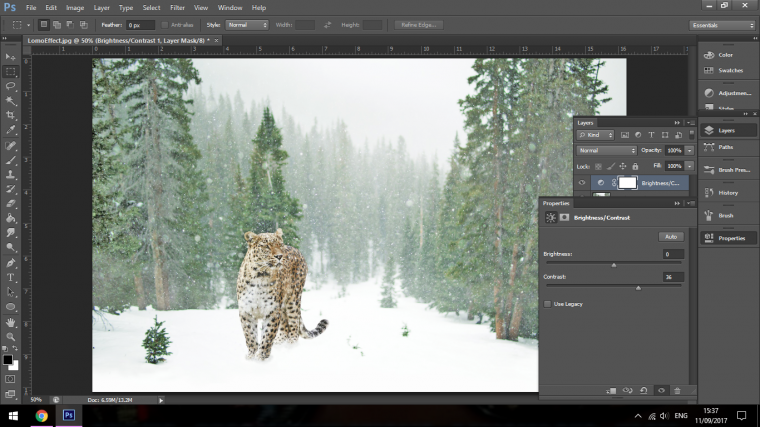
To do this go to Layer, then down to New Adjustment Layer and choose Brightness and Contrast.
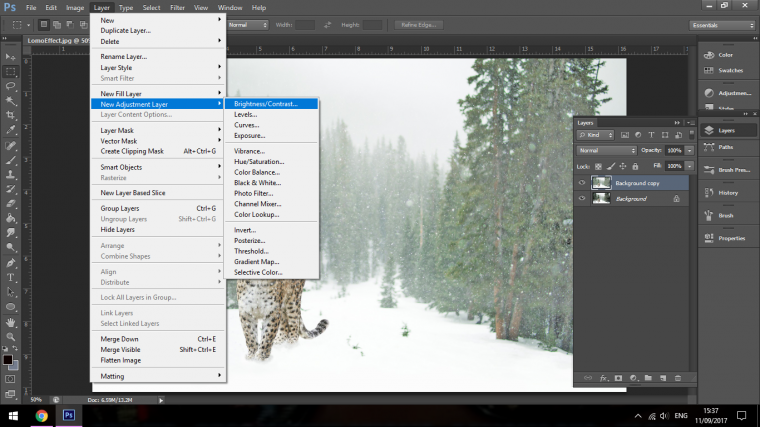
Once you have this selected you will see the panel with two sliders, click and drag the bottom slider which is for Contrast and is labelled as such, slide it to the right, anything between 25 to 50 will be fine.
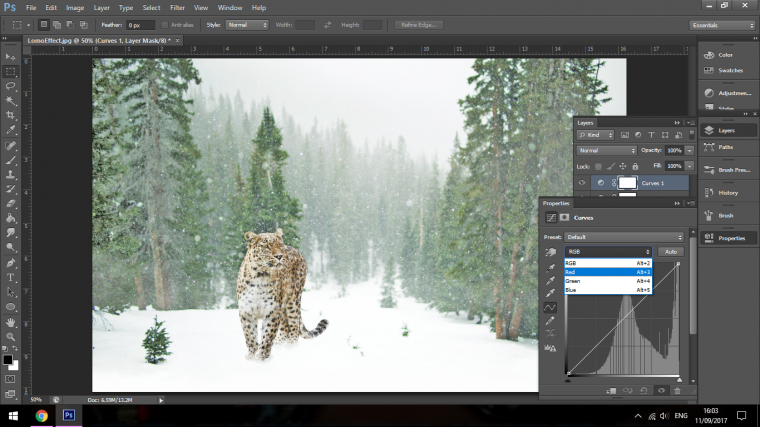
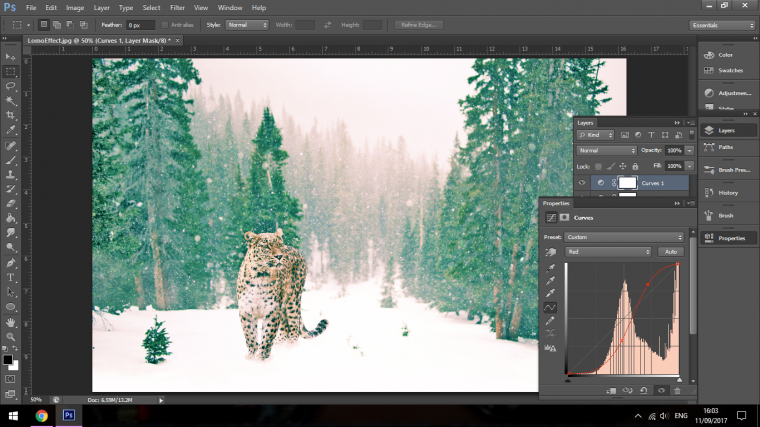
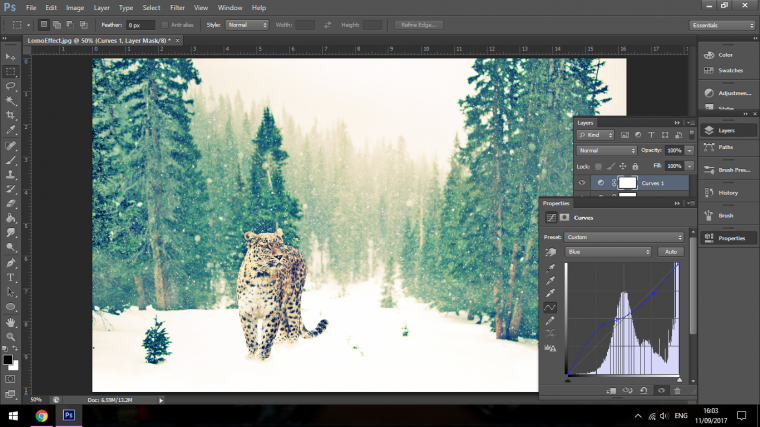
Next, we are going to create a Curves Adjustment Layer.
We do this in the exact same way that we just did only, of course, we choose Curves.
Now we are going to take each channel, you will see where I have opened below in the Curves Panel, you will see the three colours indicated.
So with Red and Green, you pull the slider roughly where I have shown below down, then you take the other side and you do the opposite by puling it up a little.
Then with the Blue Curves, you do the opposite to were you pulled down you now pull up.
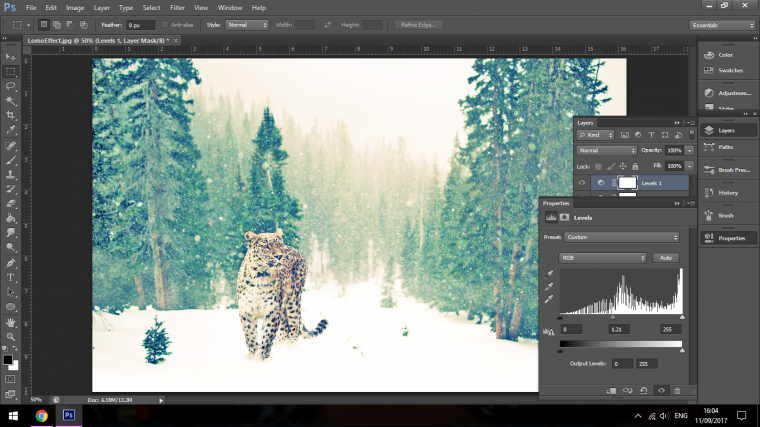
Then once that is done you need to create another Adjustment layer for Levels, with the middle indicator you pull it to the left slightly.
Of course with these you can go back and change them up, maybe there is a specific look you are going for so you want to match that, it’s all good, whatever you’re happy with as this is subjective.
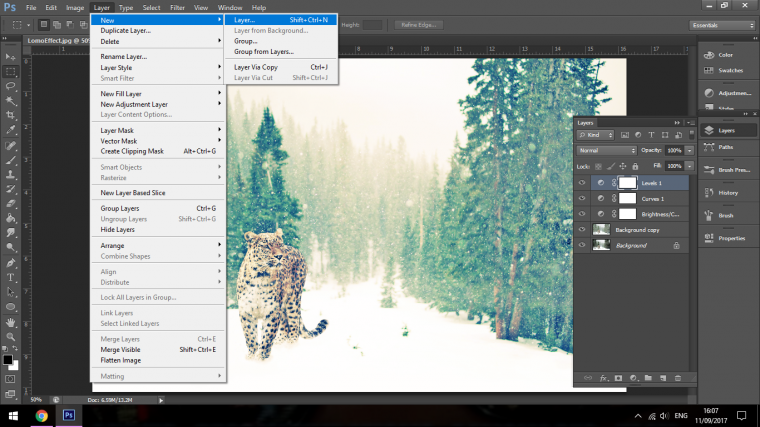
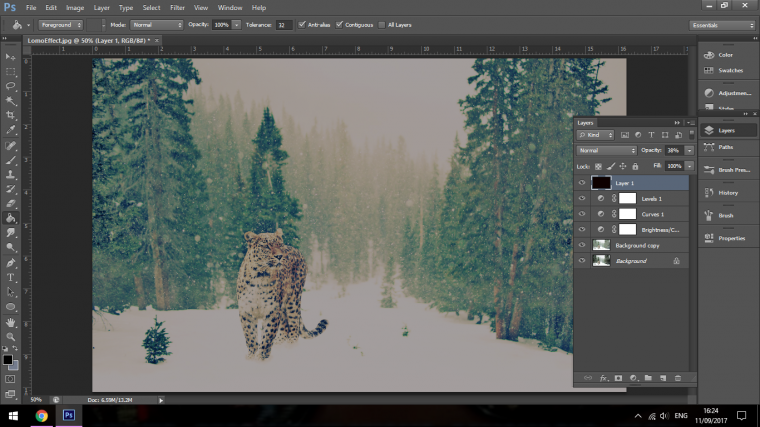
Last but not least we’re going to create some Vignetting.
I do this by creating a brand new layer.
Now once you have the layer created select Paint Bucket, you will see below where you can find it.
Choose Black for that and just click on your screen then drop the opacity of the layer to about 30%
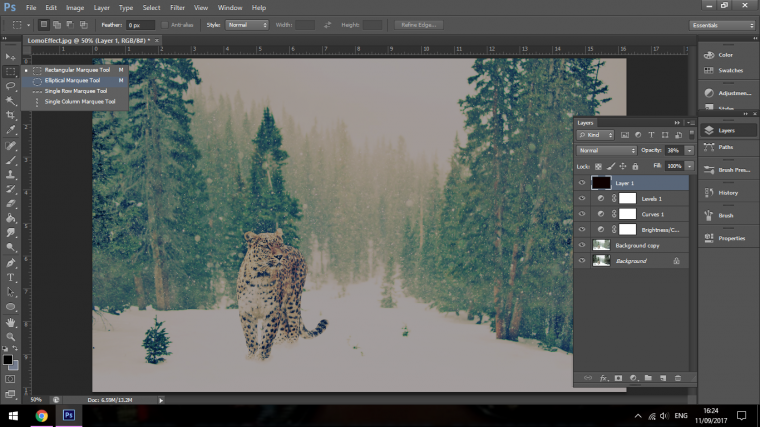
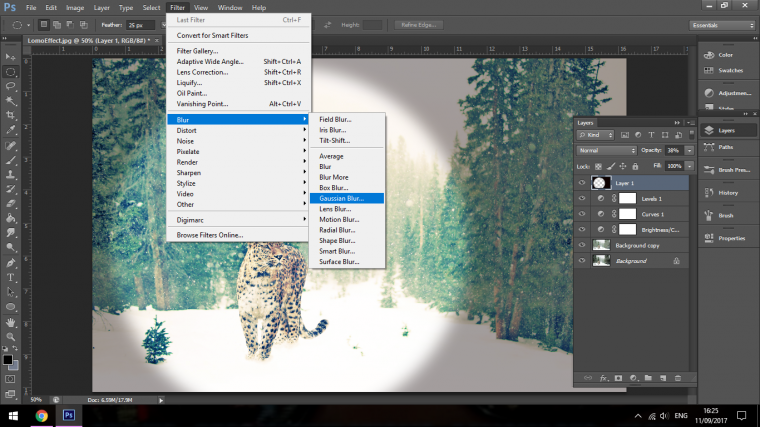
Select your elliptical Marque Tool, change the Feather at the top bar to about 25 pixels and click and drag to create a selection around the Leopard.
Doesn’t have to be a perfect circle either just a quick click and drag
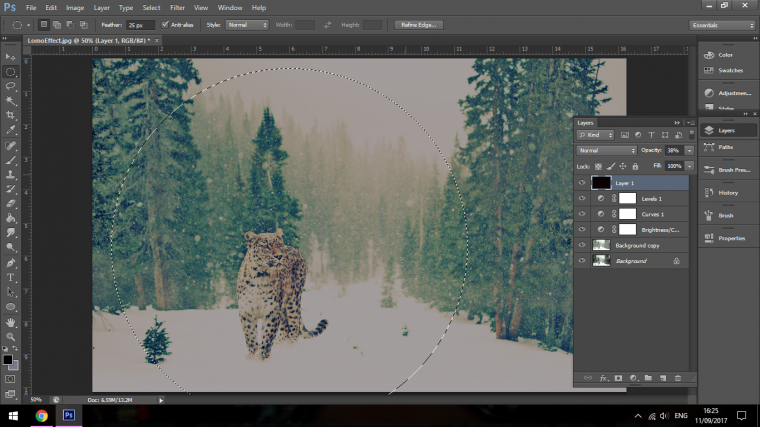
Press Delete to erase the centre out
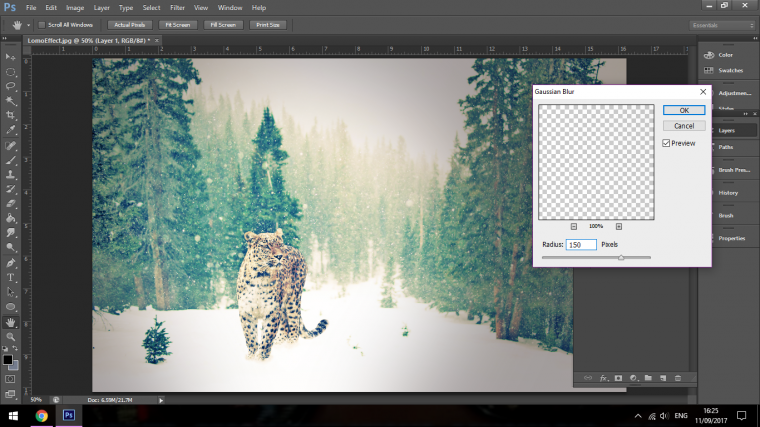
Then open up filter and go to Blur then Gaussian Blur.
I found that about 150 Pixels worked well for me so slide your slider till you get there, you can just type it as well if you want.
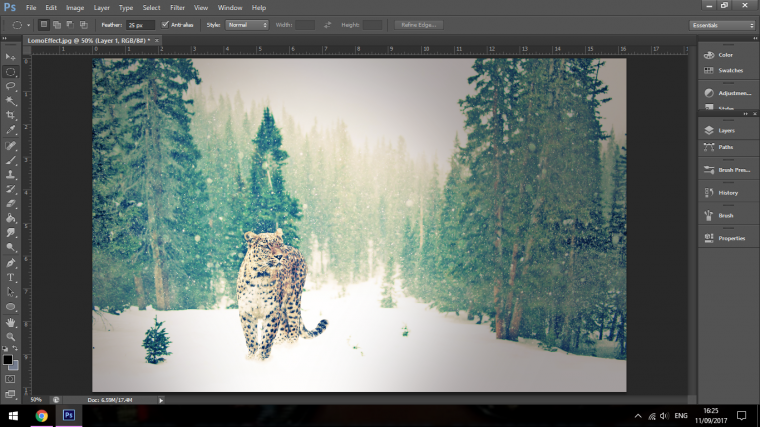
Click ok and we’re done!
Click here to know more about us.


Please verify your software version before proceeding.
 I’ve verified my software version


 Facebook
 Google +
Comments (0)
There are no comments yet.