Learn How To Add Wallpaper To Walls In Photoshop
0
1
2
3
4
5
3.50 based on 2
Ratings
Learn How To Add Wallpaper To Walls In Photoshop
www.sleeklens.com
Welcome back to my new tutorial.
Hope you are looking forward to learning something cool today.
And I hope that it will be of use to you at some stage.
So let’s get to it as we have a lot to talk about and do!
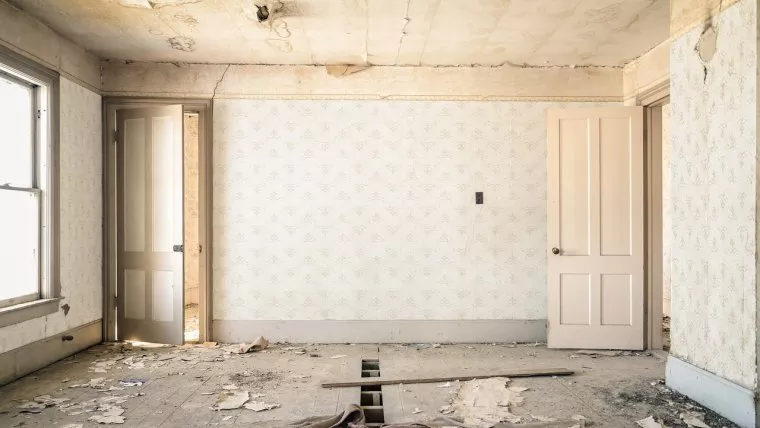
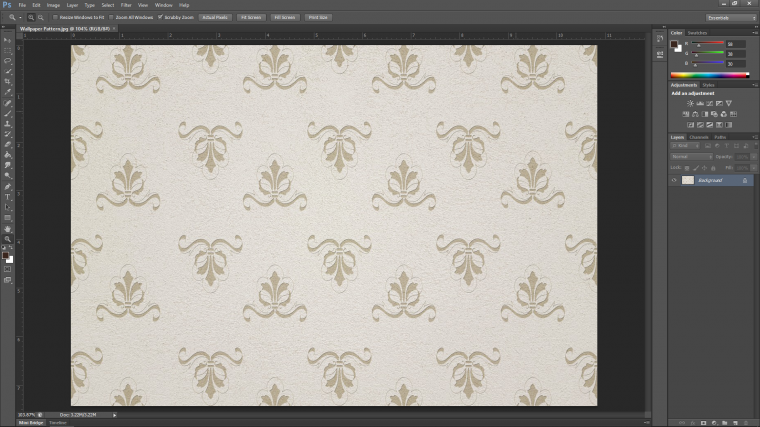
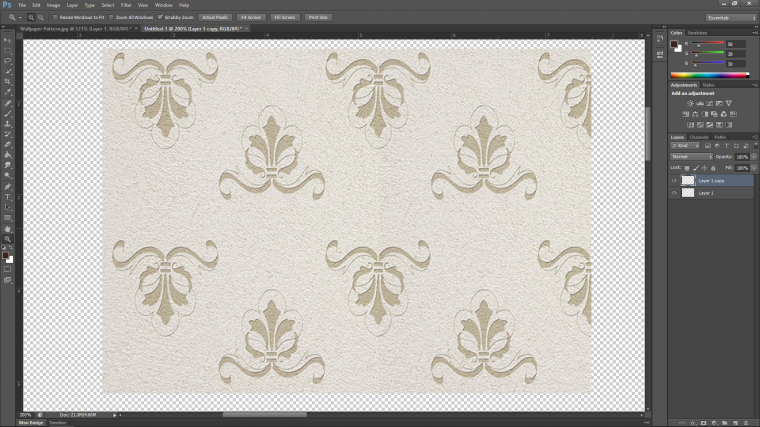
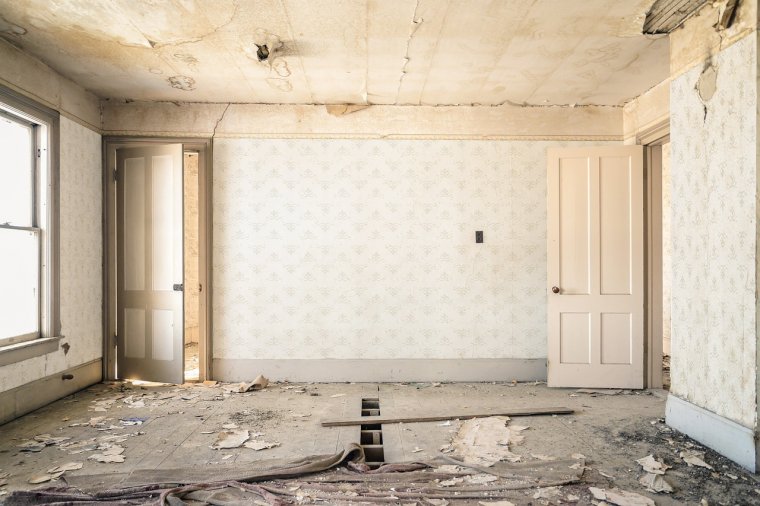
Ok so check it out, this is the wallpaper that I will be using today.
I’m going to be adding it to “my” apartment here to tidy it up a little ha-ha.
I’d love to be able to just plop it on my image but there are a few things we need to do.
I used the key words for this simply ‘Textured Wallpaper’
Just using wallpaper should work also.
When you look for your own, look for repeated patterns such as mine above.
We want to be able to make this repeated and continue for ever…
So if the pattern is too complex or can’t be repeated don’t use it.
I’m going super simplified for this tutorial on my pattern.
But feel free to use at least a little more complex then mine if you want.
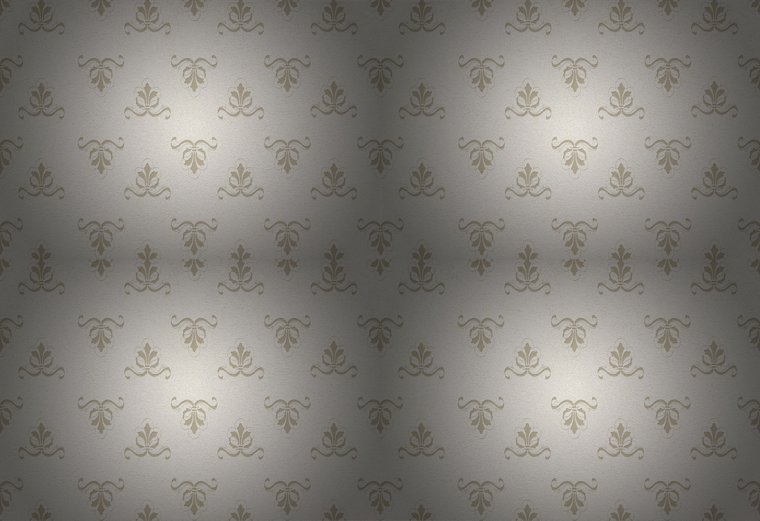
Ok, so when it comes to a lot of the wallpaper images out there.
You will notice that there is most likely vignetting on the edges .
So if you were to just straight up to join the images together they wouldn’t look right at all.
As you can see from the below image…
We definitely do not want this!
So we are going to have to think a little differently.
And what we are going to do is to extract one of the patterns from the image to create our own.
Let’s grab a hold of the ‘Rectangular Marquee Tool’ form the left-hand side menu.
You can also press (M) on your keyboard as a shortcut, these can be tricky to remember though, so good to know both!
You now must find a sweet spot to start your selection.
What you are aiming for is to create a section that you could copy and join over and over without a seam.
Once you are happy with your section key in (Ctrl J) on your keyboard.
The section will now be on its own layer that you will see in the layers panel on the right-hand side.
Make sure you have clicked on that layer.
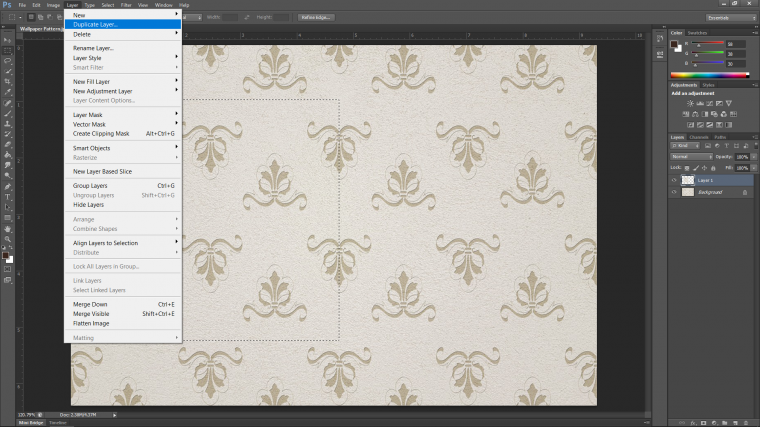
Then go to ‘Layer’ in the top menu.
You have to create a ‘Duplicate Layer’
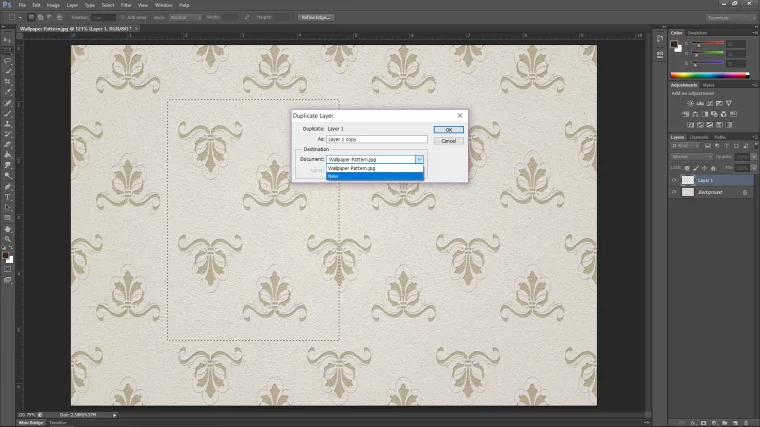
But when the pop up appears to click on the drop-down box at the bottom titled ‘Document’
Make sure to choose ‘New’
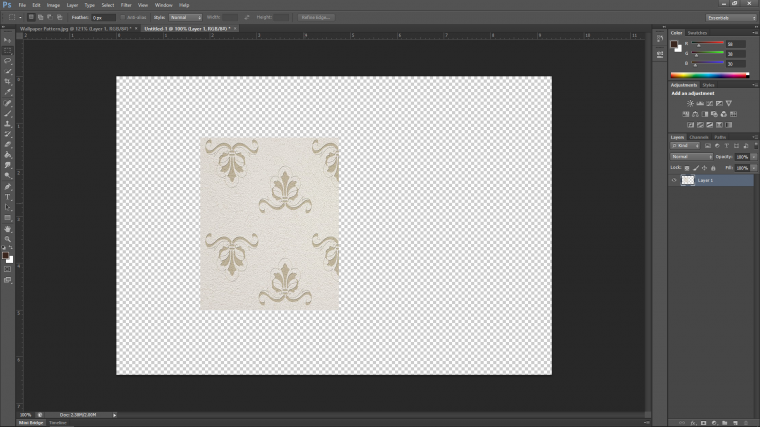
Your selection will now be on a new document.
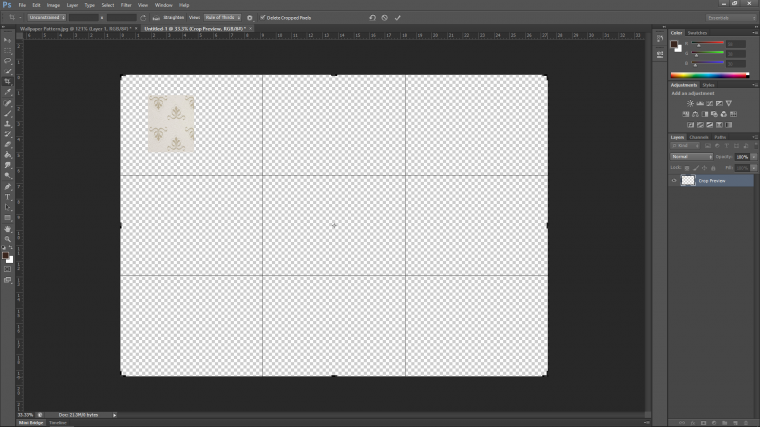
You may need to increase the size of your canvas.
So to do so choose your Crop Tool (C for the shortcut)
You can now click and drag to expand your canvas so you have plenty of room.
So let’s try it out, zoom in on your image using the magnifying glass or Ctrl Plus/Minus on your keyboard.
Click on your image and hold Alt.
While holding Alt you can now drag out a copy of the image.
Then try to place it overlapping the other image to form a repeated pattern and see how it looks.
You’ll see why shortly.
It doesn’t have to look absolutely perfect.
If you are not happy then go back to the drawing board and create another one.
So as you can see from my below example image mine has matched up pretty well.
If your section doesn’t work perfectly, so to speak, then no worries we can adjust it.
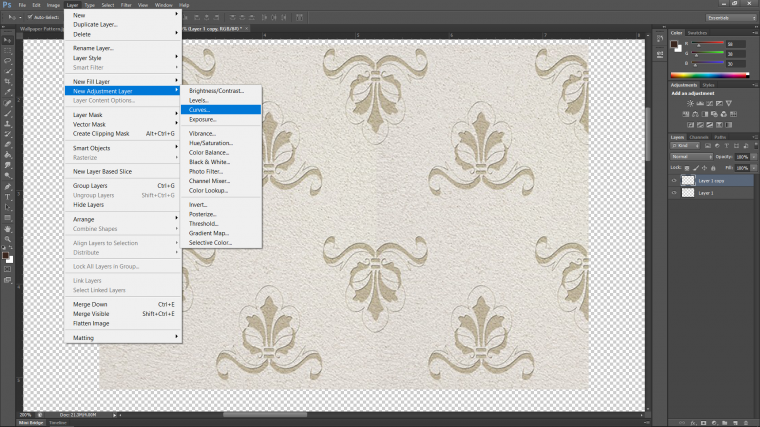
Go to ‘Layer-New Adjustment Layer-Curves’
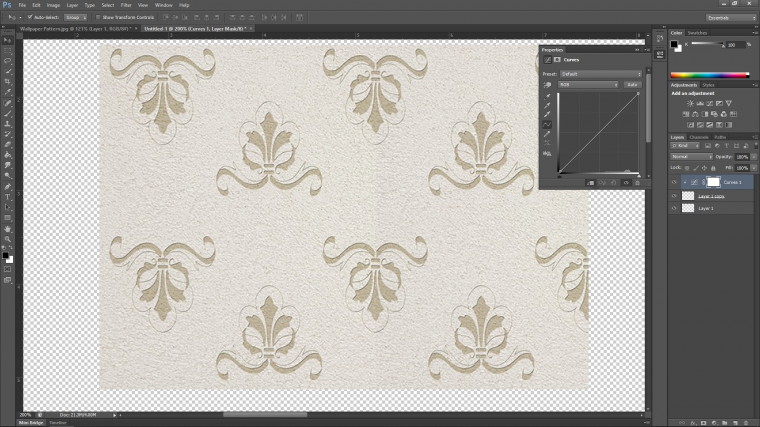
Go over to your layer panel on the right and you will now see the Curves Layer .
Right click on the layer and choose ‘Create Clipping Mask’
You will now see that the Curves Layer is now attached to the layer below.
This means that any adjustments you do on Curves will only effect that layer and nothing else.
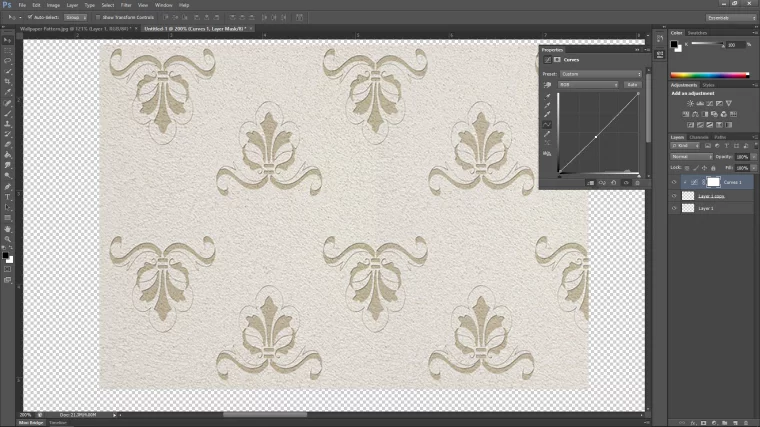
In mine I do have slight discoloration, it’s not really bad but let’s see if I can fix it up just a little bit more.
So the reason I said to overlap is about to be revealed now.
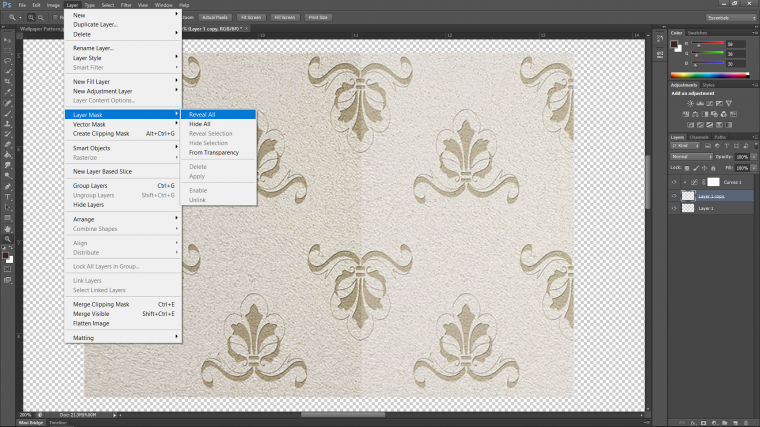
If after you try Curves and it still doesn’t work then you can try a mask.
Click on your middle layer again, the copy you made.
Go to ‘Layer – Layer Mask – Reveal All’
You’ll see the white box thumbnail attached to the right of that layer.
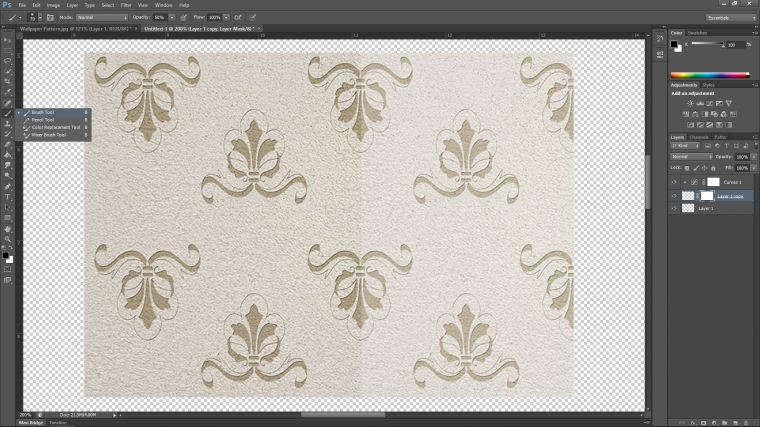
Click on the box, now you can paint using a brush tool directly on your image to hide the seam.
Choose your brush from the left-hand side.
Then go to the top left and under ‘Edit’ you’ll see the other tool bar.
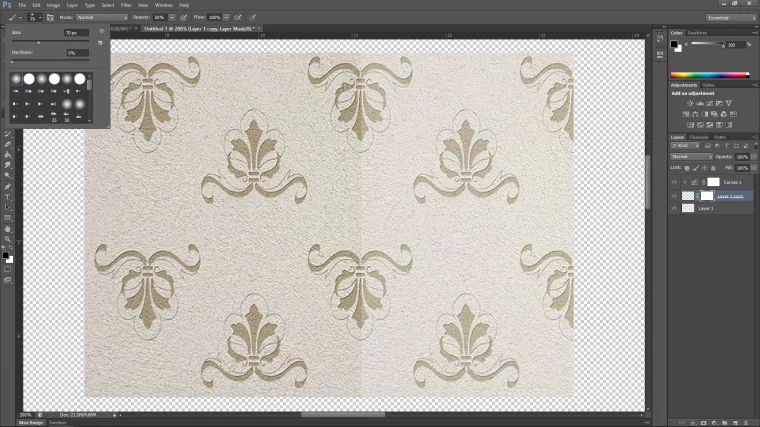
Click on the second option to open up the brush options and choose the first.
Then on the same tool bar, you’ll see opacity, change that to 50%.
Now you can paint along the seem to hide it.
Note: you may have to adjust the position of your layer so it matches up.
You can always adjust curves again too if you want to see how it looks.
Now for the fun part, we have to now repeat this process over and over until we have filled a large enough block to use.
First click on the bottom layer, then hold shift and click on the top layer.
Key in Ctrl E to combine all the layers.
Click and place it at the top left-hand corner.
Then holding Alt-click and drag to create a new copy again and place it at the bottom of the first and repeat all the way down.
Again select all the layers and hit Ctrl E
Then click and drag a copy again, repeat the copy drag, masking process and adjusting into position.
When you are finished you will end up with something that looks like what I have below.
Great, we are looking pretty good!
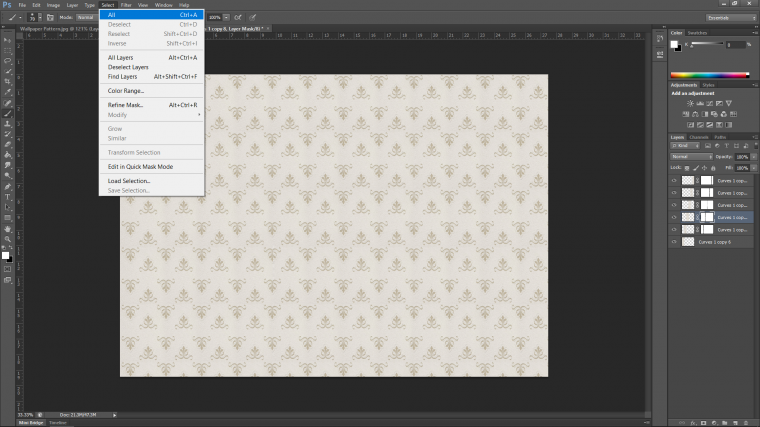
Now go to ‘Select’ and ‘All’ (or as a shortcut Ctrl-A)
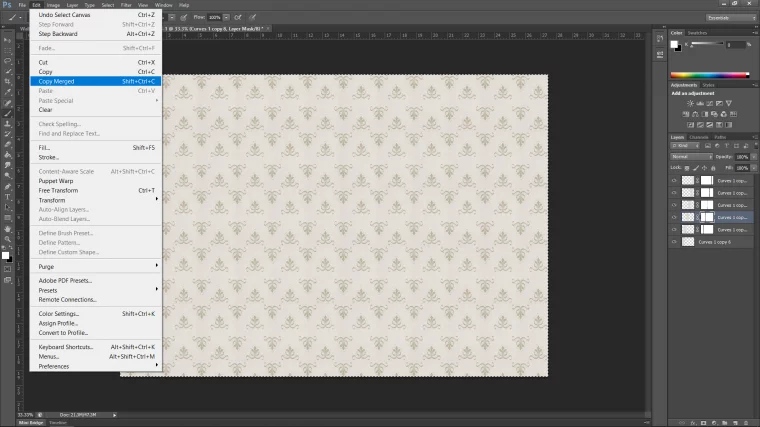
Then we’ll make a copy by going to Edit – Copy Merged.
Note it must be Copy Merged to copy all the layers at once.
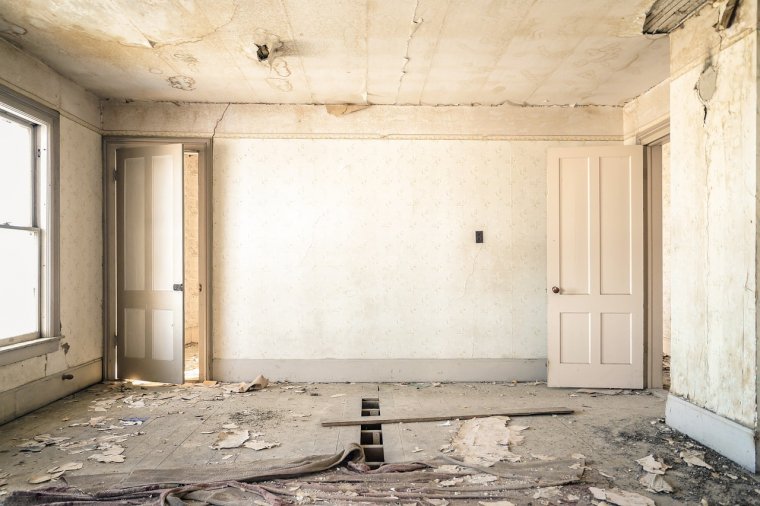
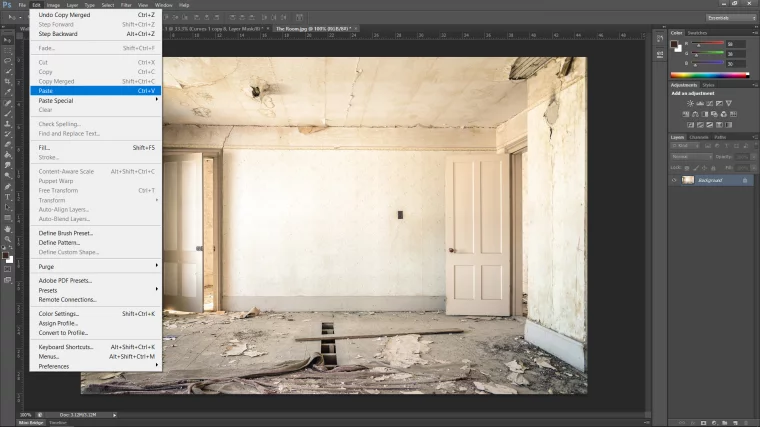
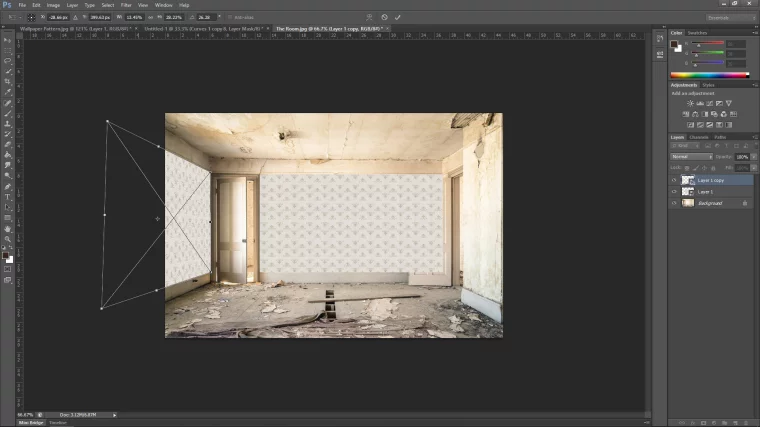
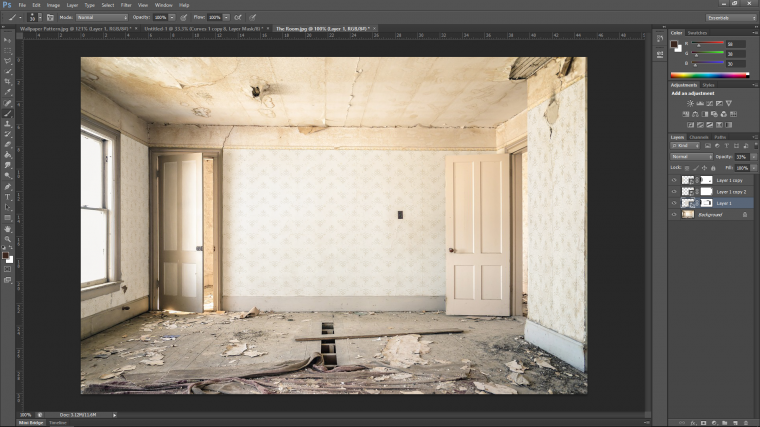
Now we can open our room image and add the wallpaper to it.
By going to Edit – Paste
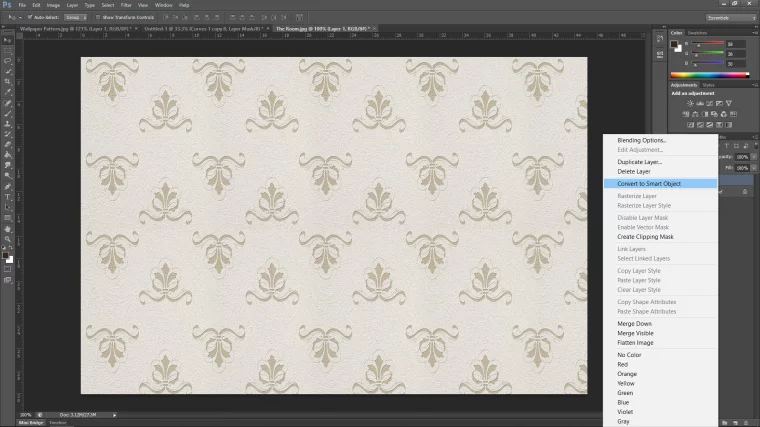
When that’s done go over to the wall paper layer just pasted.
Right click on it and choose ‘Convert to Smart Object’
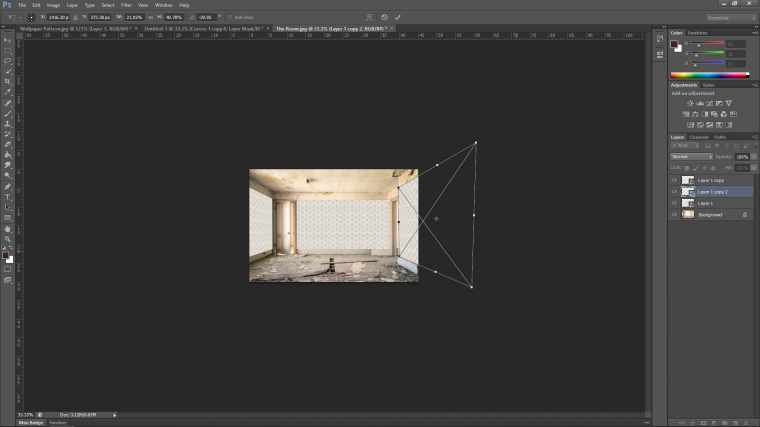
Then by using Free Transform (Ctrl T)
You can click on the edges and change the size of the wallpaper to fit.
Holding Ctrl while doing this will let you move the edges around.
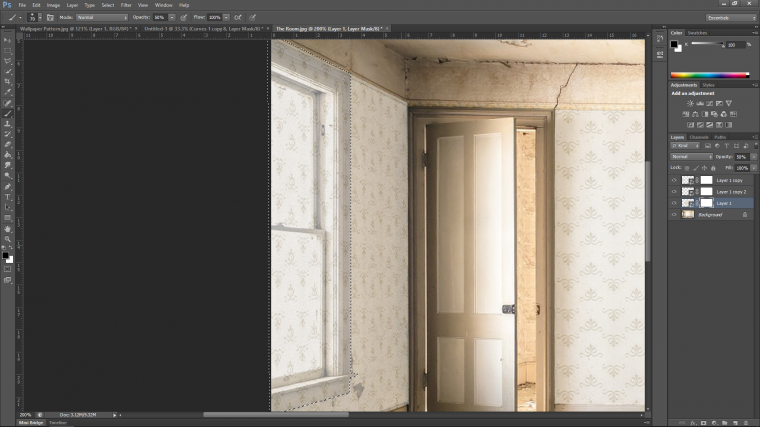
Once they are completely fitted, change all the wallpaper layers in the layers panel to 50% opacity so you can see through them.
The reason we are doing this is because we are going to trim the edges of and cut sections out.
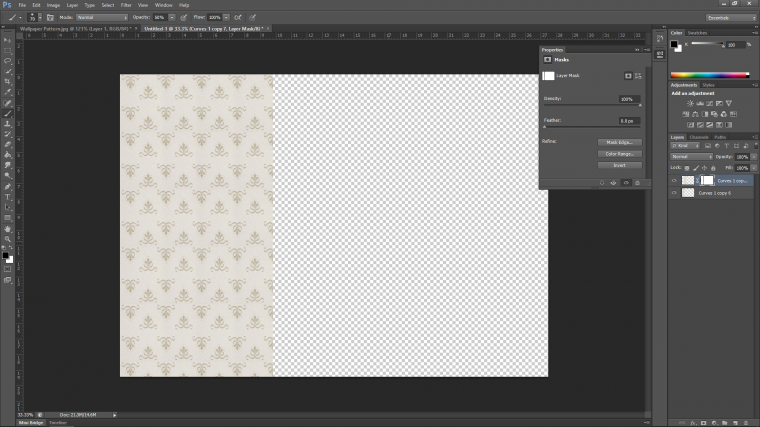
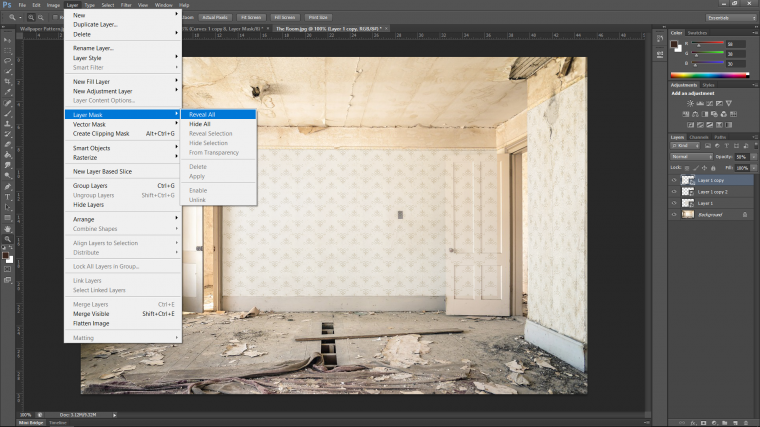
Now add a layer mask to each layer.
Make sure that you choose to reveal all.
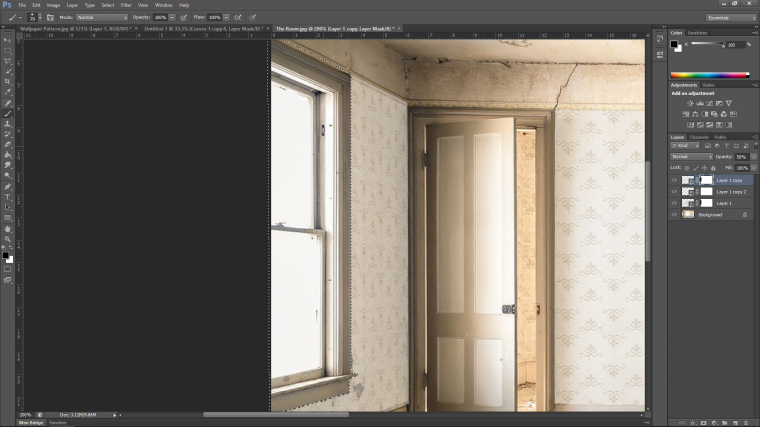
Now using the Polygonal Tool with a feather of 0.5 zooms in and start the process of trimming.
You can use Ctrl and the Plus and Minus keys on your keyboard if you have forgotten.
Holding Space bar will allow you to click and drag around…
Take each section at a time create your selection.
Then using black on your brush just like we did before start to paint out the selected areas.
This will probably take a little time to complete so don’t rush, you may have a lot of little complex areas to crop.
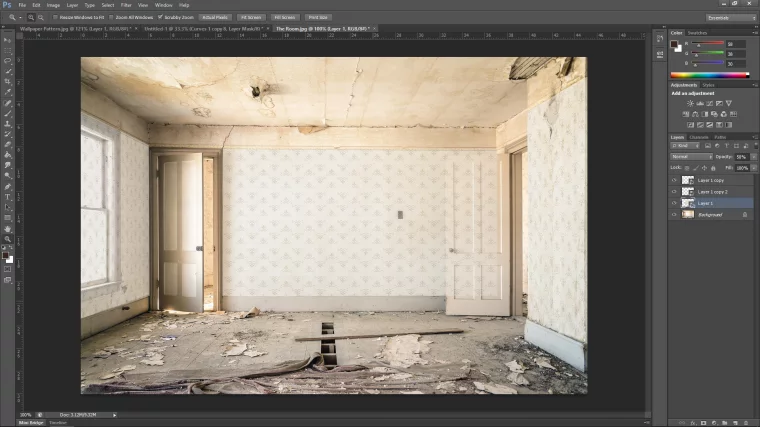
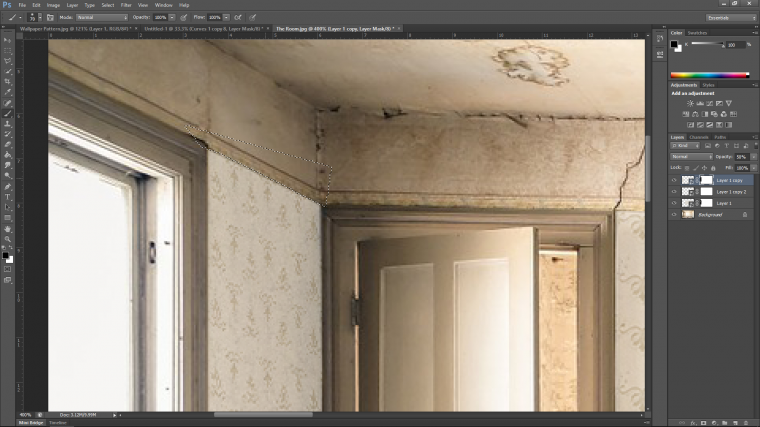
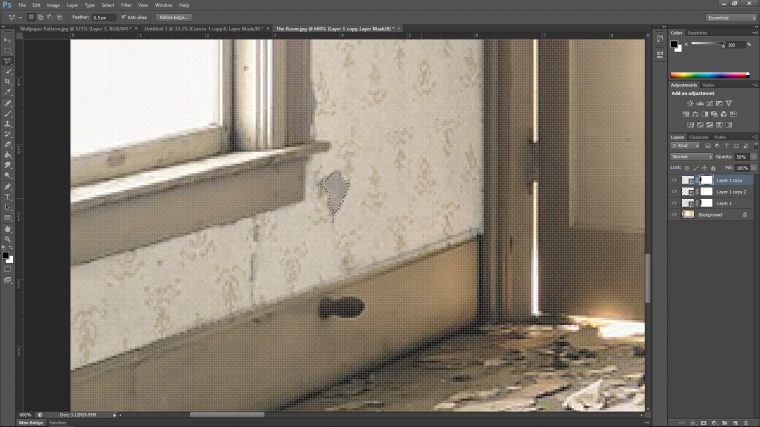
Then you just paint out the areas like the window below as stated.
Be sure to pay particular attention to the details in your images.
At the final bell when you have a completed image these little touches make all the difference.
So areas like mine were you see distress on the walls, they’re always good to crop out.
Mainly because they will not look good once you have the opacity lowered on your layers.
So repeat this process until you have your image completely finished.
It will take a little time but we enjoy it don’t we 🙂
The last little adjustment I would make to my image would be to play with the layer opacity again.
Try to match the lighting of the wall as best as you can.
In the end, you should have an image similar to mine below.
Have fun with it 🙂
0
1
2
3
4
5
3.50 based on 2
Ratings
The following two tabs change content below.
Graduated from college in 2002 with a degree in Art & Design, I started exploring my way in Graphic Design and Professional Post Production. Full-time freelancer since 2011.
Most popular posts in April


 Facebook
 Google +
Comments (0)
There are no comments yet.