Hi everyone,
Kicking off the new year with a somewhat out of place Tutorial being that it’s very cold where I live, but I’m being optimistic and looking forward to warmer times and the summer to come, so this is why I have chosen to do this specific Tutorial.
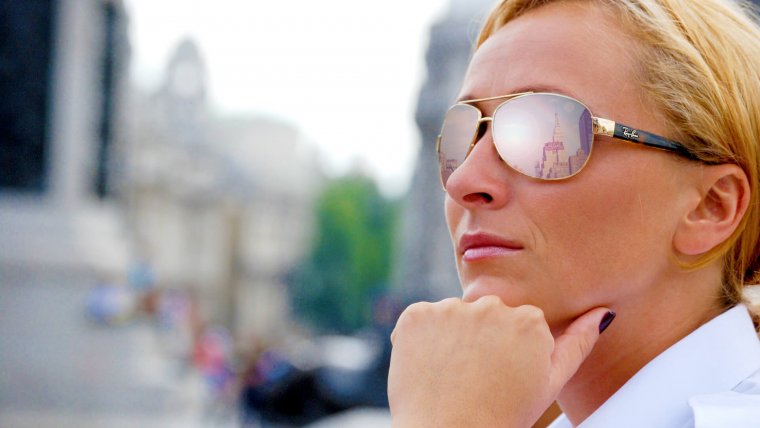
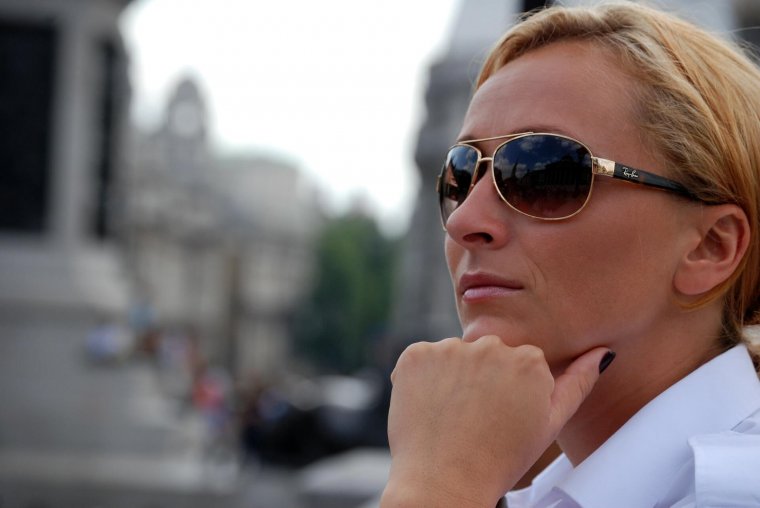
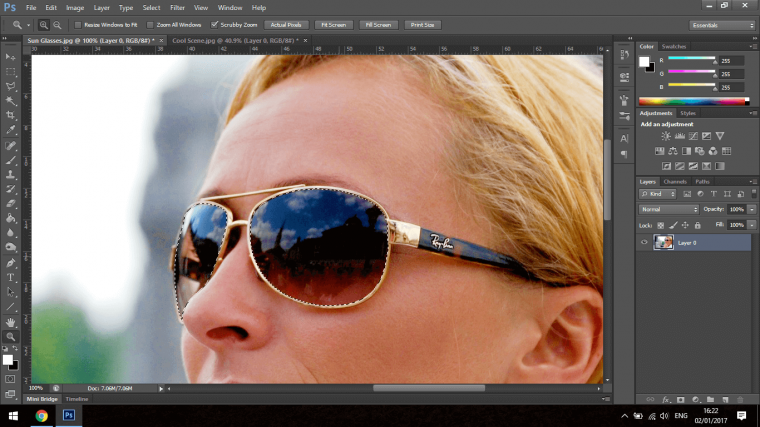
The image that I have chosen is somewhat of a dull image at the minute but what I’m planning on doing is brightening it up and add the nice reflection of a summers day to it.
So take a look at the two images I have chosen below.
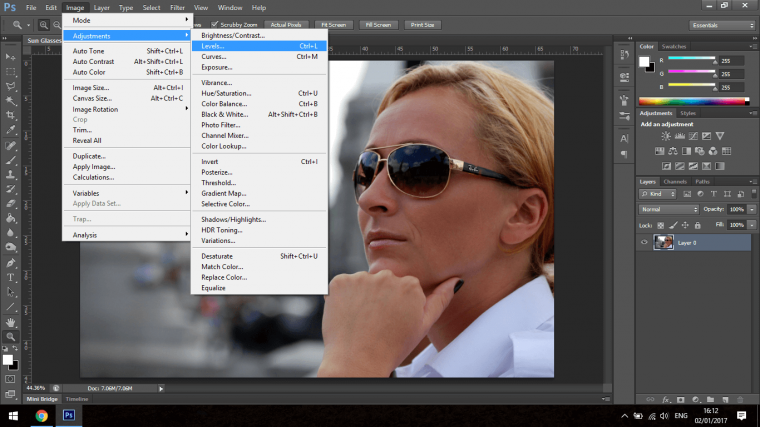
To brighten these up I suggest using Levels, I find that Levels gives me a better range and strengthens my Colours, you can use other options such as Curves, but for me, Levels is my go to the default option.
Note that I also used Vibrance as well to live the colours up a little bit more, I just slide the slider all the way to the right, that’s just a few options below Levels, I did the exact same to both my images, what I tend to do with Levels is to slide the outside to sliders inwards a little then the middle slider I slide that to the left, this is something you will have to play with until you feel it is right, you need to develop an eye for this type of work as each image is different.
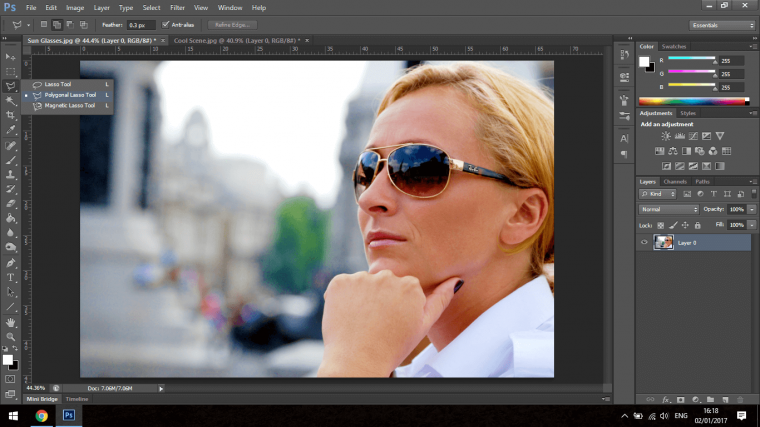
Next, I use my Polygonal Selection Tool to go around the glasses, I add a 0.3 Pixel Feather, then I’ll zoom right in and try to make as accurate a selection as I possibly can around the Glass part of the Glasses.
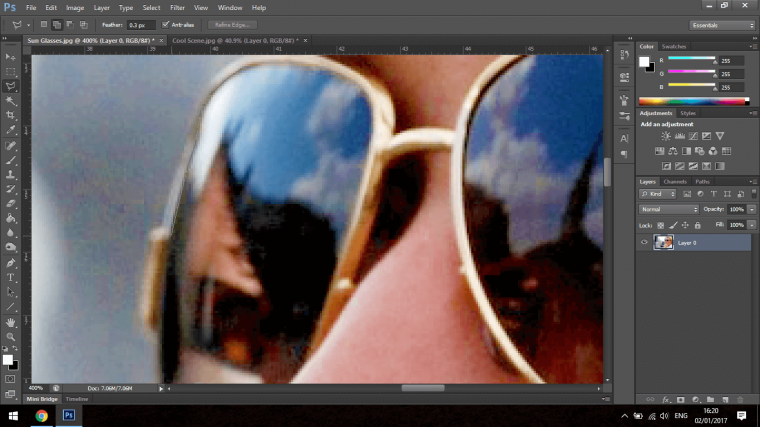
Have patience here because you may have to go over this a few times to get it looking perfect, if you make mistakes as you’re clicking along just press delete and it will remove your last actions instead of completely removing your entire selection.
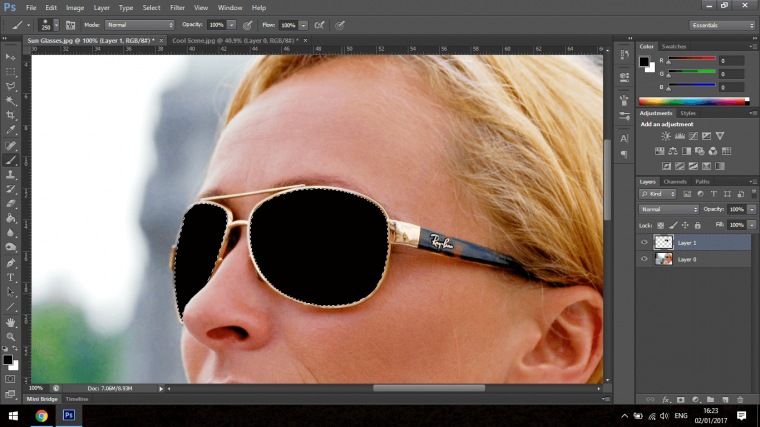
When you create your selection you need to create another layer, when you do this choose your Brush Tool and fill it in with Black so you have two layers, one with your original selection and another now on top of your original layer only coloured in Black like my example below.
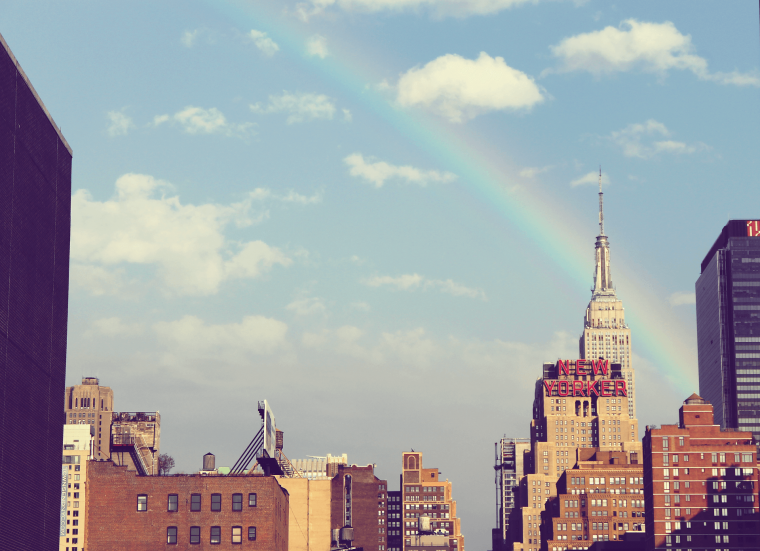
Now that we have this complete we can add our image of interest in.
I select it all copy and then paste it into my main image, once in there I’m going to drop the opacity and then play with the resizing options to see what fits and looks the best.
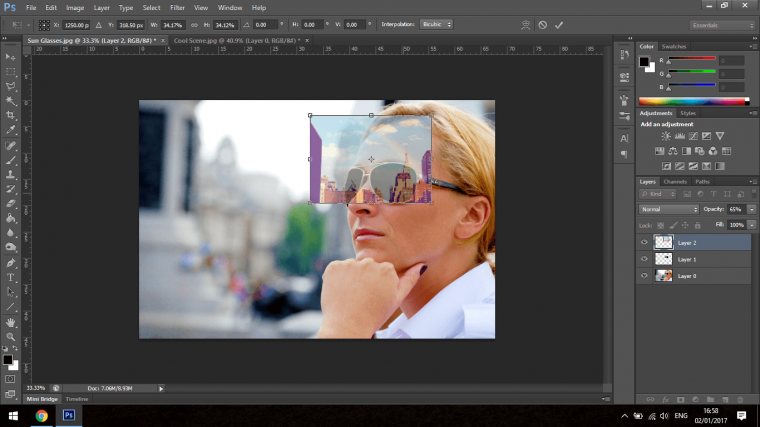
Just take into account here that I am only dropping the opacity in order to see better what I’m doing but we’ll be working more with that as we go along.
When I am happy with the positioning I will select the Black Glasses Shape again.
I use the Magic Wand Tool to complete this task, I also Select the outside of the shape so when I delete it will target the correct area.
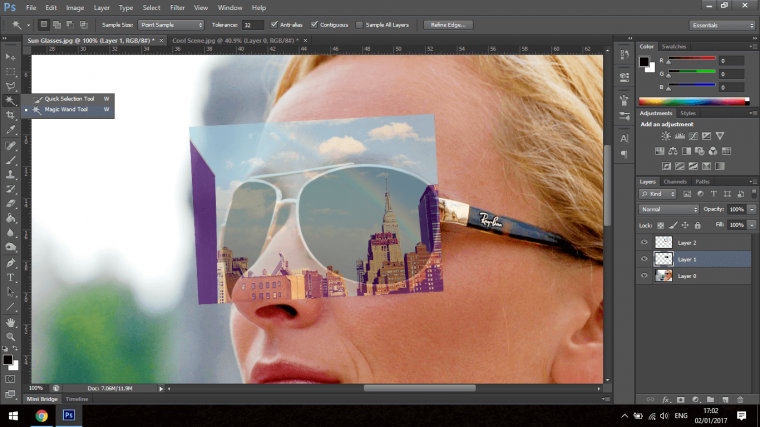
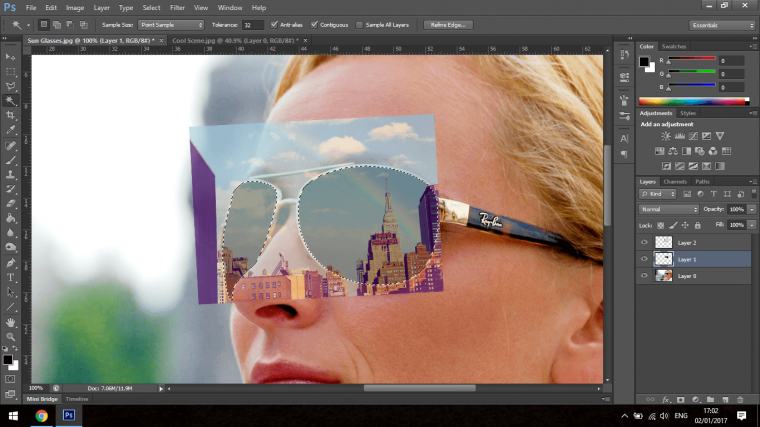
Once the selection is created I click on the top layer which is our City Image, and then press delete to remove the outside area so we will be left with the Glasses shape with the image.
Next is where we will add a Lighting Effect to the Black Glasses shape.
Go to Render and add Lens Flair.
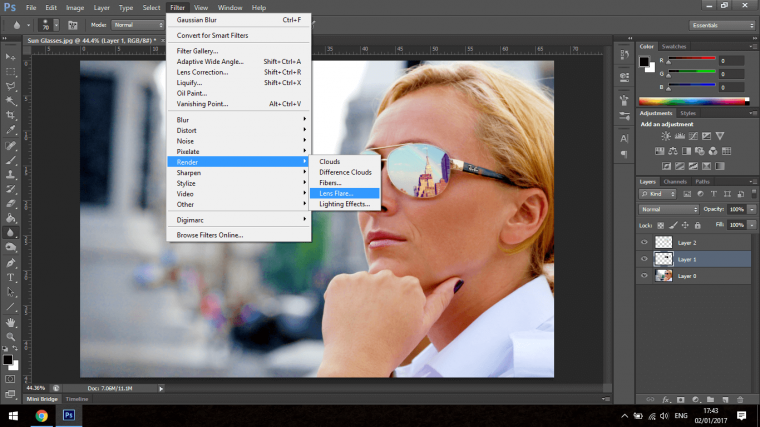
Position your Lens Flair where you think would look appropriate, increase or decrease the Brightness if you have to and then press OK.
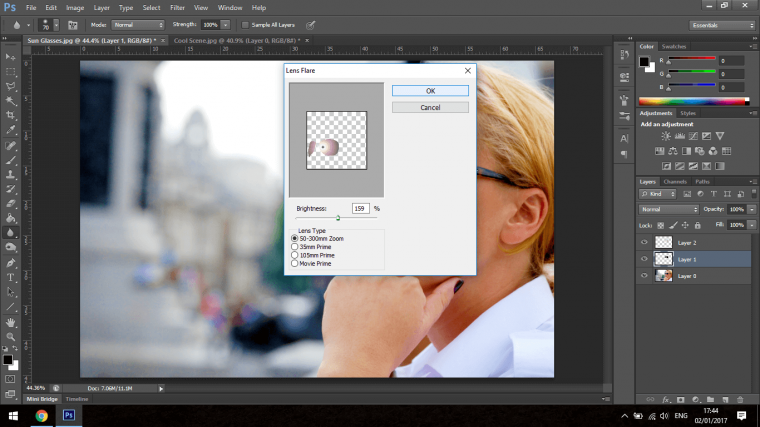
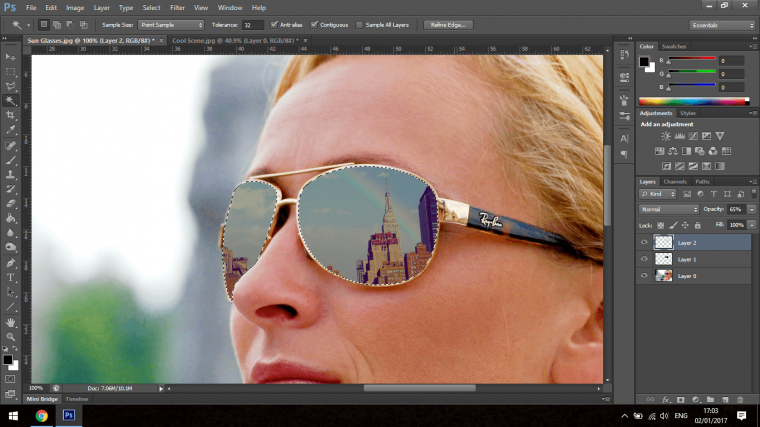
Now is the time to start to correct the opacity of the Glasses image so you will be able to see the lens flair through the glasses image.
Try your best to get it to a point where it will look realistic.
The last thing that I did even though it is not completely necessary but it is worth a look at was that I made a copy of the 2nd layer with the Lens Flair on it and placed it above all the other layers, then I dropped the opacity on this also just to give the underlying Lens Flair a little more strength.
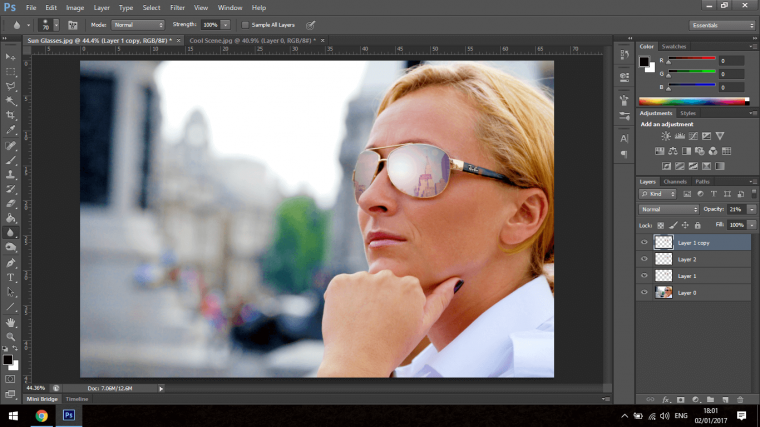
In the end, you should have a finished image that will look like my image below, and I’m sure you’ll agree it defiantly is a little more interesting than what we originally started off with.

Find out here how to sharpen portraits in photoshop.


Please verify your software version before proceeding.
 I’ve verified my software version


 Facebook
 Google +
Comments (0)
There are no comments yet.