High End Fashion Black and White Grainy Effect in Photoshopwww.sleeklens.com
In this step-by-step guide, we’ll be looking at how to turn your images into High End Black and White Photography.
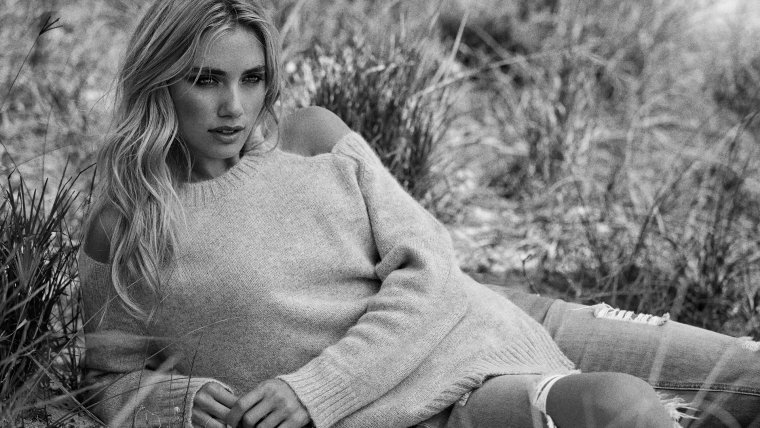
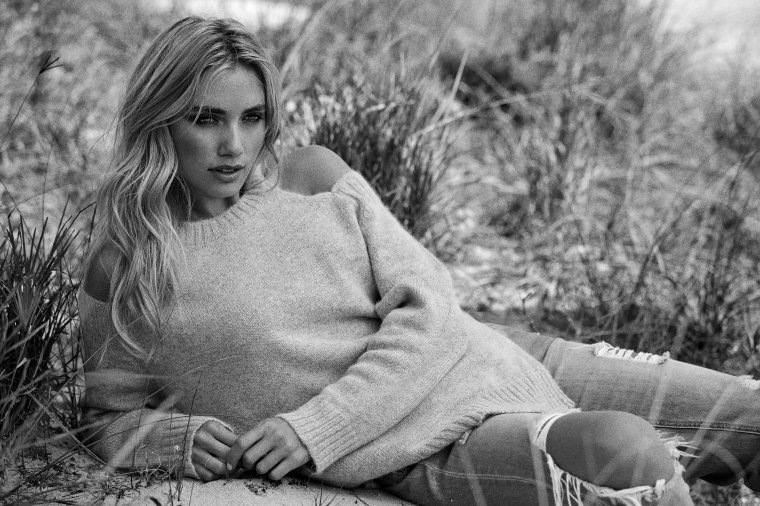
The effect that we will be going for in this tutorial is a nice Grainy Effect that you see in Fashion Magazines and older photos from the past. It’s a timeless Effect and will work as well now with this Tutorials subject as it would many many years ago with older Fashion Styles.
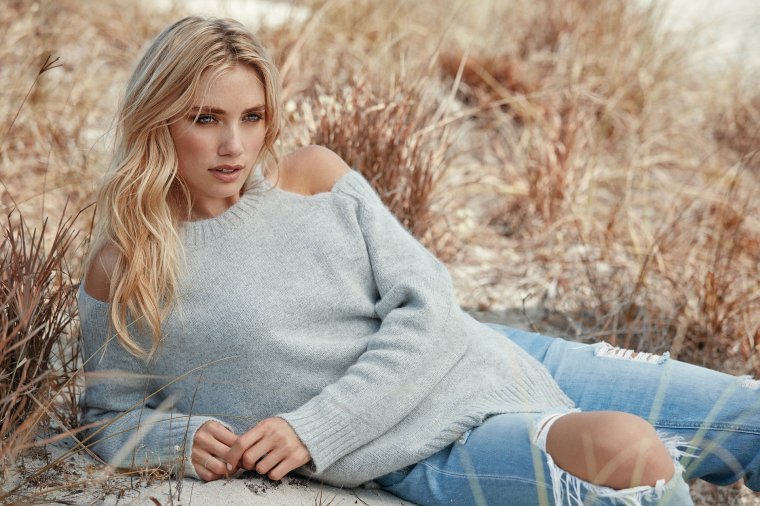
So if you want to follow along you will find Free images like this one at Pixabay were I get all my free stock images from.
The first thing that we have to do is double click on our layer, usually when you start with a new image you will always see a little padlock on the layer, this means that there is not much you will be able to do with that layer, so if you double click on it then the layer, it will unlock it allowing further edits.
You can also now name the layer whatever you like would like.
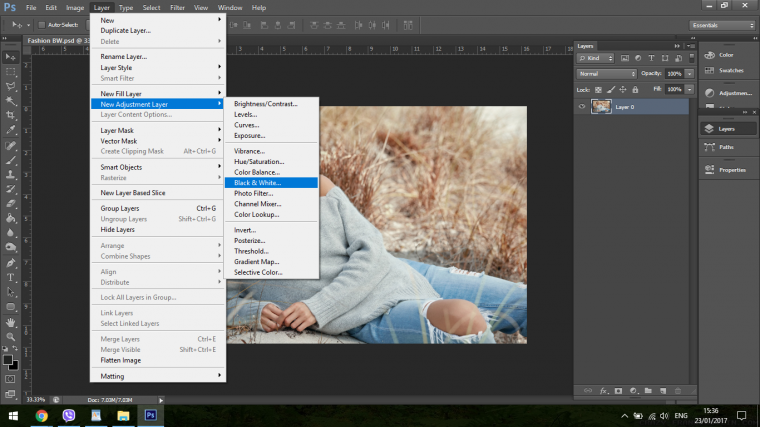
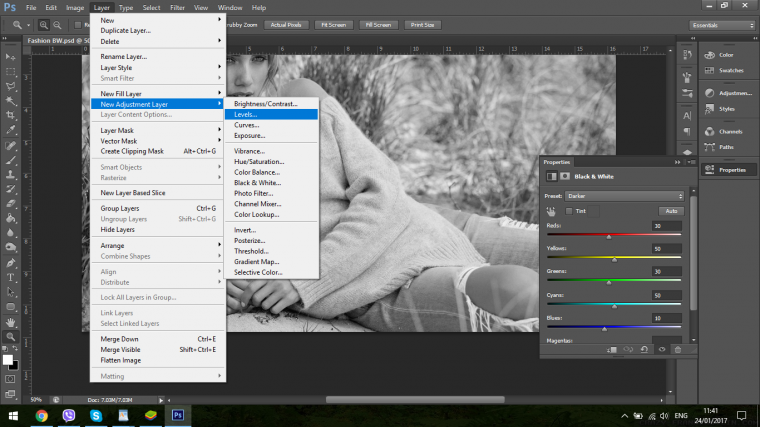
The next step will be to now create a Black and White Layers Adjustment.
You do this by going to Layer – New Adjustment Layer – Black and White.
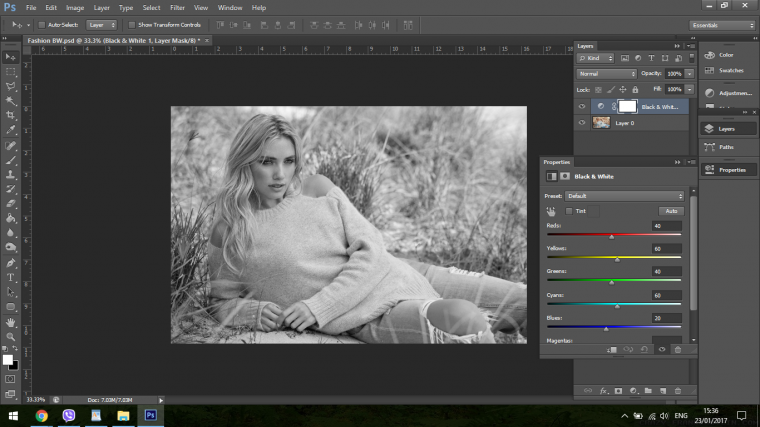
Now you will see the pop up that has all the color option sliders on it. You can play around with these if you’d like and see what you yourself can come up with or you can try the preset dropbox box for easy black and white effects.
One option is to click on the Preset Drop Down box that says Default and choose the option ‘Darker’
So on my image the Darker setting didn’t really have a massive effect change, it maybe increased the darkness by about 10 to 15 percent more.
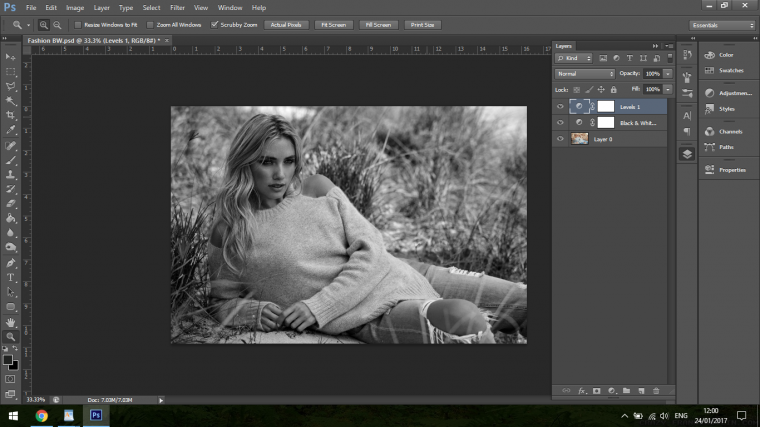
On your image you may have had a completely different outcome, but if you want to increase the darkness a little more you can open up another adjustment layer only this time choose Levels
You will find this by going to Layer – New Adjustment Layer – Levels
When you choose that and you click OK you will now see a Graph appear like so.
So you will see that the first part of the Graph has 3 little sliders.
I want to introduce a deep Black into this image but I want it to still be balanced. An easy way to do I have found is to pull the dark slider on the left in so it touches the first part of the white on the graph.
Then you do the same on the other side with the light slider (The light grey one)
Sometimes the white histogram will reach both ends, but same again you just pull the right and the left slider in towards the center a little.
The real change will come when you start to slide the middle slider.
In my case by sliding it to the right I was able to change the image to the tones I was after.
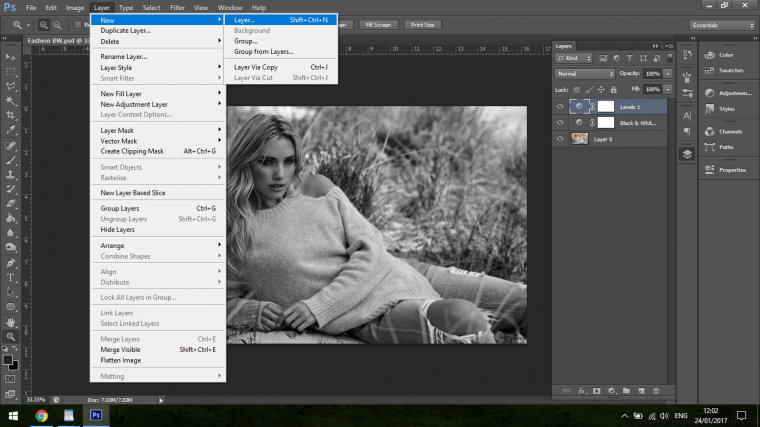
So now create a new layer, go to Layer – New – Layer and press OK.
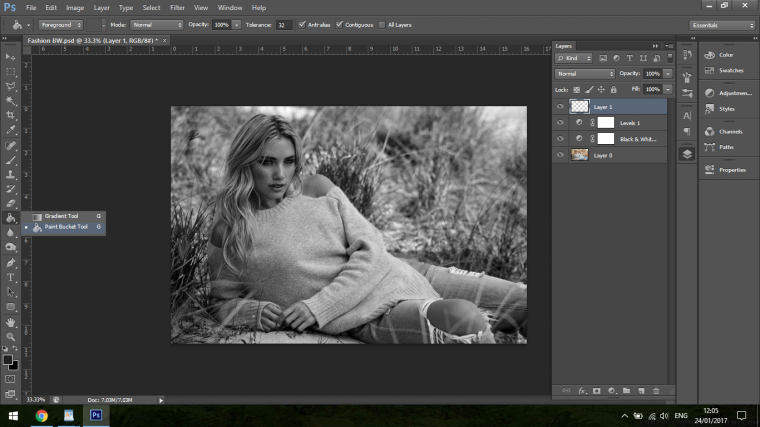
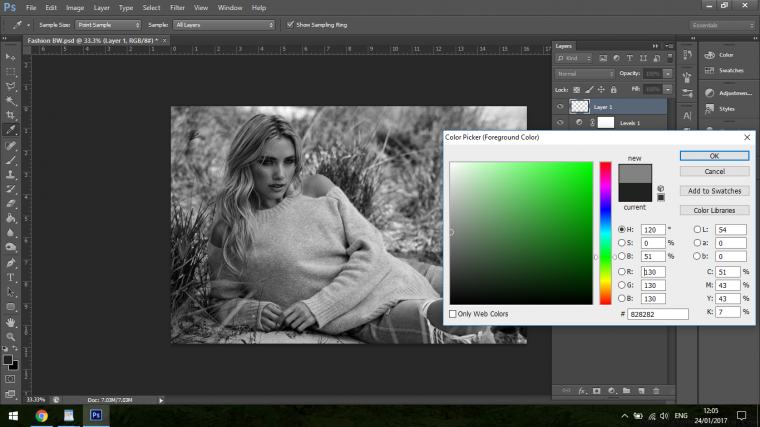
Next select the Paint Bucket Tool so we can fill the area with Grey.
For this I just click on the colour icon and chose the Grey half way down, doesn’t matter what colour you start with.
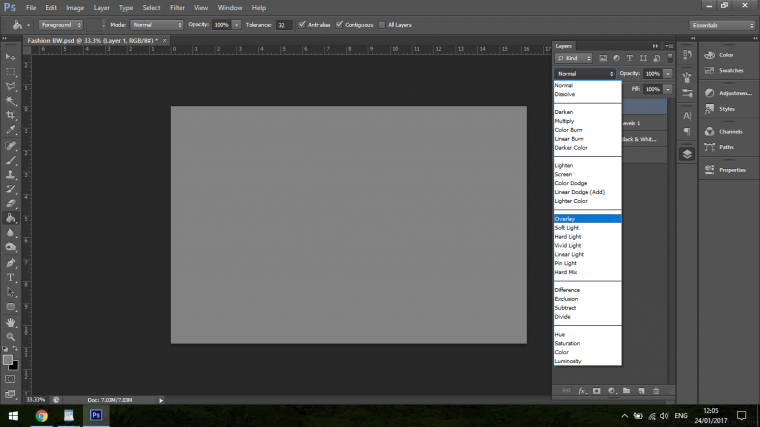
The change the Blend Mode to Overlay so it will become see through.
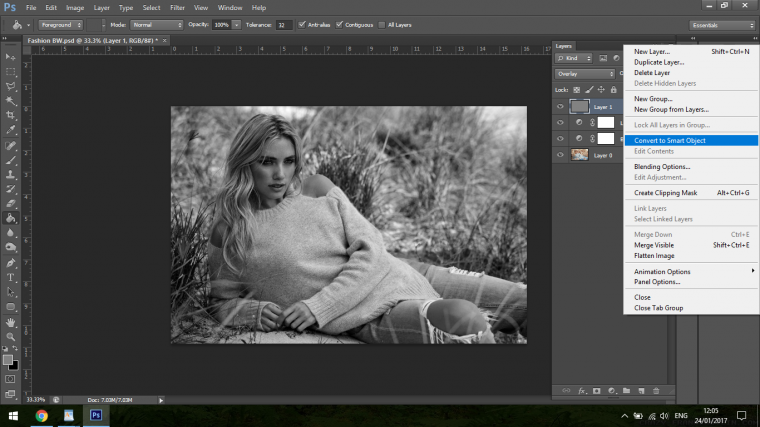
Convert that layer now to a Smart Object.
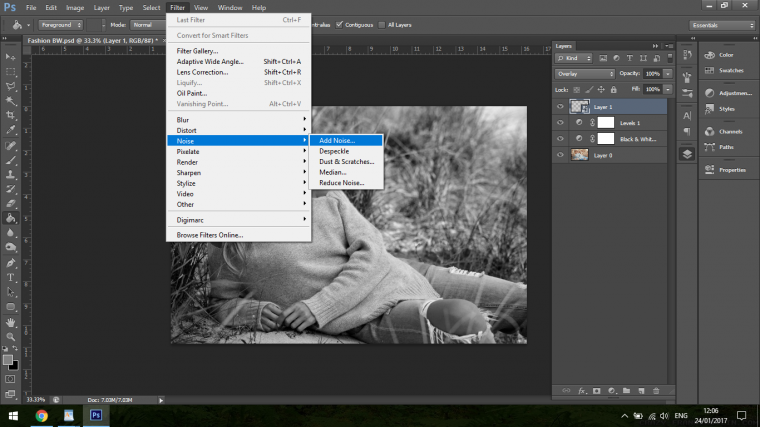
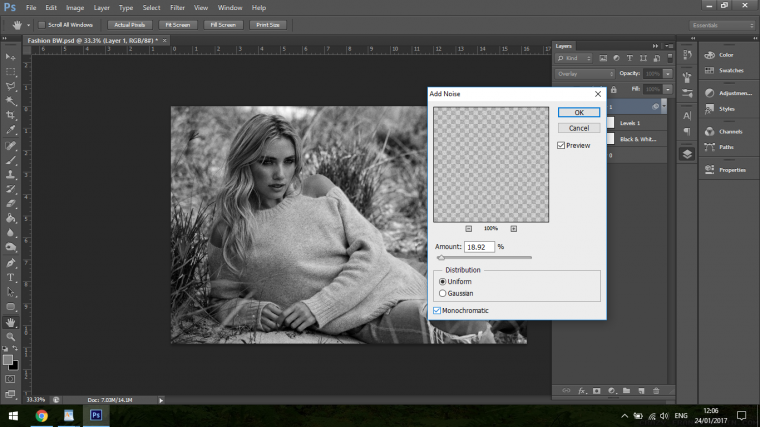
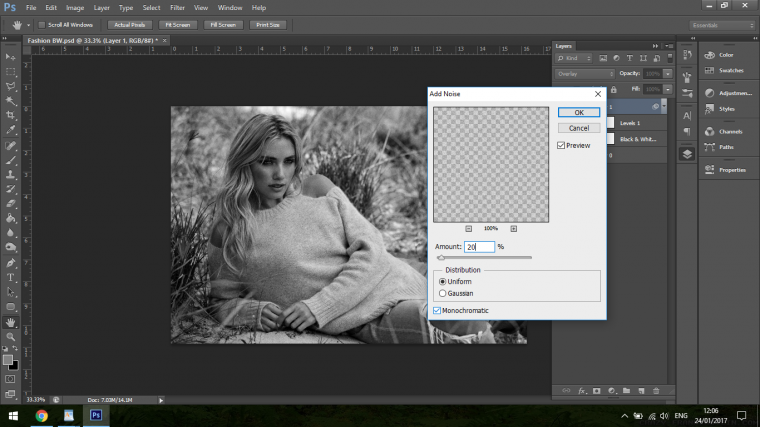
Now we are going to add the Grain, you do this by adding Noise, which can be found under Filter.
When the Noise panel appears the setting you will want it to be is as follows.
Amount – 15-20%
Uniform Checked
Gaussian Unchecked
Monochromatic Checked
Then click OK.
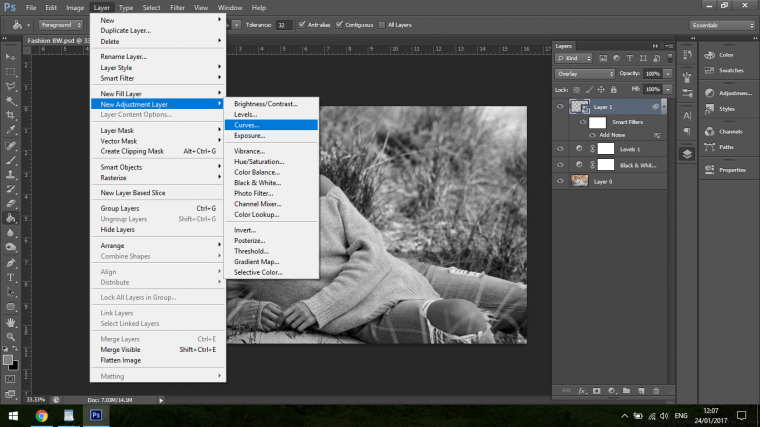
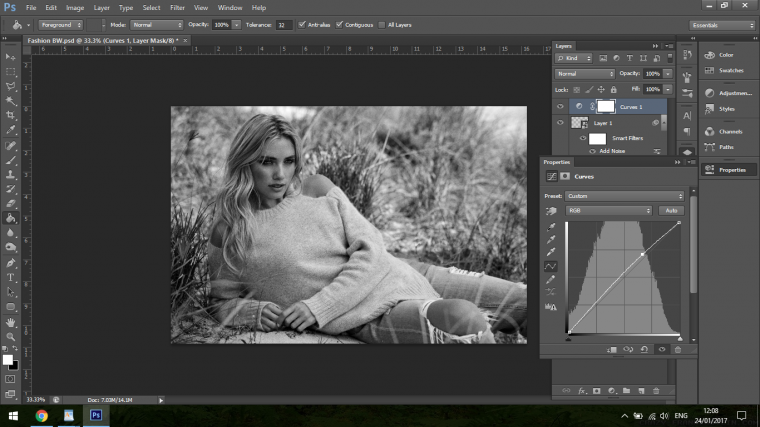
The last touch I want to apple is a Curves Adjustment layer. Click on Auto to see what way the program changes my image, this isn’t necessary but sometimes I like to just check this out to see if it gives me the desired look.
I liked what it did so I’m going to keep my Curves change to my final piece below.
In just a few quick clicks, we turned a color image into a stylish black and white image.
Graduated from college in 2002 with a degree in Art & Design, I started exploring my way in Graphic Design and Professional Post Production. Full-time freelancer since 2011.


 Facebook
 Google +
Comments (1)
Amazing! I followed step by step! results were very ,very good! Thank you for your time and effort!