
Ok let’s get this Tutorial going.
So off of our list the first thing we will be doing is to Clone Stamp out the Aerial, Bins, Hose and Stones.
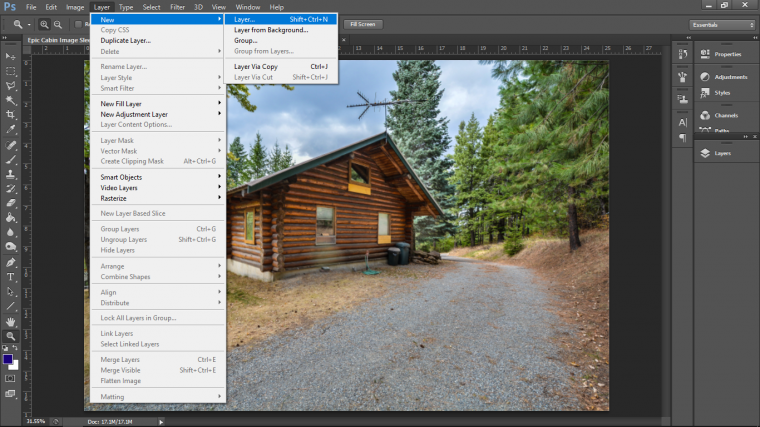
Go ahead now and create a new layer.
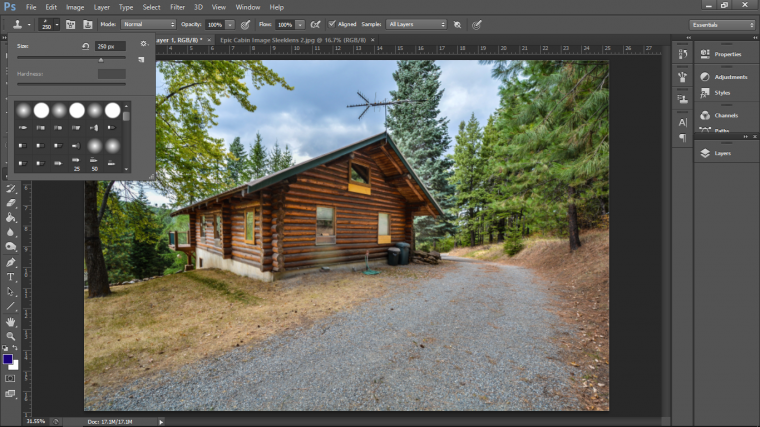
Now let’s grab our Clone Stamp Tool to get started.
In the top menu bar look to the end about 2 3rds in where it says ‘Sample’
Click on the drop down box and make sure you have ‘All Layers’ sampled.

And with that we are going to use a Soft Brush.
You will find this option just below where it says Edit in your top menu, you will see in the image below it is where you see the number 250, click on this, yours will most likely be different and if you are lucky you will already be on the soft Brush but just in case follow this step.
The Soft Brush is the First option you see in the drop down menu, it looks like a faded circle.
Click that.

Cool.
Now let’s zoom in.
You can do this by either using the Magnifying Glass Tool round the bottom left of your left side Tool bar.
Hint, it looks just like a Magnifying Glass.
Or you can use my option, which is the keyboard option.
I hold Ctrl and press Plus or Minus on the Keyboard.
If you hold Space bar you will also be able to freely click and drag your way around the image.
These you can do at any stage of the editing process minus one or two things here or there that don’t really matter at this time or in general.
If you wish to, you can also change the opacity of your Brush, it’s under View in your top menu.
This will allow you to click multiple times to build layers and blend better rather than it just going on hard right away.
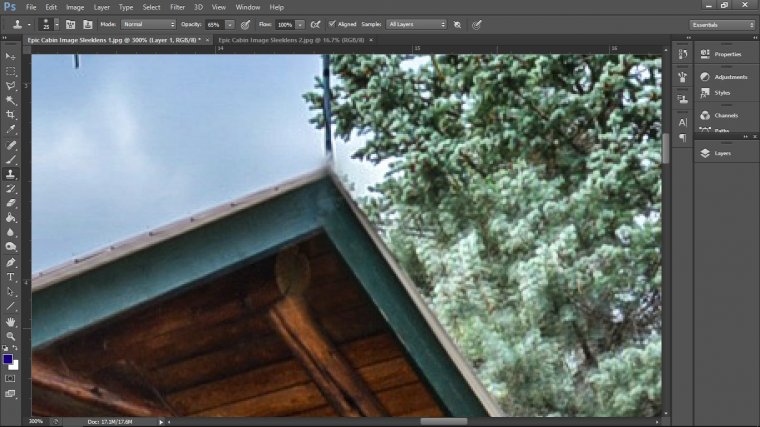
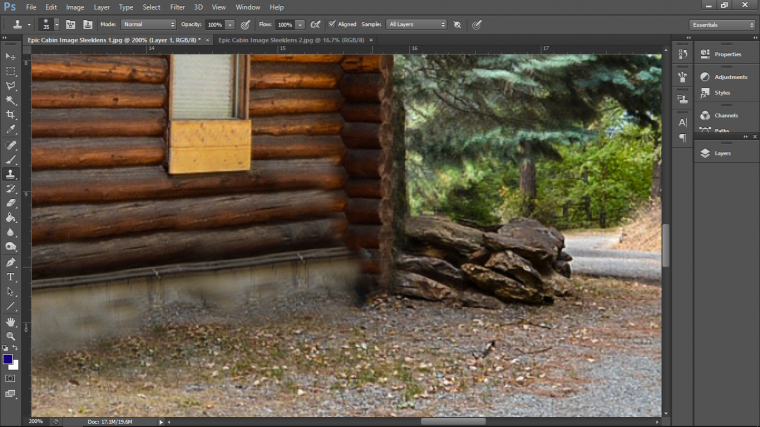
The way you use the Clone Stamp Tool is you hold Alt on your Keyboard, then you sample by clicking on the area, an area that looks similar/identical, then you start to cover the area you want to get rid of with the sampled area that is similar.
This will take a bit of imagination so work with it.
While doing this I’m changing the size of my Brush too which is important, to do that I use the Bracket Keys on my Keyboard.
As you can see below I’m going to use parts of the roof to fix the roof.
The closer you get to the exact lighting and shade the better, in fact it’s very important you do.
While doing this be careful not to go too far with the blend which is why I recommend a very small drop in your opacity level, 95% give or take should be good.

With the Wood I used the wood on the left to fix the wood on the right and cover the bins.
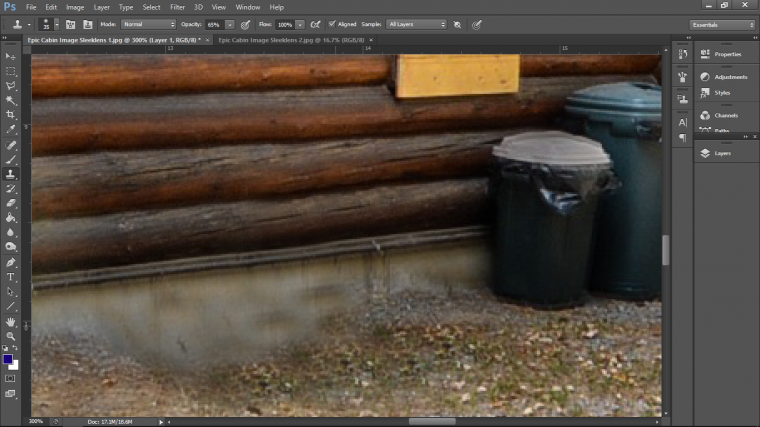
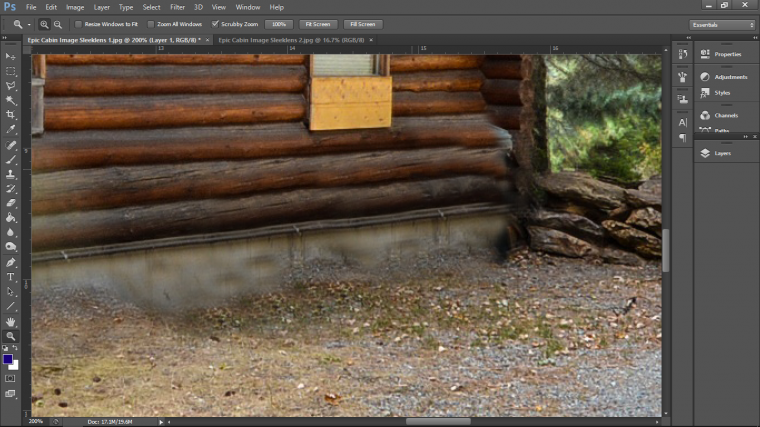
Then I used the side logs to on top to fix the ones below.
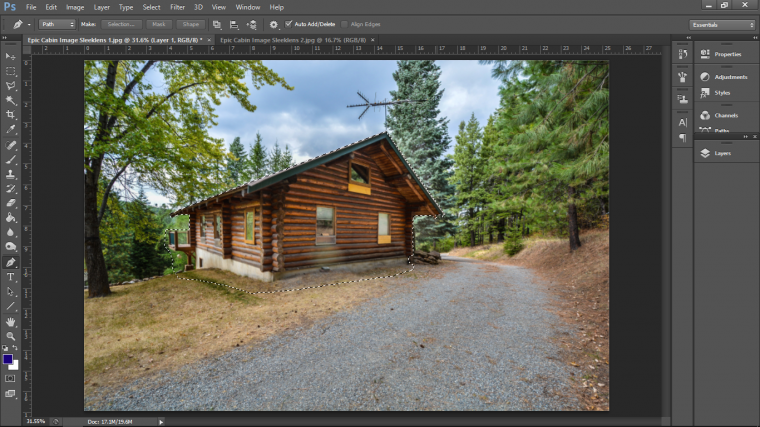
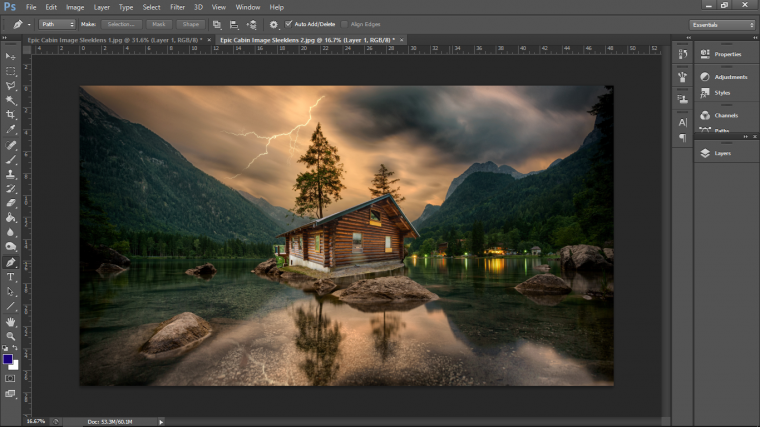
Now when you have completed the Cloning and you’re happy with how it looks it’s time to Crop the Image out.
So open up your Pen Tool.
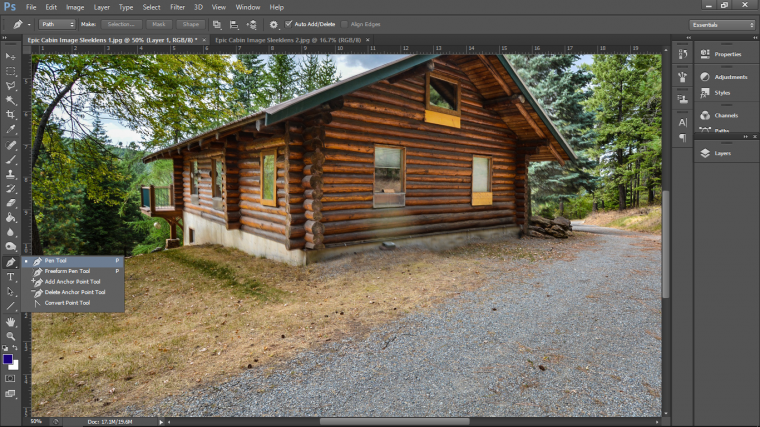
Now the way you use your Pen Tool, is you click anywhere you want to start, and if it’s straight lines you can just keep clicking which makes it very similar to other Selection Tools, but what makes this different is if you click you start point, then click the next area on your way to cropping and you hold and drag you will create a curve.
So this Tool helps you get awesome and accurate rounded areas.
Then when you want to go back to normal straight line points you hold Alt and click the last point you created then you can continue on as normal and repeat.
You keep following these steps until you have created an accurate selection.
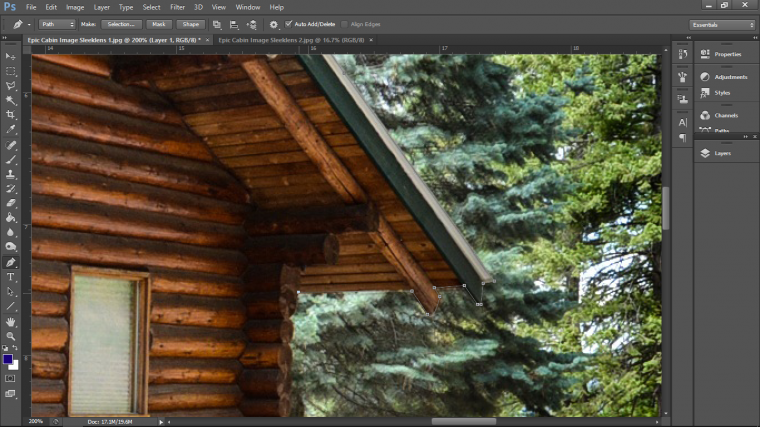
If you make a mistake you can right click on the last point and click on ‘Delete Anchor Point’
You can do this all the way back to the start if you so wish.

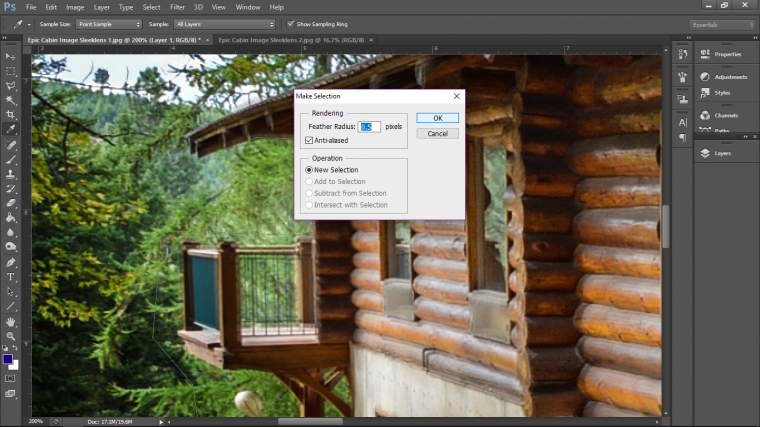
When you have created your selection all the back to the very first point which you click on to close you then right click inside the area and choose ‘Make Selection’
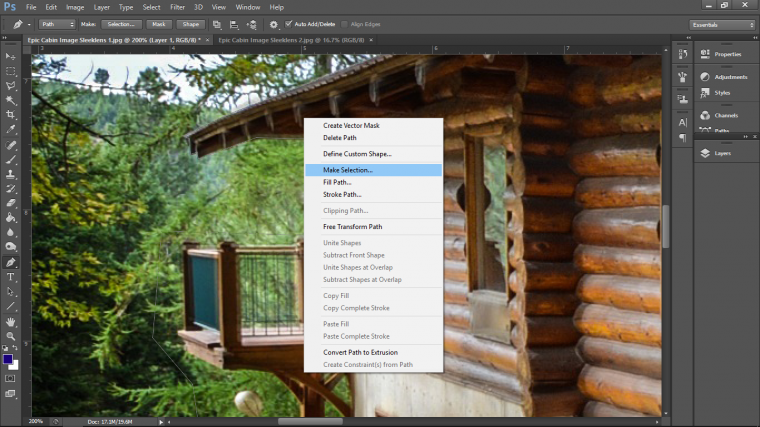
You can then choose to add a Feather, for this 0.5 will be fine.
Then click Ok.
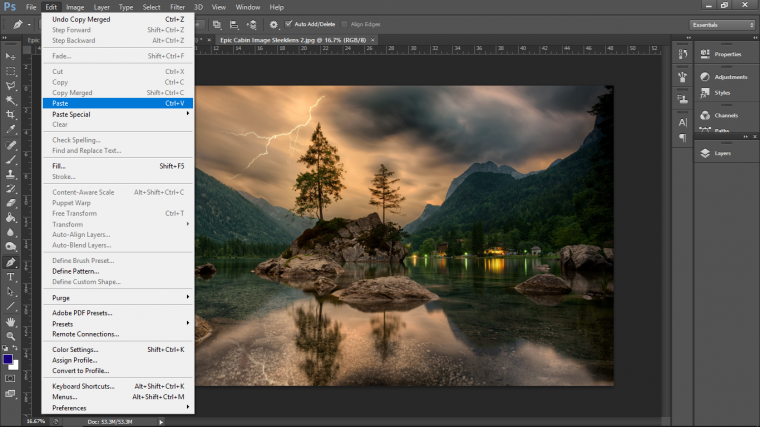
Then go to Edit – Copy Merged
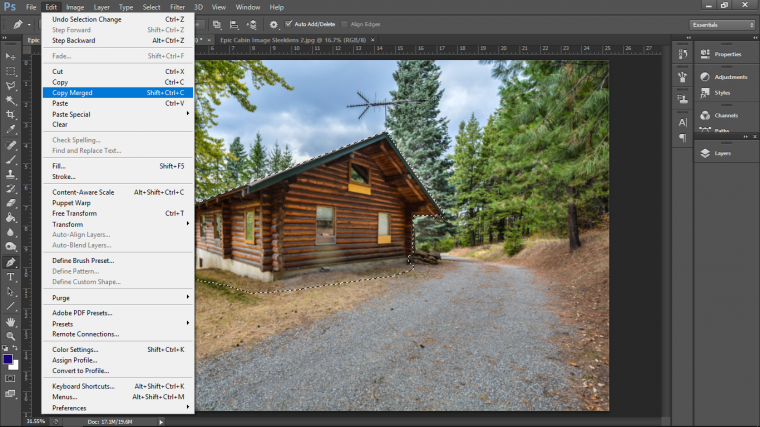
Then open up your main file and go to Edit – Paste
You can now save up and we’ll continue in Part 3


Please verify your software version before proceeding.
 I’ve verified my software version


 Facebook
 Google +
Comments (2)
Thank you 🙂
Love it it’s truly amazing