Hi all, for today I’m going to be showing you a really quick way to change up your images using the Quick Mask Tool.
Now what I’m going to show you today doesn’t just have to be constrained to the one type of image, but rather this is a more universal Technique.
You should be able to apply this to many many other images, so if you can think of them then most likely this Technique can be applied in one way or another, so hang tight, you’ll definitely want to be adding this to your Photoshop arsenal.
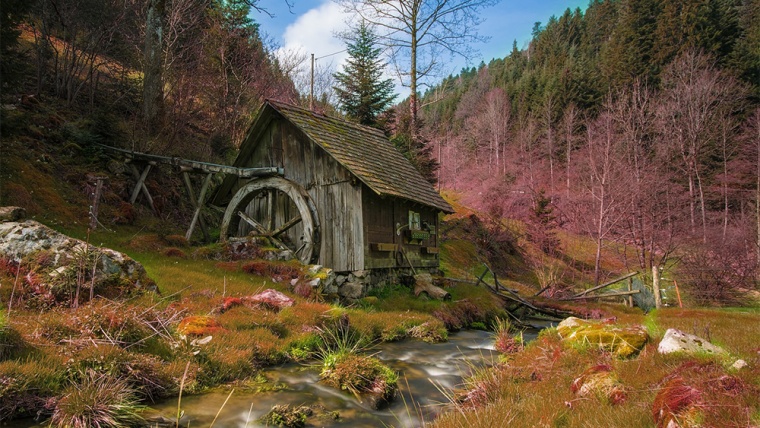
Ok so this is our image for today, it’s a lovely green summery image, but we’re going to change it up quickly and add an Autumn feel by changing some of the colours on it super quick.

So the first thing you need to do is press B on your keyboard, this will then activate the Brush Tool, by doing this it is known as a Keyboard Shortcut.
When you click at the top indicated below you will see some Brush Tool options.
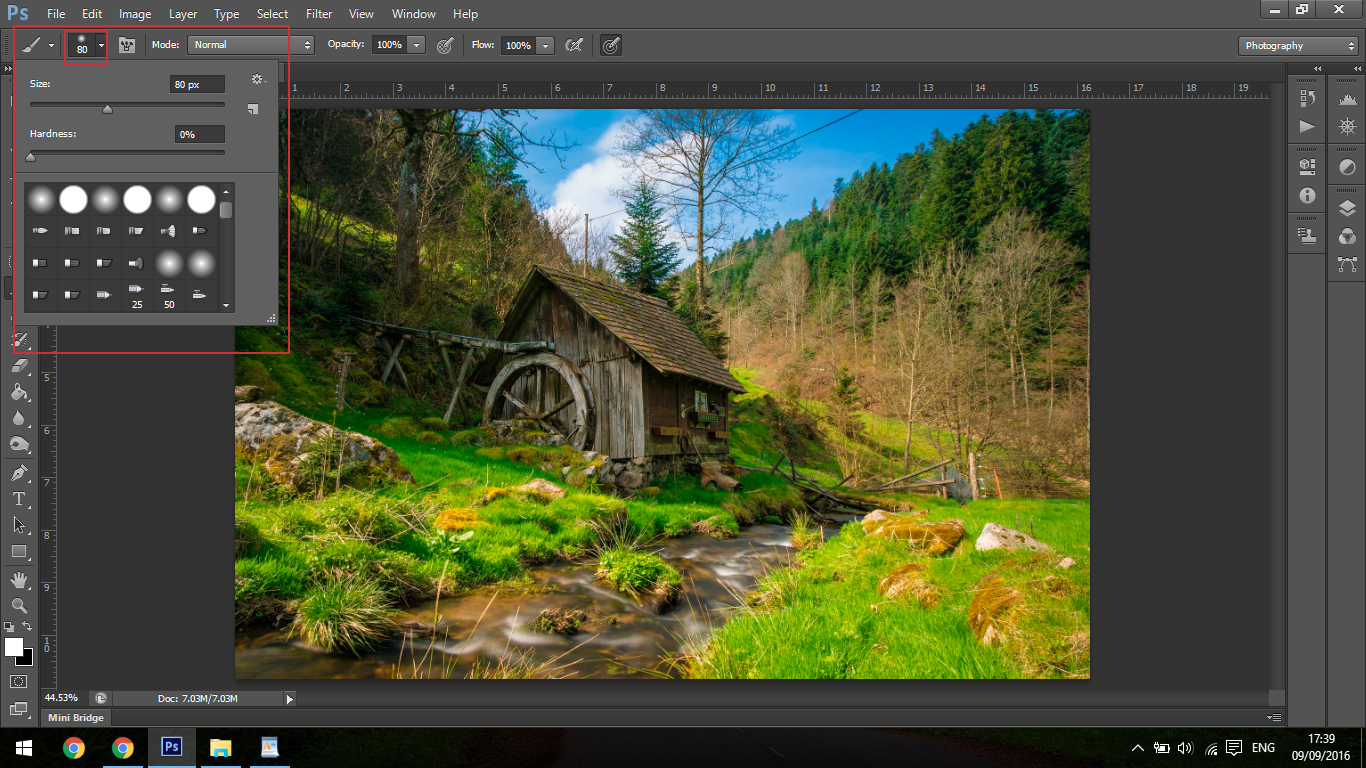
You will see the 6 circles within that panel box, you only really need to worry about 2 to start with, the first is a soft Brush and the second is a hard Brush which instead of blended edges it gives a sharp crisp edge.
We only want to be messing with the soft Brush for this, so choose that option and we’ll move on.
To increase and decrease the size of the Brush Tool you can use the left and right bracket keys on your keyboard [ or ]
If you don’t know what they are then I suggest a quick google search to explain.
Now press Q on your keyboard to activate your Quick Mask Tool, this again is another Keyboard shortcut, definitely try to remember these as you go along, they speed up your work flow by a lot so you don’t have to always go looking for Tools in the drop down panels.
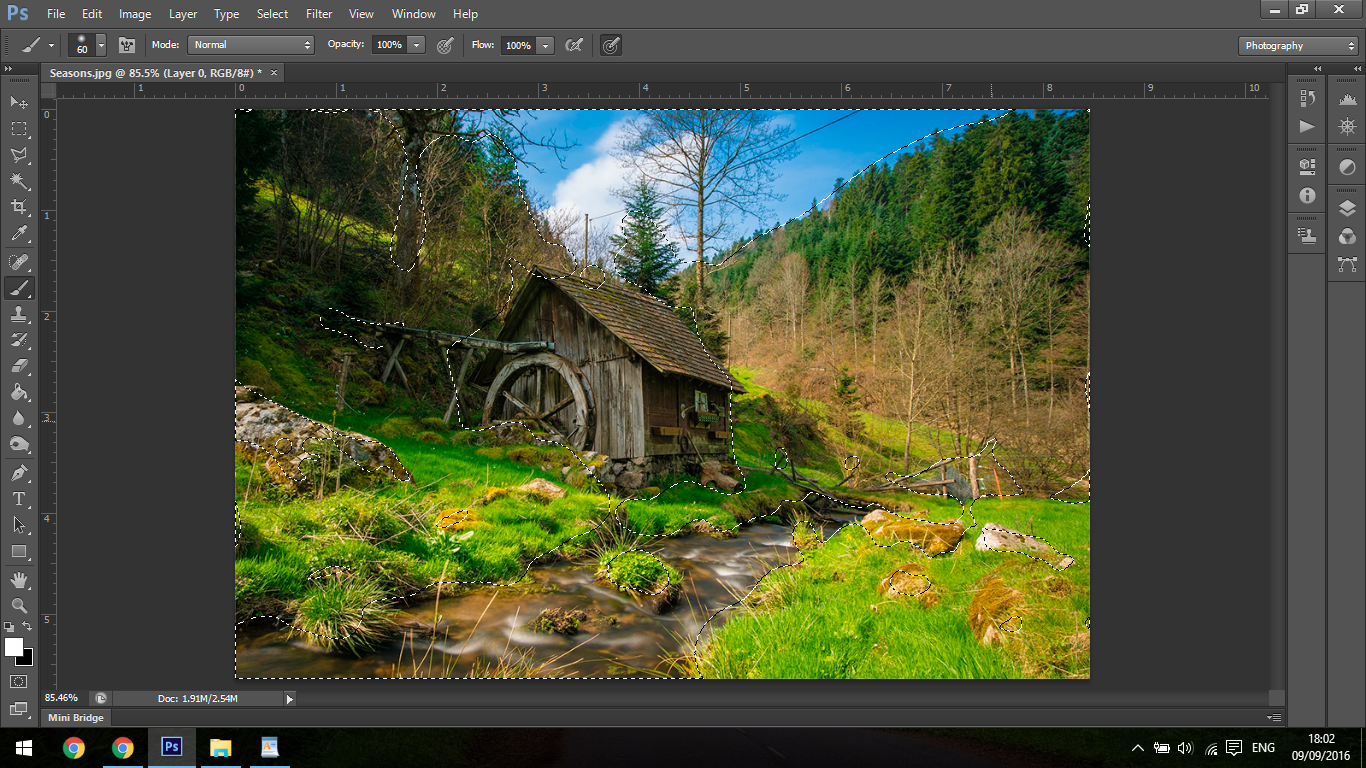
Next you will start to paint on top of the image, now don’t worry you are not actually painting on top of the image but merely creating a selection, so for now just follow along and all will be revealed shortly.

The areas I’m targeting is the green grass in the image, this is what I will be changing the colour of to make it look like Autumn is arriving.
You don’t have to be completely precise with the painting on you just need to roughly get the areas covered and the Quick Mask Tool and the Soft Edged Brush Tool will do the rest for you, as you go along you’ll be changing the size of the Brush Tool using those bracket keys we talked about to increase and decrease sizes for convenience.
Once you have your Mask completed press the keyboard shortcut Q again and you will now see a selection appear over the areas that you painted.
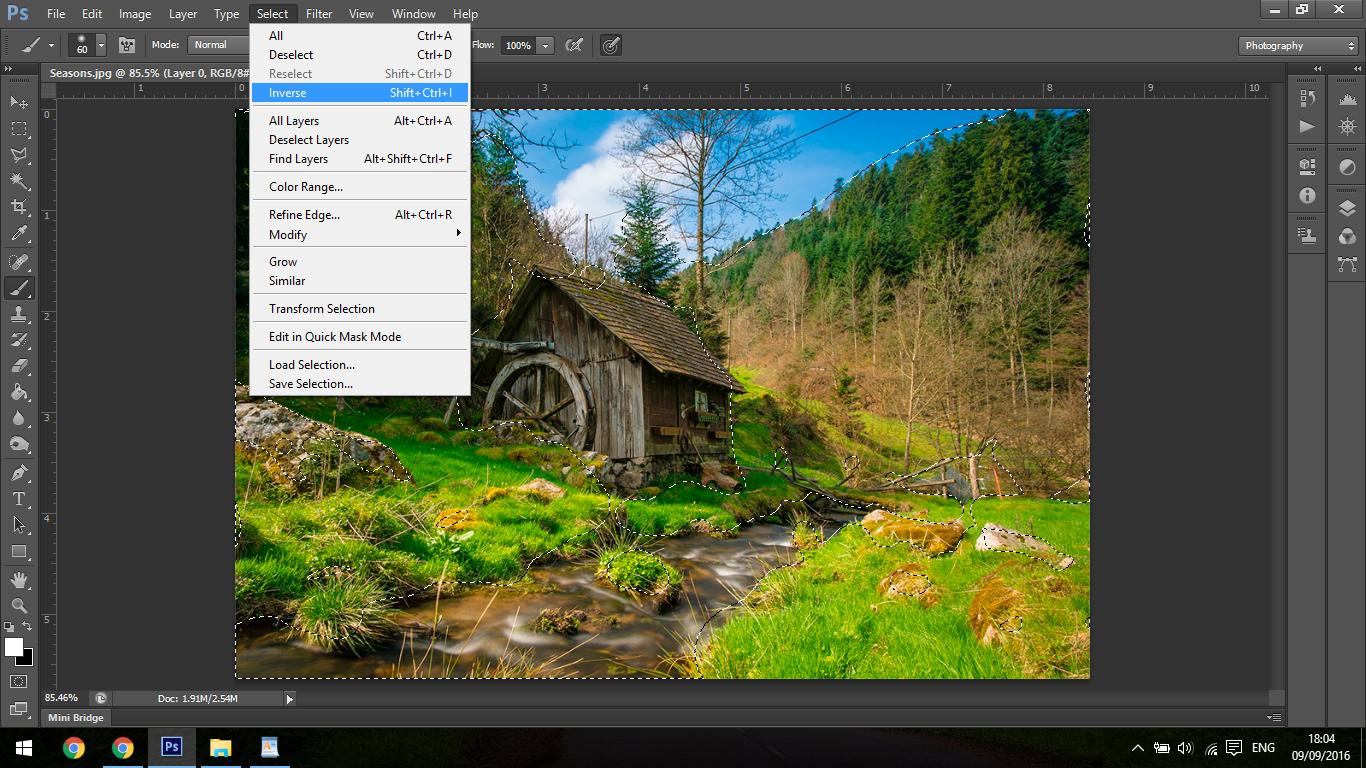
Then next you will press Shift – Control – I
If you are unsure about this keyboard shortcut then you can simply go to Select – Inverse
This will then reverse your selection to only select the grassy areas and leave out the sky etc.
Now we’ll go to Image – Adjustment – Hue and Saturation
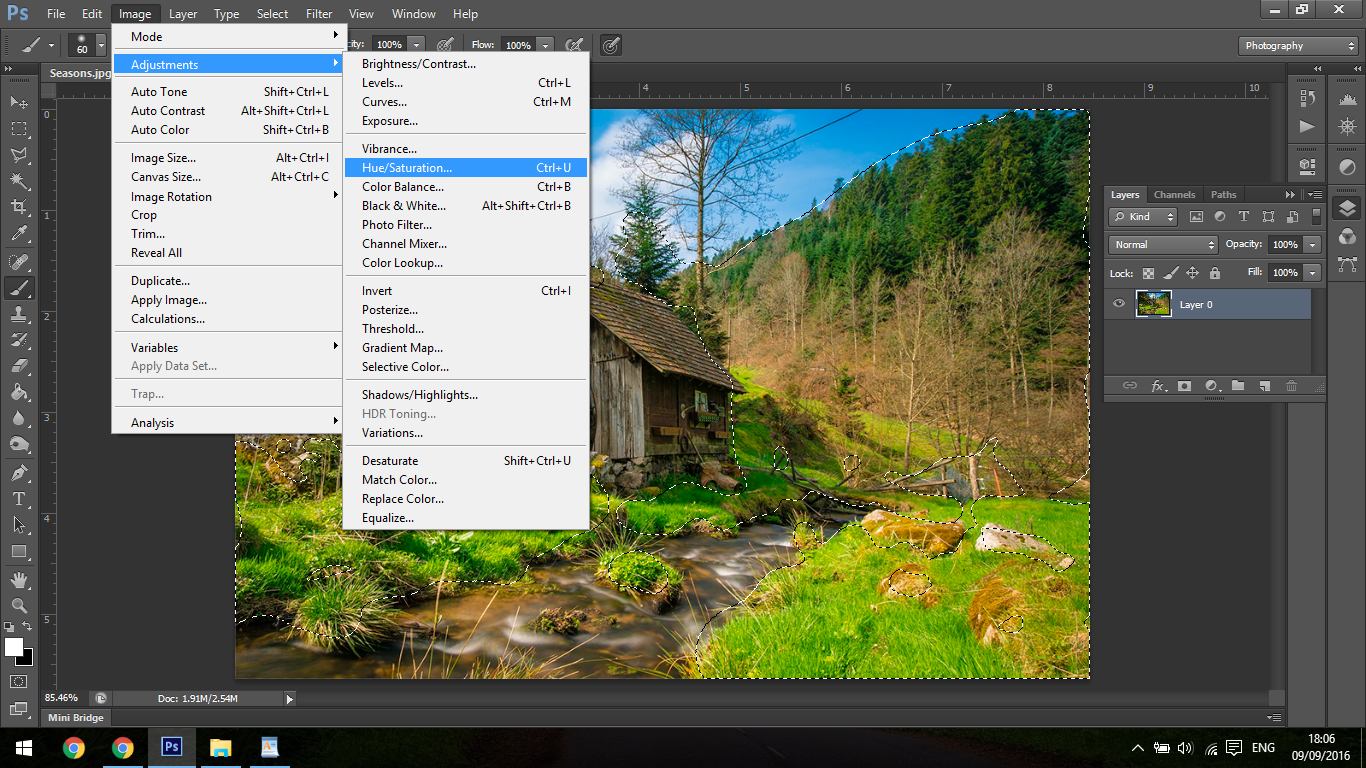
There is a few other options there you can test out if you wish but for this we are only going to be using the Hue and Saturation adjustment.
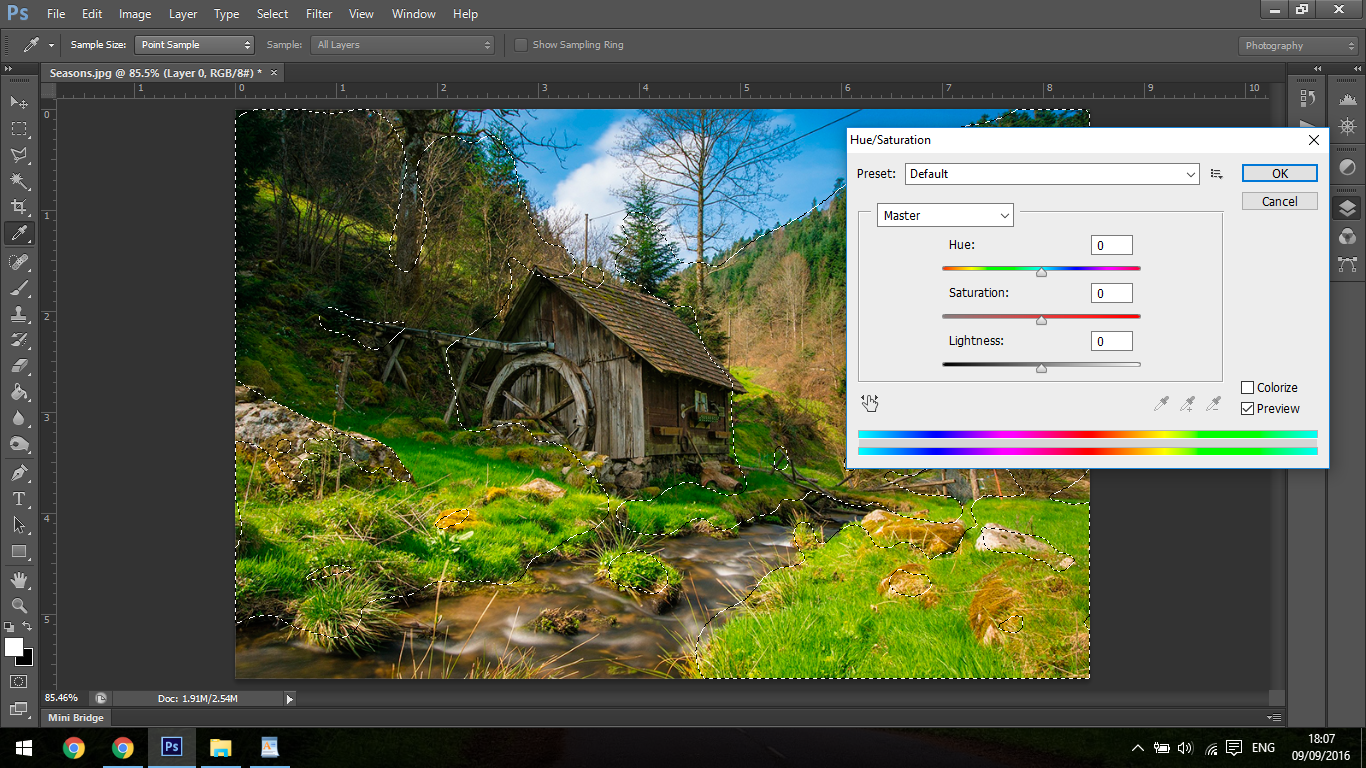
So what you do here is you click and hold on the slider tab in the middle of the Hue Slider, then you can start to change the colours on your actual image.
From green I slide my slider to the left to get those burnt/red autumn colours.
The trick to this to make it realistic is to be kind of subtle about it, you don’t want to really intensify the colours too much, but if you do you can lower the saturation or just slide your slider back to the right again.
So if your colours are too intense, slide the Saturation slider to the left and it will start to drain some colour out of your image on the selection.
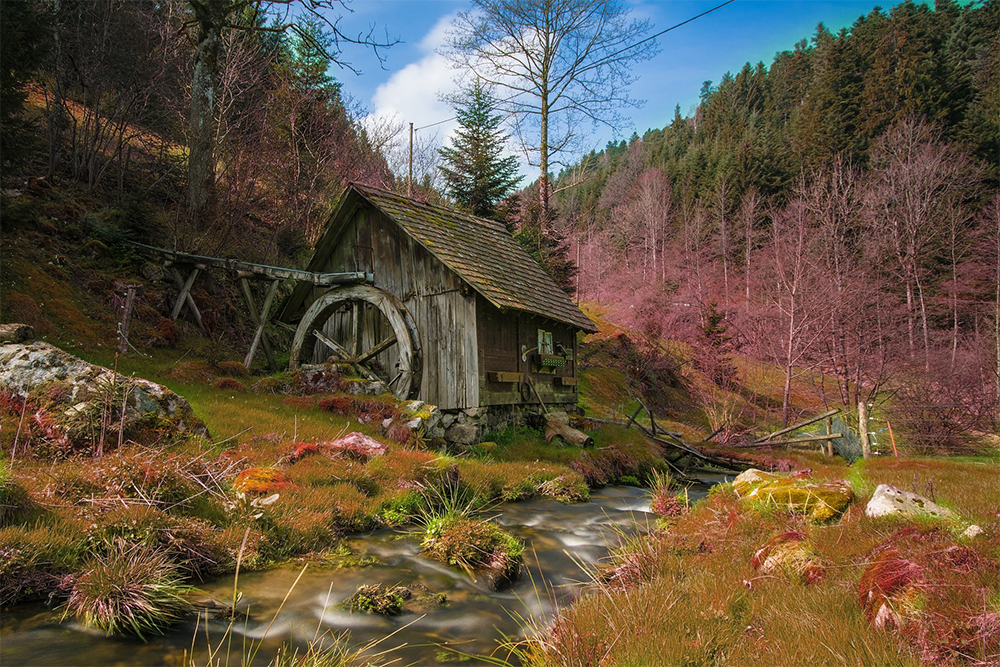
Try to find a nice balance between the two and you should end up with a new Autumn image like the one I have below.


Please verify your software version before proceeding.
 I’ve verified my software version


 Facebook
 Google +
Comments (0)
There are no comments yet.