
Welcome to the third and final part of this Photoshop Tutorial. You can check part 1 and part 2 here.
Ok to start, click on that top layer that in the last tutorial we made into white, now this will be temporary as we will need to do the reverse back but I just want to plant the seed is if you hold Ctrl and press I, it will invert your layer to black, that means now the entire layer is hidden, so instead of Black we would use White on the Brush now.
So just give that a go there and then save up and we’re good for this part of the Tutorial.
When you do that Ctrl I control you can flick between White and Black back and forth at any stage.
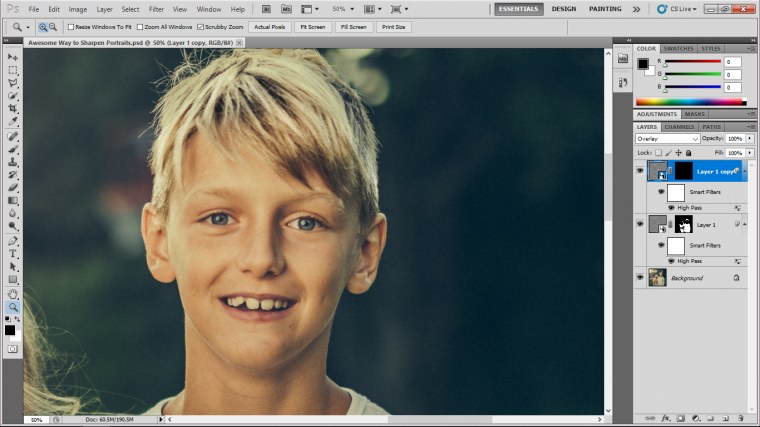
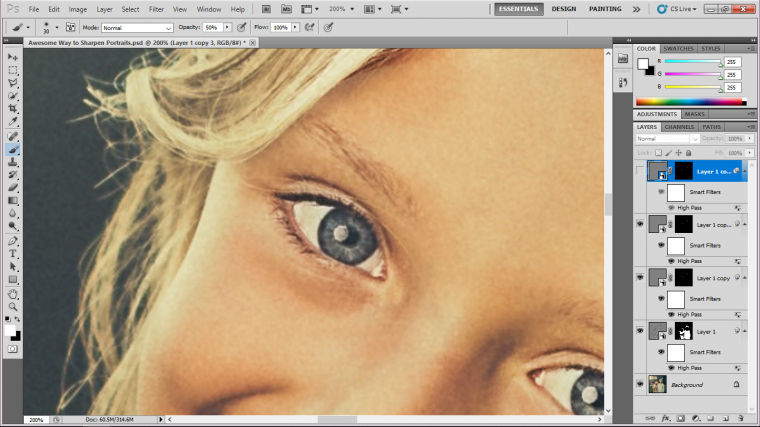
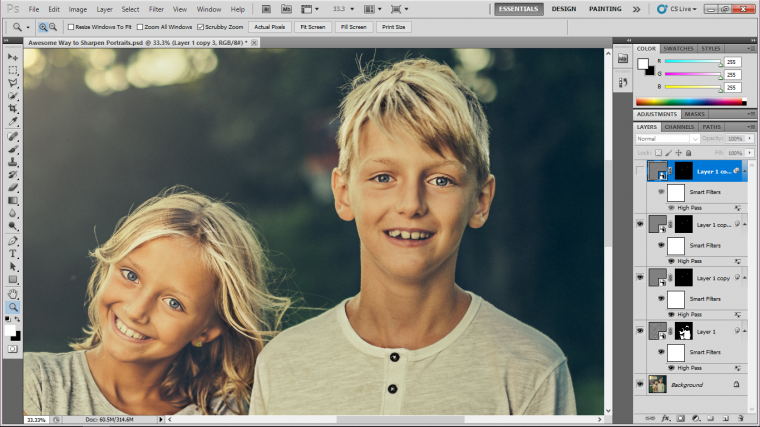
So now I’m going to zoom into the eyes of both the children in turn.
I’ll also do areas like the mouth as well, so think of the areas on the face that you would like to enhance a little.
So I’m going to grab a brush and change it to White.
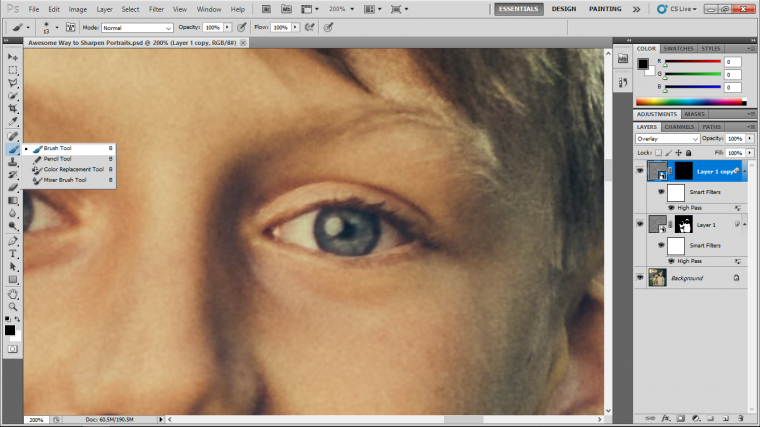
Then I’m going to make sure that I have clicked on the little thumbnail that we turned Black and at the top just under Window slightly to the left of the Photoshop Desktop you will see Opacity, I’m going to just drop that down to around 50% for this part, I may change it in the not too near future.
You can do this by just highlighting and typing in the number.

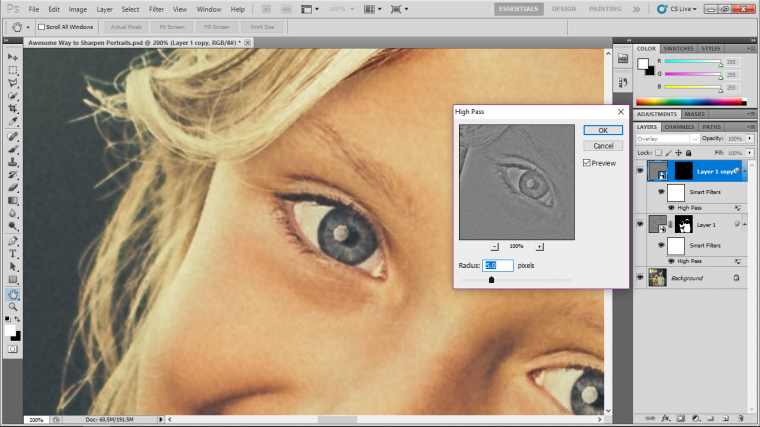
Once I have painted over the areas I can click back into the High Pass Panel by double-clicking on the Word High Pass in the actual layer on the right.
I’ll bring this down to about 5 for mine, but do what feels right for your image and then click Ok because I’m going to show you a way to sharpen using duplicates.
So what this all basically does is it enhances areas of interest but it keeps a fine blur on the skin so that all the little ‘imperfections’ remain slightly hidden as subtly is key when retouching.
So now that we have that done let’s duplicate the layers 2 times.
You may do it more or less again do it till it looks good to you, I know that’s kind of hard to quantify but it is a skill that you must develop over a long period of time if you are a beginner, really it comes from a lot of trial and error and seeing lots and lots of professional images from the pros so eventually you will know what looks good from their example.
But don’t worry, it will come!!
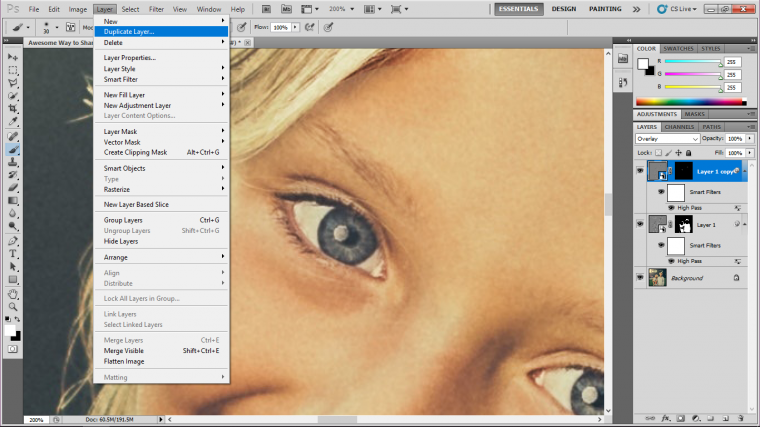
So to Duplicate all you have to do is be clicked on to the layer that we want to duplicate, then go to Layer in the top menu.
Then at the top of the drop-down panel that has just appeared, you will now see ‘Duplicate Layer’
Click on that and you will now see that a new layer has materialised above your chosen layer.
Then just repeat the process a few times over and over till you’re happy, as I said I did this just twice.
So you keep doing this until you feel you have the right amount of sharpening.
What I do personally when I’m going through my workflow is I will make two or three of these, then if you look on your layers, to the right on the actually layers you will see a little eye icon when you click this you will turn that layers visibility on and off.
Then you can start to bring up your High Pass Panel and do further tweaks as you go along.
So you can see how much control over the sharpening Photoshop gives you, it really is great.
The last thing that I want to discuss that we touched upon in the first part was to make sure to do all your sharpening at the very end of all your work, but one thing that I forgot to mention is that when you go to do your sharpening, also make sure that you have your image the exact output size is.
So if you are doing an image that 800 x 800 Pixels for web make sure it is that before you sharpen, same goes for print!
Hope you learned a lot and put this into action with success in the future.


Please verify your software version before proceeding.
 I’ve verified my software version


 Facebook
 Google +
Comments (0)
There are no comments yet.