Hi everyone.
Today we’re going to be taking a look at how to add some cool textures to our images.
So we’re going to be getting a little bit abstract and artistic with this tutorial so it should be fun, at least when using your imagination you should be able to come up with some pretty cool finished pieces.
Lets get to it.
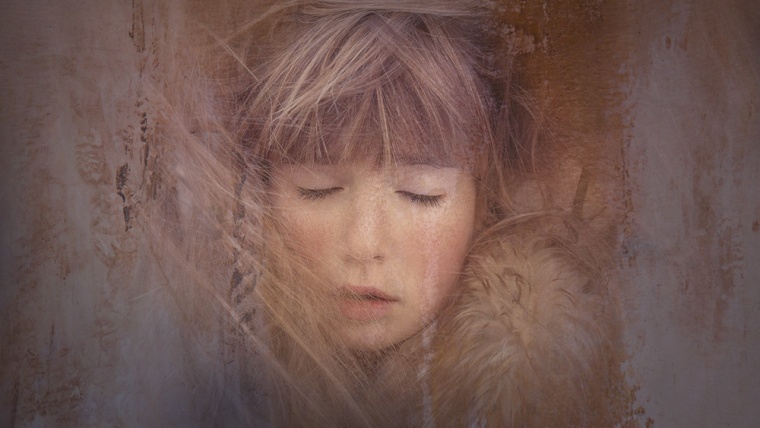
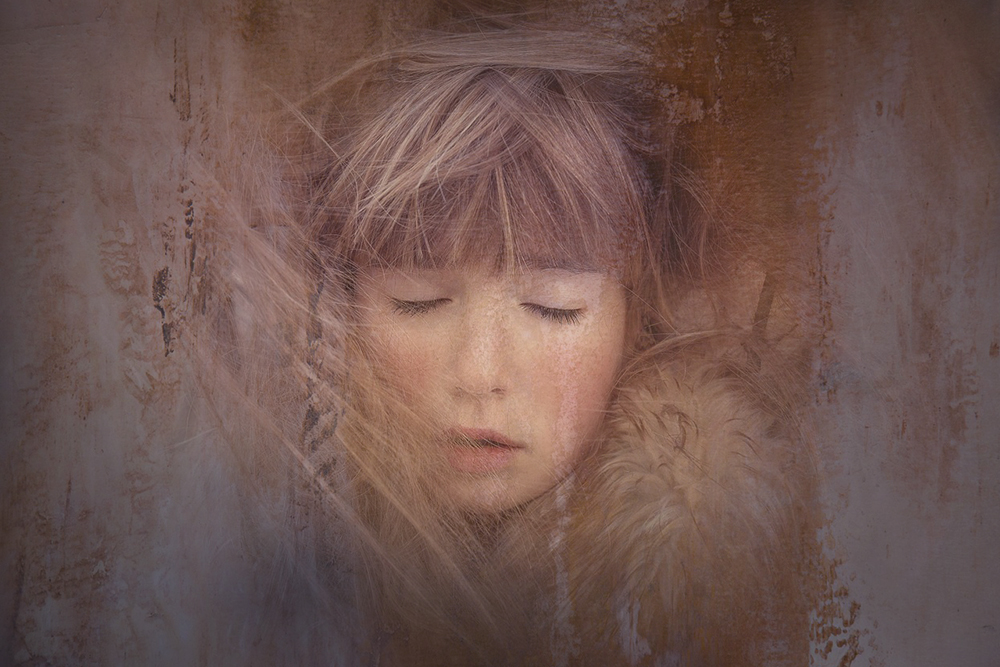
So the image I used today has a very soft quality about it and I’m thinking that I could add some cool textures over this to roughen it up a little bit and give it a different feel.

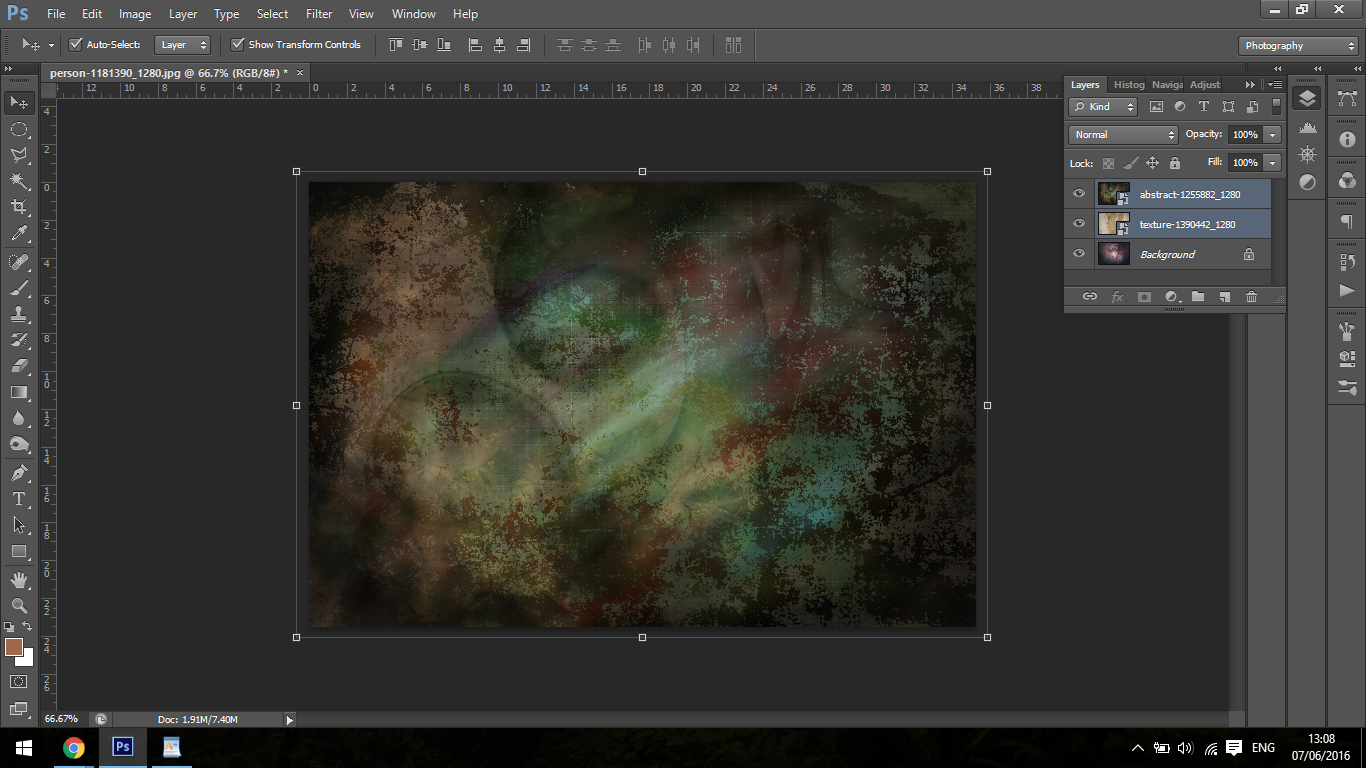
The first thing I’m going to do is add my textured over my image.
I do this by selecting and dragging the images onto Photoshop direct from my desktop.
This will place them on to your image.

You may have to do a little re sizing while your are at it so you can just click and drag, when you’e finished, hit return to then OK your actions.
Part II of photoshop for beginners roundup.
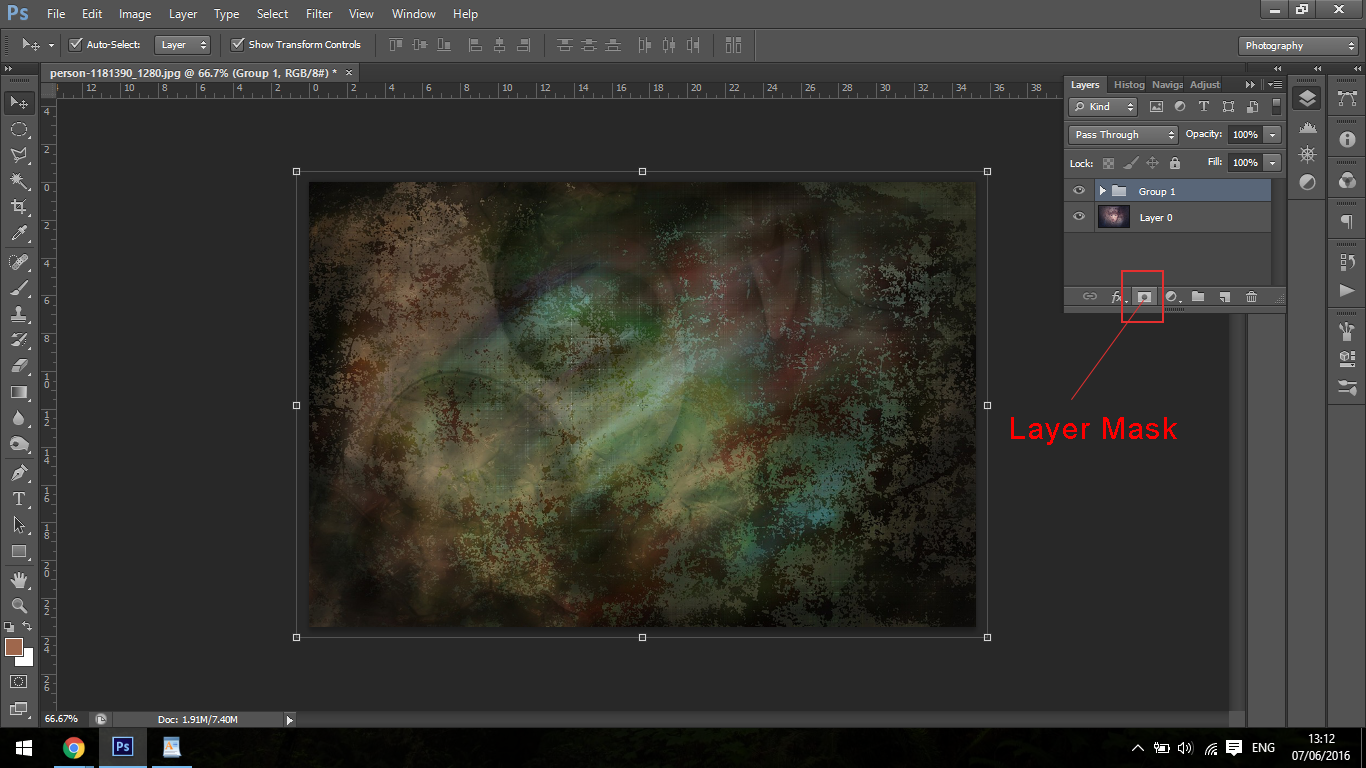
Then click on both of the texture images, clicking on one first the holding Ctrl and clicking on the other, when they are both highlighted hit Ctrl G to group them together.

Now we are going to create a layer mask.
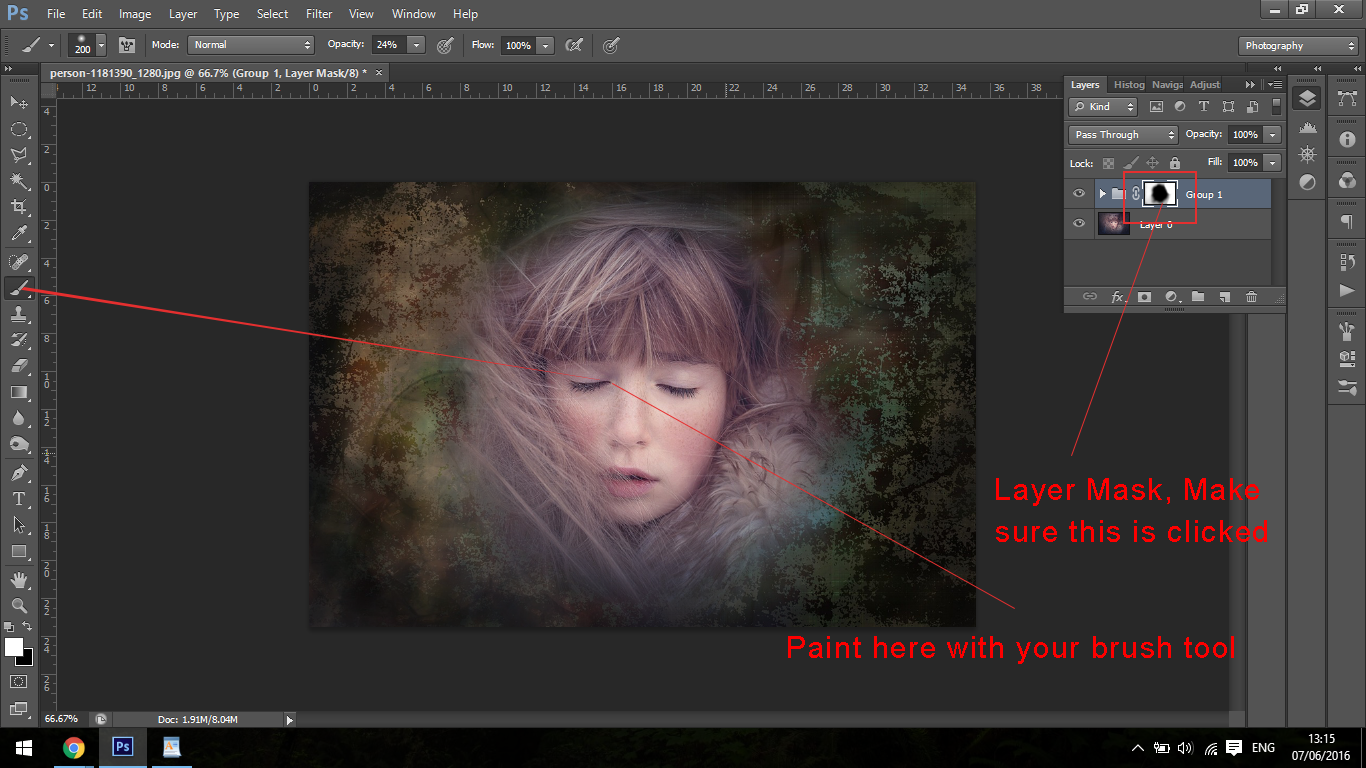
Then hit Ctrl I to invert your mask.
Black makes it disappear and white allows the textures to re appear
So if you use a brush with white you can then paint onto the mask like so.
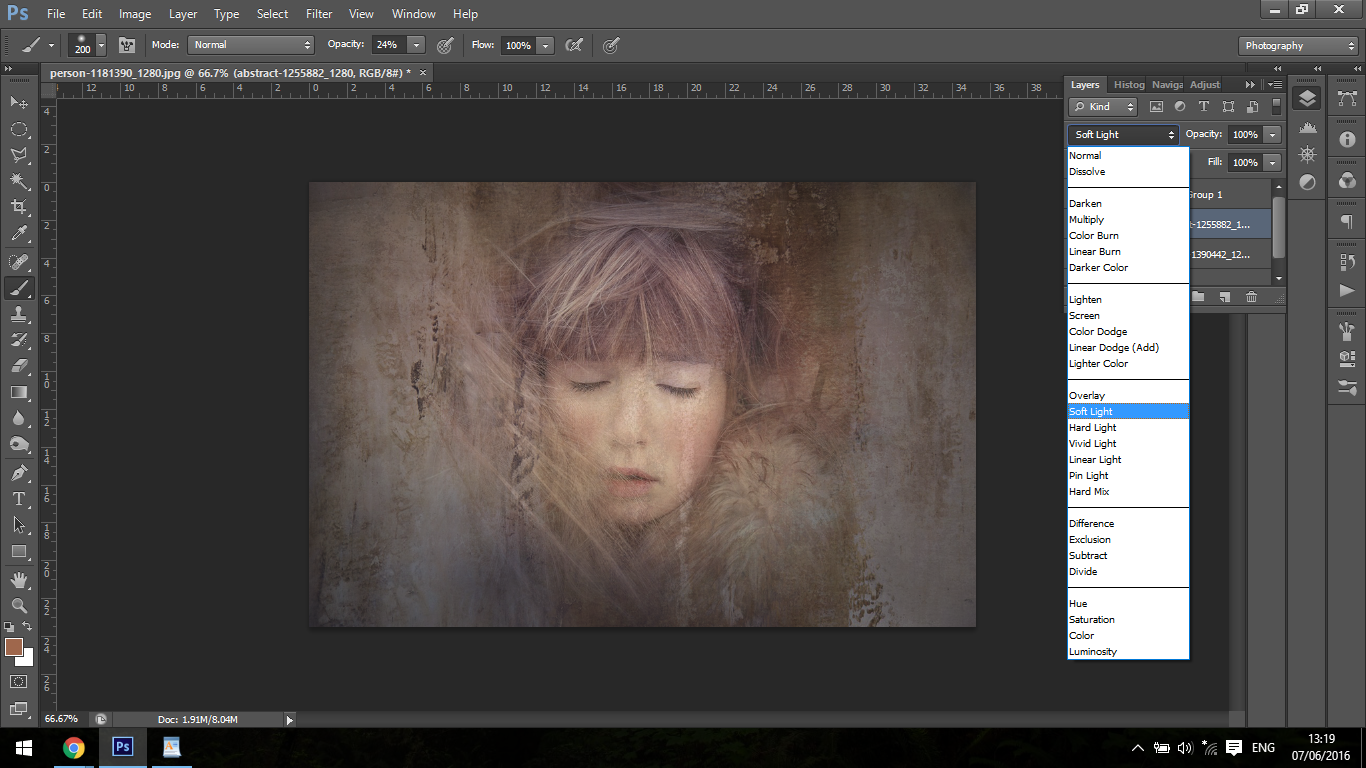
Now you are going to change the Blend mode to soft light on the texture layers.
So go into your group and click on them like we did previous selecting the two and change the drop down to soft light.
You will see that some of the Photoshop Textures layers may not have changed a massive amount, don’t worry about that because the main editing comes now.
We’re going to be using a combination of dropping our opacity, changing up our levels and messing with colours a little bit.
First on the list will be to create a levels adjustment layer, and just a quick side note we will be doing this all individually on each texture as we go along.
You don’t have to have a set idea of where you want to go with this, but just an idea of what looks good to you as you go along.
You open adjustment layers by clicking at the bottom of your layer panels.
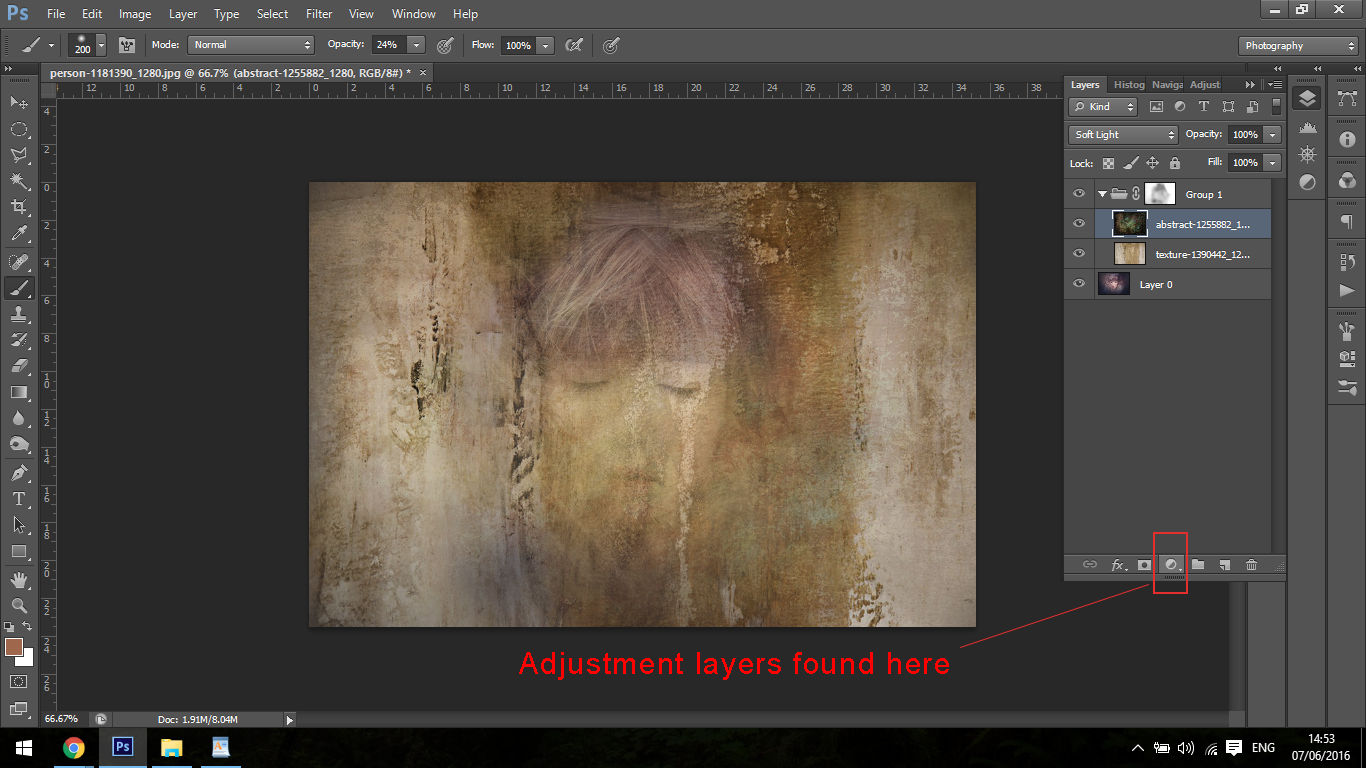
Adjustment layers are really good because they are individual layers on their own and they can always be edited after at any stage.
That way you’ll never ruin your original image.
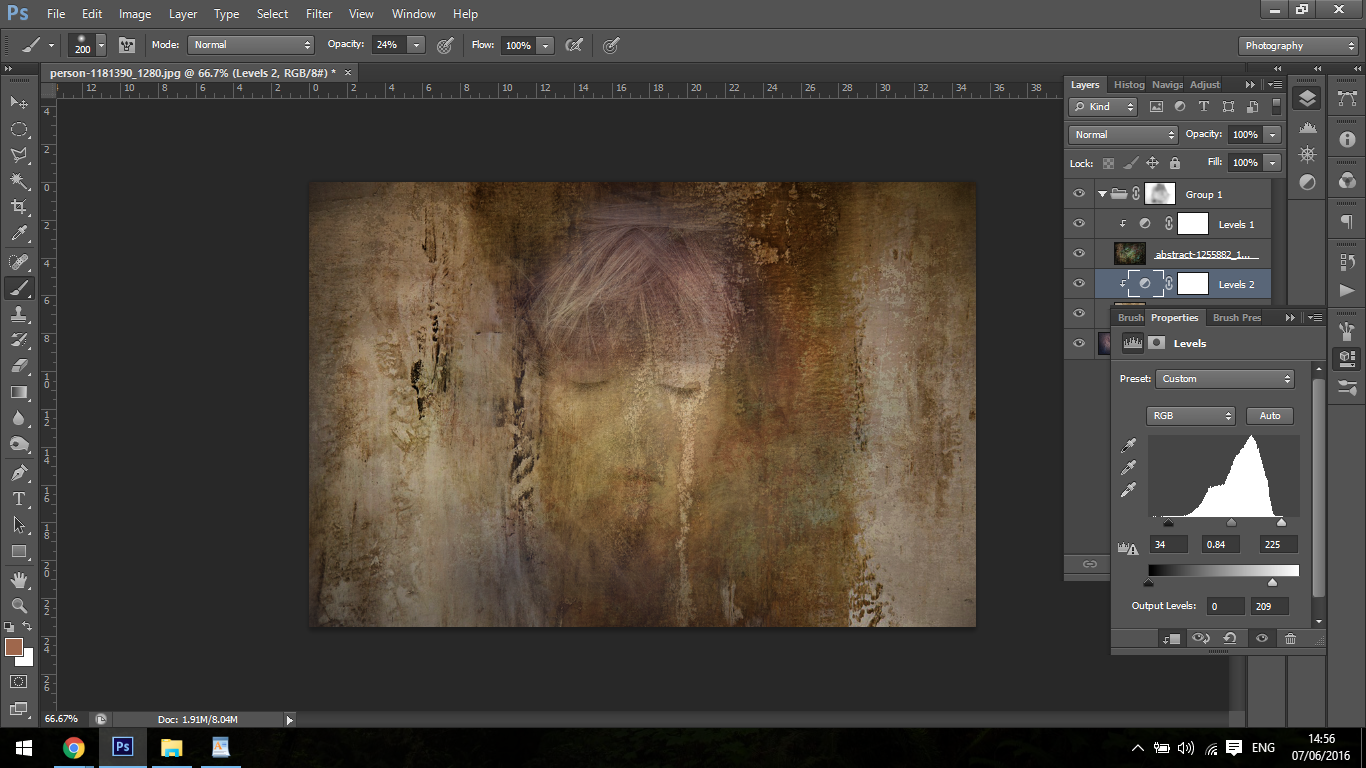
So with the Levels adjustment layer I’m going to play around for a little while and see what comes up.
I’ll lighten and darken as I see fit.
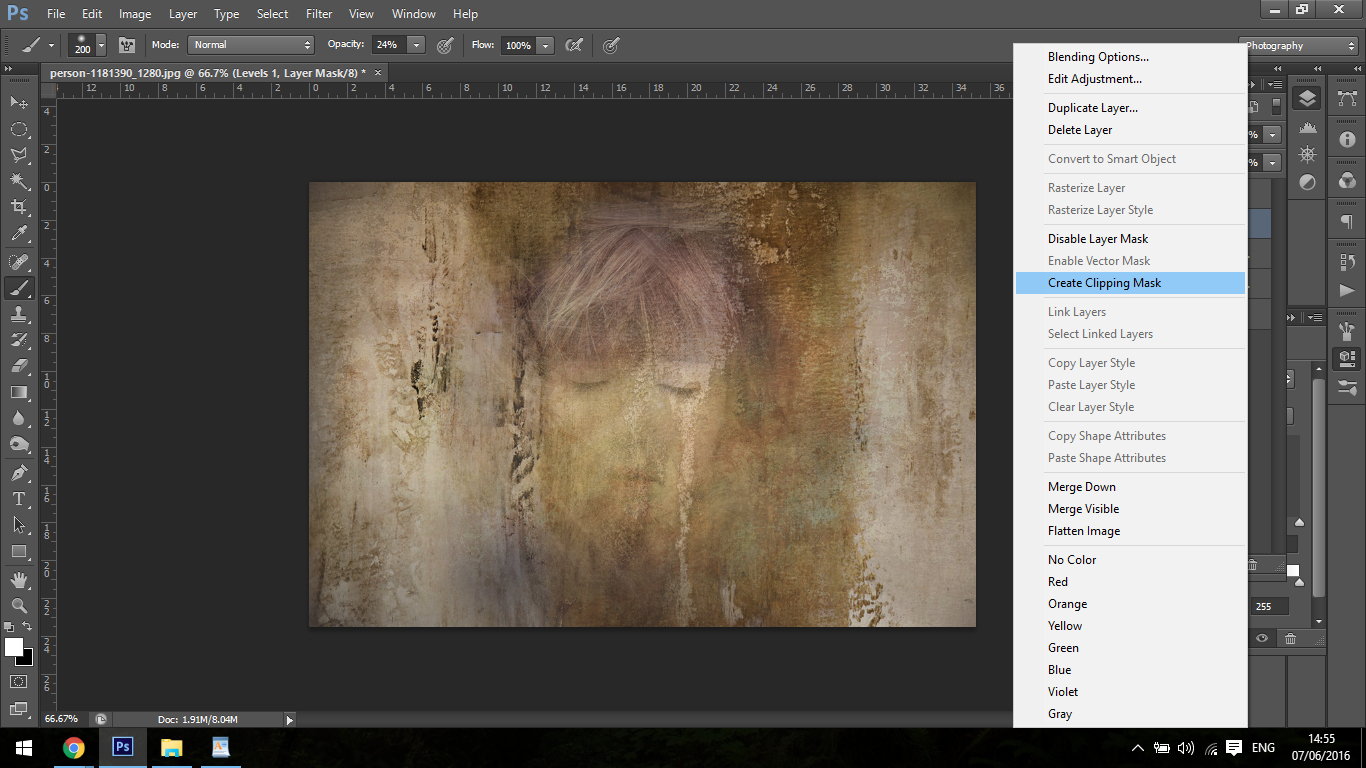
You must also create a clipping mask, this means that the adjustment layer will be attached and only attached to your layer.
You do this by right clicking on the adjustment layer and clicking on Create Clipping Mask.
After I applied my levels I then started to play around with my layer opacity.
Now you don’t drop the opacity of the adjustment layer, rather you simply adjust the texture layer that the adjustment layer is attached too and that will cover both adjustment and the texture layer.
Next we can start to play with the Colours, in the Adjustment Layers.
You have a few options you can choose from here, you can use a Hue Saturation Layer which will shift all the colours at once, you can do a Colour Balance Adjustment Layer or you can use.
Any of these are ideal for the job, play around and see what one give you the most pleasure.
What I ended up settling on was a soft blend of all three, I did shift of the original colour some what to add in yellows.
Reason I choose yellow is because Yellow is Purples opposite colour on the colour wheel there fore it will work great.
So bare this in mind yourself when you are thinking of what colours to add and what to drop.
Hope you enjoyed this quick little tutorial, and I’ll see you again soon with more cool tutorials such as Easy Ways To Unblur Image.


Please verify your software version before proceeding.
 I’ve verified my software version


 Facebook
 Google +
Comments (0)
There are no comments yet.