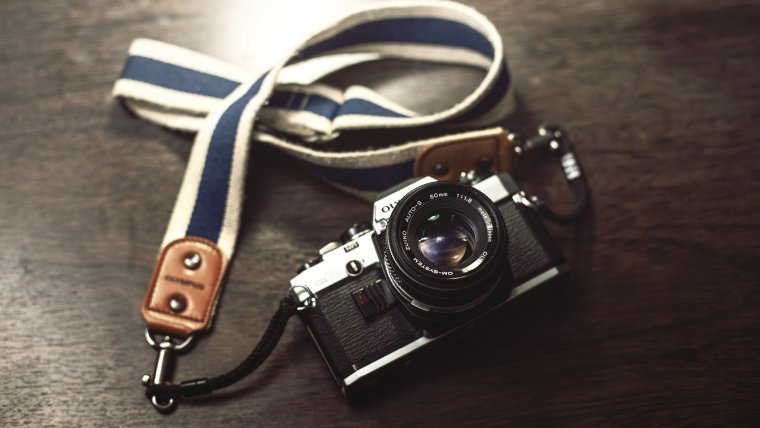
I think there’s something we can all pretty much agree on, that the first and only format we knew when we started photography was JPEG. Most of us like myself didn’t even really know what it stood for, but when we saw it at the end of a file, we knew it was a picture. As time went by we were told to always shoot in raw because it gives you more room to work in post production but for those who don’t have this option, I’ll be sharing with you some key things to consider when shooting in JPEG format so you can get the best out of it. If you enjoy sharing images easily through your wifi built in camera and the same breath not taking up too much space JPEG is the way to go. JPEG is often discussed as a lower format for images in comparison to raw, but I would strongly have to disagree because you can still capture great quality images in JPEG format given a chance. Let’s begin this discussion as to how you can better your JPEG images before post production.
Table of Contents
Lets first take into consideration the doors that JPEG opens up for you in camera. Along with your regular default mode when taking JPEG images, there are other options to consider also. In Canons it may be available in your options as “Picture Style” or “Picture Control”, and from there you will see where your camera give you familiar options as you would have in your scene modes. You can then make it a hobby to adjust a play with these modes throughout your shooting to get optimum performance from your camera. I’m generally always in standard because I have a bad memory sometimes and forget to change it up but for some of you out there who have a better memory than me, make it a happen to toggle these settings and test the performance of your camera.
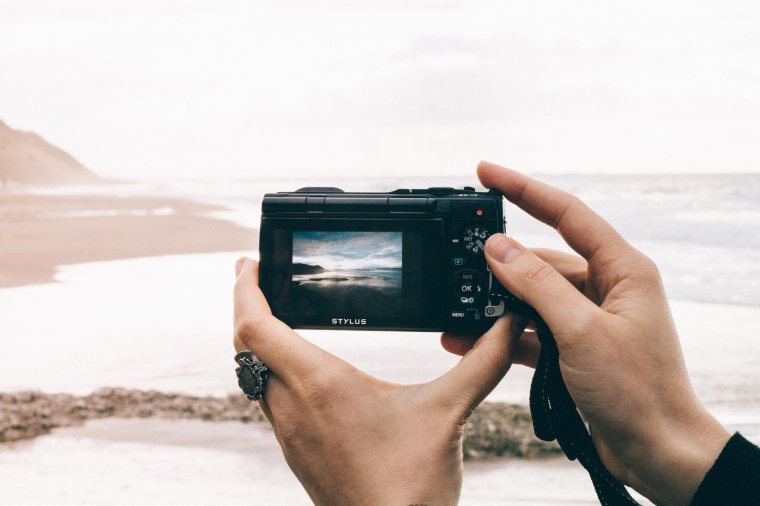
Your camera functions better when it knows exactly what to do and how you would like something done. If you don’t assist the camera in getting the results you need, then it will basically give you the best option it could think of, and we all know how that can be annoying especially when doing auto focus. When it comes to selecting the coloring mode before begin shooting its pretty much all about your personal creative preference as a photographer. So it’s safe to say you have to test the waters first and see what is it that you actually like then put that model into action.
Manufacturers have now given its users options as to give them more control in their coloring modes. After previous criticism from their consumers, they have no given you the option in camera to adjust sharpness, fineness, threshold and even the contrast within the color modes. This definitely helps in those cases where we get a lot of grain and ill shaped shadows in our images that we usually end up trying to fix in photoshop or lightroom.
This is another feature to take into consideration on your camera to get the best quality JPEG shots. It basically aims to help you and your camera to gain a better-balanced image in situations with high contrast. So remember those areas in your shot that would have some dark spots and often throws off the focusing ability of your camera? It helps in those cases balancing out the lighter and darker regions of the image without losing your overall tonal contrast. Prepared to be blown away when you start to put this into practice. On different camera models, it is offered at different levels, but I’d recommend not to go too high because that tends to throw off your image and make it look a bit fake or rather artificial.
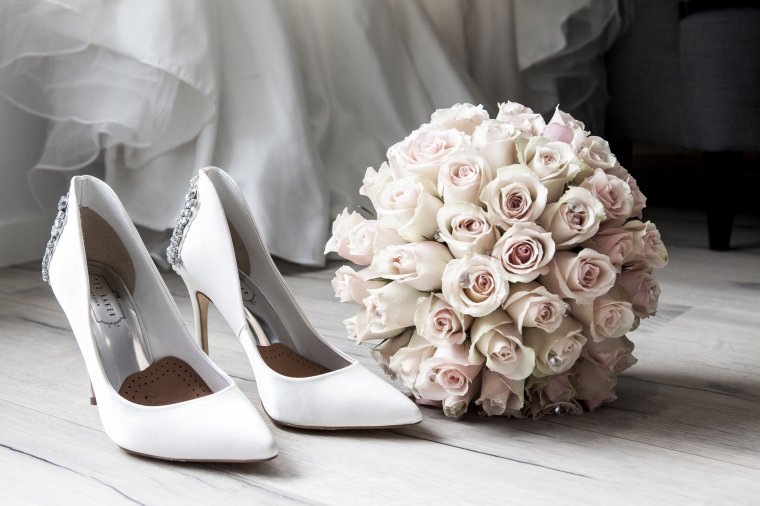
Now your high tone priority if you’re not familiar with it is basically a built in tool on most cameras that help to preserve highlight detail that would otherwise be blown out by overexposure. This detail might be a bright highlight on the forehead of your subject or even a bright spot on the dress of a bride. This can be enabled, and you give it a test run while you play with your shutter speed and ISO levels to see where you get the best result but don’t sleep on this option because it had saved me so many times when I did weddings.
I was happy to give you an insight as to how you can produce even greater quality JPEG images straight out your camera before post production. Thank you for stopping by and giving this article a read, until next time guys!
Comments (1)
Sadly Michael, you forget that, for every photographer over a certain age, the first format wasn’t JPEG, it was FILM