If you are new to photography, you might feel a bit lost. It is easy to get stuck in using auto mode because it is fast, easy, and many times can produce a decent result. However, if you feel like you could improve your photography skills and get more out of the camera it is time to take matters into you own hands.
There are tons of things to learn and it is hard to decide what to do first. You can easily spend days and weeks just reading photography books and articles, watching tutorials or jumping from one website to other and adding more and more into your to-do list. If you want to improve your skills as a photographer at some point you need to put theory aside and start taking photos yourself. However, with our usually busy life, it is easy to let weeks pass without touching your camera and shoot a single image. For that reason I thought it might be useful to make a list of easy photography activities that will help encourage you to grab your camera and start practicing your craft without complicating things so much.
Table of Contents
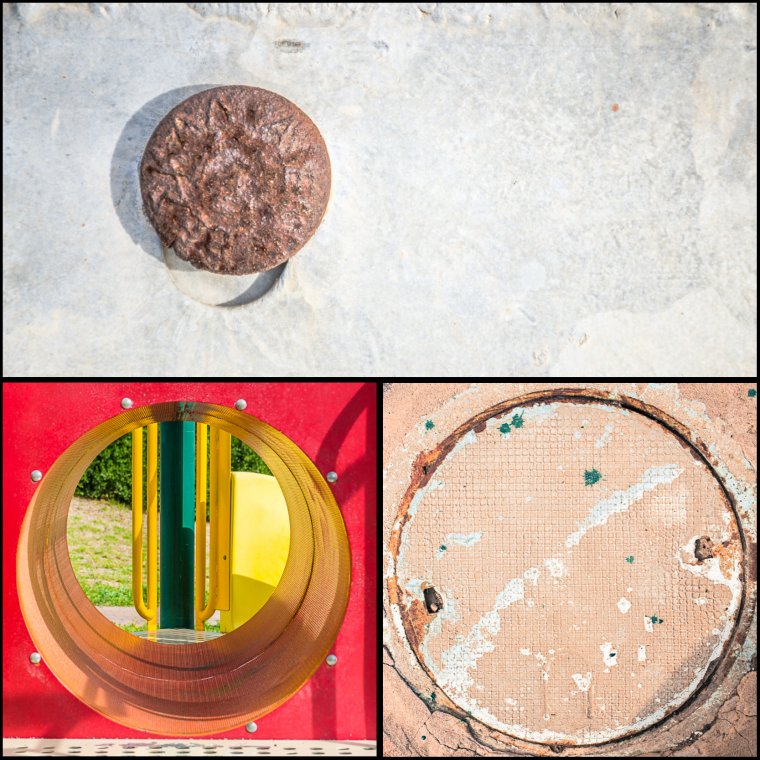
If you don’t know which subject to pick, you can start by choosing one color or a geometric shape. You can even ask somebody to help you decide. They don’t even need to know why you are asking them. It can be something like: Which is your favorite color? Do you prefer squares or circles? Once you know your photography subject, take photos of only this. Focusing on one photography subject might seem restrictive at first, but it will push you to develop your creativity. Extra mile: once you have all your photos, select the best ones and build a composition. Then share it with the person that helped you to pick the subject. He/she will love it!
Practicing one photography composition element for one day, week or month
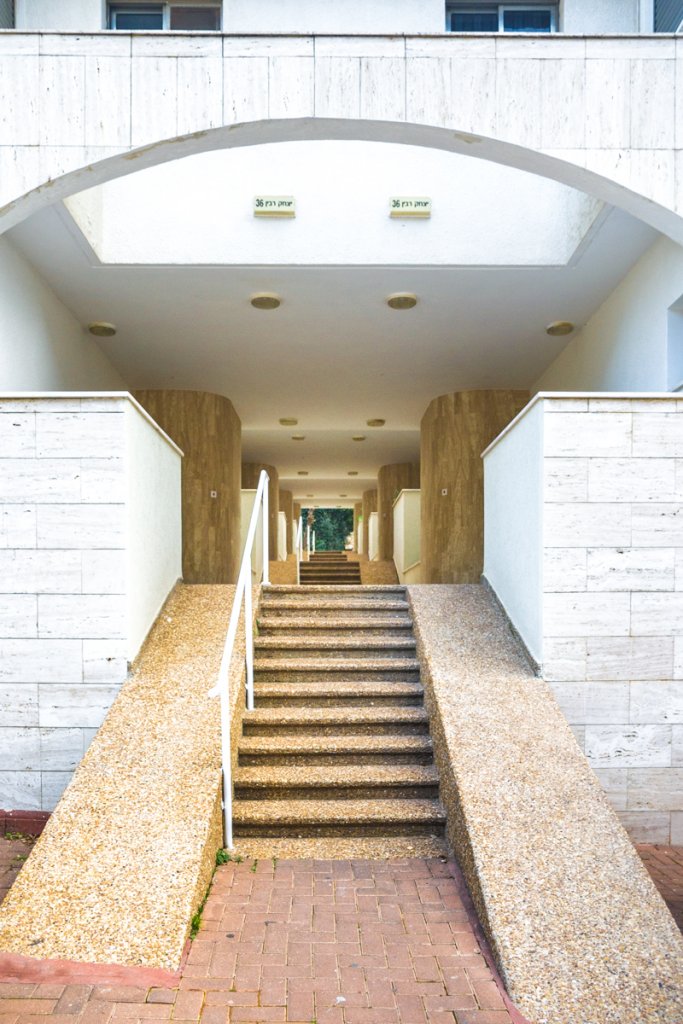
Learning composition can be one of the most overwhelming things in photography. Composition is based on the relation that the different elements of your image have between themselves and with the frame. Trying to control all these relations might be overwhelming, even when you have been already taking photos for a while. To make it easy, you can create a list of composition elements (lines, negative space, symmetry, patterns, texture…) and focus on one of them each time. The amount of time you work on each element is up to you. When you finish the list, you will have a nice photo collection which will illustrate how you understand composition. If you repeat this activity over time (every certain months or every year), you will be able to see your how you evolve as a photographer.
When I started, I was obsessed about sharpness. I wanted everything inside the frame to be clear. No blurriness allowed! However, I changed my mind when I started to see the potential of showing movement in my photos. Don’t misunderstand me. I am not talking about out of focus images. I am talking about movement! A great way to practice is by going somewhere relatively crowded, set your shutter speed on a high value (slow speed, like a quarter of a second) and take photos of the people moving.
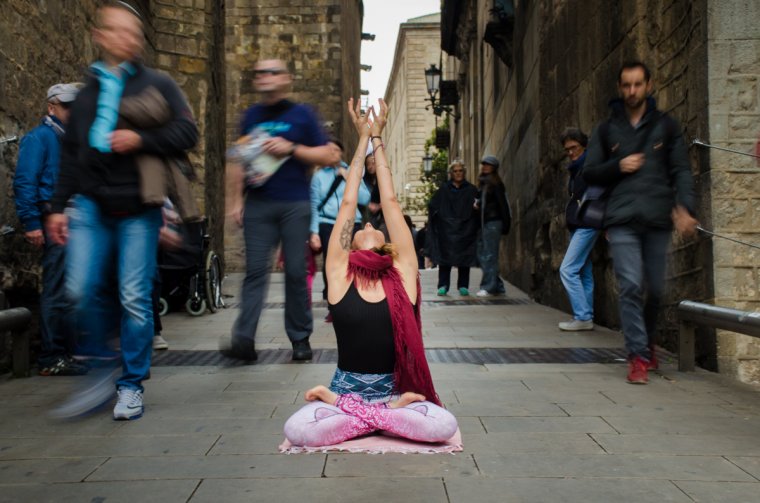
Try to combine different degrees of blurriness: everybody blurry, just some people blurry and also nobody blurry. For this you need to play with different shutter speeds. You might need a tripod if your shutter speeds are too low. I, for example, need a tripod at any speed slower than 1/60 seconds. Decreasing shutter speed means that light will enter into the sensor for longer. If for that reason you are getting photos with too much light, you can close the aperture and decrease your ISO. If it is still too much light, a Neutral Density filter might help.
You don’t need any fancy studio light. You can do it with a home lamp or a flashlight. Pick an object you like and shine the light on it. Try different light positions, directions, add light modifiers (color papers, clothes…) and see the affect light has on the shadows of your object. You can also do this exercise outdoors placing your object in different positions regarding to the sun, or taking photos in the same place but at different times of the day.
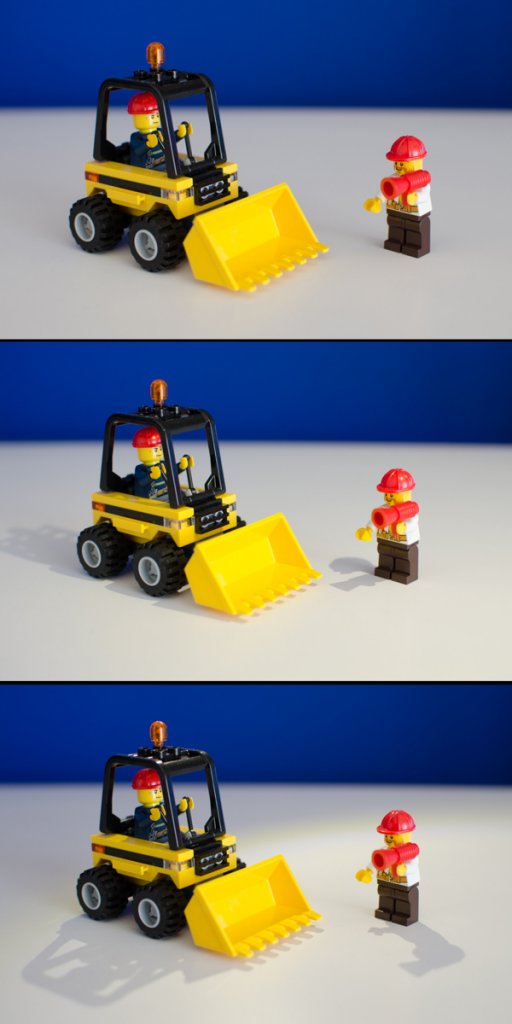
Taking photo sequences is a great way of telling stories with your photos. Photo sequences add a dynamic effect and they are great to give a sense of action and movement. You can do photo sequences of tones of subjects. You can start with friends/family or animals. Take 2 or 3 photos of any activity they are doing: walking, cooking, putting make up, dancing, doing homework… take a lot of photos (shooting in continuous might help) and afterwards choose the 2 or 3 that work better together. You can also do it with objects by placing them in different ways in your frame to build a little story.
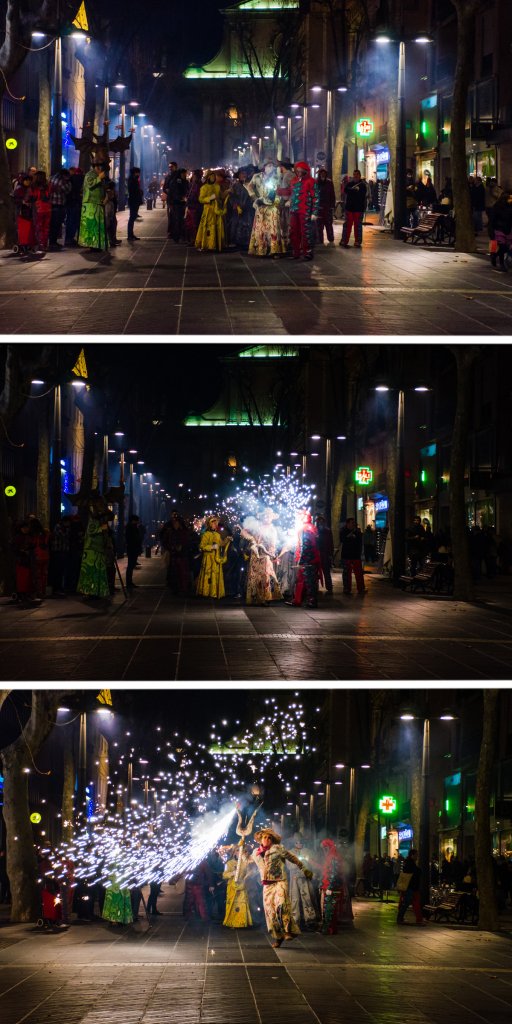
Take the photography equipment you are using the least (lens, tripod, external flash, filters etc.) and make it your point to use them for the day. You might realize that you should use them more, or you might realize you should give them away. Either way, it will help you to be more efficient.
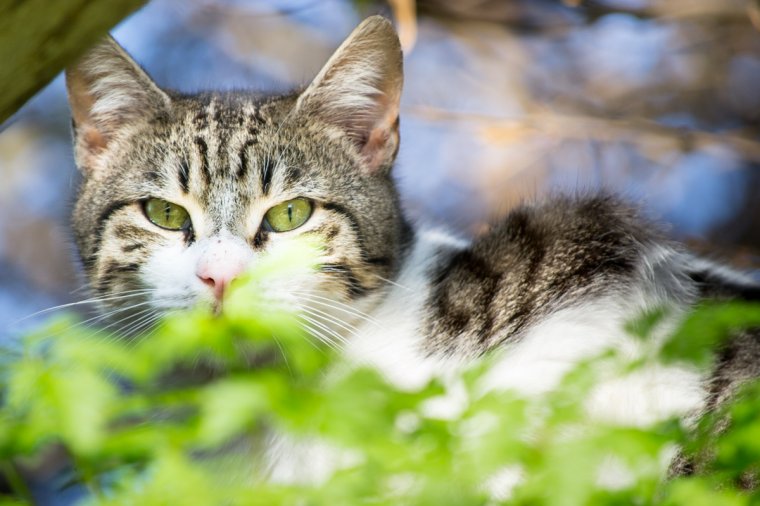
Try to take photos of animals from as close as you can, this will help you to understand how to approach animals, how close should you try to get, from which direction and how fast you should move.
I hope you like these activities and that you find them useful. Do you like any other activity to practice your skills? Now it is your turn: grab your camera and have fun with it!! Happy shooting!!!
Comments (0)
There are no comments yet.