In this Lightroom Tutorial, we are going to look at Lightroom’s Radial Filter and how we can use that to create wonderful effects and images like wedding photos.
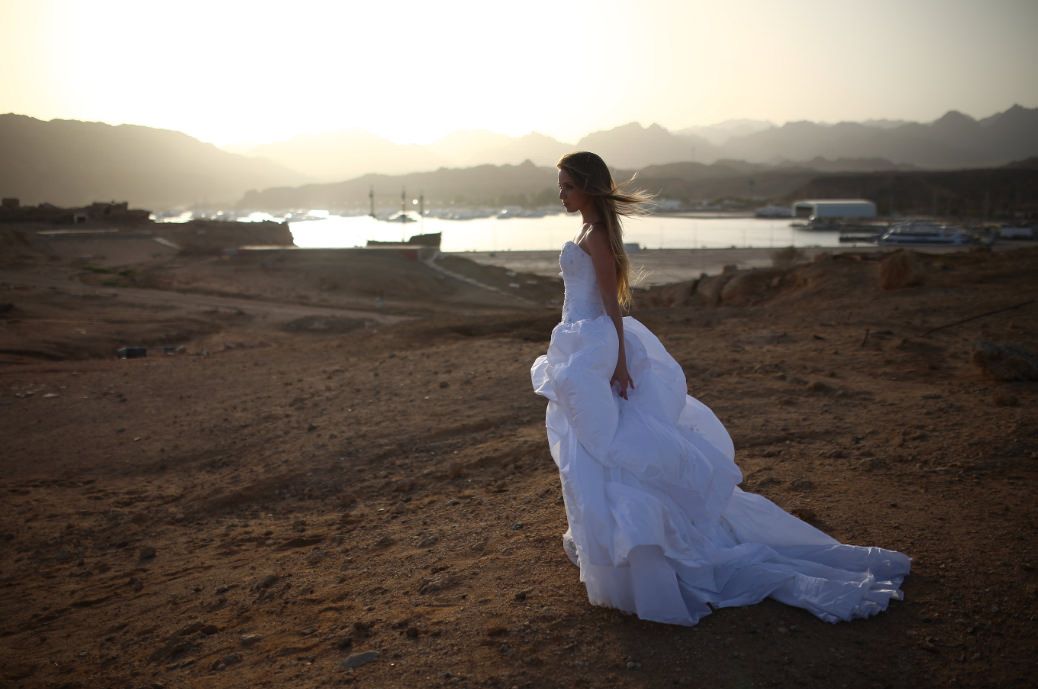 Open up your image or use the one I have provided above.
On the right hand side enter into the Basic Panel, under the Histogram.
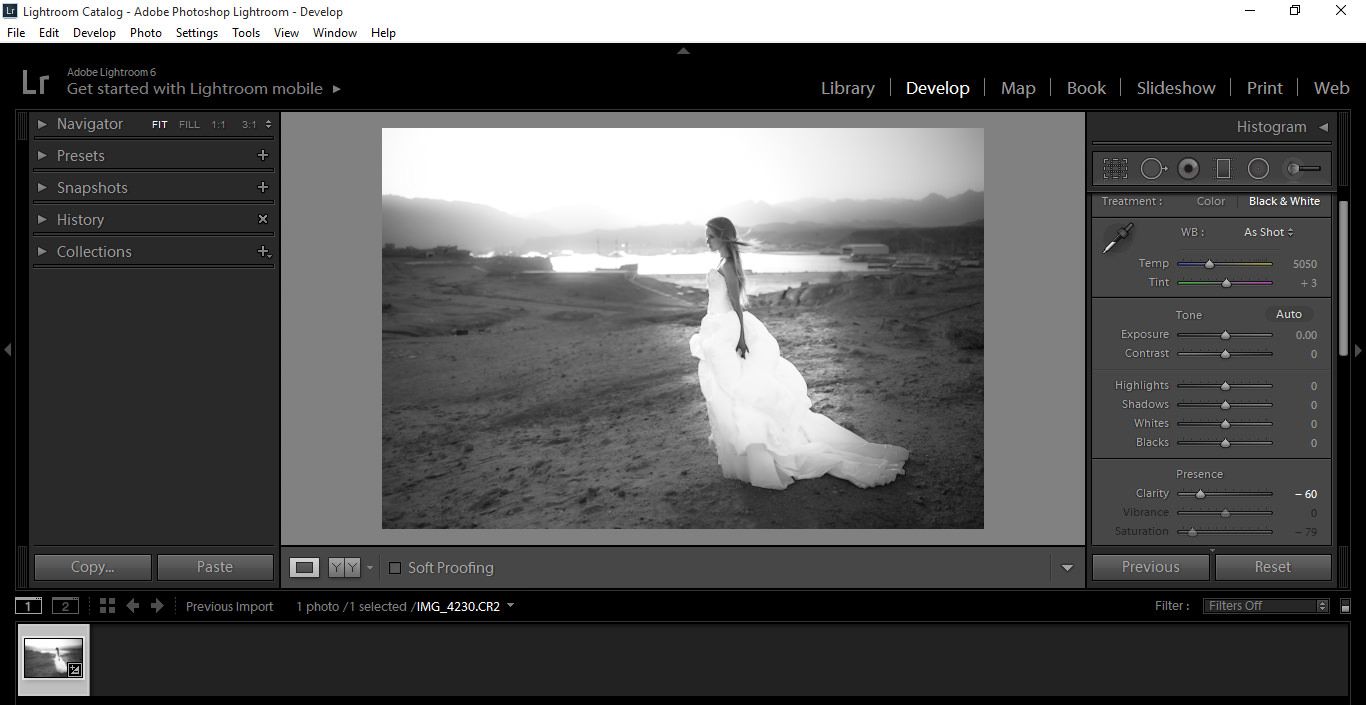
Scroll down to Clarity, under Presence and move the slider towards the left to give you a softer smokey style effect, which is pretty cool to start with. Many photos could just use a touch of this to look better on it’s own, but we are going to go further with this image.
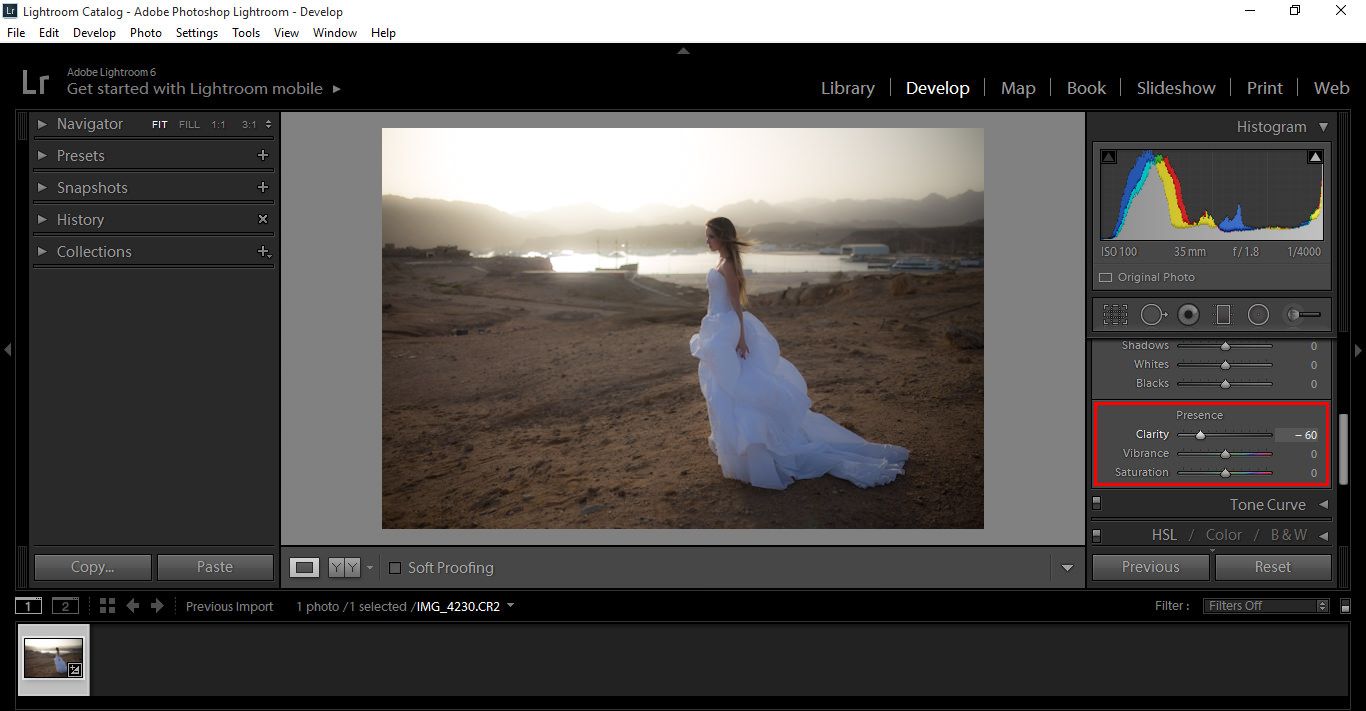
I have mine at -60 because it works for this image, some may need more, some not so much.
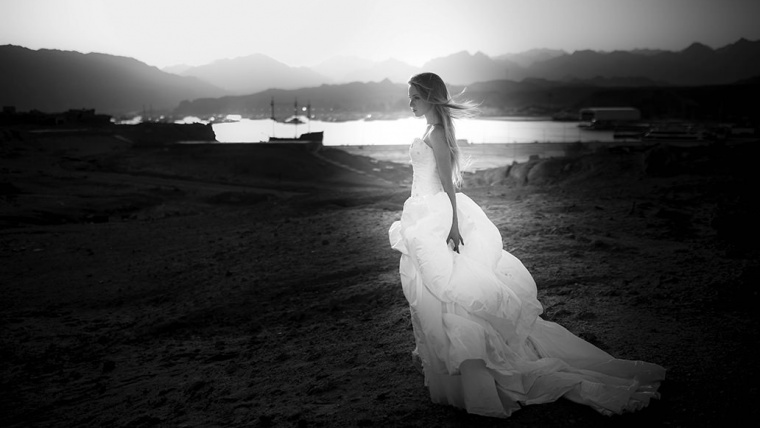
So the direction I have chosen to go with is the Black and White route because a lot of classy feeling wedding photos use Black and White photography to great advantage, especially in this image because there isn’t much going on in the background, so we want to focus on the bride.
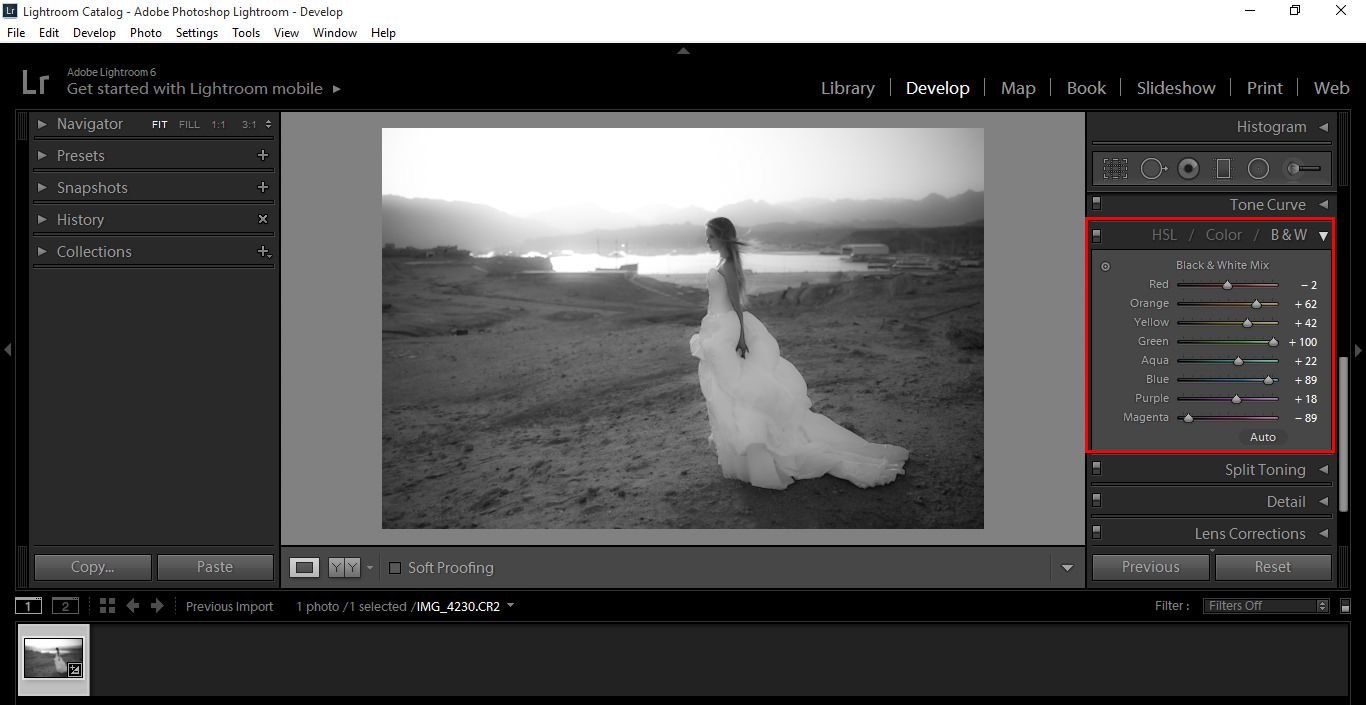
To convert to Black and White go to you HSL/Colour/B&W panel two down from your basic Panel and click on the B&W tab.
Once you do that, you will see different colour sliders for each individual colour, play around with them for a few minutes, familiarize yourself until you reach a point that you like in your image.
As you do this you will notice areas getting darker and brighter.
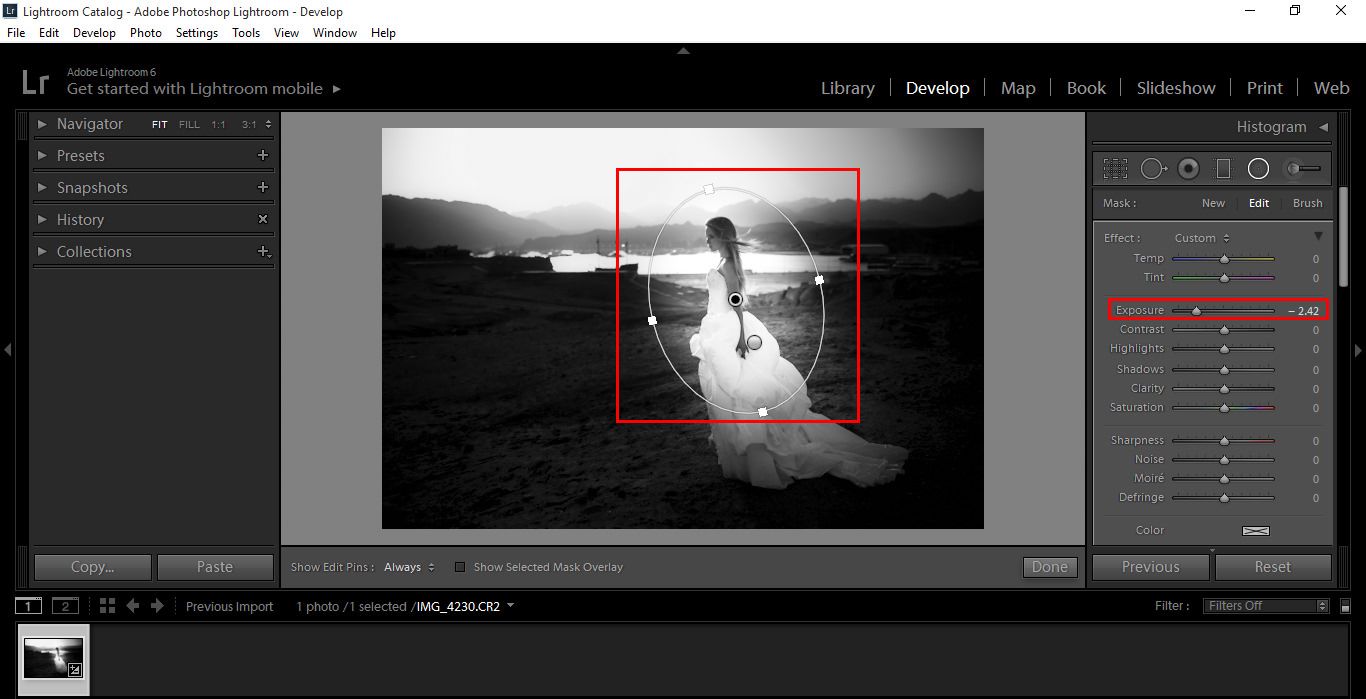
Now, press Shift+M to bring up your Radial Filter situated in your Tools Panel.
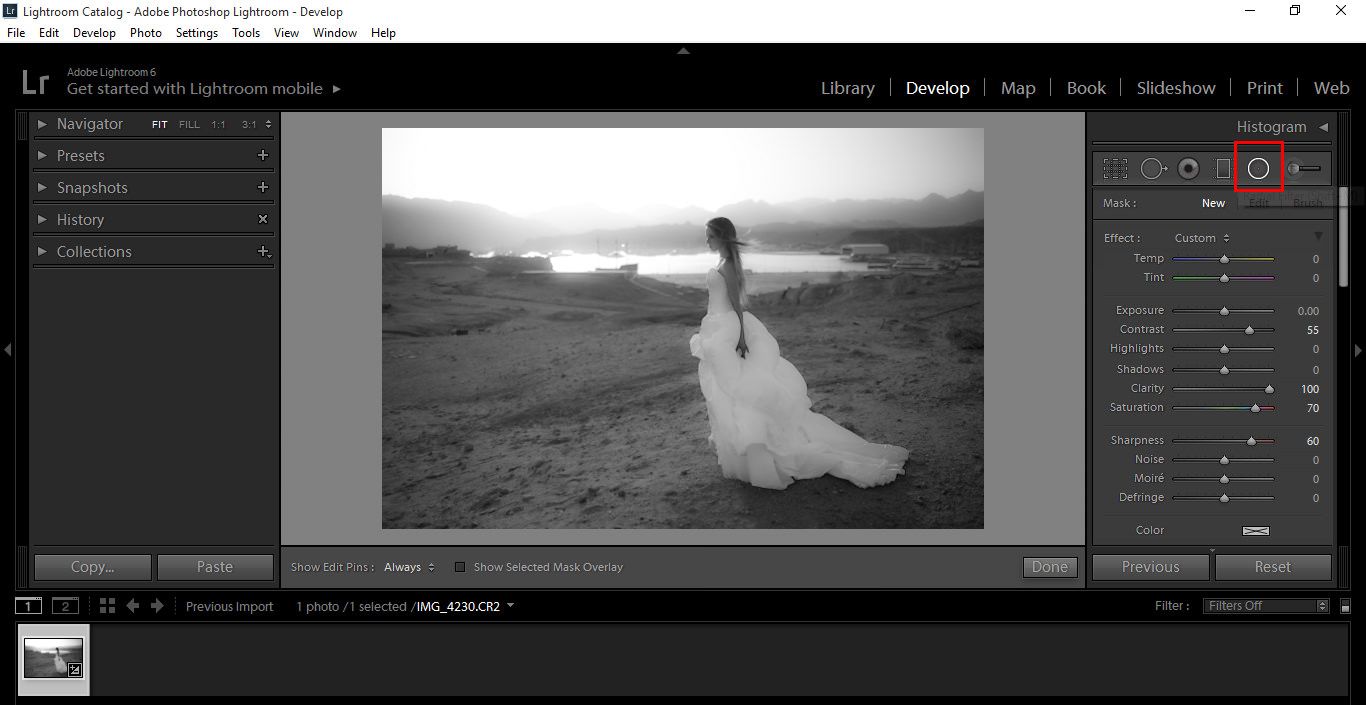
Now we’re ready to go.
Click and Drag over the Bride, start roughly at her head and drag downward, you see a circle appear, you can move this around to widen or lengthen as you see fit.
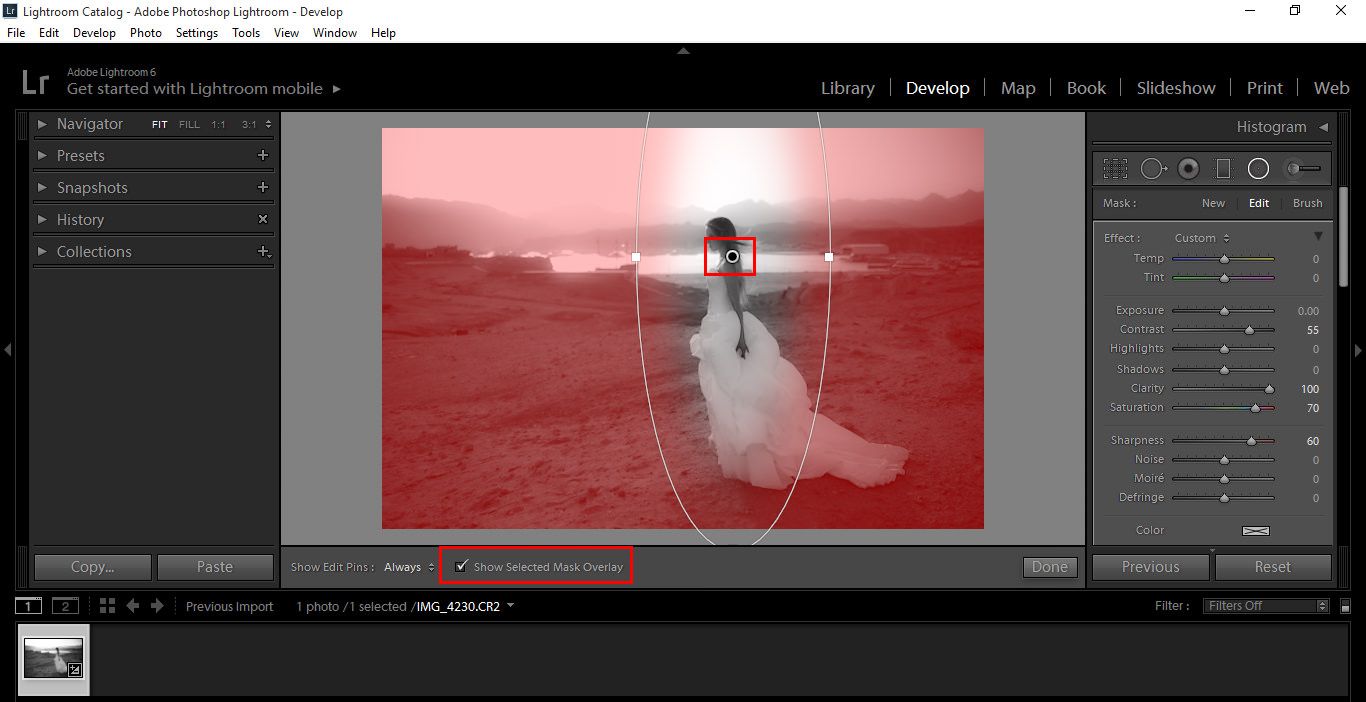
Take note that in the center there is a little circle with a black circle inside, you can click on that and move your Filter around, and if you click on Show Selected Mask Overlay indicated above you can see exactly where your Filter is.
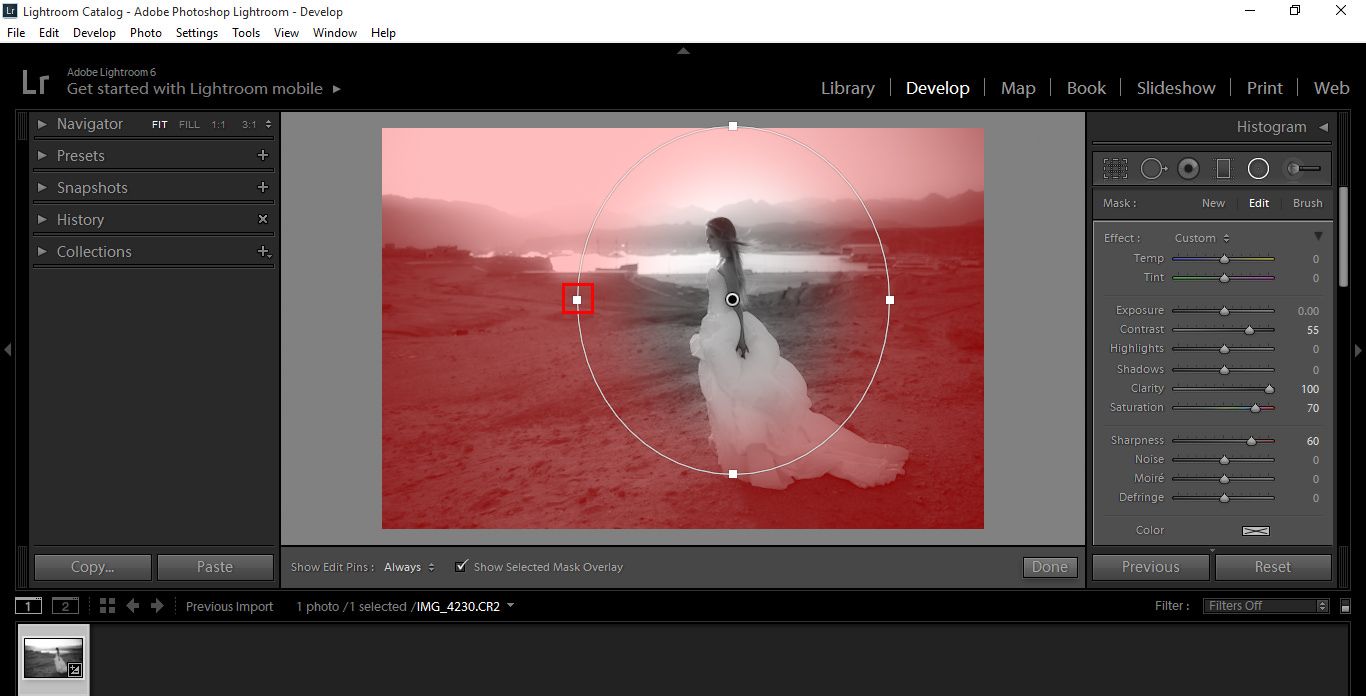
You can also click and drag on the outside squares to re-adjust your Filter.
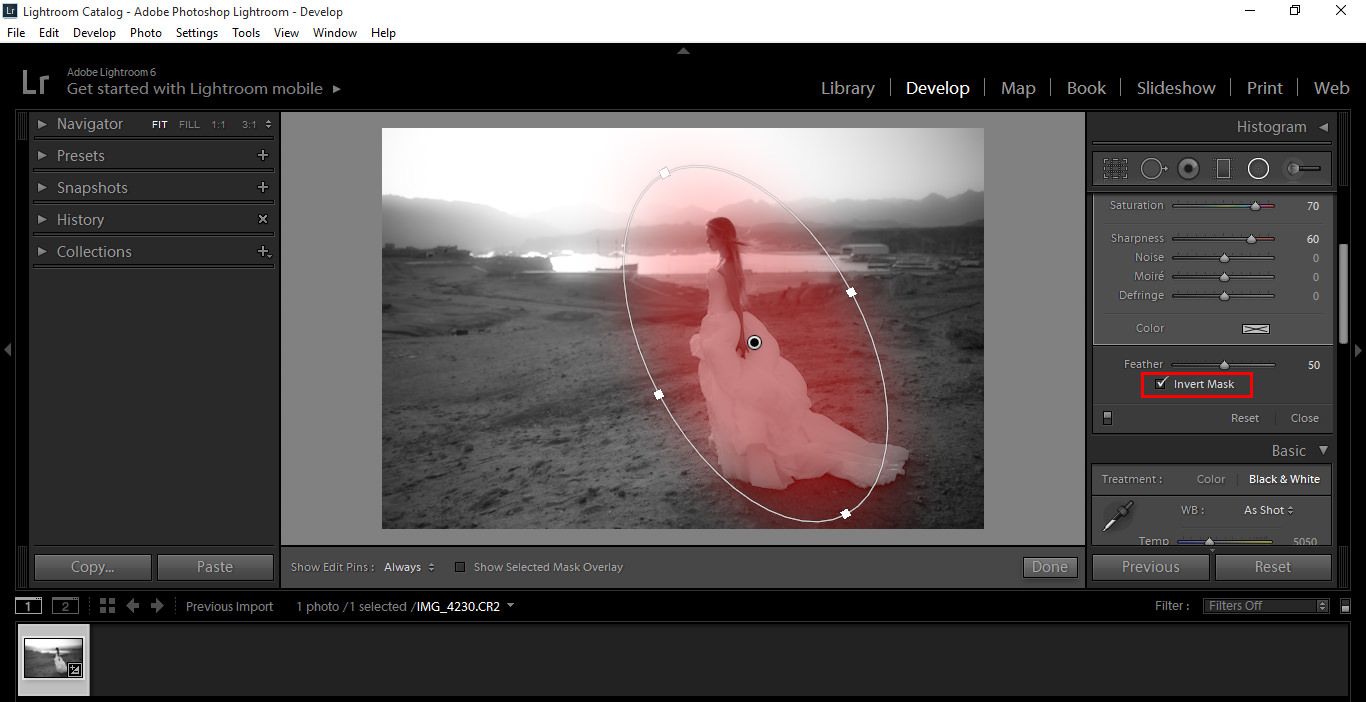
Be aware, as I have had to do in mine, that I had to invert my Filter as below. I also rotated my Filter as well, by hovering over the drag square we just talked about that widens and lengthens, a double sided arrow will appear, you then click and drag.
Now we are here, what next? Well I’d like to add a bit of Vignetting to the outside of the image to darken it down.
So create a new Radial Filter, double clicking just above Temp where it says Effect to reset.
Click and drag again, and this time we are not going to invert it, move your Exposure slider to the Left to darken the outside of the Image.
 If you wish you can play with the other settings, such as Clarity again, you can re-click and on the Filters at any stage during this process and change up the setting as you want.
So, that’s how you create a Radial Filter.
For many settings such as these, check out our Presets. We’ve got loads just like this one, at the click of a button.


Please verify your software version before proceeding.
 I’ve verified my software version


 Facebook
 Google +
Comments (0)
There are no comments yet.